
Water spinach growing hack: Ever dreamed of harvesting armfuls of vibrant, leafy water spinach right from your own backyard? I know I have! This seemingly exotic vegetable, also known as Ong Choy or Kang Kong, is surprisingly easy to cultivate at home with a few clever tricks. Forget those expensive grocery store trips – imagine the satisfaction of serving up a delicious, homegrown stir-fry!
Water spinach has a rich history, deeply rooted in Asian cuisine and culture. For centuries, it’s been a staple in dishes across Southeast Asia, prized for its mild flavor and impressive nutritional value. It’s more than just a vegetable; it’s a connection to culinary traditions passed down through generations.
But why should you care about a water spinach growing hack? Well, let’s face it: fresh, high-quality produce can be expensive and sometimes hard to find. Plus, knowing exactly where your food comes from is incredibly empowering. This DIY guide will show you how to bypass those challenges and enjoy a continuous supply of this delicious green, even if you have limited space or gardening experience. I’m going to share my favorite, tried-and-true methods for maximizing your yield and ensuring a thriving water spinach harvest. Get ready to unlock the secrets to a bountiful and flavorful garden!

Grow Water Spinach (Kangkong) Like a Pro: A DIY Guide
Hey there, fellow gardening enthusiasts! I’m super excited to share my tried-and-true method for growing water spinach, also known as kangkong or ong choy, right at home. This leafy green is a staple in Asian cuisine, and trust me, once you taste freshly grown kangkong, you’ll never want to buy it from the store again! It’s incredibly easy to grow, even if you don’t have a huge garden. Let’s dive in!
What You’ll Need
Before we get started, let’s gather all the necessary materials. This will make the whole process smoother and more enjoyable.
* Water Spinach Seeds or Cuttings: You can find these at most Asian grocery stores or online. Seeds are generally easier to start with, but cuttings can give you a head start.
* A Large Container or Tub: Choose a container that’s at least 12 inches deep and wide. The bigger, the better, as water spinach loves to spread out. I personally use a large plastic storage tub.
* Potting Soil: A good quality potting mix is essential for healthy growth. Avoid using garden soil, as it can be too heavy and compact.
* Compost or Organic Fertilizer: This will provide your water spinach with the nutrients it needs to thrive.
* Water: Obviously! You’ll need plenty of water to keep your water spinach happy.
* Sunlight: Water spinach needs at least 6 hours of sunlight per day.
* Optional: A small pump or aerator to keep the water oxygenated (especially if you’re growing in a completely water-based system).
Starting from Seeds: A Step-by-Step Guide
If you’re starting from seeds, here’s how to do it:
1. Soaking the Seeds: To improve germination, soak the water spinach seeds in warm water for 12-24 hours before planting. This helps soften the seed coat and encourages sprouting. I usually put them in a small bowl and leave them overnight.
2. Preparing the Container: Fill your container with potting soil, leaving about 2-3 inches of space at the top. Mix in some compost or organic fertilizer to enrich the soil. Water the soil thoroughly until it’s evenly moist but not soggy.
3. Sowing the Seeds: Sprinkle the soaked seeds evenly over the surface of the soil. You don’t need to bury them too deep; just gently press them into the soil. A light covering of soil is sufficient.
4. Watering and Covering: Gently water the seeds again, being careful not to dislodge them. Cover the container with a clear plastic bag or plastic wrap to create a humid environment. This will help the seeds germinate faster.
5. Finding the Right Spot: Place the container in a warm, sunny location. Water spinach loves warmth and sunlight!
6. Germination: Keep the soil consistently moist, but not waterlogged. The seeds should germinate in about 7-10 days. Once the seedlings emerge, remove the plastic covering.
7. Thinning the Seedlings: Once the seedlings have a few true leaves, thin them out, leaving about 4-6 inches between each plant. This will give them enough space to grow and thrive.
Starting from Cuttings: A Faster Route
If you’re using cuttings, the process is even simpler:
1. Selecting the Cuttings: Choose healthy, vigorous stems that are about 6-8 inches long. Remove the lower leaves, leaving only a few leaves at the top.
2. Rooting the Cuttings: There are two ways to root the cuttings:
* In Water: Place the cuttings in a glass or jar of water, making sure that the lower nodes (where the leaves were removed) are submerged. Change the water every day or two. Roots should start to appear in about a week.
* Directly in Soil: Dip the cut end of the stem in rooting hormone (optional) and plant it directly into the prepared potting soil. Keep the soil consistently moist.
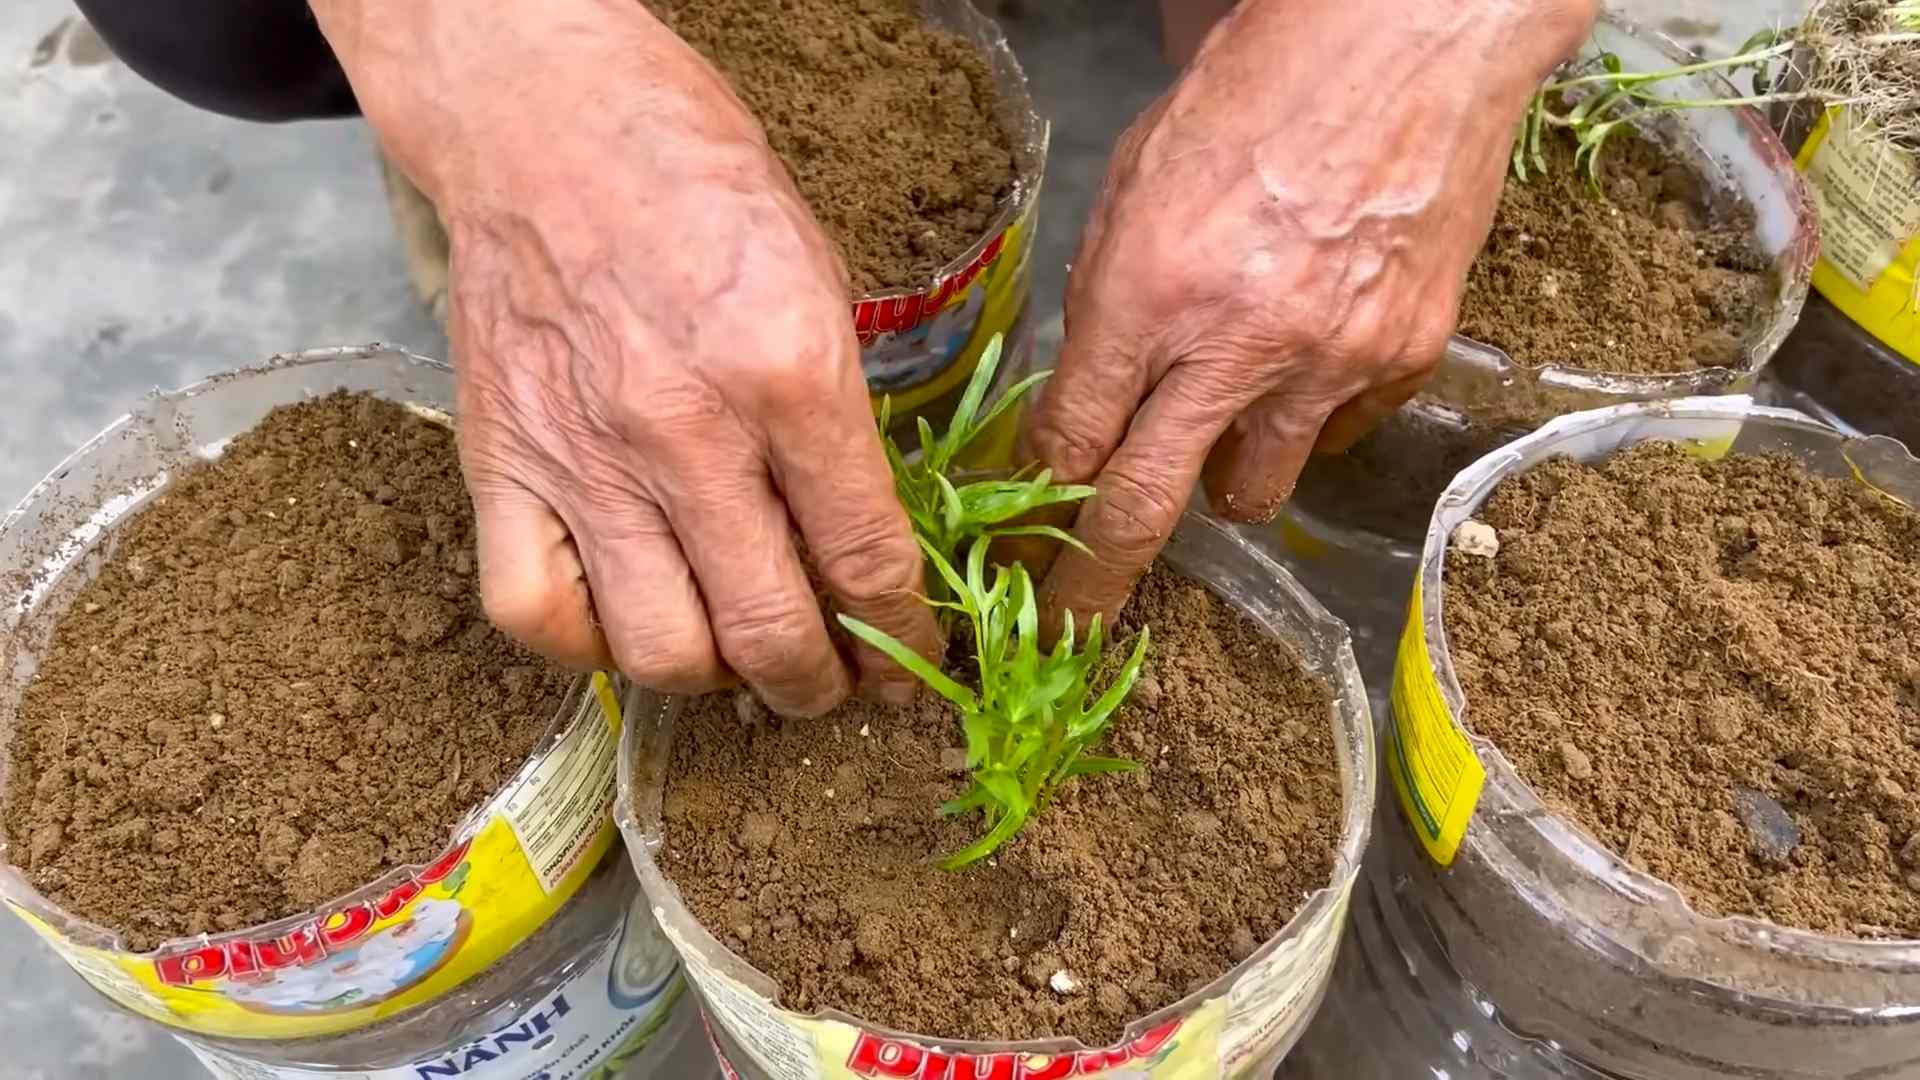
3. Planting the Cuttings: Once the cuttings have developed roots (if rooting in water), carefully transplant them into the prepared container. Space them about 4-6 inches apart.
4. Watering and Care: Water the cuttings thoroughly and keep the soil consistently moist. Provide them with plenty of sunlight.
Maintaining Your Water Spinach: The Key to Success
Once your water spinach is established, here’s how to keep it thriving:
* Watering: Water spinach loves water, so keep the soil consistently moist. In hot weather, you may need to water it daily. You can even grow it in a completely water-based system, where the roots are submerged in water.
* Fertilizing: Feed your water spinach with a liquid fertilizer every 2-3 weeks. This will help it grow quickly and produce lots of leaves. I like to use a balanced fertilizer or a fertilizer specifically formulated for leafy greens.
* Sunlight: Make sure your water spinach gets at least 6 hours of sunlight per day. If you don’t have enough sunlight, you can supplement with grow lights.
* Pest Control: Water spinach is generally pest-resistant, but keep an eye out for aphids or other common garden pests. If you spot any pests, you can spray them with insecticidal soap or neem oil.
* Pruning: Regular pruning will encourage your water spinach to grow bushier and produce more leaves. Simply pinch off the tips of the stems to promote branching.
Harvesting Your Bounty: The Best Part!
You can start harvesting your water spinach about 4-6 weeks after planting.
1. Harvesting Technique: Use scissors or a sharp knife to cut the stems about 4-6 inches from the base. This will allow the plant to regrow and produce more leaves.
2. Frequency: You can harvest your water spinach every week or two, depending on how quickly it’s growing.
3. Storage: Freshly harvested water spinach is best used immediately. However, you can store it in the refrigerator for a few days. Wrap it in a damp paper towel and place it in a plastic bag.
Troubleshooting: Common Issues and Solutions
Even with the best care, you might encounter some issues. Here are a few common problems and how to fix them:
* Yellowing Leaves: This could be a sign of nutrient deficiency. Try fertilizing your water spinach with a balanced fertilizer.
* Slow Growth: This could be due to lack of sunlight or water. Make sure your water spinach is getting enough sunlight and that the soil is consistently moist.
* Pests: As mentioned earlier, keep an eye out for pests and treat them accordingly.
Growing Water Spinach in a Hydroponic or Semi-Hydroponic System
Want to take your water spinach game to the next level? Consider growing it in a hydroponic or semi-hydroponic system! This is a fun and efficient way to grow water spinach, especially if you don’t have a lot of space.
1. Semi-Hydroponic Setup: This is the easiest method. Use a container without drainage holes. Fill the bottom few inches with clay pebbles or gravel. Plant your water spinach cuttings or seedlings in the container, using a soilless potting mix like coco coir or perlite. Keep the bottom of the container filled with water, allowing the water spinach roots to access the moisture.
2. Hydroponic Setup: For a full hydroponic system, you’ll need a container, a water pump, and an air stone. The water pump circulates the nutrient solution, and the air stone oxygenates the water. You can use net pots to hold the water spinach plants, with their roots submerged in the nutrient solution.
3. Nutrient Solution: Use a hydroponic nutrient solution specifically formulated for leafy greens. Follow the instructions on the label for mixing the solution.
4. Monitoring: Regularly check the pH and nutrient levels of the water. Adjust as needed to maintain optimal growing conditions.
Tips for Success
Here are a few extra tips to help you grow the best water spinach ever:
* Choose the Right Variety: There are different varieties of water spinach, so choose one that’s well-suited to your climate.
* Start Small: If you’re new to growing water spinach, start with a small container and a few plants. Once you get the hang of it, you can expand your operation.
* Experiment: Don’t be afraid to experiment with different growing methods and techniques. The best way to learn is by doing!
* Enjoy the Process: Growing your own food is a rewarding experience. Take the time to enjoy the process and appreciate the fruits (or rather, leaves) of your labor.
I hope this guide has inspired you to grow your own water spinach. It’s a fun
Conclusion
So, there you have it! This simple, yet incredibly effective water spinach growing hack is more than just a gardening tip; it’s a gateway to fresh, delicious, and readily available greens right at your fingertips. Forget expensive grocery store prices and the uncertainty of where your produce comes from. With minimal effort and readily available resources, you can cultivate a thriving patch of water spinach, also known as kangkong, in your own backyard, balcony, or even indoors.
Why is this a must-try? Because it’s accessible, affordable, and rewarding. It’s accessible because it doesn’t require a green thumb or years of gardening experience. The steps are straightforward, and the materials are easy to source. It’s affordable because you’re essentially recycling materials and minimizing the need for expensive fertilizers or specialized equipment. And it’s rewarding because nothing beats the satisfaction of harvesting your own homegrown vegetables, knowing exactly what went into them.
Beyond the basic method, there’s plenty of room for experimentation and personalization. Consider adding a small aquarium pump to your container for enhanced aeration, which can further boost growth. You could also try different nutrient solutions, such as diluted seaweed extract or compost tea, to provide your water spinach with an extra boost of essential minerals. For those with limited space, vertical growing systems using stacked containers or repurposed PVC pipes can maximize your yield. And if you’re feeling adventurous, try growing different varieties of water spinach, each with its own unique flavor and texture.
This water spinach growing hack isn’t just about growing vegetables; it’s about connecting with nature, fostering self-sufficiency, and enjoying the simple pleasures of life. It’s about knowing where your food comes from and taking control of your own health and well-being.
We wholeheartedly encourage you to give this DIY trick a try. Don’t be intimidated by the prospect of gardening; this is a beginner-friendly project that yields impressive results. Start small, experiment, and learn as you go. The most important thing is to have fun and enjoy the process.
Once you’ve harvested your first batch of homegrown water spinach, we’d love to hear about your experience! Share your photos, tips, and variations in the comments below. Let’s build a community of water spinach enthusiasts and inspire others to embrace the joys of homegrown goodness. What worked for you? What challenges did you face? What delicious recipes did you create with your fresh harvest? Your insights can help others succeed and further refine this already amazing water spinach growing hack. So, get your hands dirty, embrace the challenge, and let’s grow together!
Frequently Asked Questions (FAQ)
What exactly is water spinach, and why should I grow it?
Water spinach, also known as kangkong or ong choy, is a semi-aquatic leafy green vegetable popular in Southeast Asian cuisine. It’s incredibly versatile and can be stir-fried, steamed, boiled, or added to soups and salads. Beyond its delicious flavor, water spinach is packed with nutrients, including vitamins A and C, iron, and antioxidants. Growing your own ensures a fresh, readily available supply, free from pesticides and other harmful chemicals. Plus, it’s a fast-growing plant, providing a quick return on your gardening efforts.
What kind of container should I use for this water spinach growing hack?
Almost any container that can hold water will work! A large plastic tub, a repurposed storage bin, or even a kiddie pool are all excellent options. The key is to ensure the container is clean and free of any harmful chemicals. The size of the container will depend on how much water spinach you want to grow. A container that holds at least 10 gallons of water is a good starting point. Make sure the container is opaque to prevent algae growth.
What kind of soil or growing medium do I need?
Surprisingly, you don’t need traditional soil for this method! Water spinach thrives in a hydroponic-like environment. You can use a soilless mix like coco coir, perlite, or vermiculite to provide support for the roots. Alternatively, you can simply suspend the water spinach cuttings in water using a net pot or a similar device. The roots will grow directly into the water, absorbing the necessary nutrients.
How often should I change the water and add nutrients?
The frequency of water changes depends on the size of your container and the growth rate of your water spinach. As a general rule, change the water every 1-2 weeks to prevent the buildup of algae and harmful bacteria. When you change the water, add a diluted nutrient solution specifically formulated for leafy greens. Follow the instructions on the nutrient solution packaging for the correct dosage. You can also use organic alternatives like diluted seaweed extract or compost tea.
How much sunlight does water spinach need?
Water spinach thrives in full sun, requiring at least 6-8 hours of direct sunlight per day. If you’re growing it indoors, you’ll need to supplement with grow lights. Position the grow lights about 12-18 inches above the plants and keep them on for 14-16 hours per day.
How long does it take for water spinach to grow?
One of the best things about water spinach is its rapid growth rate. You can typically start harvesting leaves within 3-4 weeks of planting. Continue harvesting regularly to encourage new growth.
How do I harvest water spinach?
Harvesting water spinach is easy! Simply cut the stems about 4-6 inches from the base of the plant. This will encourage new shoots to grow from the cut stems. You can harvest multiple times from the same plant.
What are some common problems I might encounter, and how do I fix them?
Some common problems include algae growth, nutrient deficiencies, and pest infestations. To prevent algae growth, keep the container clean and opaque. If you notice algae, clean the container and change the water more frequently. Nutrient deficiencies can be identified by yellowing leaves or stunted growth. Adjust the nutrient solution accordingly. Pest infestations are rare, but if you encounter any pests, you can treat them with organic pesticides like neem oil or insecticidal soap.
Can I grow water spinach indoors?
Yes, you can absolutely grow water spinach indoors! Just make sure to provide adequate lighting with grow lights and maintain a consistent temperature. Indoor growing can be a great option for those who live in colder climates or have limited outdoor space.
Is this water spinach growing hack suitable for beginners?
Absolutely! This method is designed to be simple and accessible for gardeners of all skill levels. The steps are straightforward, and the materials are easy to source. With a little bit of care and attention, even a complete beginner can successfully grow their own water spinach.


Leave a Comment