
Washing walls might not sound like the most glamorous DIY project, but trust me, it’s one of those game-changers that can instantly refresh your entire home! Think of it as a mini-makeover without the hefty price tag. For generations, spring cleaning rituals have included wall washing, a practice deeply rooted in cultures worldwide as a way to purify and renew living spaces. It’s more than just removing dirt; it’s about creating a brighter, healthier environment.
Let’s face it, life happens on our walls. From splatters in the kitchen to fingerprints in the hallway, our walls silently collect the evidence of our daily lives. Ignoring these blemishes can make your home feel dull and even impact air quality. That’s where this easy DIY guide comes in! I’m going to share my favorite, tried-and-true methods for washing walls effectively and efficiently, using simple ingredients you probably already have at home. Get ready to say goodbye to grime and hello to sparkling clean walls that will make your whole house shine!
DIY Wall Washing: A Sparkling Clean Guide
Okay, so you’re ready to tackle those grimy walls? Awesome! Washing your walls is one of those chores that seems daunting, but trust me, it’s totally manageable and makes a HUGE difference in how clean and bright your home feels. I’m going to walk you through everything you need to know to get your walls looking their best, without damaging the paint or making a bigger mess. Let’s get started!
Gathering Your Supplies
Before you even think about touching a wall, let’s make sure you have everything you need. This will save you a ton of time and frustration later.
* Buckets: You’ll need two buckets – one for your cleaning solution and one for rinsing. Trust me, you don’t want to be dipping your dirty sponge back into your clean water!
* Sponges: I prefer large, cellulose sponges. They hold a lot of water and are gentle on most wall surfaces. Avoid abrasive sponges, especially if you have delicate paint.
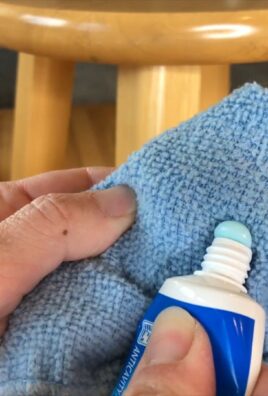
* Microfiber Cloths: These are essential for drying the walls and preventing streaks. Stock up on a few!
* Cleaning Solution: I’ll give you a few options here, depending on the type of dirt and grime you’re dealing with.
* Drop Cloths or Old Towels: Protect your floors! This is non-negotiable.
* Rubber Gloves: Protect your hands from the cleaning solution.
* Ladder or Step Stool: For reaching those high spots. Safety first!
* Vacuum with Brush Attachment: To remove loose dust and debris before washing.
* Painter’s Tape (Optional): To protect trim and baseboards if you’re worried about getting them wet.
Choosing Your Cleaning Solution
The right cleaning solution depends on the type of paint and the level of grime. Here are a few of my go-to options:
* Mild Dish Soap and Water: This is a great all-purpose cleaner for lightly soiled walls. Just a few drops of dish soap in a bucket of warm water will do the trick.
* Vinegar and Water: Vinegar is a natural disinfectant and degreaser. Mix equal parts white vinegar and water for a slightly stronger cleaning solution. Be careful using this on dark paints, as it can sometimes lighten them. Always test in an inconspicuous area first!
* All-Purpose Cleaner: If you have stubborn stains or grease, you can use a diluted all-purpose cleaner. Follow the manufacturer’s instructions for dilution. Again, test in an inconspicuous area first.
* Baking Soda Paste: For really tough spots, like crayon marks or scuffs, make a paste of baking soda and water. Apply it to the stain, let it sit for a few minutes, and then gently scrub.
Important Note: Always test your cleaning solution in an inconspicuous area of the wall (like behind furniture or in a corner) before washing the entire wall. This will help you ensure that the solution doesn’t damage the paint or leave any discoloration.
Preparing the Room
Before you start slinging water around, let’s get the room ready.
1. Clear the Area: Move furniture away from the walls as much as possible. Cover anything that can’t be moved with drop cloths or plastic sheeting.
2. Protect the Floors: Lay down drop cloths or old towels to protect your floors from drips and spills.
3. Vacuum the Walls: Use a vacuum with a brush attachment to remove loose dust, cobwebs, and other debris from the walls. This will prevent you from just smearing the dirt around when you start washing. Pay special attention to corners and baseboards.
4. Tape Off Trim (Optional): If you’re worried about getting the trim or baseboards wet, use painter’s tape to protect them.
The Wall Washing Process: Step-by-Step
Okay, now for the fun part! (Well, maybe not fun, but definitely satisfying.)
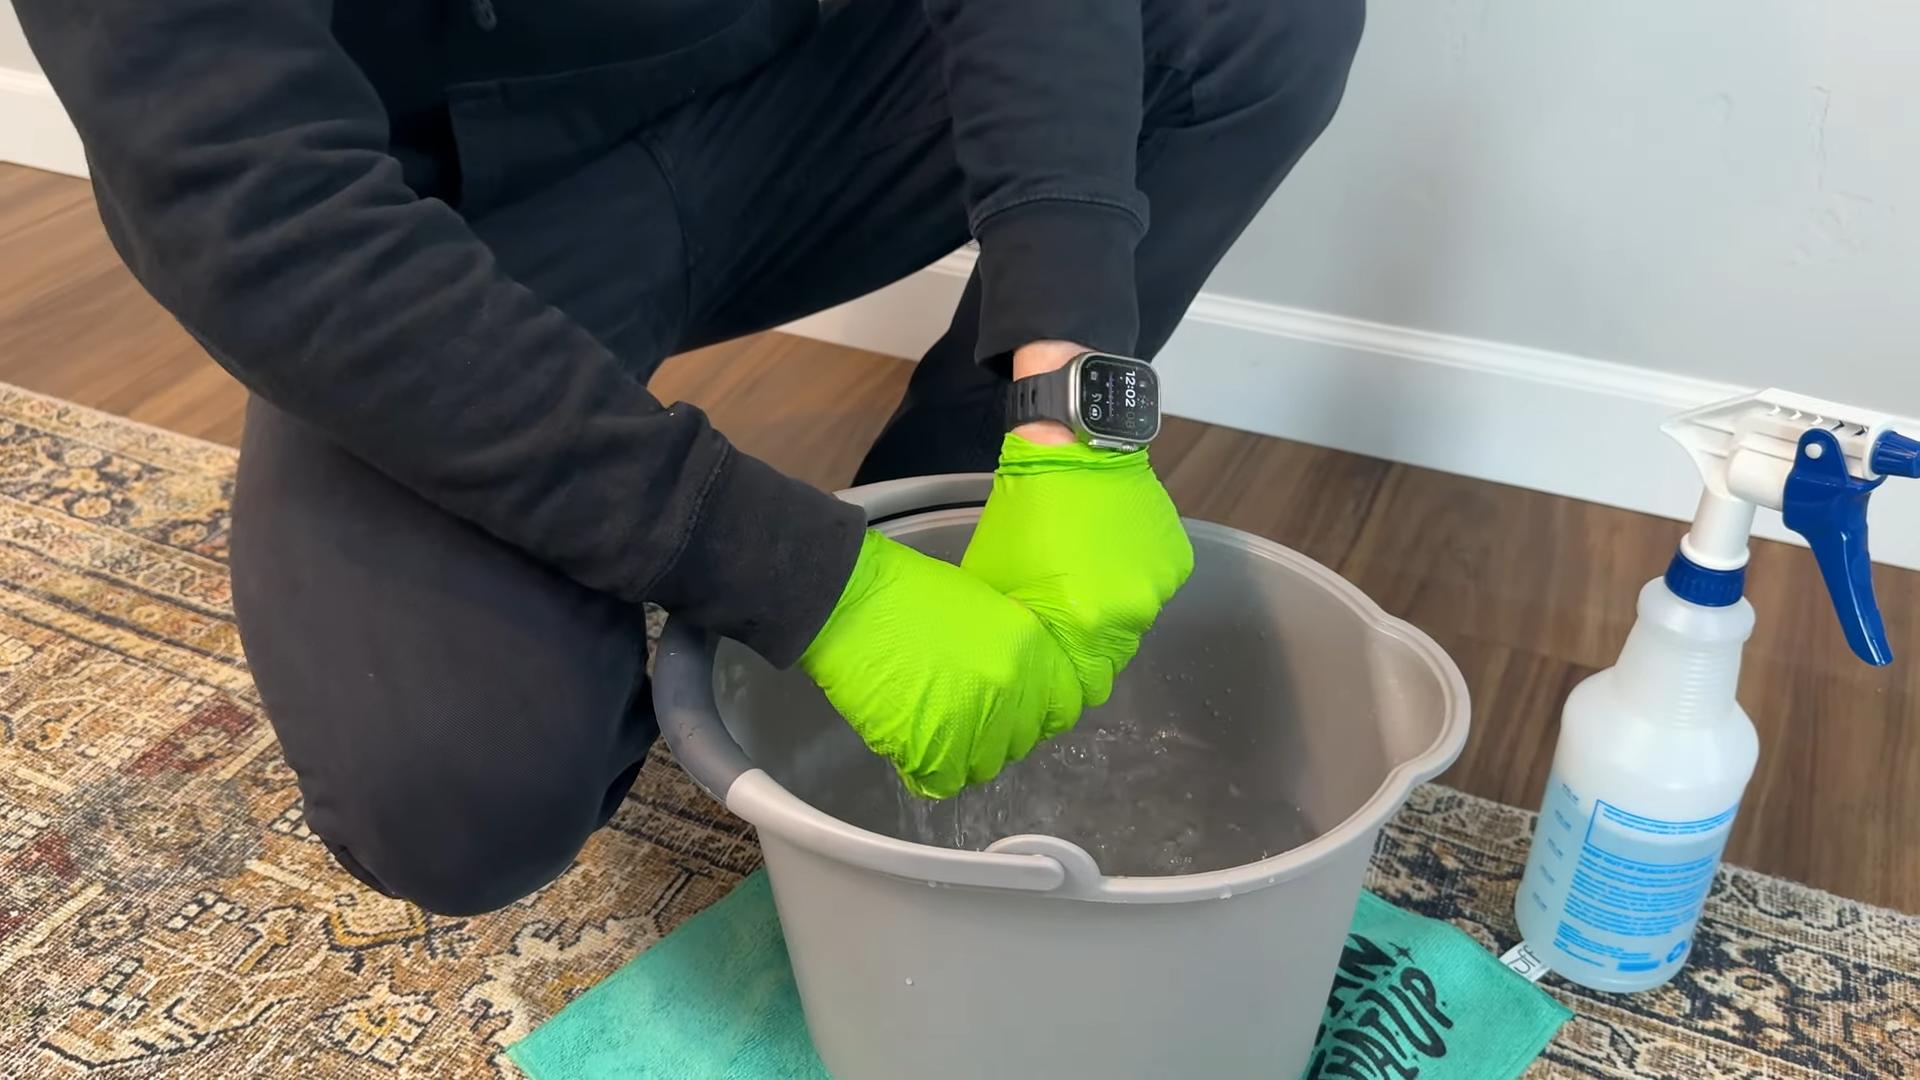
1. Prepare Your Cleaning Solution: Fill one bucket with your chosen cleaning solution and the other with clean, warm water for rinsing.
2. Dip and Wring: Dip your sponge into the cleaning solution and wring it out thoroughly. You want the sponge to be damp, not dripping wet. Excess water can damage the paint and cause streaks.
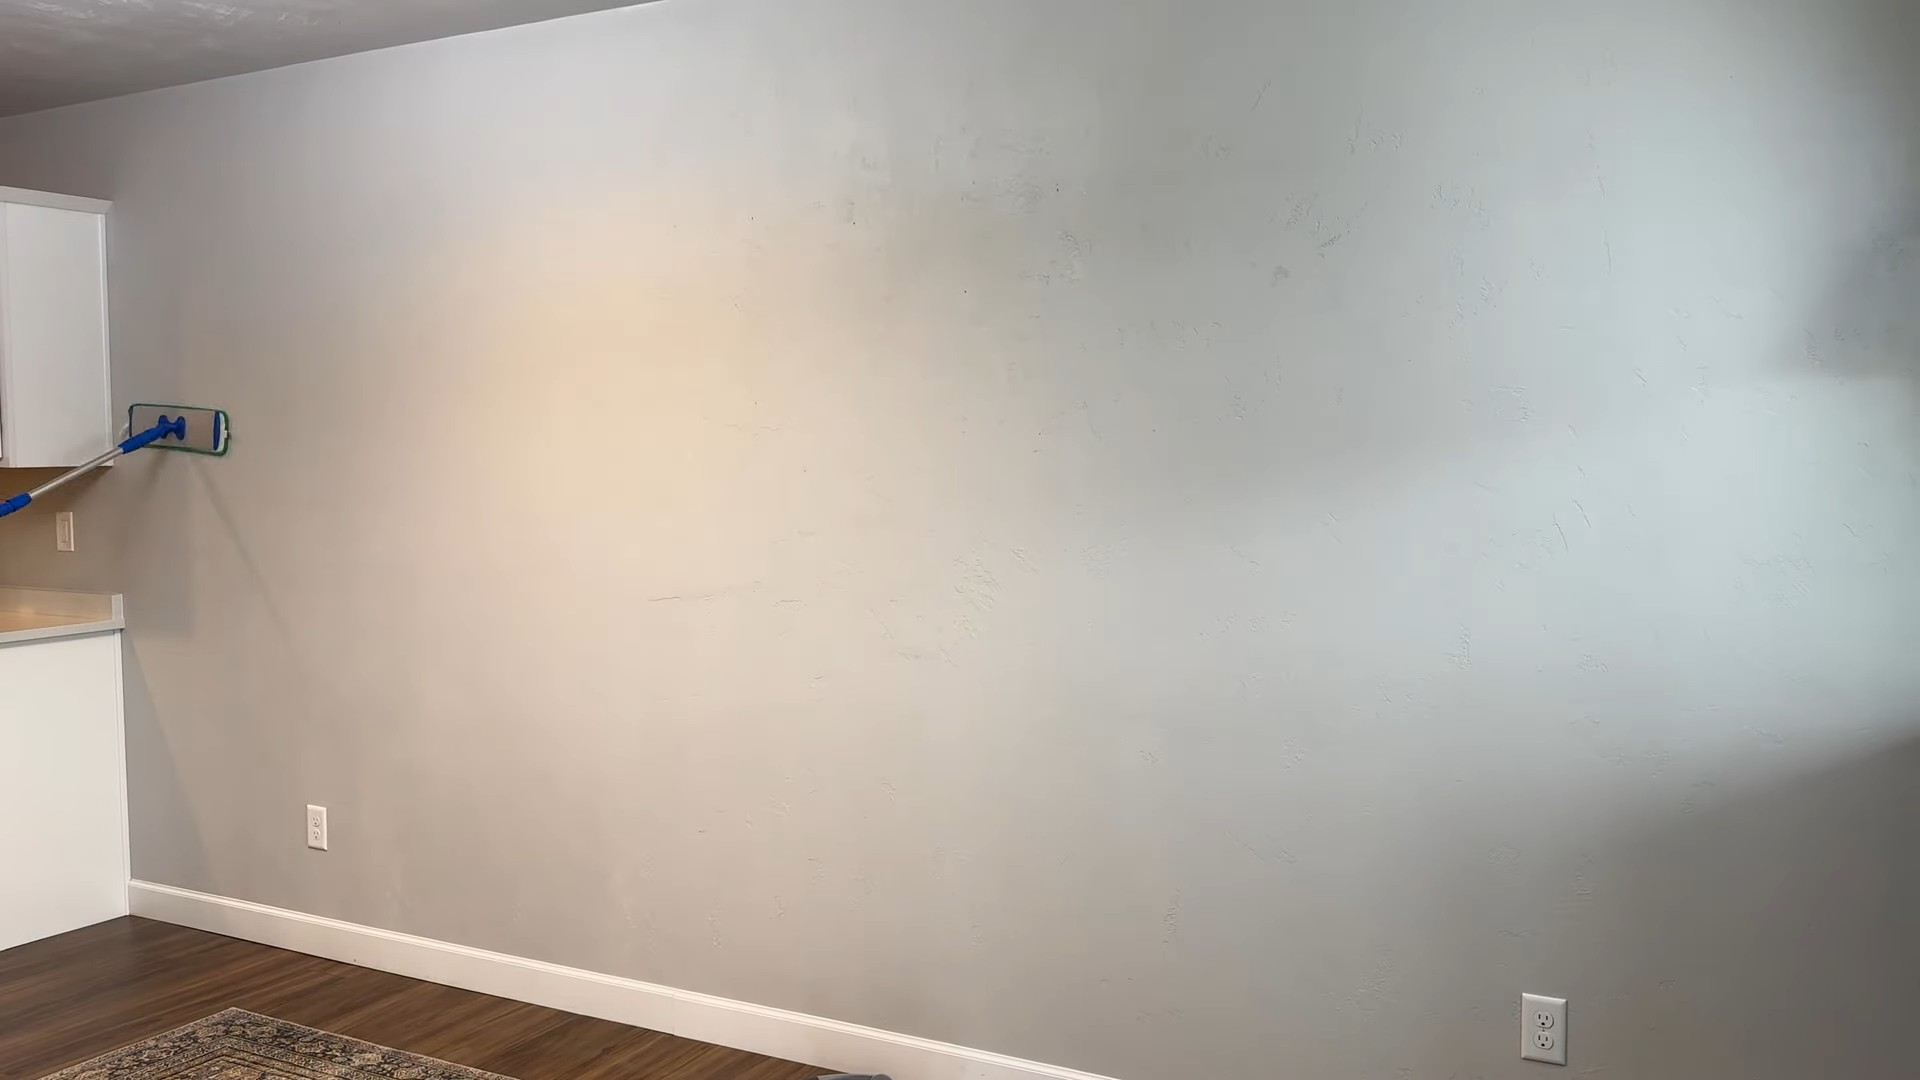
3. Wash in Sections: Start at the top of the wall and work your way down in sections. Overlap each section slightly to ensure you don’t miss any spots. Use gentle, even pressure. Avoid scrubbing too hard, as this can damage the paint.
4. Rinse the Sponge: After washing a section, rinse your sponge thoroughly in the clean water bucket. Wring it out well before continuing.
5. Rinse the Wall: After washing a section, use a clean, damp sponge to rinse the wall with clean water. Again, wring out the sponge well to avoid excess water.
6. Dry the Wall: Immediately dry the wall with a clean, dry microfiber cloth. This will prevent streaks and water spots.
7. Repeat: Continue washing, rinsing, and drying the wall in sections until you’ve cleaned the entire surface.
8. Tackle Stubborn Stains: For stubborn stains, like crayon marks or grease splatters, use a baking soda paste or a slightly stronger cleaning solution. Apply the paste or solution to the stain, let it sit for a few minutes, and then gently scrub with a soft cloth. Rinse and dry thoroughly.
9. Pay Attention to Details: Don’t forget to clean around light switches, outlets, and other fixtures. Be careful not to get water inside these fixtures.
10. Let it Dry Completely: Once you’ve finished washing and drying the walls, allow them to air dry completely before replacing furniture or removing drop cloths.
Dealing with Different Wall Types
Not all walls are created equal! Here’s a quick guide to washing different types of walls:
* Painted Walls: Most painted walls can be washed with a mild dish soap and water solution. However, it’s always a good idea to test in an inconspicuous area first. For flat or matte paint, be extra gentle, as these finishes are more prone to damage.
* Wallpapered Walls: Wallpaper can be tricky to wash. Use a very gentle cleaning solution (like a drop of dish soap in a bucket of water) and a soft sponge. Avoid getting the wallpaper too wet, as this can cause it to peel. Always test in an inconspicuous area first.
* Wood Paneling: Wood paneling can be cleaned with a mild wood cleaner or a solution of dish soap and water. Be sure to dry the paneling thoroughly after washing to prevent water damage.
* Textured Walls: Textured walls can be more difficult to clean, as the texture can trap dirt and grime. Use a soft brush or sponge to get into the crevices. Be careful not to scrub too hard, as this can damage the texture.
Tips for Success
Here are a few extra tips to help you get the best results:
* Work in a Well-Ventilated Area: Open windows and doors to provide ventilation while you’re washing the walls. This will help the walls dry faster and prevent the buildup of fumes.
* Change Your Water Frequently: Don’t use dirty water to wash your walls! Change the water in both buckets frequently to ensure you’re using clean water.
* Don’t Over-Saturate the Walls: Excess water can damage the paint and cause streaks. Wring out your sponge thoroughly before washing the walls.
* Dry Immediately: Drying the walls immediately after washing will prevent streaks and water spots.
* Take Breaks: Washing walls can be tiring! Take breaks as needed to avoid getting overwhelmed.
* Enlist Help: If you have a lot of walls to wash, consider enlisting the help of a friend or family member. This will make the job go much faster.
* Spot Clean Regularly: To prevent your walls from getting too dirty, spot clean them regularly. This will help you avoid having to do a full wall washing as often.
Troubleshooting Common Problems
Even with the best preparation, you might encounter a few problems. Here’s how to troubleshoot them:
* Streaks: Streaks are usually caused by using too much water or not drying the walls thoroughly. Try rinsing the wall again with clean water and drying it immediately with a clean microfiber cloth.
* Water Spots: Water spots are caused by minerals in the water. Try using distilled water to rinse the walls.
* Paint Damage: If you notice any paint damage, stop washing immediately. You may need to repaint the wall.
* Wallpaper Peeling: If the wallpaper starts to peel, stop washing immediately. You may need to re-glue the wallpaper.
Maintaining Your Clean Walls
Once you’ve gone to all the effort of washing your walls, you’ll want to keep them clean! Here are a few tips:
*
Conclusion
So, there you have it! This simple, yet incredibly effective DIY trick for washing walls is a game-changer for anyone looking to freshen up their home without breaking the bank or spending hours scrubbing. Forget harsh chemicals and expensive cleaning services; this method utilizes readily available ingredients and a straightforward process to deliver sparkling clean walls that will brighten any room.
Why is this a must-try? Because it’s not just about cleaning; it’s about reclaiming your time and energy. It’s about creating a healthier living environment by avoiding harsh chemicals. And it’s about achieving professional-level results with minimal effort. Think of the satisfaction of seeing those stubborn smudges, greasy fingerprints, and accumulated dust disappear with just a few gentle wipes. This DIY approach is particularly beneficial for those with textured walls, where traditional cleaning methods can often leave behind residue or damage the surface.
But the beauty of this DIY method lies in its adaptability. Feel free to experiment with variations to suit your specific needs and preferences. For instance, if you’re dealing with particularly stubborn stains, consider adding a tablespoon of baking soda to your cleaning solution for extra scrubbing power. For a more fragrant clean, a few drops of your favorite essential oil (lemon, lavender, or tea tree are excellent choices) can be added to the water. Just be sure to test a small, inconspicuous area first to ensure the essential oil doesn’t discolor the paint.
Another variation involves the type of cleaning tool you use. While a microfiber cloth is generally recommended for its gentle yet effective cleaning properties, you can also use a sponge mop for larger wall areas or a soft-bristled brush for tackling textured surfaces. Remember to always wring out the cleaning tool thoroughly to prevent drips and streaks.
This DIY trick is also perfect for preparing your walls for painting. By thoroughly cleaning the surface beforehand, you’ll ensure that the paint adheres properly and achieves a smooth, even finish. It’s a simple step that can make a world of difference in the final result.
We’re confident that once you try this DIY wall washing method, you’ll be amazed by the results. It’s a cost-effective, time-saving, and environmentally friendly way to keep your home looking its best.
So, what are you waiting for? Gather your supplies, roll up your sleeves, and give your walls the TLC they deserve. We encourage you to try this DIY trick and share your experience with us! Let us know what variations you tried, what challenges you encountered, and what tips you discovered along the way. Your feedback will not only help us improve this guide but also inspire others to embrace the power of DIY cleaning. Share your before-and-after photos on social media using #DIYCleanWalls and let’s create a community of happy, clean-walled homes! We can’t wait to hear your success stories!
Frequently Asked Questions (FAQs)
What type of paint is this DIY wall washing method suitable for?
This method is generally safe for most types of paint, including latex, acrylic, and enamel. However, it’s always a good idea to test a small, inconspicuous area first, especially if you have a matte or flat finish, which can be more susceptible to damage. Avoid using this method on wallpaper, as it can damage the paper and adhesive. If you have delicate or antique paint, consult with a professional cleaner before attempting any DIY cleaning methods.
How often should I wash my walls?
The frequency of wall washing depends on several factors, including the number of people living in the home, the presence of pets, and the level of activity in the area. In general, it’s recommended to wash walls at least once or twice a year. High-traffic areas, such as kitchens and bathrooms, may require more frequent cleaning. You should also wash your walls whenever you notice visible dirt, smudges, or stains. Regular dusting can help to prevent the buildup of dirt and grime, reducing the need for frequent washing.
What if I have stubborn stains that won’t come off with the basic cleaning solution?
For stubborn stains, you can try a few different approaches. As mentioned earlier, adding a tablespoon of baking soda to your cleaning solution can provide extra scrubbing power. You can also create a paste of baking soda and water and apply it directly to the stain, letting it sit for a few minutes before wiping it away. For greasy stains, try using a degreasing dish soap in your cleaning solution. For scuff marks, a magic eraser can often work wonders. Always test any cleaning solution or method in an inconspicuous area first to ensure it doesn’t damage the paint.
Can I use this method on textured walls?
Yes, this method can be used on textured walls, but you’ll need to be extra careful to avoid damaging the texture. Use a soft-bristled brush or a sponge mop with a gentle scrubbing motion. Avoid using abrasive cleaners or scrubbing too hard, as this can wear down the texture. Be sure to rinse the walls thoroughly to remove any soap residue, which can be difficult to remove from textured surfaces.
Is it safe to use this method if I have allergies or sensitivities to certain cleaning products?
One of the great advantages of this DIY method is that it uses natural and gentle ingredients, making it a safer option for people with allergies or sensitivities. However, it’s still important to be aware of your own sensitivities and to take precautions as needed. If you’re sensitive to vinegar, you can reduce the amount used in the cleaning solution or substitute it with lemon juice. If you’re sensitive to certain essential oils, avoid using them altogether. Always wear gloves to protect your hands and ensure proper ventilation in the room.
How do I prevent streaks when washing my walls?
Streaks can occur if you’re using too much cleaning solution or if you’re not wringing out your cleaning tool properly. Be sure to use a minimal amount of cleaning solution and to wring out your microfiber cloth or sponge mop thoroughly before wiping the walls. Work in small sections and overlap each section slightly to ensure even coverage. After washing the walls, rinse them with clean water to remove any soap residue. Dry the walls with a clean, dry microfiber cloth to prevent water spots and streaks.
What are the best essential oils to use for cleaning walls?
Several essential oils have antibacterial and antiviral properties that make them excellent for cleaning. Lemon essential oil is a popular choice for its fresh scent and degreasing properties. Lavender essential oil has a calming scent and is known for its antibacterial and antifungal properties. Tea tree essential oil is a powerful antiseptic and is effective at killing germs and bacteria. Eucalyptus essential oil has a refreshing scent and is known for its antiviral and anti-inflammatory properties. When using essential oils, be sure to dilute them properly and to test them in an inconspicuous area first to ensure they don’t discolor the paint.
Can I use this method to clean ceilings as well?
Yes, this method can be used to clean ceilings, but it’s important to take extra precautions to avoid drips and to protect your eyes. Use a sponge mop with a long handle to reach the ceiling and wear safety glasses to prevent cleaning solution from dripping into your eyes. Work in small sections and overlap each section slightly to ensure even coverage. Be sure to rinse the ceiling thoroughly to remove any soap residue.

Leave a Comment