
Toothpaste faucet cleaning hack – sounds a little crazy, right? But trust me, you’re about to discover a game-changer for sparkling clean faucets without harsh chemicals! I know, I know, you’re probably thinking, “Toothpaste? On my faucet?” But before you dismiss it, let’s dive into why this surprisingly simple DIY trick is taking the cleaning world by storm.
Humans have been battling grimy faucets since, well, faucets were invented! From ancient Roman aqueducts to the modern marvels in our kitchens and bathrooms, keeping these water sources clean has always been a priority. While our ancestors might have used sand and elbow grease, we have a slightly more sophisticated (and less abrasive!) solution: toothpaste! This isn’t just some random internet fad; the mild abrasives in toothpaste, combined with its cleaning agents, make it surprisingly effective at removing water spots, soap scum, and general gunk.
Let’s be honest, nobody enjoys scrubbing faucets. It’s fiddly, time-consuming, and often requires harsh chemicals that can damage the finish. That’s where this toothpaste faucet cleaning hack comes in. It’s a quick, easy, and eco-friendly way to achieve a gleaming shine with something you probably already have in your bathroom. I’m going to show you how to transform your dull, water-spotted faucets into sparkling focal points with minimal effort. Get ready to ditch the harsh chemicals and embrace the power of toothpaste!
DIY Toothpaste Faucet Cleaning Hack: Sparkling Clean in Minutes!
Okay, let’s be honest, cleaning faucets isn’t exactly anyone’s favorite chore. Hard water stains, soap scum, and general grime can make them look dull and dingy. But fear not! I’m going to share my super simple, super effective toothpaste faucet cleaning hack that will leave your faucets sparkling like new. And the best part? You probably already have everything you need!
What You’ll Need
Before we dive in, let’s gather our supplies. This is a pretty low-key project, so the list is short and sweet:
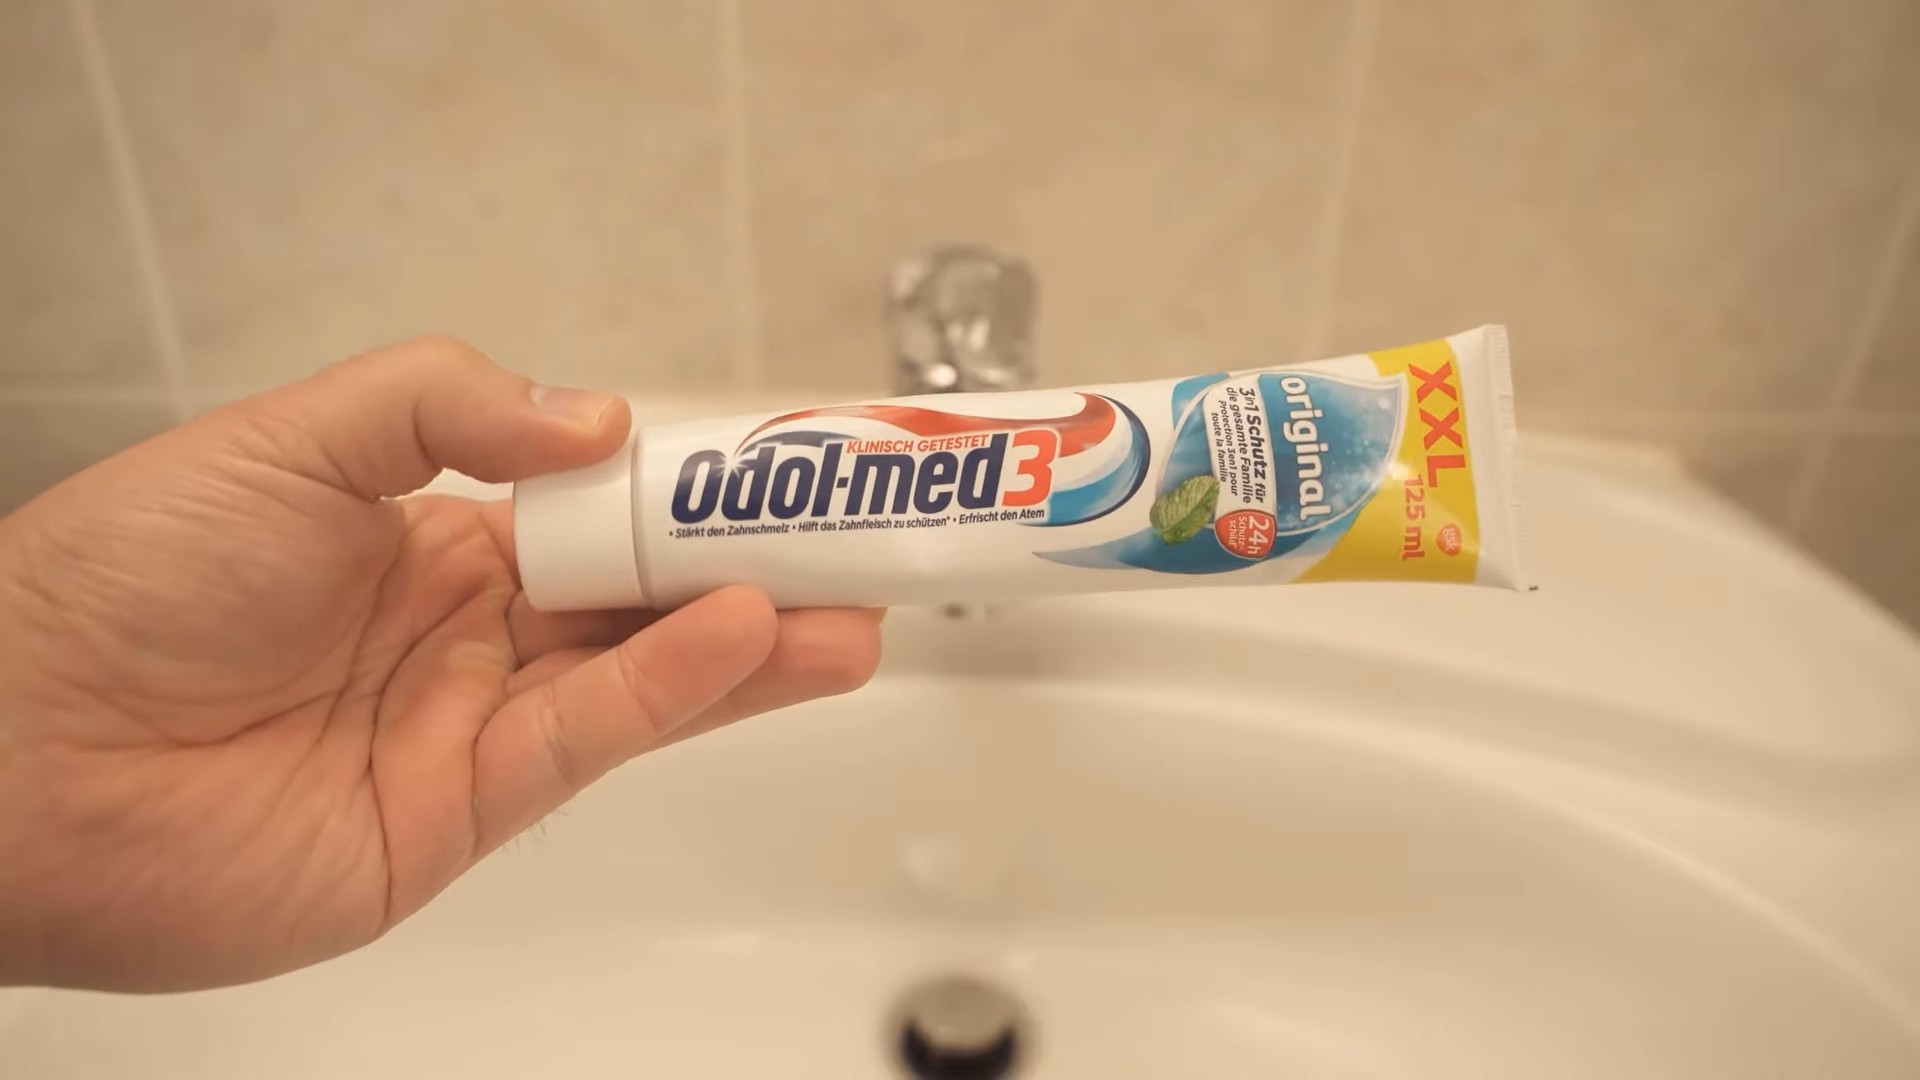
* Toothpaste: Any non-gel toothpaste will work. I usually use plain white toothpaste, but even the minty blue kind works just fine. Avoid using whitening toothpaste on delicate finishes as it can be abrasive.
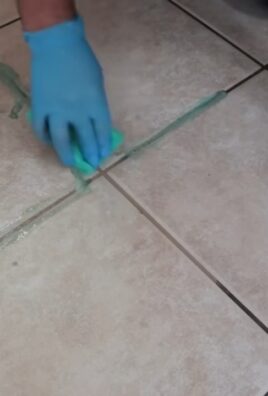
* Soft-bristled toothbrush: An old toothbrush is perfect for this. You don’t want to use anything too harsh that could scratch the faucet.
* Microfiber cloth: These are great for wiping and polishing.
* Water: For rinsing, of course!
* Optional: White Vinegar: For stubborn stains, white vinegar can be a great addition.
* Optional: Baking Soda: For creating a paste to tackle tough grime.
* Optional: Small Bowl: If you’re mixing a paste, you’ll need a bowl.
The Cleaning Process: Step-by-Step
Alright, let’s get down to business! Here’s how I tackle those grimy faucets:
1. Prepare the Faucet: Start by giving your faucet a quick rinse with water. This will help loosen any loose dirt or debris.
2. Apply the Toothpaste: Squeeze a small amount of toothpaste onto your toothbrush. You don’t need a ton – a pea-sized amount is usually enough for a standard faucet.
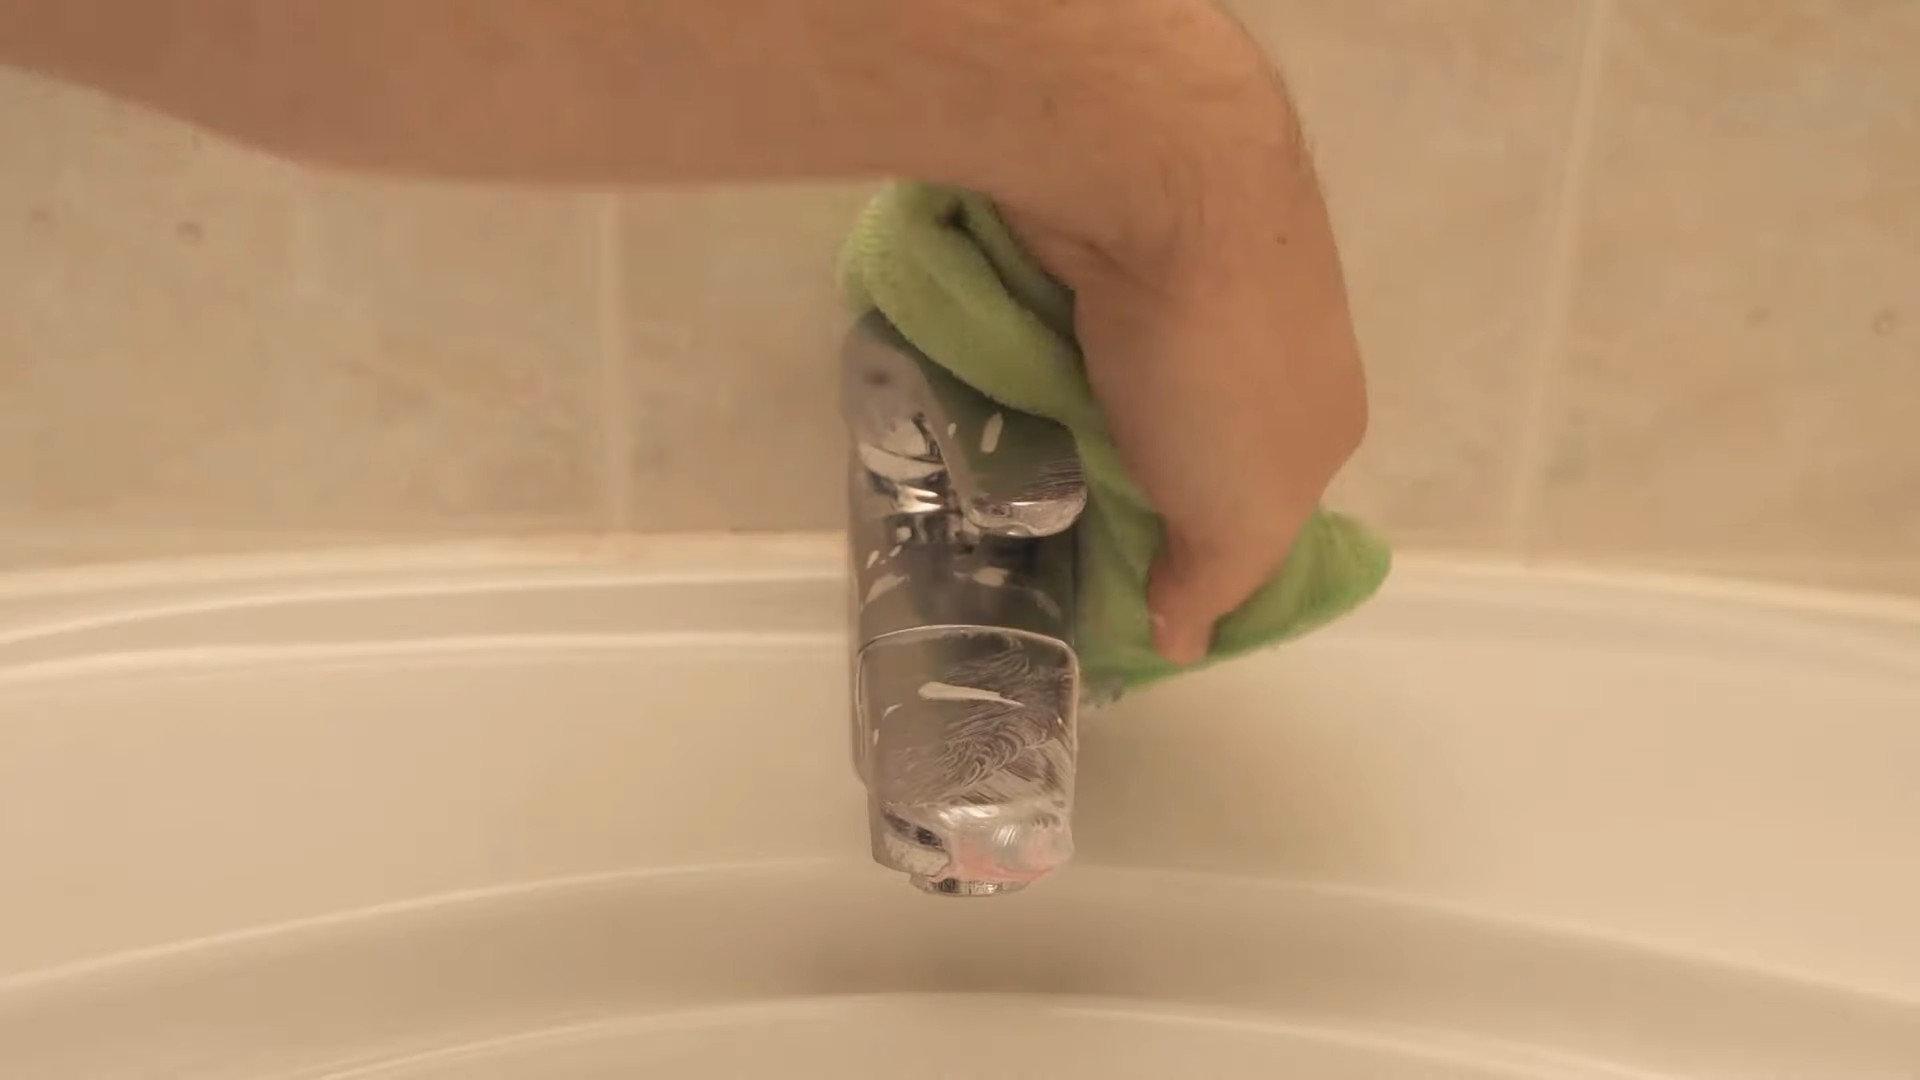
3. Scrub-a-dub-dub: Gently scrub the entire faucet with the toothbrush. Pay special attention to areas with hard water stains, soap scum buildup, and around the base of the faucet where grime tends to accumulate. Don’t forget the handle and the spout! Use circular motions to really work the toothpaste into the crevices.
4. Let it Sit (Optional): For particularly stubborn stains, let the toothpaste sit on the faucet for a few minutes (5-10 minutes should do the trick). This gives the toothpaste time to break down the grime.
5. Rinse Thoroughly: Rinse the faucet thoroughly with water, making sure to remove all traces of toothpaste. I like to use a damp cloth to help wipe away any residue.
6. Dry and Polish: Use a clean, dry microfiber cloth to dry and polish the faucet. This will remove any water spots and leave it sparkling clean. Buff the faucet in circular motions to bring out the shine.
Tackling Stubborn Stains: The Vinegar and Baking Soda Boost
Sometimes, toothpaste alone isn’t enough to conquer those really tough stains. That’s where vinegar and baking soda come in!
Vinegar Power
1. Vinegar Soak: Soak a cloth or paper towel in white vinegar.
2. Apply to Stain: Wrap the vinegar-soaked cloth around the stained area of the faucet.
3. Wait: Let it sit for 15-20 minutes. The vinegar’s acidity will help dissolve the mineral deposits.
4. Scrub and Rinse: Remove the cloth and scrub the area with your toothbrush. Rinse thoroughly with water and dry with a microfiber cloth.
Baking Soda Paste
1. Make a Paste: In a small bowl, mix baking soda with a little water to form a thick paste.
2. Apply the Paste: Apply the paste to the stained areas of the faucet.
3. Gentle Scrub: Gently scrub with your toothbrush. Baking soda is mildly abrasive, so avoid using too much pressure.
4. Rinse and Dry: Rinse thoroughly with water and dry with a microfiber cloth.
Maintaining Your Sparkling Faucets
Now that your faucets are gleaming, let’s talk about keeping them that way!
* Regular Cleaning: The key to preventing buildup is regular cleaning. I try to wipe down my faucets with a damp cloth every few days.
* Dry After Use: After each use, give your faucet a quick wipe with a dry cloth to prevent water spots.
* Avoid Harsh Cleaners: Harsh chemicals can damage the finish of your faucets. Stick to gentle cleaners like toothpaste, vinegar, and baking soda.
* Consider a Water Softener: If you have hard water, a water softener can help reduce mineral buildup on your faucets and other fixtures.
Troubleshooting Tips
* Streaky Finish: If you’re getting a streaky finish after cleaning, make sure you’re rinsing the faucet thoroughly and using a clean microfiber cloth for drying.
* Toothpaste Residue: If you’re having trouble removing toothpaste residue, try using a damp cloth with a little bit of dish soap.
* Scratches: Avoid using abrasive scrubbers or harsh chemicals, as these can scratch the finish of your faucets. Always test any cleaning solution in an inconspicuous area first.
* Colored Faucets: For colored or specialty finish faucets, always check the manufacturer’s recommendations for cleaning. Some finishes may be more delicate and require special care.
Why This Hack Works
You might be wondering, “Why toothpaste?” Well, toothpaste contains mild abrasives that help to gently scrub away grime and stains. It also contains detergents that help to dissolve dirt and grease. Plus, it’s readily available and relatively inexpensive! The combination of these properties makes toothpaste a surprisingly effective faucet cleaner.
Safety First!
While this hack is generally safe, it’s always a good idea to take a few precautions:
* Avoid Getting Toothpaste in Your Eyes: This should be obvious, but just in case!
* Test in an Inconspicuous Area: Before cleaning your entire faucet, test the toothpaste in a small, hidden area to make sure it doesn’t damage the finish.
* Don’t Mix Cleaners: Never mix toothpaste with other cleaning products, as this could create harmful fumes.
* Ventilation: Ensure good ventilation when using vinegar, especially in enclosed spaces.
Beyond Faucets: Other Uses for This Hack
This toothpaste cleaning hack isn’t just for faucets! You can also use it to clean:
* Showerheads: Remove mineral buildup and improve water flow.
* Sinks: Remove stains and grime from stainless steel or porcelain sinks.
* Chrome Fixtures: Polish chrome fixtures in your bathroom or kitchen.
* Jewelry: Gently clean and polish silver or gold jewelry (avoid using on delicate gemstones).
* Shoes: Clean white sneakers or other shoes with rubber soles.
Final Thoughts
So there you have it! My go-to toothpaste faucet cleaning hack. It’s simple, effective, and uses ingredients you probably already have on hand. Give it a try and see the difference it can make! You’ll be amazed at how sparkling clean your faucets can be. Happy cleaning!
Conclusion
So, there you have it! This simple yet incredibly effective toothpaste faucet cleaning hack is a game-changer for anyone looking to restore the sparkle to their bathroom or kitchen fixtures without resorting to harsh chemicals or expensive cleaning products. We’ve all been there, staring at a dull, water-stained faucet, wondering how to bring back its original shine. The answer, surprisingly, might already be sitting on your bathroom counter.
Why is this DIY trick a must-try? Because it’s cost-effective, readily accessible, and remarkably efficient. You’re likely already using toothpaste daily, so there’s no need to purchase specialized cleaners. The mild abrasives in toothpaste gently scrub away grime, hard water stains, and soap scum without scratching the surface of your faucet. Plus, the minty scent leaves your bathroom smelling fresh and clean. It’s a win-win!
But the benefits don’t stop there. This method is also incredibly versatile. While we’ve focused on standard chrome or stainless steel faucets, you can adapt this technique for other bathroom and kitchen fixtures. For instance, try using a soft-bristled toothbrush to reach those hard-to-clean areas around the base of the faucet or the handles.
Looking for variations? Consider these:
* Baking Soda Boost: For particularly stubborn stains, mix a small amount of baking soda with your toothpaste to create a more powerful cleaning paste. The baking soda adds extra scrubbing power without being overly abrasive.
* Lemon Juice Enhancement: A few drops of lemon juice can help dissolve mineral deposits and add a refreshing citrus scent. Be sure to rinse thoroughly after using lemon juice, as its acidity can potentially damage certain finishes if left on for extended periods.
* Vinegar Soak (For Heavily Stained Aerators): If your faucet aerator is clogged with mineral buildup, remove it and soak it in a solution of equal parts white vinegar and water for a few hours before scrubbing with toothpaste. This will loosen the deposits and make them easier to remove.
We understand that trying new cleaning methods can sometimes feel daunting, but we wholeheartedly encourage you to give this toothpaste faucet cleaning hack a try. It’s a simple, safe, and effective way to achieve a sparkling clean faucet without the hassle or expense of traditional cleaning products.
Don’t just take our word for it! We’re eager to hear about your experiences. Did this trick work wonders for your faucets? Did you discover any helpful variations or tips of your own? Share your results and insights in the comments below. Your feedback will not only help other readers but also contribute to a community of DIY cleaning enthusiasts. Let’s work together to make our homes shine, one faucet at a time! So grab your toothpaste, a soft cloth, and get ready to be amazed by the transformative power of this simple cleaning solution. You’ll be surprised at how easy it is to achieve a showroom-worthy shine with just a few minutes of effort and a tube of toothpaste.
FAQ
Q: What kind of toothpaste should I use for cleaning faucets?
A: Plain white toothpaste is generally the best option. Avoid using gel toothpastes or those with added whitening agents, as these may not be as effective at removing grime and could potentially damage certain faucet finishes. A standard fluoride toothpaste will work perfectly fine. The key is the mild abrasive quality of the toothpaste itself.
Q: Will toothpaste scratch my faucet?
A: Toothpaste is generally considered to be mildly abrasive, but it’s unlikely to scratch most faucet finishes, especially chrome or stainless steel. However, it’s always a good idea to test a small, inconspicuous area first to ensure that it doesn’t cause any damage. Avoid using excessive pressure when scrubbing, and always use a soft cloth or sponge. For more delicate finishes, such as brushed nickel or oil-rubbed bronze, proceed with extra caution and consider diluting the toothpaste with a bit of water.
Q: How often should I clean my faucets with toothpaste?
A: The frequency of cleaning depends on how often you use your faucets and how quickly they accumulate grime and water stains. A weekly cleaning is generally sufficient to maintain a sparkling shine. However, if you live in an area with hard water, you may need to clean your faucets more frequently to prevent mineral buildup.
Q: Can I use this method on other bathroom fixtures, like showerheads or sink basins?
A: Yes, you can generally use this method on other bathroom fixtures, such as showerheads, sink basins, and even toilet bowls. However, it’s important to test a small, inconspicuous area first to ensure that it doesn’t damage the finish. For showerheads, you may need to remove them and soak them in a solution of white vinegar and water to loosen mineral deposits before scrubbing with toothpaste. For sink basins and toilet bowls, toothpaste can be effective at removing stains and grime, but be sure to rinse thoroughly after cleaning.
Q: What if I have really stubborn stains that toothpaste alone can’t remove?
A: For particularly stubborn stains, you can try a few different approaches. First, try mixing a small amount of baking soda with your toothpaste to create a more powerful cleaning paste. The baking soda adds extra scrubbing power without being overly abrasive. Alternatively, you can try soaking a cloth in white vinegar and applying it to the stain for a few minutes before scrubbing with toothpaste. The acidity of the vinegar can help dissolve mineral deposits and loosen grime. In extreme cases, you may need to use a specialized cleaning product designed for removing hard water stains, but always follow the manufacturer’s instructions carefully and test a small area first.
Q: Is this method safe for all types of faucets?
A: While toothpaste is generally safe for most faucet finishes, it’s always a good idea to exercise caution, especially with more delicate or antique faucets. Avoid using abrasive scrub brushes or harsh chemicals, as these can damage the finish. If you’re unsure about the safety of using toothpaste on a particular faucet, consult the manufacturer’s instructions or contact a professional plumber.
Q: What are some other natural alternatives to toothpaste for cleaning faucets?
A: If you prefer to avoid using toothpaste altogether, there are several other natural alternatives you can try. White vinegar is a great option for dissolving mineral deposits and removing grime. Simply soak a cloth in white vinegar and apply it to the faucet for a few minutes before scrubbing with a soft cloth or sponge. Lemon juice is another effective cleaner, thanks to its acidity. You can also try using a paste made from baking soda and water. These natural alternatives are generally safe for most faucet finishes, but it’s always a good idea to test a small area first.
Q: How do I prevent my faucets from getting dirty in the first place?
A: Prevention is key to keeping your faucets clean and shiny. After each use, wipe down your faucets with a dry cloth to remove water droplets and prevent water stains from forming. You can also apply a water repellent spray to your faucets to help prevent water from clinging to the surface. Regularly clean your faucets with a mild soap and water solution to remove grime and prevent buildup. If you live in an area with hard water, consider installing a water softener to reduce mineral deposits.


Leave a Comment