
Spinach growing method – ever dreamt of stepping into your backyard and harvesting fresh, vibrant spinach for your salad or smoothie? I know I have! There’s something incredibly satisfying about nurturing your own food, and spinach is a fantastic place to start. It’s packed with nutrients, versatile in the kitchen, and surprisingly easy to grow at home with the right know-how.
While spinach might seem like a modern health food craze, its history stretches back centuries. Originating in ancient Persia, spinach gradually made its way across the globe, becoming a staple in cuisines worldwide. From Popeye’s legendary strength-boosting meals to delicate salads in French bistros, spinach has consistently proven its worth.
But why should you bother with a DIY spinach growing method? Well, store-bought spinach can sometimes lack that fresh, vibrant flavor, and let’s be honest, it can be expensive! Plus, growing your own allows you to control exactly what goes into your food – no pesticides or mystery ingredients. In this article, I’m going to share some simple, effective DIY tricks and hacks that will have you harvesting delicious spinach in no time, even if you’re a complete beginner. Get ready to unleash your inner gardener and enjoy the taste of homegrown goodness!
Growing Spinach Like a Pro: My Foolproof DIY Guide
Hey there, fellow garden enthusiasts! I’m so excited to share my tried-and-true method for growing spinach that’s bursting with flavor and nutrients. Forget those sad, wilted bags from the grocery store – with a little know-how, you can have a constant supply of fresh, vibrant spinach right in your backyard (or even on your balcony!). This guide is packed with all the details you need, from seed to harvest, so let’s get started!
Choosing the Right Spinach Variety
First things first, let’s talk about spinach varieties. Not all spinach is created equal! Some are better suited for certain climates and growing conditions. Here are a few of my favorites:
* Bloomsdale Long Standing: This is a classic, reliable variety that’s known for its crinkled leaves and resistance to bolting (going to seed prematurely). It’s a great all-around choice.
* Giant Nobel: As the name suggests, this variety produces large, smooth leaves. It’s fast-growing and has a mild flavor.
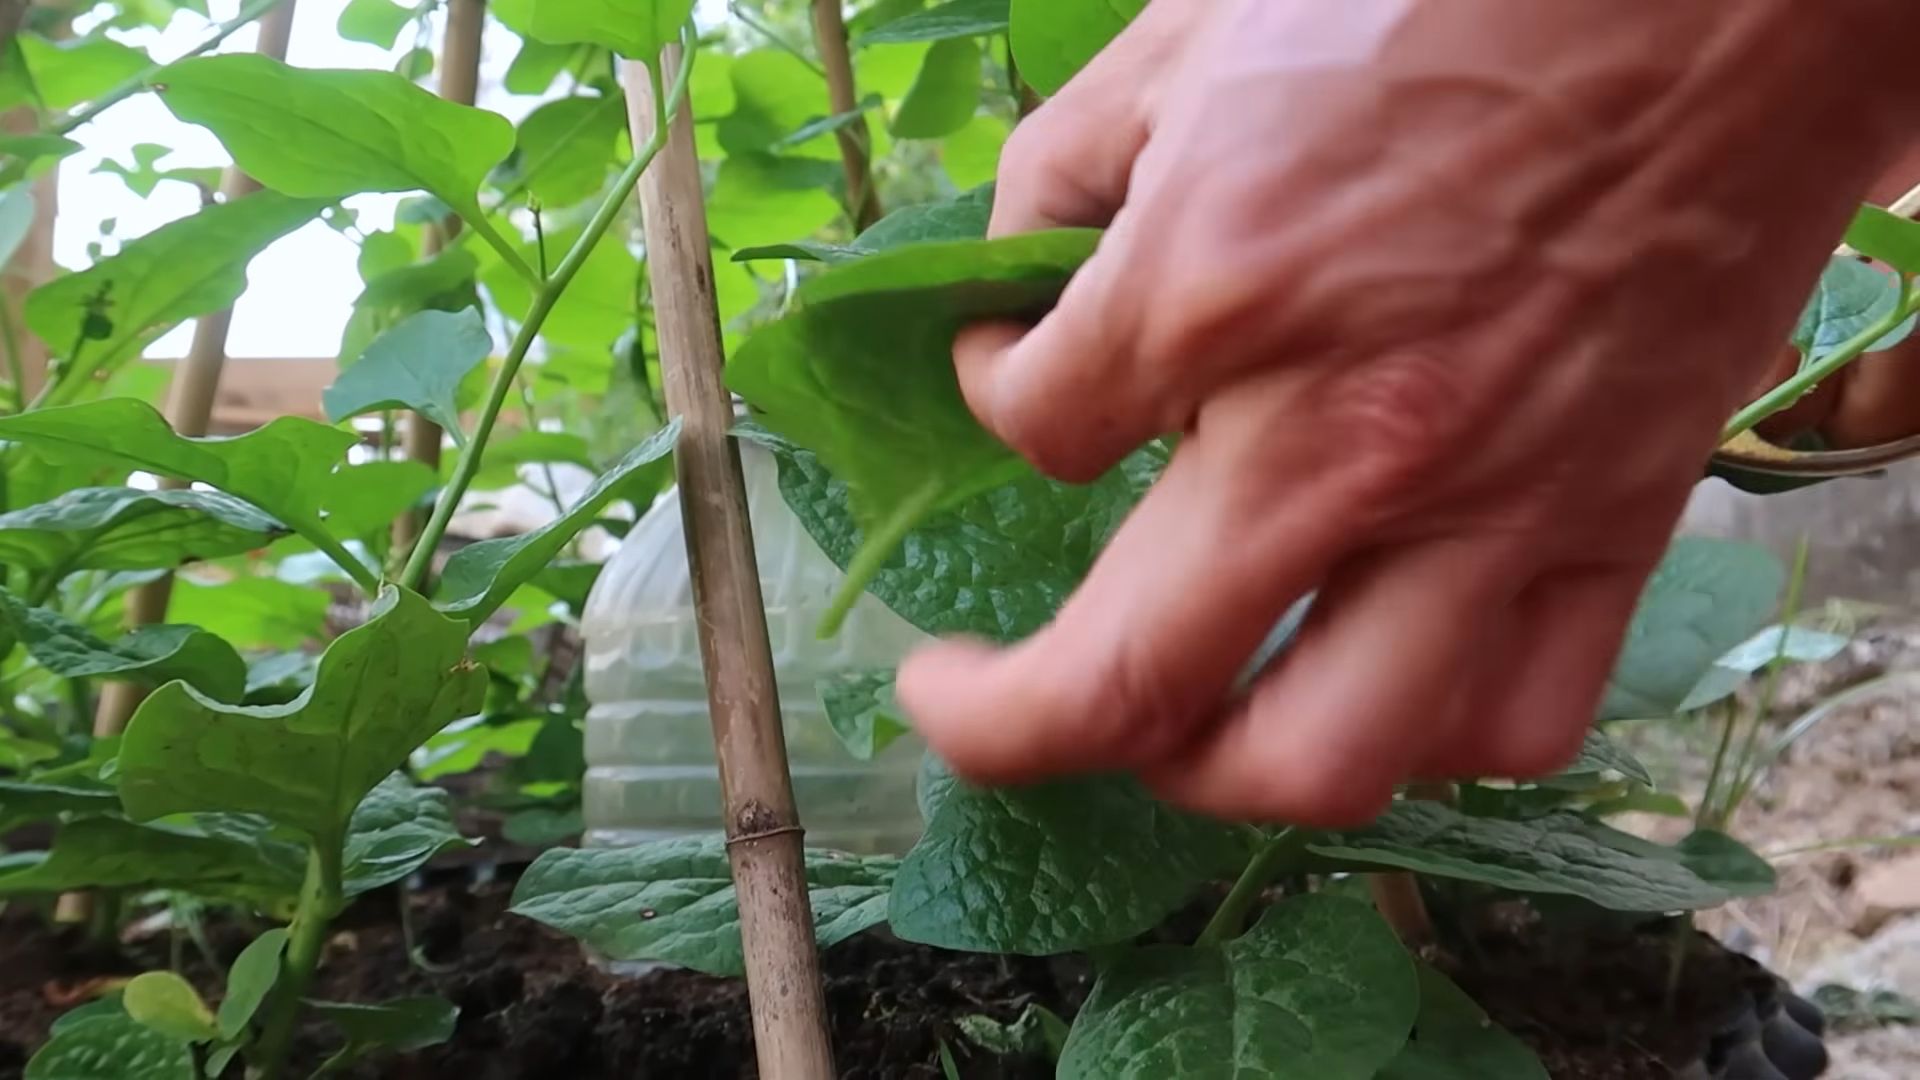
* Malabar Spinach: Okay, technically not *true* spinach, but it’s a fantastic heat-tolerant alternative. It thrives in warm weather when other spinach varieties struggle. It’s a vine, so you’ll need to provide it with a trellis or support.
* Tyee: This is a semi-savoy type, meaning it has slightly crinkled leaves. It’s known for its disease resistance and cold hardiness.
* Winter Bloomsdale: As the name suggests, this variety is perfect for fall planting and overwintering in milder climates.
Tip: Consider your local climate and growing season when choosing your spinach variety. Check seed packets for information on heat tolerance, cold hardiness, and days to maturity.
Preparing Your Spinach Bed
Spinach loves well-drained, fertile soil that’s rich in organic matter. Here’s how I prepare my spinach bed:
* Location, Location, Location: Spinach needs at least 3-4 hours of sunlight per day. While it can tolerate some shade, especially in hotter climates, too much shade will result in leggy, weak plants.
* Soil Testing: Before you start amending your soil, it’s a good idea to get it tested. This will tell you the pH level and nutrient content. Spinach prefers a soil pH between 6.5 and 7.0.
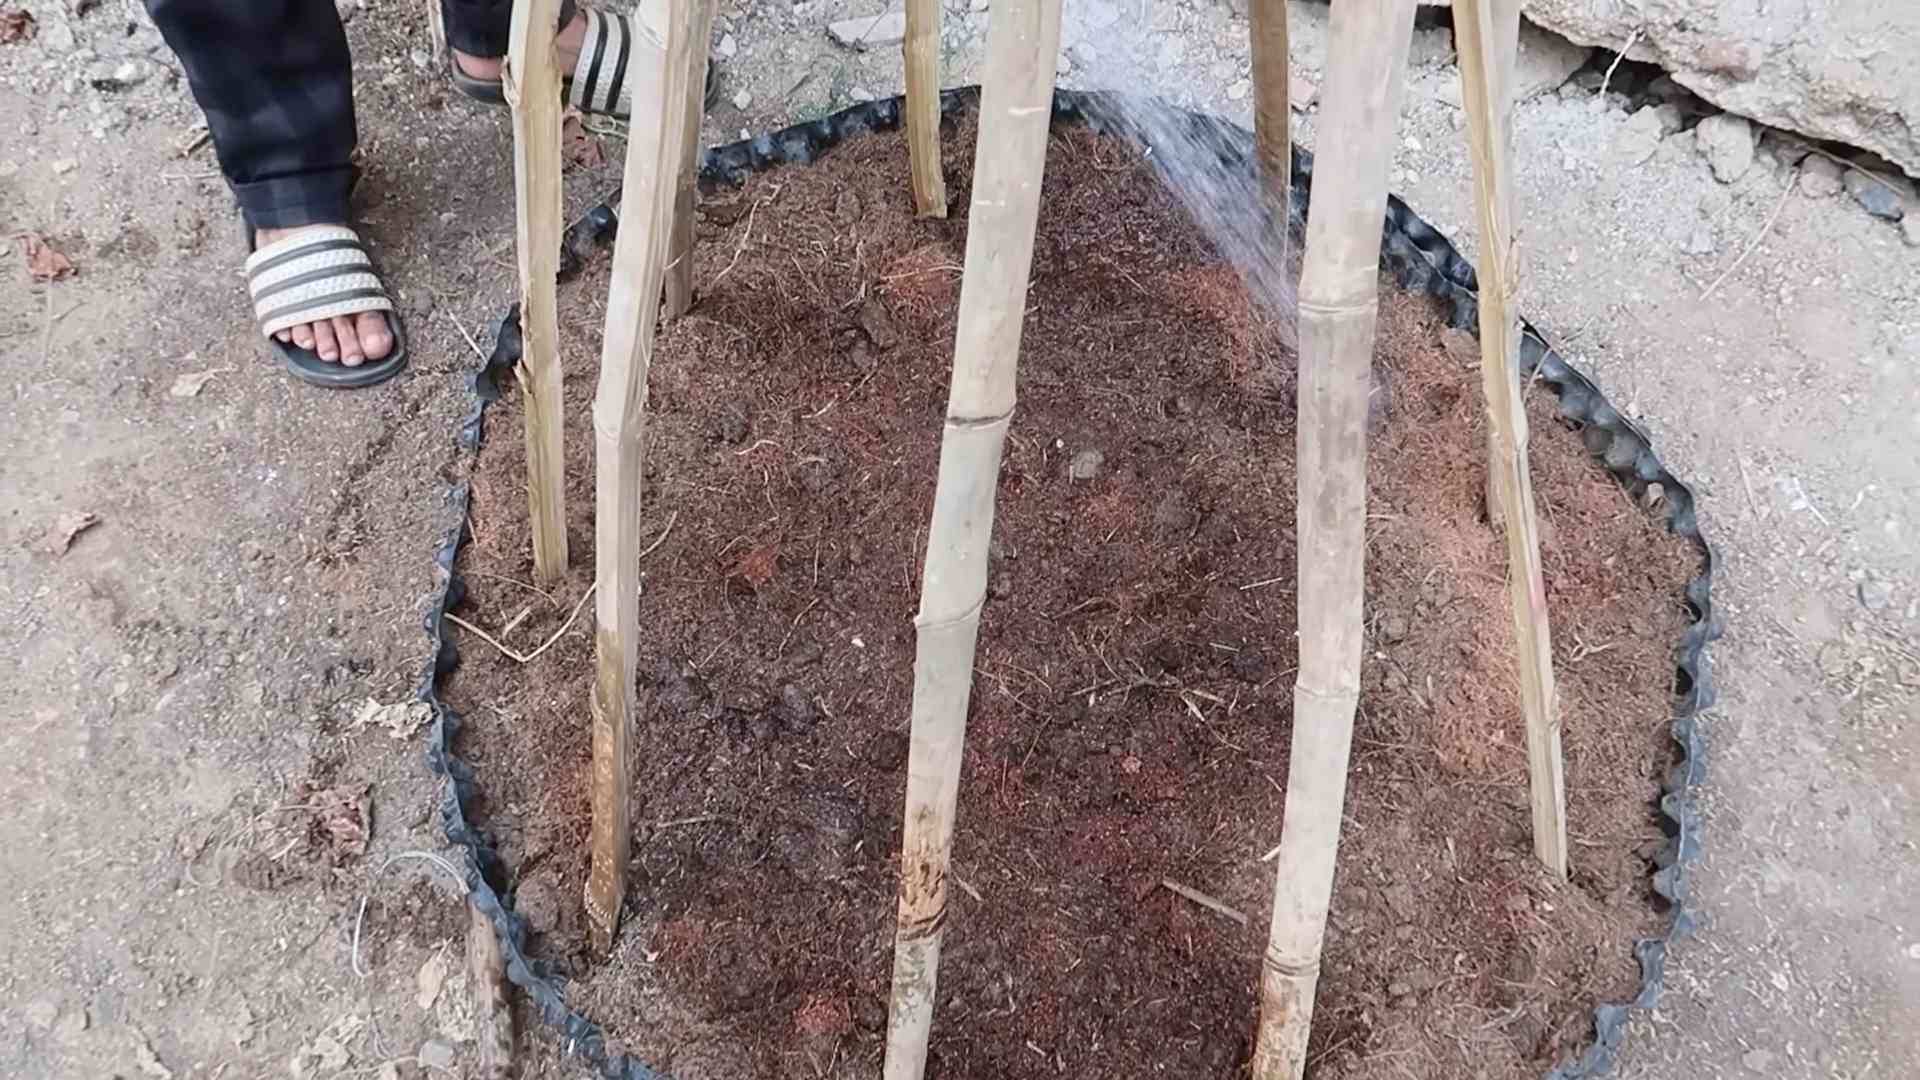
* Amending the Soil: If your soil is heavy clay or sandy, you’ll need to amend it with organic matter. I like to use compost, well-rotted manure, or leaf mold. Work the organic matter into the top 6-8 inches of soil.
* Fertilizing: Spinach is a heavy feeder, so it benefits from a pre-planting fertilizer. I use a balanced organic fertilizer, such as 10-10-10, following the instructions on the package. You can also use bone meal for phosphorus and blood meal for nitrogen.
* Creating Raised Beds (Optional): If you have poor drainage or heavy clay soil, consider creating raised beds. This will improve drainage and allow the soil to warm up faster in the spring.
Planting Spinach Seeds
Now for the fun part – planting! Spinach can be planted in early spring or fall, depending on your climate.
* Timing is Key: Spinach prefers cool weather and will bolt (go to seed) in hot weather. In spring, plant as soon as the soil can be worked. In fall, plant 4-6 weeks before the first expected frost.
* Direct Sowing: Spinach is best direct-sown, meaning you plant the seeds directly into the garden. It doesn’t transplant well.
* Sowing Depth and Spacing: Sow seeds about ½ inch deep and 1 inch apart in rows that are 12-18 inches apart.
* Watering: Water the soil gently after planting to keep it moist.
* Succession Planting: To ensure a continuous harvest, sow seeds every 2-3 weeks. This is called succession planting.
Tip: Soaking spinach seeds in water for 24 hours before planting can improve germination rates.
Caring for Your Spinach Plants
Once your spinach seeds have sprouted, it’s important to provide them with proper care.
* Watering: Spinach needs consistent moisture, especially during hot weather. Water deeply and regularly, but avoid overwatering, which can lead to root rot.
* Thinning: When the seedlings are about 2 inches tall, thin them to 4-6 inches apart. This will give them enough room to grow. You can eat the thinnings!
* Weeding: Keep the spinach bed free of weeds, which can compete for nutrients and water. Hand-pull weeds carefully to avoid disturbing the spinach roots.
* Fertilizing (Side-dressing): About 3-4 weeks after planting, side-dress the spinach plants with a nitrogen-rich fertilizer, such as blood meal or fish emulsion. This will encourage leafy growth.
* Mulching: Apply a layer of mulch around the spinach plants to help retain moisture, suppress weeds, and keep the soil cool. I like to use straw or shredded leaves.
* Pest Control: Spinach can be susceptible to pests such as aphids, flea beetles, and leaf miners. Inspect your plants regularly and take action if you see any signs of infestation. I prefer to use organic pest control methods, such as insecticidal soap or neem oil.
* Bolting Prevention: As the weather warms up, spinach is more likely to bolt. To prevent bolting, provide shade during the hottest part of the day, water regularly, and harvest frequently.
Harvesting Your Spinach
The moment we’ve all been waiting for – harvesting!
* When to Harvest: You can start harvesting spinach when the leaves are about 4-6 inches long.
* How to Harvest: You can harvest the entire plant at once, or you can harvest individual leaves as needed. To harvest individual leaves, simply snip them off at the base of the plant with scissors or a knife.
* Harvesting for Continuous Growth: If you want to keep your spinach plants producing, avoid harvesting the central bud. This will allow the plant to continue growing and producing new leaves.
* Washing and Storing: Wash the spinach leaves thoroughly after harvesting. Store them in a plastic bag in the refrigerator for up to a week.
Tip: Harvest spinach in the morning, when the leaves are crisp and cool.
Step-by-Step Instructions: My Foolproof Spinach Growing Method
Okay, let’s break down the entire process into easy-to-follow steps:
1. Choose Your Variety: Select a spinach variety that’s well-suited to your climate and growing conditions.
2. Prepare Your Soil: Choose a sunny location with well-drained soil. Amend the soil with compost or other organic matter. Test the soil pH and adjust if necessary.
3. Plant Your Seeds: Direct-sow spinach seeds about ½ inch deep and 1 inch apart in rows that are 12-18 inches apart. Water gently.
4. Thin Your Seedlings: When the seedlings are about 2 inches tall, thin them to 4-6 inches apart.
5. Water Regularly: Keep the soil consistently moist, especially during hot weather.
6. Weed Regularly: Keep the spinach bed free of weeds.
7. Fertilize: Side-dress the spinach plants with a nitrogen-rich fertilizer about 3-4 weeks after planting.
8. Mulch: Apply a layer of mulch around the spinach plants.
9. Control Pests: Inspect your plants regularly and take action if you see any signs of infestation.
10. Harvest: Harvest spinach leaves when they are about 4-6 inches long.
Troubleshooting Common Spinach Problems
Even with the best care, you might encounter some problems when growing spinach. Here are a few common issues and how to deal with them:
* Bolting: As mentioned earlier, bolting is when spinach plants go to seed prematurely. This is usually caused by hot weather or stress. To prevent bolting, provide shade, water regularly, and harvest frequently.
* Yellowing Leaves: Yellowing leaves can be a sign of nutrient deficiency, overwatering, or disease. Check the soil pH and nutrient levels. Make sure the soil is well-drained.
* Pest Infestations: Aphids, flea beetles, and leaf miners can all attack spinach plants. Use organic pest control methods to get rid of them.
* Downy Mildew: Downy mildew is a fungal disease that can cause yellow spots on the leaves. To prevent downy mildew, provide good air circulation and avoid overhead watering.
Enjoying Your Homegrown Spinach
Now that you’ve successfully grown your own spinach, it’s time
Conclusion
So, there you have it! This simple yet effective DIY spinach growing method is a game-changer for anyone looking to enjoy fresh, vibrant spinach right from their own backyard (or even balcony!). We’ve walked you through the steps, highlighting the ease and affordability of this approach. But why is this a must-try?
Firstly, it puts you in control. You know exactly what goes into your spinach – no pesticides, no questionable fertilizers, just pure, homegrown goodness. Secondly, it’s incredibly rewarding. There’s nothing quite like the satisfaction of harvesting your own vegetables, knowing you nurtured them from tiny seeds to leafy greens. And thirdly, it’s adaptable!
Think of this method as a foundation. Want to experiment? Try different varieties of spinach! Some, like ‘Bloomsdale Long Standing,’ are known for their heat tolerance, while others, like ‘Winter Bloomsdale,’ thrive in cooler temperatures. Consider companion planting. Marigolds can deter pests, while radishes can help break up the soil. You could even interplant your spinach with taller crops like tomatoes or peppers to provide some shade during the hottest parts of the day.
Another variation to consider is vertical gardening. If space is limited, you can adapt this method to a vertical planter or even a repurposed pallet. This not only maximizes your growing area but also adds a touch of visual appeal to your garden.
For those in colder climates, consider using a cold frame or row covers to extend your spinach growing season. These simple structures can protect your plants from frost and allow you to harvest spinach well into the winter months.
Don’t be afraid to experiment with different soil amendments. Adding compost or well-rotted manure can significantly improve the soil’s fertility and drainage, leading to healthier and more productive spinach plants. You can also try using different types of mulch, such as straw or wood chips, to help retain moisture and suppress weeds.
The beauty of this DIY spinach growing method lies in its simplicity and flexibility. It’s a starting point, a canvas for you to create your own personalized spinach-growing experience.
We wholeheartedly encourage you to give this DIY spinach growing method a try. It’s easier than you think, and the rewards are well worth the effort. Imagine fresh spinach salads, vibrant smoothies, and delicious side dishes, all made with spinach you grew yourself.
But don’t just take our word for it! We want to hear about your experiences. Share your photos, tips, and challenges in the comments below. Let’s create a community of spinach enthusiasts, sharing our knowledge and helping each other grow the best spinach possible. What worked for you? What challenges did you face? What unique variations did you try? Your insights could be invaluable to other aspiring spinach growers.
So, grab your seeds, prepare your soil, and get ready to embark on a rewarding journey of homegrown spinach. We can’t wait to hear about your success! Happy growing!
Frequently Asked Questions (FAQ)
What is the best time of year to plant spinach?
Spinach is a cool-season crop, meaning it thrives in cooler temperatures. The best time to plant spinach is either in early spring or early fall. For a spring crop, sow seeds as soon as the ground can be worked, typically 4-6 weeks before the last expected frost. For a fall crop, sow seeds 6-8 weeks before the first expected frost. In warmer climates, you can grow spinach throughout the winter. Avoid planting spinach during the hottest months of summer, as high temperatures can cause it to bolt (go to seed) prematurely.
How much sunlight does spinach need?
Spinach needs at least 3-6 hours of direct sunlight per day. While it can tolerate some shade, especially during the hottest part of the day, insufficient sunlight can result in leggy plants with smaller leaves. If you’re growing spinach indoors, provide supplemental lighting with grow lights to ensure adequate light exposure.
What kind of soil is best for growing spinach?
Spinach prefers well-drained, fertile soil with a pH between 6.5 and 7.0. Amend your soil with compost or well-rotted manure before planting to improve its fertility and drainage. Avoid soils that are heavy clay or prone to waterlogging, as these can lead to root rot. A soil test can help you determine the pH and nutrient levels of your soil and guide you in making necessary amendments.
How often should I water my spinach plants?
Spinach needs consistent moisture to thrive. Water your plants regularly, especially during dry periods. Aim to keep the soil consistently moist but not waterlogged. A good rule of thumb is to water deeply whenever the top inch of soil feels dry to the touch. Mulching around your spinach plants can help retain moisture and reduce the need for frequent watering.
How do I prevent spinach from bolting?
Bolting, or going to seed, is a common problem with spinach, especially during hot weather. To prevent bolting, choose bolt-resistant varieties of spinach, such as ‘Malabar’ or ‘New Zealand’ spinach (though these are technically not true spinach). Plant spinach in a location that receives some afternoon shade during the hottest part of the day. Water your plants regularly to keep the soil cool and moist. Harvest your spinach regularly, as this can also help delay bolting.
What are some common pests and diseases that affect spinach?
Spinach can be susceptible to several pests and diseases, including aphids, leaf miners, flea beetles, and downy mildew. To prevent pest and disease problems, practice good garden hygiene. Remove any weeds or debris that can harbor pests or diseases. Inspect your plants regularly for signs of infestation or disease. If you spot any problems, take action promptly. For aphids, you can try spraying your plants with a strong stream of water or using insecticidal soap. For leaf miners, you can remove and destroy infested leaves. For downy mildew, ensure good air circulation around your plants and avoid overhead watering.
When and how should I harvest my spinach?
You can begin harvesting spinach leaves as soon as they are large enough to eat, typically about 4-6 weeks after planting. Harvest the outer leaves first, leaving the inner leaves to continue growing. You can either cut the leaves with scissors or gently snap them off by hand. Avoid harvesting more than one-third of the plant at a time, as this can stress the plant and reduce its productivity. Harvest spinach in the morning, when the leaves are crisp and cool.
Can I grow spinach indoors?
Yes, you can grow spinach indoors, provided you have adequate light and space. Choose a pot that is at least 6 inches deep and wide. Use a well-draining potting mix. Place your spinach plants in a sunny location, such as a south-facing window, or provide supplemental lighting with grow lights. Water your plants regularly and fertilize them every 2-3 weeks with a balanced liquid fertilizer.
How do I store harvested spinach?
To store harvested spinach, wash it thoroughly and remove any damaged or yellowing leaves. Pat the spinach dry with a paper towel or use a salad spinner. Store the spinach in a plastic bag or container in the refrigerator. Spinach is best used within a few days of harvesting.
Is spinach a healthy vegetable to grow and eat?
Absolutely! Spinach is a nutritional powerhouse, packed with vitamins, minerals, and antioxidants. It’s a good source of vitamins A, C, and K, as well as iron, calcium, and potassium. Spinach is also low in calories and high in fiber, making it a healthy addition to any diet. Growing your own spinach ensures that you have access to fresh, nutritious greens whenever you want them.


Leave a Comment