
Soilless Cabbage Growing might sound like something out of a science fiction movie, but trust me, it’s a surprisingly simple and rewarding way to cultivate this nutritious vegetable right in your own home! Forget wrestling with heavy bags of soil and battling unpredictable garden pests. I’m going to show you how to unlock a world of clean, efficient, and incredibly productive cabbage cultivation.
For centuries, cabbage has been a staple in diets around the globe, from the hearty stews of Eastern Europe to the vibrant slaws of North America. Its resilience and nutritional value have made it a cornerstone of many cultures. But what if I told you that you could enjoy fresh, homegrown cabbage without ever getting your hands dirty? That’s the beauty of soilless gardening!
In today’s world, where space is often limited and time is precious, traditional gardening can feel daunting. Many of us dream of fresh, organic produce but lack the space or the know-how to make it a reality. That’s where this DIY guide comes in. I’ll walk you through the process of soilless cabbage growing, step-by-step, using readily available materials and simple techniques. You’ll be amazed at how easy it is to create a thriving cabbage patch, even if you only have a small balcony or patio. Get ready to ditch the dirt and embrace a cleaner, greener way to grow your own food!
DIY Soilless Cabbage Growing: A Beginner’s Guide
Hey there, fellow gardening enthusiasts! Ever dreamt of growing plump, juicy cabbages without getting your hands dirty in soil? Well, you’re in the right place! I’m going to walk you through a fantastic DIY project: growing cabbages soillessly, using hydroponics. It might sound intimidating, but trust me, it’s easier than you think, and the results are incredibly rewarding. Plus, it’s a great way to control the growing environment and potentially get a faster harvest. Let’s dive in!
What You’ll Need
Before we get started, let’s gather all the necessary materials. This will make the whole process smoother and more enjoyable.
* **Cabbage Seeds:** Choose your favorite variety! I personally love ‘Golden Acre’ for its compact size and early maturity, perfect for hydroponics.
* **Seed Starting Tray and Medium:** You can use rockwool cubes, coco coir plugs, or even peat pellets. I prefer rockwool because it’s inert and holds moisture well.
* **Hydroponic System:** We’ll be focusing on a simple Deep Water Culture (DWC) system for this guide. It’s beginner-friendly and effective. You’ll need:
* A dark-colored, opaque container (a 5-gallon bucket works great).
* A net pot that fits snugly into the lid of the container.
* An air pump and air stone.
* Air tubing to connect the pump to the air stone.
* **Hydroponic Nutrients:** Specifically formulated for leafy greens. Look for a balanced nutrient solution with the correct NPK ratio (Nitrogen, Phosphorus, Potassium).
* **pH Meter and pH Up/Down Solutions:** Maintaining the correct pH is crucial for nutrient absorption.
* **Grow Lights (Optional but Recommended):** If you don’t have a sunny spot, grow lights will ensure your cabbages get enough light. LED grow lights are energy-efficient and work wonders.
* **Measuring Cups and Spoons:** For accurate nutrient mixing.
* **Water:** Use filtered or dechlorinated water for best results.
* **Scissors or a Sharp Knife:** For thinning seedlings.
* **Protective Gloves:** To protect your hands from nutrient solutions.
Section 1: Seed Starting
This is where our cabbage journey begins. We need to germinate those tiny seeds and give them a good start before transferring them to the hydroponic system.
1. **Prepare the Seed Starting Medium:** If you’re using rockwool, soak the cubes in pH-adjusted water (pH 5.5-6.0) for a few hours. This helps to saturate them and remove any alkalinity. Coco coir plugs should also be pre-soaked.
2. **Sow the Seeds:** Place one or two cabbage seeds in each cube or plug. Gently press them into the medium, but don’t bury them too deep. A depth of about ¼ inch is perfect.
3. **Provide Humidity:** Cover the seed starting tray with a humidity dome or plastic wrap to create a humid environment. This helps the seeds germinate.
4. **Maintain Warmth:** Keep the tray in a warm location (around 70-75°F or 21-24°C). A heat mat can be helpful if your home is cool.
5. **Provide Light:** Once the seeds germinate (usually within 5-7 days), remove the humidity dome and provide light. If you’re using grow lights, position them a few inches above the seedlings. If you’re using natural light, place the tray in a sunny window.
6. **Water Carefully:** Keep the seed starting medium moist, but not soggy. Water gently from the bottom of the tray to avoid damping off (a fungal disease that can kill seedlings).
7. **Thin the Seedlings:** Once the seedlings have their first true leaves (the second set of leaves after the initial seed leaves), thin them to one seedling per cube or plug. Use scissors or a sharp knife to carefully snip off the weaker seedlings at the base.
Section 2: Setting Up the DWC System
Now, let’s build our Deep Water Culture system. It’s a simple yet effective way to provide your cabbages with the nutrients and oxygen they need to thrive.
1. **Prepare the Container:** Clean the 5-gallon bucket thoroughly with soap and water. Rinse it well to remove any residue.
2. **Create the Lid:** Drill a hole in the lid of the bucket that is slightly smaller than the diameter of your net pot. This will ensure a snug fit.
3. **Insert the Net Pot:** Place the net pot into the hole in the lid. It should sit securely.
4. **Add Water:** Fill the bucket with water, leaving a few inches of space at the top.
5. **Add Nutrients:** Follow the instructions on your hydroponic nutrient solution to mix the correct concentration. Start with a half-strength solution for young seedlings and gradually increase it as they grow.
6. **Adjust the pH:** Use your pH meter to check the pH of the nutrient solution. The ideal pH for cabbage is between 5.5 and 6.5. Use pH up or pH down solutions to adjust the pH as needed.
7. **Install the Air Pump and Air Stone:** Connect the air tubing to the air pump and the air stone. Place the air stone at the bottom of the bucket. The air pump will oxygenate the nutrient solution, which is essential for healthy root growth.
8. Test the System: Turn on the air pump and make sure the air stone is producing bubbles. Check the pH and adjust as needed. Let the system run for a few hours to ensure everything is working properly.
Section 3: Transplanting and Growing
The moment we’ve been waiting for! It’s time to move our seedlings into their new hydroponic home.
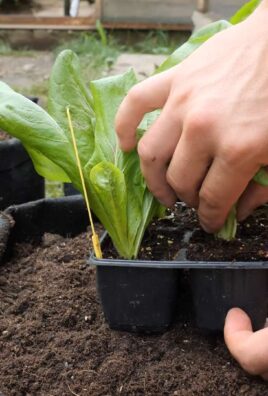
1. **Prepare the Seedlings:** Gently remove the seedlings from their seed starting cubes or plugs. Be careful not to damage the roots.
2. **Place Seedlings in Net Pots:** Place the rockwool cube (or coco coir plug) containing the seedling into the net pot. You can use some inert growing medium like hydroton clay pebbles around the cube to provide extra support and stability. Make sure the bottom of the cube is just touching the nutrient solution. This will encourage the roots to grow down into the water.
3. **Position the Lid:** Place the lid with the net pot and seedling on top of the bucket.
4. **Provide Light:** If you’re using grow lights, position them a few inches above the seedlings. If you’re using natural light, place the system in a sunny window.
5. **Monitor and Maintain:** Regularly check the water level in the bucket and add more nutrient solution as needed. Check the pH and adjust as needed. Change the nutrient solution every 1-2 weeks to prevent nutrient imbalances and the buildup of harmful bacteria.
6. **Provide Support (Optional):** As your cabbages grow, they may become top-heavy. You can provide support by using stakes or trellises.
7. Watch for Pests and Diseases: While hydroponics reduces the risk of soilborne pests and diseases, it’s still important to be vigilant. Inspect your plants regularly for any signs of problems. If you find any pests, you can use insecticidal soap or neem oil to control them. For diseases, ensure good air circulation and remove any affected leaves.
8. Adjust Nutrients as Needed: As your cabbage grows, it will need more nutrients. Gradually increase the strength of the nutrient solution according to the manufacturer’s instructions. Monitor the plants for any signs of nutrient deficiencies, such as yellowing leaves or stunted growth.
Section 4: Harvesting
After weeks of care and attention, it’s finally time to harvest your homegrown, soilless cabbages!
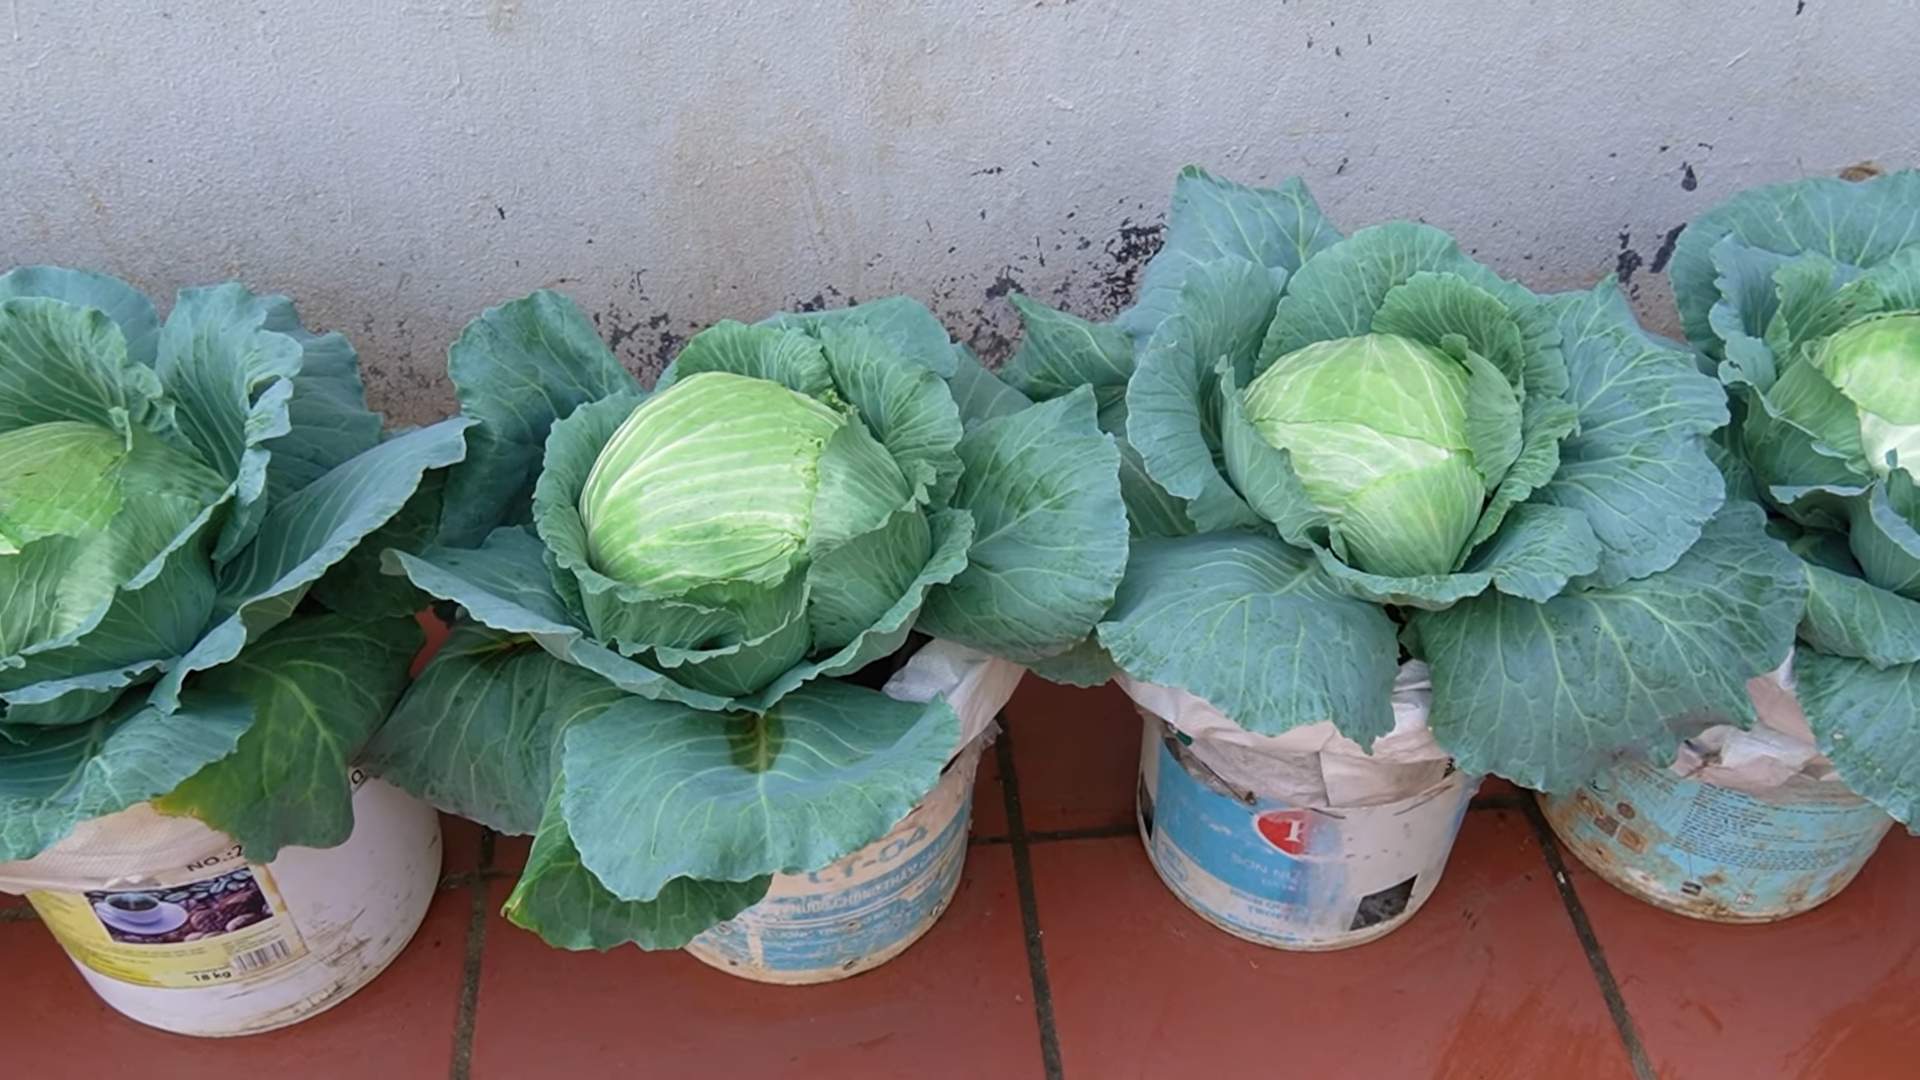
1. **Determine Maturity:** Cabbages are typically ready to harvest when the heads are firm and compact. The size will depend on the variety you’re growing.
2. **Harvesting:** Use a sharp knife to cut the cabbage head from the stem. Leave a few outer leaves on the stem, as they may produce smaller side shoots.
3. **Enjoy Your Harvest:** Rinse the cabbage head and enjoy it in your favorite recipes! Freshly harvested cabbage is incredibly flavorful and nutritious.
Troubleshooting Tips
Even with the best planning, things can sometimes go wrong. Here are a few common problems and how to fix them:
* **Yellowing Leaves:** This could be a sign of nutrient deficiency. Check the pH and nutrient levels and adjust as needed.
* **Stunted Growth:** This could be caused by insufficient light, incorrect pH, or nutrient imbalances. Make sure your plants are getting enough light and that the pH and nutrient levels are within the optimal range.
* **Root Rot:** This is a fungal disease that can occur if the roots are not getting enough oxygen. Make sure your air pump is working properly and that the air stone is producing bubbles. You can also add hydrogen peroxide to the nutrient solution to help kill the fungus.
*
Conclusion
So, there you have it! Growing cabbage without soil might sound like something out of a science fiction novel, but as you’ve seen, it’s surprisingly accessible and incredibly rewarding. This soilless cabbage growing method offers a fantastic alternative for those with limited space, poor soil conditions, or simply a desire to experiment with innovative gardening techniques. It’s a game-changer for urban gardeners, apartment dwellers, and anyone looking to maximize their yield with minimal effort.
Why is this DIY trick a must-try? Because it unlocks a world of possibilities. Imagine harvesting crisp, healthy cabbage heads right from your balcony or patio, knowing you’ve bypassed the common challenges of soilborne diseases and pests. Think about the reduced weeding, the precise nutrient control, and the sheer satisfaction of nurturing a thriving plant in a soilless environment. This method is not just about growing cabbage; it’s about embracing a more sustainable, efficient, and ultimately, more enjoyable gardening experience.
But the beauty of soilless gardening lies in its adaptability. Feel free to experiment with different hydroponic systems. Deep water culture (DWC) is a great starting point, but you could also explore nutrient film technique (NFT) or even a simple Kratky method for a truly passive approach. Consider varying the nutrient solution based on the cabbage’s growth stage. A higher nitrogen content is beneficial during the early vegetative phase, while potassium and phosphorus become more crucial as the head begins to form.
Don’t be afraid to get creative with your growing medium. While coco coir and perlite are excellent choices, you can also try using rockwool, vermiculite, or even a combination of different materials to find what works best for you. Remember to monitor the pH of your nutrient solution regularly and adjust as needed to ensure optimal nutrient uptake.
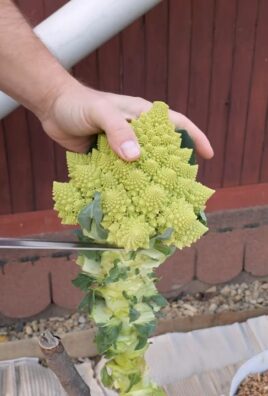
Beyond the basic method, there are countless ways to personalize your soilless cabbage growing journey. Try growing different varieties of cabbage, from the classic green to the vibrant red or the delicate savoy. Experiment with companion planting by adding herbs like dill or rosemary to your hydroponic setup to deter pests and enhance the flavor of your cabbage.
The key to success is observation and adaptation. Pay close attention to your plants, monitor their growth, and adjust your techniques as needed. Don’t be discouraged if you encounter challenges along the way; every setback is an opportunity to learn and improve.
We wholeheartedly encourage you to give this soilless cabbage growing method a try. It’s a fun, educational, and ultimately rewarding experience that will transform the way you think about gardening. And most importantly, we want to hear about your results! Share your experiences, your successes, and even your failures in the comments below. Let’s build a community of soilless cabbage growers and learn from each other. Post pictures of your hydroponic setups, share your favorite nutrient recipes, and let us know what varieties of cabbage you’re growing. Together, we can unlock the full potential of this innovative gardening technique and enjoy a bountiful harvest of delicious, homegrown cabbage. So, grab your supplies, get your hands wet (or not, since it’s soilless!), and embark on your soilless cabbage adventure today!
Frequently Asked Questions (FAQ)
What exactly is soilless cabbage growing, and why should I consider it?
Soilless cabbage growing, often referred to as hydroponics, is a method of cultivating cabbage plants without using traditional soil. Instead, the plants receive nutrients from a water-based solution. This method offers several advantages, including faster growth rates, higher yields, reduced risk of soilborne diseases and pests, and the ability to grow cabbage in limited spaces or areas with poor soil quality. It’s an excellent option for urban gardeners, apartment dwellers, and anyone seeking a more efficient and sustainable way to grow their own food.
What kind of hydroponic system is best for growing cabbage?
Several hydroponic systems are suitable for growing cabbage, but deep water culture (DWC) is often recommended for beginners due to its simplicity and affordability. In DWC, the cabbage roots are suspended in a nutrient-rich water solution, providing them with constant access to the nutrients they need. Other options include nutrient film technique (NFT), which involves flowing a thin film of nutrient solution over the roots, and the Kratky method, a passive hydroponic system that requires minimal maintenance. The best system for you will depend on your budget, space constraints, and level of experience.
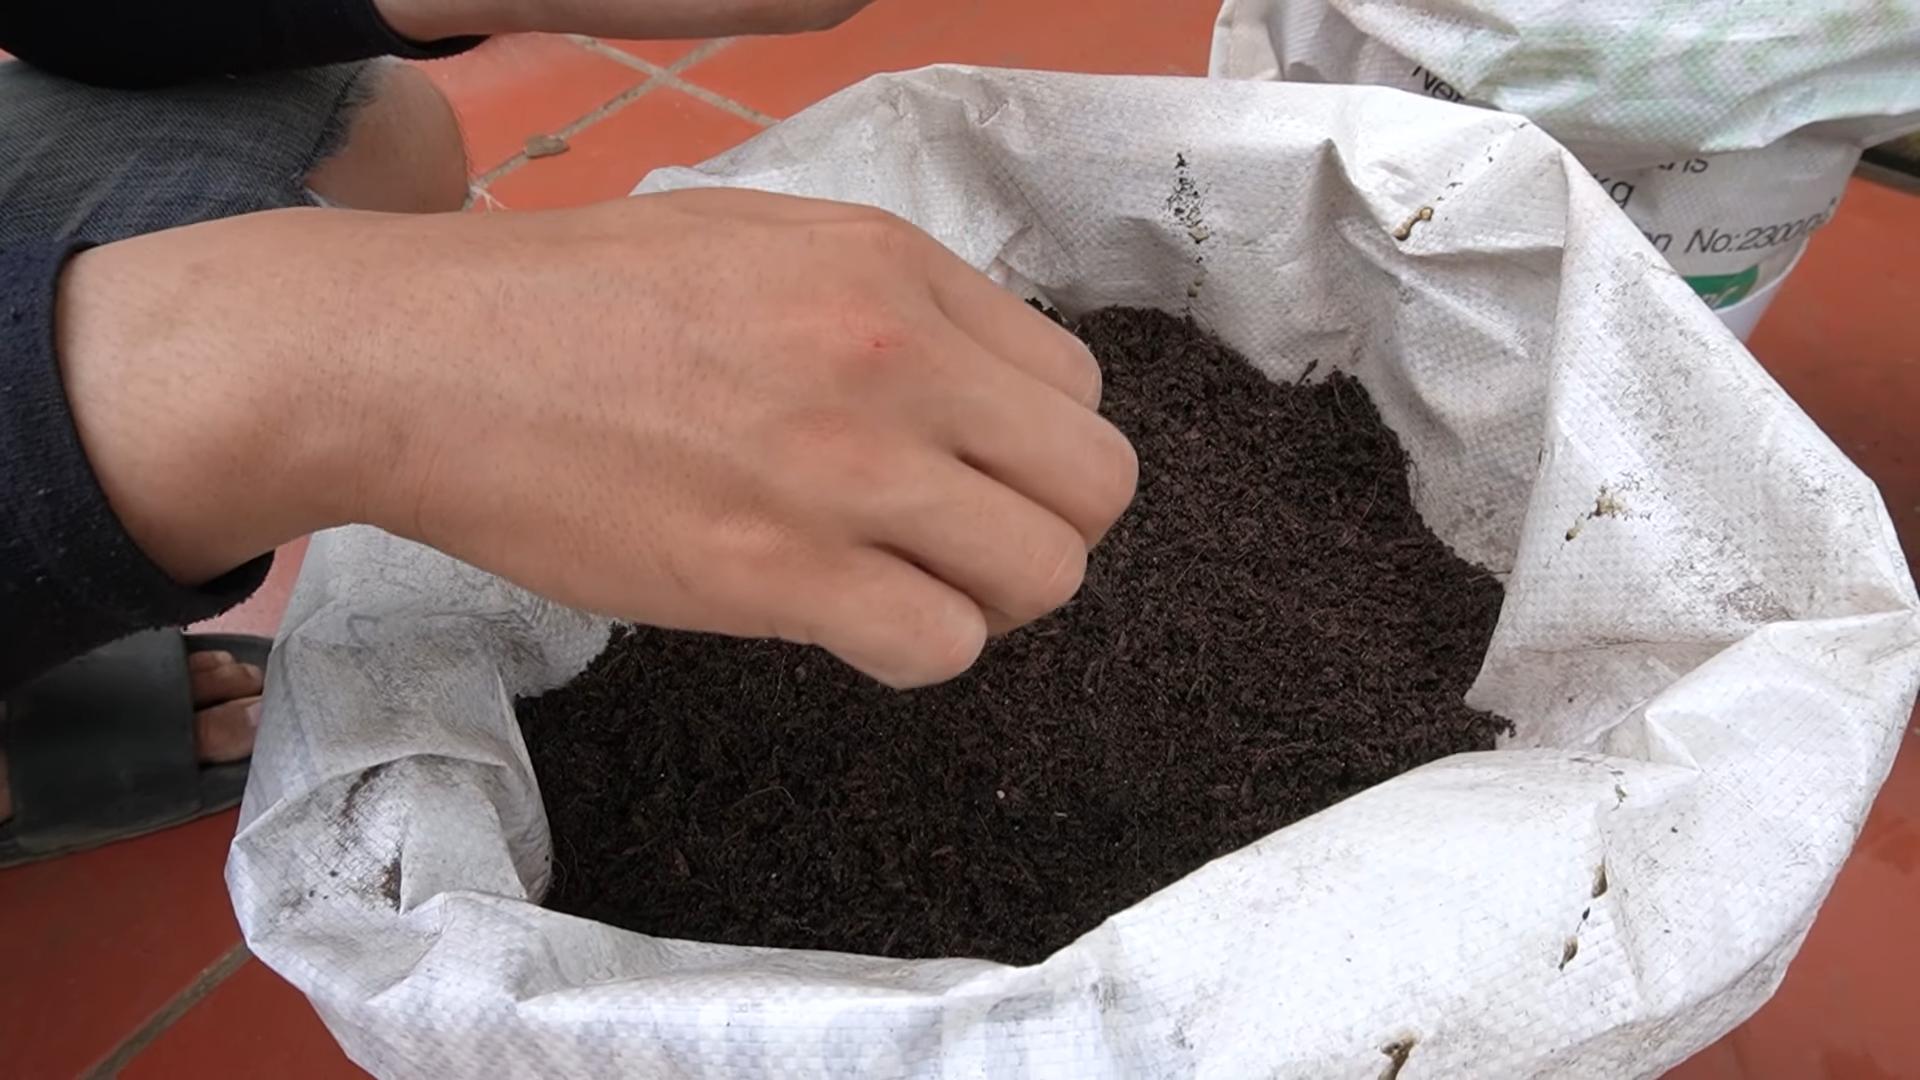
What type of growing medium should I use for soilless cabbage growing?
While you’re growing without soil, you’ll still need a medium to support the plant’s roots. Coco coir and perlite are popular choices due to their excellent drainage and aeration properties. Rockwool is another option, known for its water retention and ability to support plant growth. Vermiculite can also be used, either alone or in combination with other media. The ideal growing medium should be inert, well-draining, and capable of providing support for the cabbage plant.
What nutrients does cabbage need when grown hydroponically?
Cabbage requires a balanced nutrient solution containing essential macronutrients (nitrogen, phosphorus, and potassium) and micronutrients (iron, manganese, zinc, copper, boron, and molybdenum). During the early vegetative stage, a higher nitrogen content is beneficial for promoting leafy growth. As the cabbage head begins to form, increase the levels of phosphorus and potassium to support head development. You can purchase pre-mixed hydroponic nutrient solutions specifically formulated for leafy greens, or you can create your own nutrient solution using individual nutrient salts.
How often should I change the nutrient solution in my hydroponic system?
The frequency of nutrient solution changes depends on the size of your system and the growth rate of your cabbage plants. As a general rule, it’s recommended to change the nutrient solution every 1-2 weeks to prevent nutrient imbalances and the buildup of harmful bacteria or algae. Regularly monitor the pH and EC (electrical conductivity) of your nutrient solution to ensure it remains within the optimal range for cabbage growth.
What is the ideal pH and EC range for hydroponically grown cabbage?
The ideal pH range for hydroponically grown cabbage is between 6.0 and 6.5. The EC, which measures the concentration of nutrients in the solution, should be maintained between 2.0 and 3.0 mS/cm. Regularly check the pH and EC of your nutrient solution using a pH meter and an EC meter, and adjust as needed to maintain the optimal range.
How much light does cabbage need when grown hydroponically?
Cabbage requires at least 6-8 hours of direct sunlight per day to thrive. If you’re growing cabbage indoors, you’ll need to supplement with artificial lighting. LED grow lights are a popular choice due to their energy efficiency and ability to provide the full spectrum of light that plants need. Position the grow lights close enough to the plants to provide adequate light intensity, but not so close that they cause leaf burn.
How long does it take to grow cabbage hydroponically?
The time it takes to grow cabbage hydroponically depends on the variety of cabbage, the growing conditions, and the size of the head you’re aiming for. Generally, it takes about 60-90 days from transplanting seedlings to harvesting mature cabbage heads. Monitor your plants regularly and harvest when the heads are firm and reach the desired size.
What are some common problems I might encounter when growing cabbage hydroponically, and how can I prevent them?
Some common problems include nutrient deficiencies, pest infestations, and diseases. Nutrient deficiencies can be prevented by using a balanced nutrient solution and regularly monitoring the pH and EC. Pest infestations can be controlled by using organic pest control methods, such as neem oil or insecticidal soap. Diseases can be prevented by maintaining good hygiene in your hydroponic system and providing adequate ventilation.
Can I grow other vegetables alongside cabbage in my hydroponic system?
Yes, you can grow other vegetables alongside cabbage in your hydroponic system, but it’s important to choose companion plants that have similar nutrient requirements and growth habits. Good companion plants for cabbage include herbs like dill and rosemary, which can help deter pests, and leafy greens like lettuce and spinach, which can benefit from the shade provided by the cabbage plants. Avoid planting cabbage alongside plants that are heavy feeders or that attract pests that also attack cabbage.

Leave a Comment