
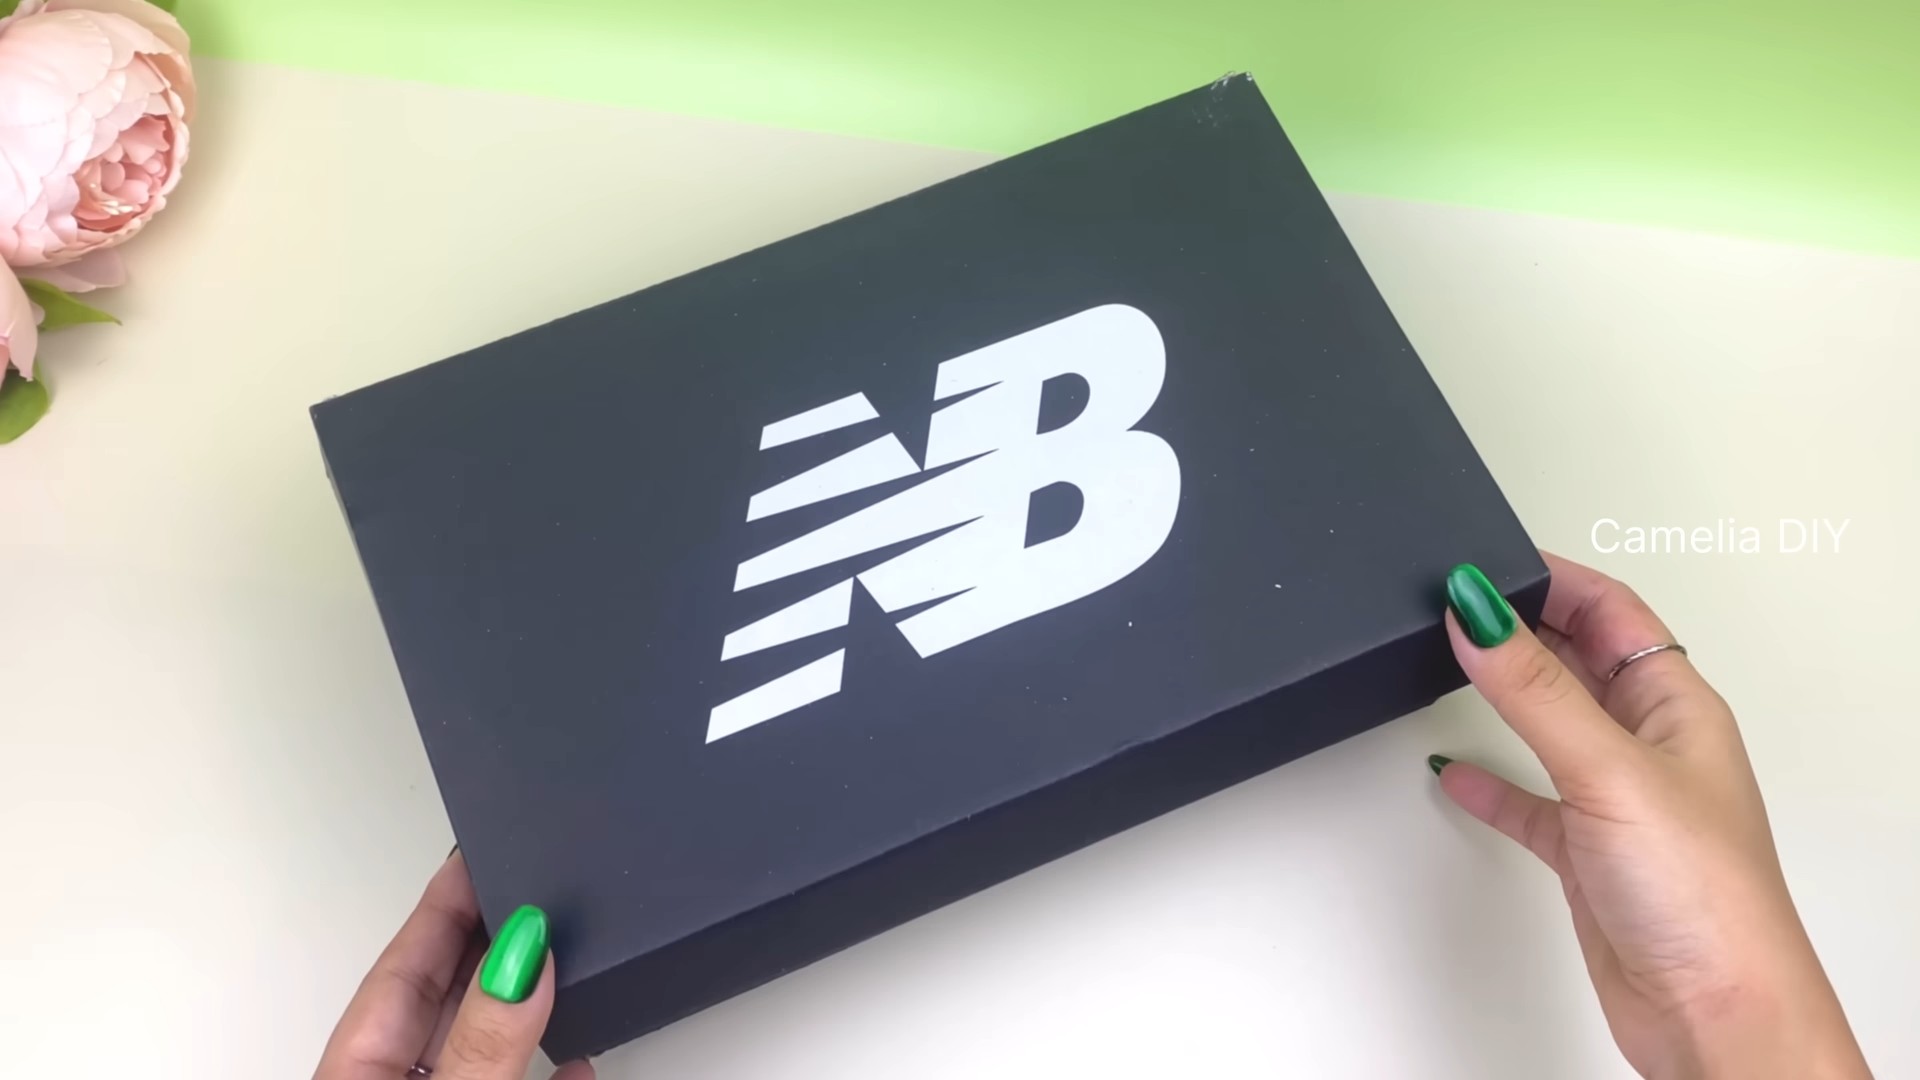
Shoe Box DIY Hacks: Who knew those humble cardboard containers could be the secret weapon to a more organized and beautiful home? I’m always looking for clever ways to repurpose items instead of tossing them, and shoe boxes have become my absolute favorite material for DIY projects.
From ancient civilizations storing precious artifacts in handcrafted boxes to modern-day retailers packaging our favorite footwear, boxes have always been a part of our lives. But beyond their initial purpose, they hold incredible potential for creativity and resourcefulness.
Let’s face it, clutter is a universal struggle. Whether it’s tangled cords, overflowing drawers, or a mountain of craft supplies, disorganization can lead to stress and wasted time. That’s where these shoe box DIY hacks come in! I’m going to show you how to transform those seemingly useless boxes into stylish storage solutions, charming décor pieces, and even practical organizers that will declutter your space and spark joy. Get ready to unleash your inner DIY enthusiast and discover the amazing possibilities hidden within those cardboard rectangles!
Shoe Box DIY Hacks: Unleash Your Creativity!
Hey there, fellow DIY enthusiasts! Got a stack of old shoe boxes gathering dust? Don’t toss them! I’m going to show you some amazing ways to transform those humble cardboard containers into stylish and functional items for your home. Get ready to unleash your inner crafter!
Hack 1: Chic Drawer Dividers
Tired of rummaging through messy drawers? This hack is a lifesaver! We’ll turn shoe box lids into custom drawer dividers to keep everything organized and easily accessible.
Materials You’ll Need:
* Shoe box lids (as many as you need for your drawer)
* Ruler or measuring tape
* Pencil
* Scissors or craft knife
* Decorative paper, fabric, or paint (your choice!)
* Glue stick or double-sided tape
* Optional: Felt or cork lining
Step-by-Step Instructions:
1. Measure Your Drawer: First things first, grab your ruler and carefully measure the inside dimensions of your drawer – length, width, and height. This will help you determine how many dividers you can fit and the maximum size of each divider. I always double-check my measurements to avoid any frustrating mistakes later!
2. Plan Your Divider Layout: Before cutting anything, play around with the shoe box lids in your drawer to figure out the best arrangement. Consider what you’ll be storing in the drawer and how you want to divide the space. I like to sketch out a quick diagram on a piece of paper to visualize the final result.
3. Cut the Lids to Size: Using your measurements and pencil, mark the cutting lines on the shoe box lids. Remember to account for the height of the drawer – you don’t want the dividers to be too tall! Carefully cut along the lines with your scissors or craft knife. A craft knife gives you a cleaner cut, but be extra cautious when using it. Always use a cutting mat to protect your work surface.
4. Decorate the Dividers: This is where you can get creative! Choose your favorite decorative paper, fabric, or paint to personalize the dividers.
* Paper/Fabric: Cut the paper or fabric slightly larger than the divider. Apply glue stick or double-sided tape to the lid and carefully smooth the paper/fabric over it, making sure to eliminate any air bubbles. Fold the excess paper/fabric over the edges and glue them down for a neat finish.
* Paint: Apply a primer to the lids first for better paint adhesion. Once the primer is dry, paint the dividers in your desired color(s). You might need to apply a few coats for full coverage. Let the paint dry completely before moving on to the next step.
5. Add Lining (Optional): To protect delicate items and prevent them from sliding around, consider adding a felt or cork lining to the bottom of the dividers. Cut the felt or cork to size and glue it to the inside of the divider.
6. Assemble Your Drawer: Now, simply place the finished dividers into your drawer according to your planned layout. Adjust them as needed to ensure a snug fit. Voila! You have beautifully organized drawers that will make your life so much easier.
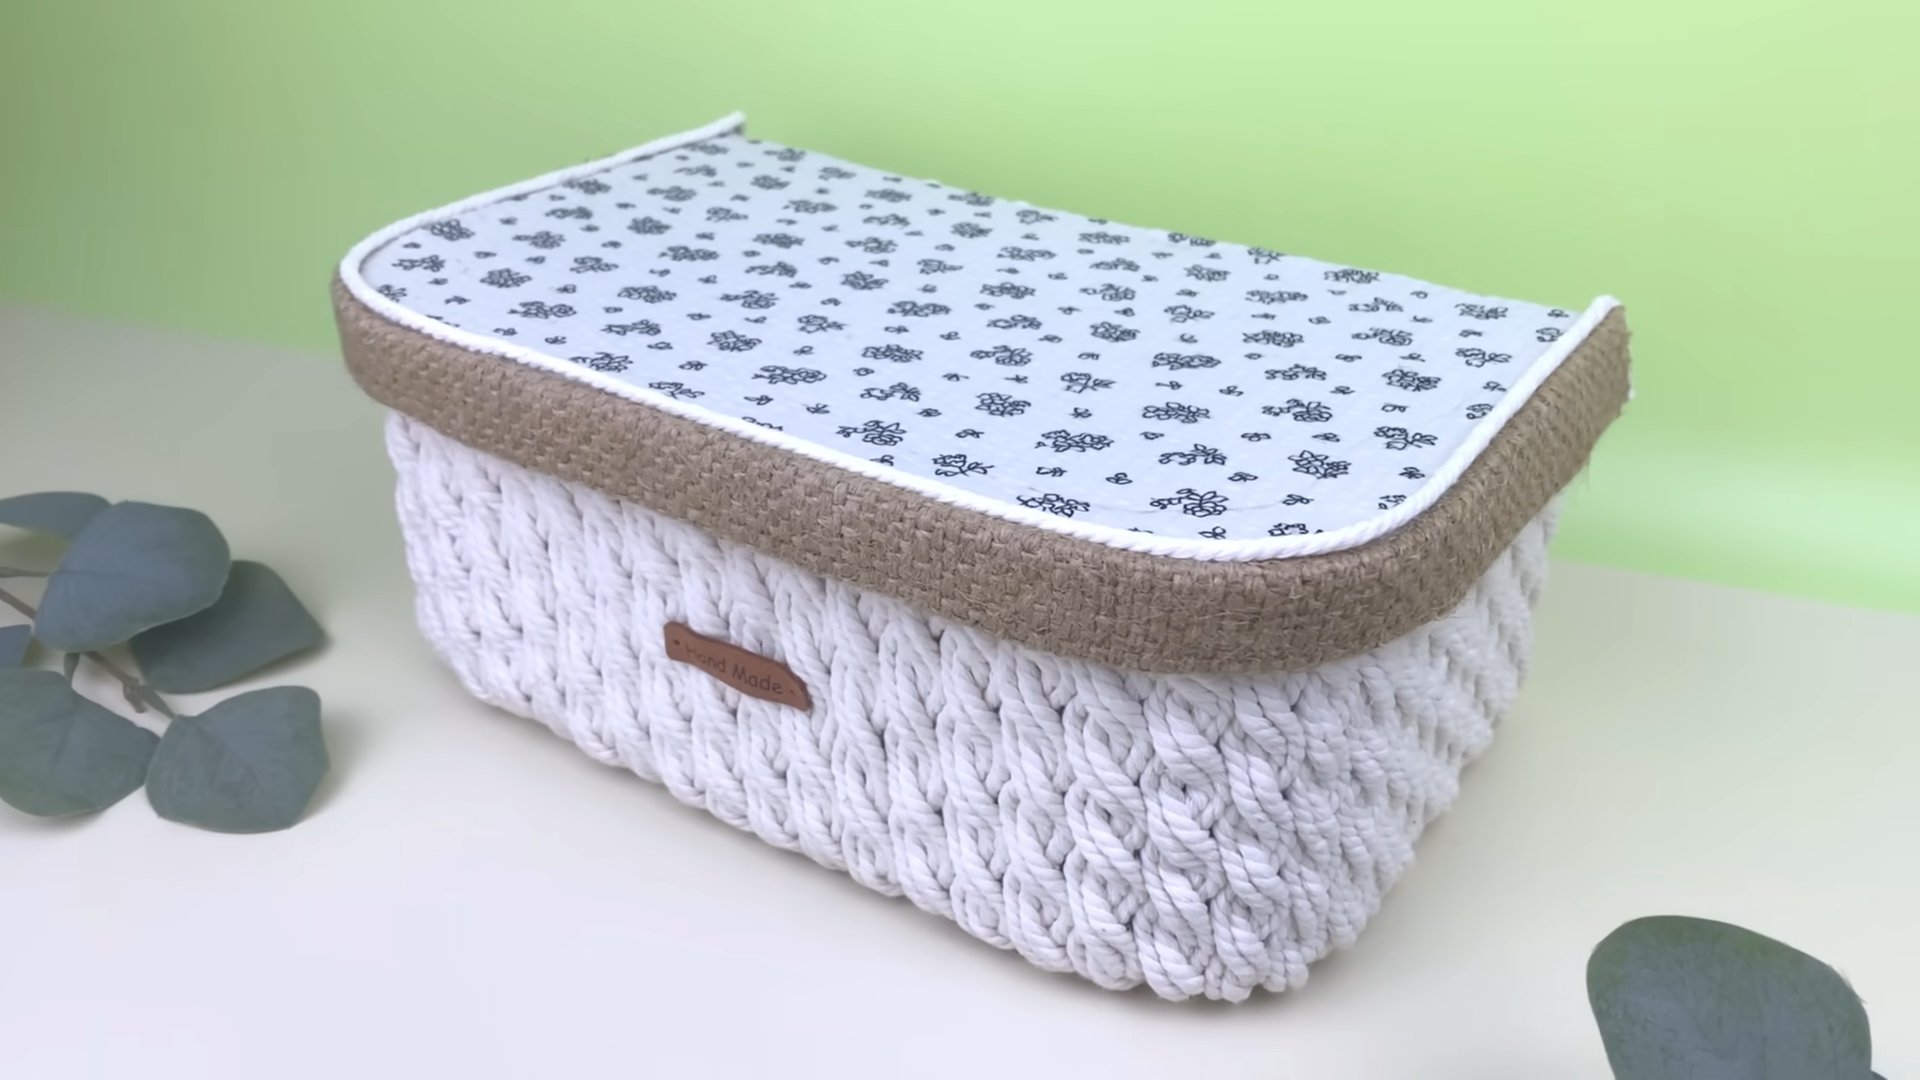
Hack 2: Stylish Storage Baskets
Transform those plain shoe boxes into chic storage baskets that will add a touch of style to any room. Perfect for storing books, magazines, toys, or anything else you want to keep organized.
Materials You’ll Need:
* Shoe boxes (with lids or without, depending on your preference)
* Fabric of your choice (burlap, linen, cotton, etc.)
* Scissors
* Hot glue gun and glue sticks
* Ruler or measuring tape
* Optional: Embellishments (ribbon, lace, buttons, etc.)
* Optional: Handles (rope, leather straps, drawer pulls, etc.)
Step-by-Step Instructions:
1. Measure and Cut the Fabric: Measure the shoe box to determine how much fabric you’ll need. You’ll need enough fabric to cover the entire outside of the box, plus extra for folding over the edges. I usually add a few extra inches just to be safe. Cut the fabric to size.
2. Attach the Fabric to the Box: Using your hot glue gun, carefully glue the fabric to the outside of the shoe box. Start by gluing one side at a time, making sure to pull the fabric taut to avoid any wrinkles or bubbles. Fold the edges of the fabric over the top and bottom of the box and glue them down for a clean finish. Be careful not to burn yourself with the hot glue!
3. Line the Inside (Optional): For a more polished look, you can line the inside of the box with fabric as well. Repeat the measuring and cutting process from step 1, and then glue the fabric to the inside of the box.
4. Add Embellishments (Optional): Now comes the fun part – decorating your storage basket! Add ribbon, lace, buttons, or any other embellishments you like to personalize your creation. Get creative and let your imagination run wild!
5. Attach Handles (Optional): If you want to make your storage basket easier to carry, you can add handles. There are many different options to choose from, such as rope, leather straps, or drawer pulls. Attach the handles to the sides of the box using hot glue or screws, depending on the type of handle you’re using. I personally love the look of rope handles for a rustic touch.
Hack 3: DIY Charging Station
Keep your devices organized and charged with this clever shoe box charging station. No more tangled cords or searching for outlets!
Materials You’ll Need:
* Shoe box (with lid)
* Power strip
* Scissors or craft knife
* Drill (optional)
* Decorative paper, fabric, or paint (your choice!)
* Glue stick or double-sided tape
* Optional: Cable ties or Velcro straps
Step-by-Step Instructions:
1. Prepare the Shoe Box: Decorate the shoe box with your chosen paper, fabric, or paint, just like we did in the previous hacks. This will give your charging station a stylish look that matches your décor.
2. Create Cord Holes: Decide where you want the cords to exit the box. I usually put them on the back or side. Use scissors or a craft knife to carefully cut small holes in the box for the cords to pass through. If you’re using a thicker cardboard, you might need to use a drill to create the holes.
3. Place the Power Strip Inside: Put the power strip inside the shoe box. Make sure the power cord of the strip can reach an outlet.
4. Organize the Cords: Plug your device chargers into the power strip. Use cable ties or Velcro straps to neatly bundle the cords and prevent them from tangling. This will keep your charging station looking tidy and organized.
5. Close the Lid (Partially): Place the lid on the shoe box, leaving a small opening for the device charging cables to come out. This will conceal the power strip and cords, creating a clean and clutter-free look.
6. Charge Your Devices: Now you can place your devices on top of the shoe box and plug them into the charging cables. Your DIY charging station is ready to use!
Hack 4: Faux Leather Ottoman
This project takes a bit more effort, but the result is a stunning and functional ottoman that looks like it came straight from a furniture store!
Materials You’ll Need:
* Several shoe boxes (at least 6-8, depending on the desired size of your ottoman)
* Strong packing tape
* Thick foam padding
* Faux leather fabric (enough to cover the entire ottoman)
* Scissors
* Staple gun and staples
* Hot glue gun and glue sticks
* Optional: Wooden legs or feet
Step-by-Step Instructions:
1. Assemble the Base: Arrange the shoe boxes into the desired shape and size for your ottoman. Use strong packing tape to securely tape the boxes together, creating a solid and sturdy base. I recommend using multiple layers of tape to ensure the base is strong enough to support weight.
2. Add Foam Padding: Cut the foam padding to fit the top and sides of the ottoman base. Use hot glue to attach the foam to the cardboard, creating a comfortable and cushioned surface. Make sure the foam is thick enough to provide adequate support.
3. Cover with Faux Leather: Cut the faux leather fabric to a size that’s larger than the ottoman, allowing for extra fabric to wrap around the bottom. Place the ottoman in the center of the fabric and begin wrapping the fabric around the ottoman, pulling it taut and securing it with a staple gun. Start with the top and then move to the sides, making sure to create neat and even folds at the corners.
4. Secure the Bottom: Fold the excess fabric under the bottom of the ottoman
Conclusion
So, there you have it! Transforming humble shoe boxes into functional and stylish organizers is not just a fun afternoon project; it’s a game-changer for decluttering and adding a personal touch to your home. We’ve explored several creative avenues, from elegant drawer dividers to chic wall shelves, all starting with something most of us simply toss away. The beauty of these shoe box DIY hacks lies in their adaptability. You’re not confined to rigid instructions; instead, you’re empowered to tailor each project to your specific needs and aesthetic preferences.
Think about it: that overflowing drawer of socks and underwear can finally be tamed with custom-sized dividers. Those scattered craft supplies can find a permanent, organized home on a repurposed shoe box shelf. And that collection of scarves, belts, or even jewelry can be elegantly displayed and easily accessible thanks to a few clever folds and fabric scraps.
But the possibilities don’t stop there. Consider these variations to further personalize your projects:
* **Fabric Frenzy:** Experiment with different fabrics beyond the basics. Burlap adds a rustic charm, velvet exudes luxury, and patterned cotton brings a playful vibe. Don’t be afraid to mix and match textures and prints for a truly unique look.
* **Hardware Highlights:** Elevate your shoe box creations with decorative hardware. Think antique knobs for drawer pulls, ornate handles for storage boxes, or even small metal label holders for easy identification.
* **Paint Power:** While wrapping paper and fabric are fantastic options, don’t underestimate the power of paint. Chalk paint offers a matte, vintage finish, while metallic paint adds a touch of glamour. Stencils can also be used to create intricate patterns and designs.
* **Modular Magic:** Design your shoe box organizers to be modular, allowing you to rearrange and reconfigure them as your needs evolve. Use Velcro strips or small magnets to connect boxes together, creating a flexible storage system.
* **Kid-Friendly Creations:** Get the kids involved! Shoe boxes are perfect for creating toy storage, art supply organizers, or even miniature dollhouses. Let their imaginations run wild with paint, glitter, and other embellishments.
Ultimately, the goal is to create organizers that not only serve a practical purpose but also reflect your personal style. These shoe box DIY hacks are a fantastic way to reduce waste, save money, and add a touch of creativity to your home.
We strongly encourage you to give these projects a try. Start small, experiment with different techniques, and don’t be afraid to make mistakes. The most important thing is to have fun and let your creativity shine. And once you’ve created your own amazing shoe box transformations, we’d love to see them! Share your photos and stories with us on social media using #ShoeBoxDIYHacks. We can’t wait to see what you come up with!
Frequently Asked Questions (FAQ)
Q: What kind of shoe boxes work best for these DIY projects?
A: Generally, sturdy shoe boxes made from thicker cardboard are ideal. Look for boxes that hold heavier shoes or boots, as they tend to be more durable. Avoid flimsy boxes that easily collapse, as they won’t provide the necessary support for your organizers. However, even thinner boxes can be reinforced with extra cardboard or layers of glue. The size of the shoe box will depend on the specific project you’re undertaking. Smaller boxes are great for drawer dividers, while larger boxes are better suited for shelves or storage containers. Don’t be afraid to mix and match different sizes to create a customized organization system.
Q: What are the best materials to use for covering the shoe boxes?
A: The options are endless! Wrapping paper is a classic choice, offering a wide variety of colors, patterns, and textures. Fabric scraps are another great option, allowing you to coordinate your organizers with your existing decor. Consider using felt, burlap, cotton, or even repurposed clothing. Paint is also a versatile option, especially if you want to create a custom color or design. Chalk paint, acrylic paint, and spray paint are all good choices. Other materials you can use include wallpaper samples, contact paper, scrapbook paper, and even old maps or newspapers for a vintage look. The key is to choose materials that are durable, easy to work with, and visually appealing.
Q: How can I make my shoe box organizers more durable?
A: Reinforcing the shoe boxes is crucial for ensuring their longevity. You can do this by adding extra layers of cardboard to the inside and outside of the box. Use strong glue, such as hot glue or wood glue, to adhere the cardboard securely. You can also use packing tape to reinforce the edges and corners of the box. For added support, consider adding a base to the box using a piece of plywood or thick cardboard. This will prevent the box from collapsing under heavy weight. Finally, choose durable materials for covering the box, such as thick fabric or multiple layers of wrapping paper.
Q: How do I prevent the covering materials from peeling off?
A: Proper adhesion is key to preventing peeling. Start by cleaning the surface of the shoe box thoroughly to remove any dust or debris. Use a strong adhesive, such as hot glue, spray adhesive, or Mod Podge, to attach the covering material. Apply the adhesive evenly and press the material firmly onto the box, smoothing out any wrinkles or bubbles. For fabric, consider using a fabric adhesive or sewing the fabric onto the box for extra security. Allow the adhesive to dry completely before using the organizer. You can also seal the edges of the covering material with a clear sealant to prevent fraying or peeling.
Q: Can I use these shoe box DIY hacks for organizing items other than clothes?
A: Absolutely! Shoe box organizers are incredibly versatile and can be used to organize a wide variety of items. They’re perfect for storing craft supplies, office supplies, toiletries, jewelry, accessories, toys, and even pantry items. Get creative and think about what areas of your home need the most organization. You can use shoe boxes to create custom storage solutions for your kitchen, bathroom, bedroom, living room, or even your garage. The possibilities are endless!
Q: How do I measure and cut the materials accurately?
A: Accurate measurements are essential for creating professional-looking organizers. Use a ruler or measuring tape to measure the dimensions of the shoe box carefully. Transfer these measurements to your covering material, adding a little extra for overlap. Use a sharp pair of scissors or a craft knife to cut the material along the marked lines. For fabric, consider using a rotary cutter and a cutting mat for precise cuts. When cutting cardboard, use a utility knife and a straight edge to ensure clean, straight lines. Remember to always cut on a protected surface to avoid damaging your work area.
Q: What are some creative ways to label my shoe box organizers?
A: Labeling your organizers is crucial for easy identification and retrieval of items. You can use a variety of methods to label your shoe boxes, including:
* **Label Maker:** A label maker is a quick and easy way to create professional-looking labels.
* **Handwritten Labels:** Use a permanent marker to write directly on the box or on a piece of paper that you can glue to the box.
* **Chalkboard Labels:** Paint a small area of the box with chalkboard paint and use chalk to write the label. This allows you to easily change the label as needed.
* **Printed Labels:** Design and print labels on your computer and glue them to the box.
* **Photo Labels:** Print out small photos of the items stored in the box and glue them to the front. This is especially helpful for organizing children’s toys or clothing.
* **Decorative Tags:** Attach decorative tags to the boxes using ribbon or twine.
Choose a labeling method that is both functional and visually appealing.
Q: Where can I find inspiration for shoe box DIY projects?
A: The internet is a treasure trove of inspiration for shoe box DIY projects! Browse websites like Pinterest, Instagram, and YouTube for countless ideas and tutorials. Search for keywords like “shoe box organization,” “shoe box crafts,” or “recycled shoe box projects.” You can also find inspiration in home decor magazines, craft books, and even your own imagination. Pay attention to the colors, patterns, and textures that you’re drawn to and incorporate them into your own designs. Don’t be afraid to experiment and try new things!
Q: Are these shoe box DIY hacks eco-friendly?
A: Absolutely! Repurposing shoe boxes is a fantastic way to reduce waste and contribute to a more sustainable lifestyle. Instead of throwing away your old shoe boxes, you’re giving them a new life and preventing them from ending up in a landfill. By using recycled materials, such as fabric scraps, wrapping paper, and cardboard, you’re further reducing your environmental impact. These shoe box DIY hacks are a simple and effective way to be more eco-conscious and create a more organized and beautiful home.

Leave a Comment