
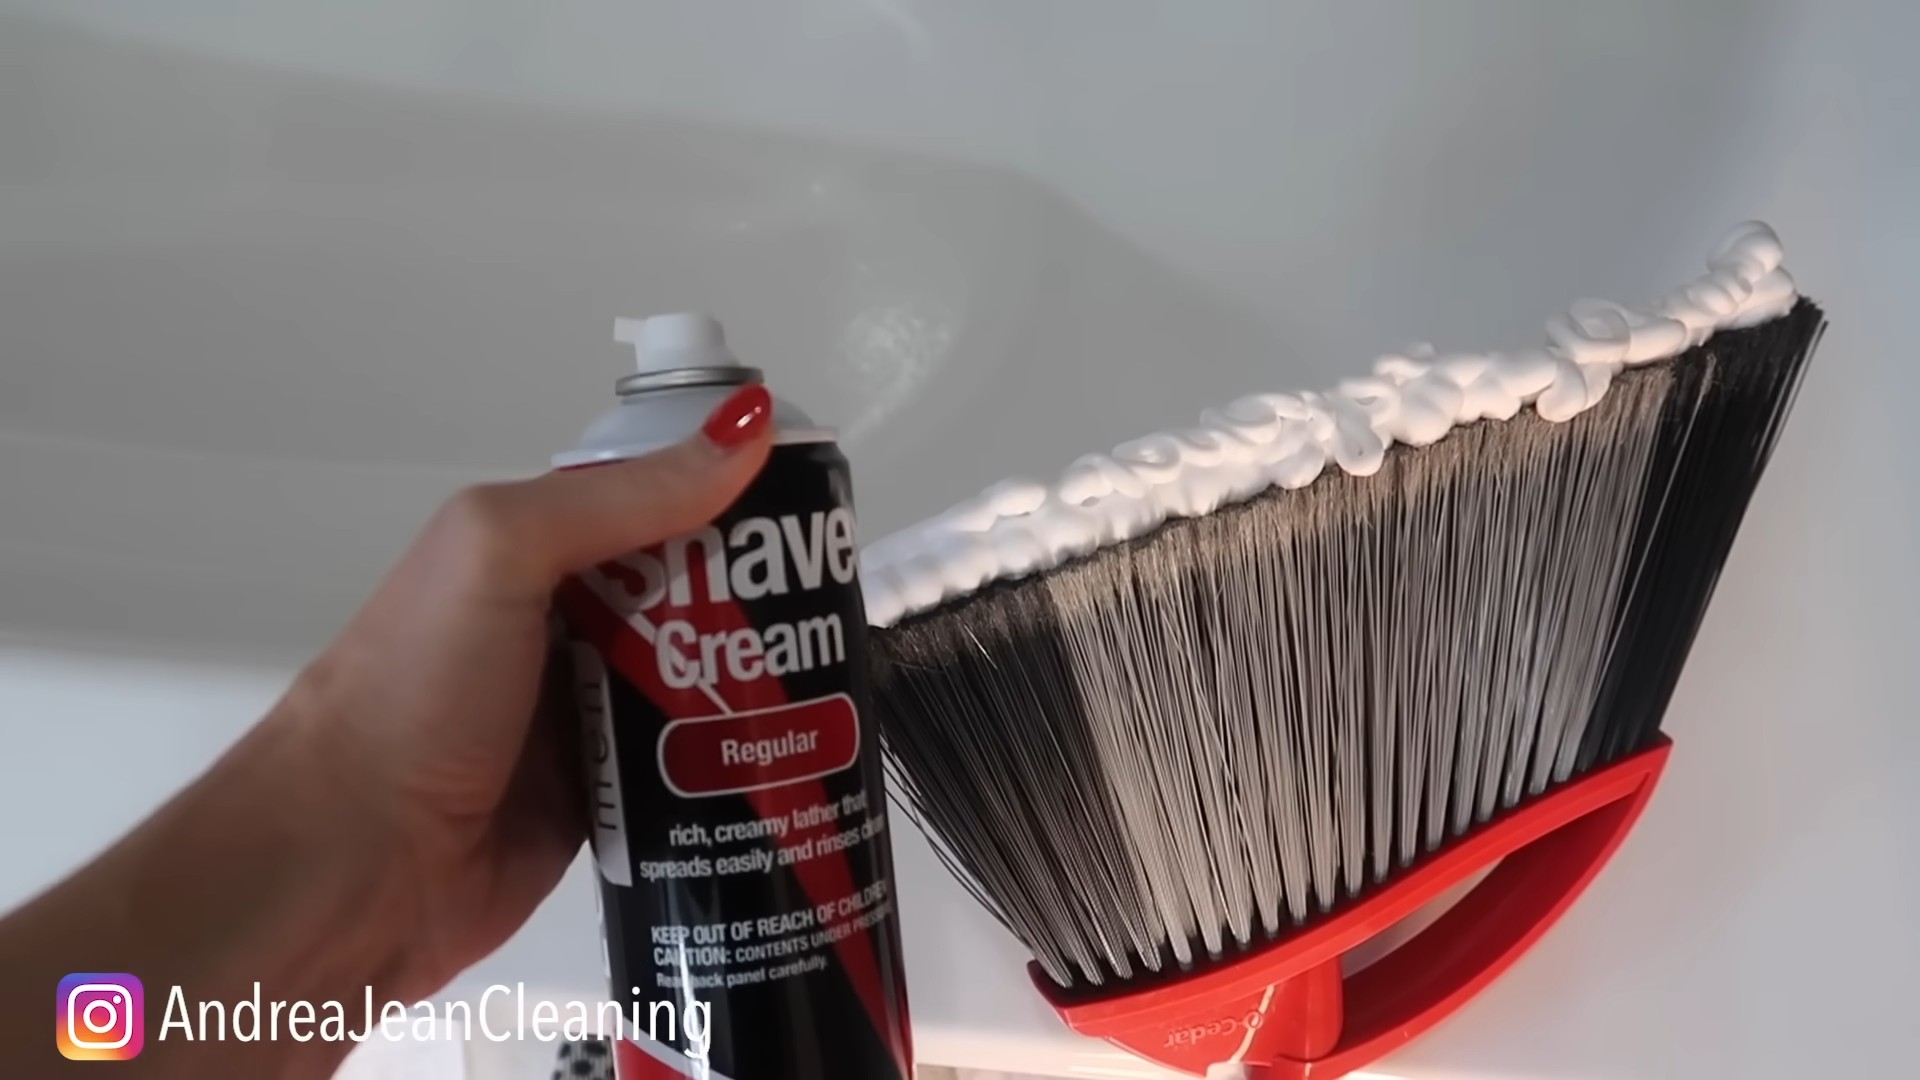
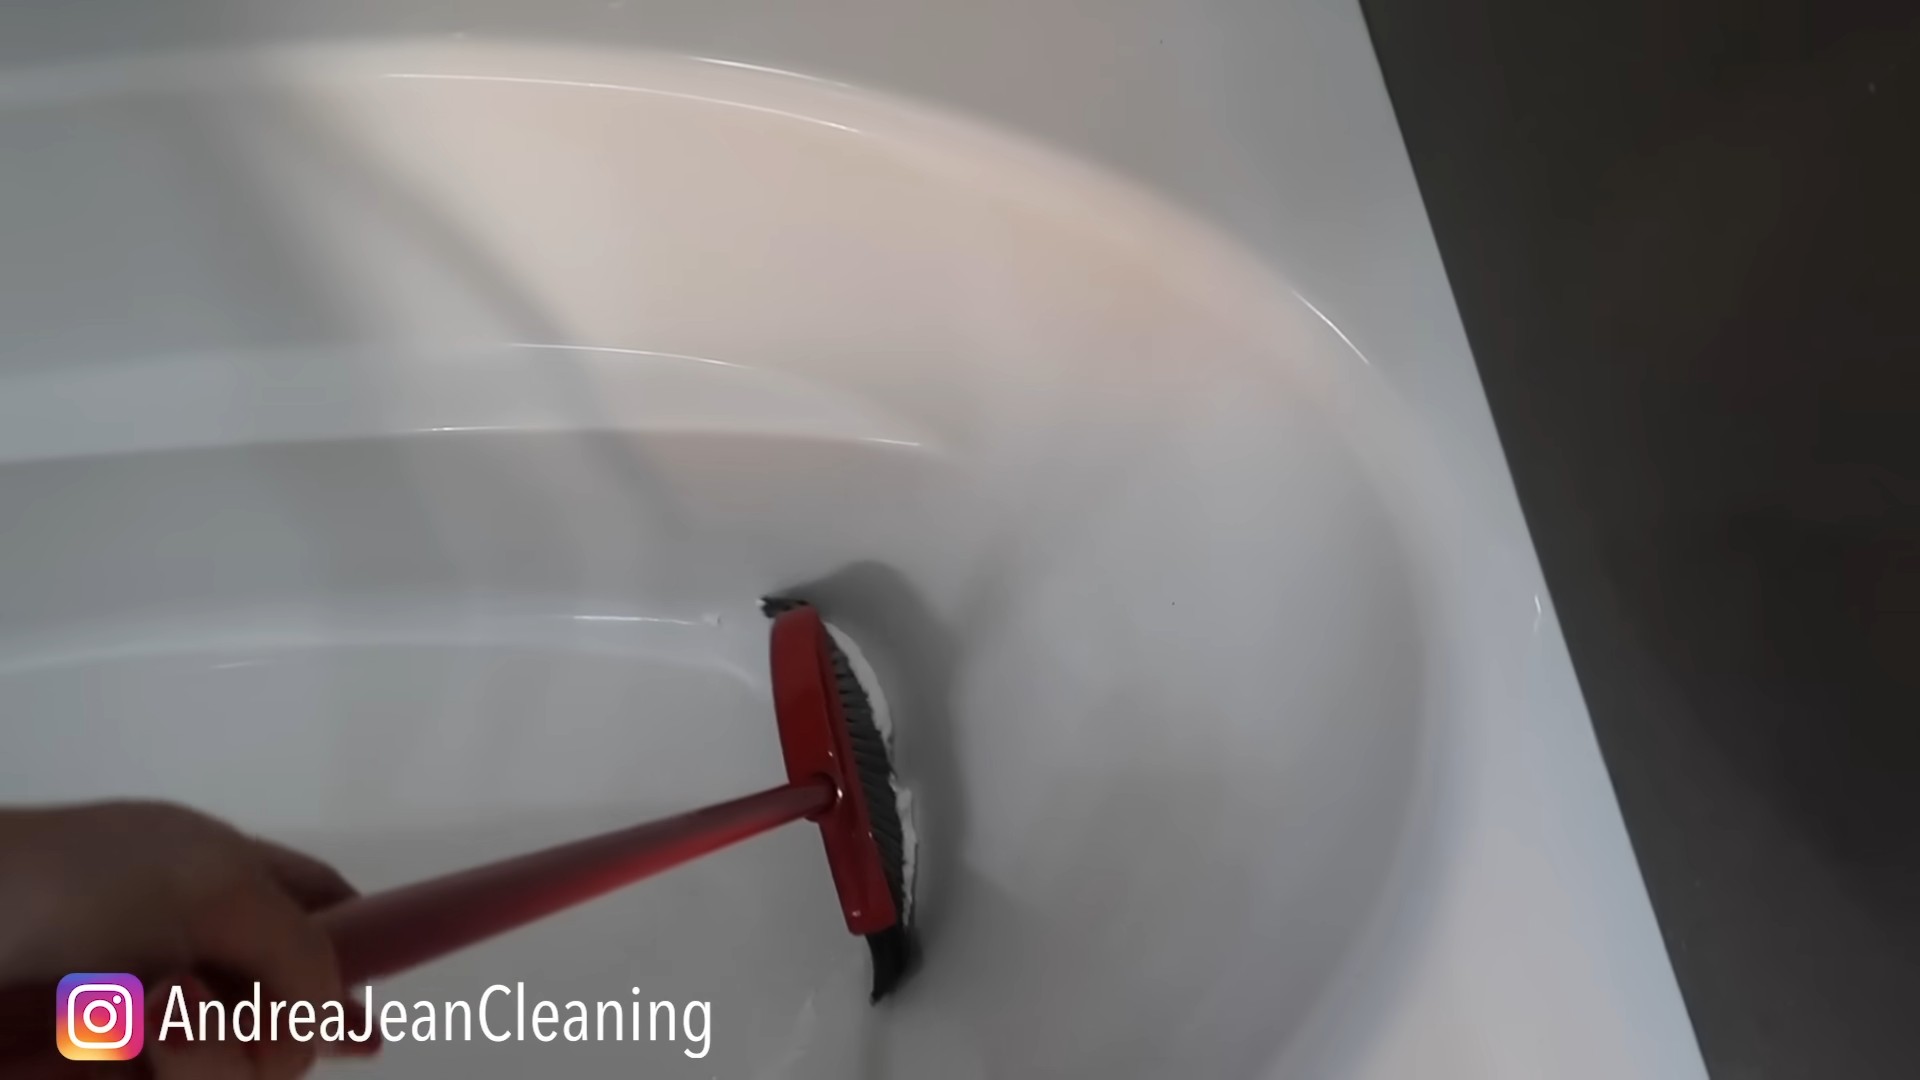
Shaving Cream Tricks: Who knew that the foamy stuff you use for a smooth shave could be your secret weapon for a thriving garden and a sparkling home? I’m always on the lookout for clever DIY hacks, and let me tell you, I was blown away when I discovered the amazing versatility of shaving cream!
While shaving cream has been around for ages, primarily for grooming, its use in gardening and cleaning is a relatively recent discovery. Think of it as a modern twist on age-old cleaning and gardening practices. Our grandmothers might have used lye soap for everything, but we’ve got shaving cream!
Why should you care about shaving cream tricks? Well, for starters, it can save you money! Instead of buying expensive specialized products, you can use something you probably already have in your bathroom. More importantly, it’s about finding simple, effective solutions to everyday problems. Whether you’re battling foggy mirrors, stubborn stains, or want to give your garden a boost, these DIY hacks are game-changers. I’m excited to share these easy and effective tips that will make your life a little bit easier and a lot more fun!
Growing Turnips: A Beginner’s Guide to Delicious Roots and Greens
Hey there, fellow gardening enthusiasts! I’m super excited to share my tried-and-true methods for growing turnips. These often-overlooked veggies are incredibly versatile, offering both tasty roots and nutritious greens. Plus, they’re relatively easy to grow, making them perfect for beginner gardeners like myself (when I started, anyway!). Let’s dive in!
Choosing Your Turnip Variety
Before we get our hands dirty, let’s talk about turnip varieties. This is important because different varieties mature at different rates and have slightly different flavors. Here are a few of my favorites:
* **Purple Top White Globe:** This is a classic, all-purpose turnip. It’s known for its mild flavor and good storage capabilities. The roots are large and round, with a distinctive purple top.
* **Tokyo Cross:** If you’re looking for a quick harvest, Tokyo Cross is your best bet. These turnips mature incredibly fast (around 30 days!) and have a sweet, delicate flavor. They’re best eaten when small.
* **Golden Ball:** As the name suggests, these turnips have a beautiful golden-yellow flesh. They have a slightly sweeter flavor than Purple Top White Globe and are great for roasting.
* **Hakurei:** This Japanese turnip is a real gem. It’s incredibly tender and sweet, and you can even eat it raw! The greens are also delicious.
Preparing Your Garden Bed
Turnips thrive in well-drained soil that’s rich in organic matter. Here’s how I prepare my garden bed:
1. **Choose a Sunny Spot:** Turnips need at least 6 hours of sunlight per day.
2. **Clear the Area:** Remove any weeds, rocks, and debris from the planting area.
3. **Loosen the Soil:** Use a garden fork or tiller to loosen the soil to a depth of at least 12 inches. This will allow the turnip roots to grow easily.
4. **Amend the Soil:** Incorporate plenty of compost or well-rotted manure into the soil. This will improve drainage, add nutrients, and help retain moisture. I usually add about 2-3 inches of compost.
5. **Check the pH:** Turnips prefer a soil pH between 6.0 and 6.8. You can test your soil pH with a home testing kit or send a sample to your local agricultural extension office. If your soil is too acidic, you can add lime to raise the pH. If it’s too alkaline, you can add sulfur to lower the pH.
6. **Rake Smooth:** Rake the soil smooth to create a level planting surface.
Planting Turnip Seeds
Turnips are a cool-season crop, so the best time to plant them is in the spring or fall.
* **Spring Planting:** Plant turnips 2-4 weeks before the last expected frost.
* **Fall Planting:** Plant turnips 6-8 weeks before the first expected frost.
Here’s how I plant my turnip seeds:
1. **Create Furrows:** Use a hoe or your finger to create shallow furrows in the soil, about 1/2 inch deep and 12 inches apart.
2. **Sow the Seeds:** Sprinkle the turnip seeds evenly along the furrows. Turnip seeds are tiny, so don’t sow them too thickly.
3. **Cover the Seeds:** Gently cover the seeds with a thin layer of soil.
4. **Water Gently:** Water the soil gently with a watering can or hose with a gentle spray nozzle. Keep the soil moist until the seeds germinate.
Thinning Turnip Seedlings
Once your turnip seedlings emerge (usually within 5-7 days), you’ll need to thin them out. This is crucial because it gives the remaining plants enough space to grow and develop properly.
1. **Wait Until Seedlings Have a Few True Leaves:** True leaves are the second set of leaves that appear after the initial seed leaves (cotyledons).
2. **Thin to the Recommended Spacing:** Thin the seedlings to 2-4 inches apart for smaller varieties like Tokyo Cross, and 4-6 inches apart for larger varieties like Purple Top White Globe.
3. **Gently Remove Excess Seedlings:** Use your fingers or small scissors to carefully remove the excess seedlings. Try not to disturb the roots of the remaining plants.
4. **Water After Thinning:** Water the soil gently after thinning to help the remaining plants recover.
Caring for Your Turnip Plants
Turnips are relatively low-maintenance, but here are a few things you can do to keep them happy and healthy:
1. **Water Regularly:** Turnips need consistent moisture to thrive. Water them deeply whenever the top inch of soil feels dry. Avoid overwatering, as this can lead to root rot.
2. **Weed Regularly:** Keep the garden bed free of weeds, which can compete with the turnips for nutrients and water. Hand-pull weeds carefully to avoid disturbing the turnip roots.
3. **Fertilize (Optional):** If your soil is poor, you can fertilize your turnips with a balanced fertilizer (e.g., 10-10-10) about 3-4 weeks after planting. Follow the instructions on the fertilizer package. I usually prefer to side-dress with compost tea every few weeks.
4. **Protect from Pests:** Turnips can be susceptible to certain pests, such as flea beetles and aphids. Inspect your plants regularly for signs of infestation. If you find pests, you can try spraying them with insecticidal soap or neem oil.
5. **Monitor for Diseases:** Turnips can also be affected by certain diseases, such as downy mildew and clubroot. Ensure good air circulation around your plants and avoid overhead watering to help prevent these diseases. If you notice any signs of disease, remove the affected plants immediately.
Harvesting Turnips
The time it takes for turnips to mature depends on the variety you’re growing. Generally, you can start harvesting turnips when the roots are about 2-3 inches in diameter.
1. **Check the Maturity Date:** Refer to the seed packet or plant tag for the expected maturity date of your turnip variety.
2. **Loosen the Soil:** Use a garden fork to loosen the soil around the turnips.
3. **Pull the Turnips:** Gently pull the turnips from the ground, holding them by the base of the leaves.
4. **Cut Off the Greens:** Cut off the turnip greens, leaving about 1-2 inches of stem attached to the root. You can eat the greens!
5. **Wash and Store:** Wash the turnips thoroughly and store them in a cool, dry place. They can be stored in the refrigerator for several weeks.
Enjoying Your Turnip Harvest
Now for the best part – enjoying the fruits (or rather, roots and greens!) of your labor! Turnips are incredibly versatile and can be used in a variety of dishes.
* **Turnip Roots:** You can roast, boil, mash, or sauté turnip roots. They’re also great in soups and stews. I love roasting them with a little olive oil, salt, and pepper.
* **Turnip Greens:** Turnip greens are delicious sautéed, steamed, or added to salads. They have a slightly peppery flavor. I often sauté them with garlic and a little bit of bacon.
Troubleshooting Common Turnip Problems
Even with the best care, you might encounter a few problems while growing turnips. Here are some common issues and how to address them:
* **Small Roots:** If your turnip roots are small, it could be due to overcrowding, poor soil, or insufficient watering. Make sure to thin your seedlings properly, amend the soil with compost, and water regularly.
* **Bitter Taste:** Turnips can sometimes develop a bitter taste, especially if they’re grown in hot weather or stressed by lack of water. Choose heat-tolerant varieties and ensure consistent watering.
* **Pest Damage:** Flea beetles and aphids can damage turnip leaves. Use insecticidal soap or neem oil to control these pests.
* **Disease:** Downy mildew and clubroot can affect turnip plants. Ensure good air circulation and avoid overhead watering to prevent these diseases. Remove any affected plants immediately.
Extending Your Turnip Harvest
Want to enjoy fresh turnips for as long as possible? Here are a few tips for extending your harvest:
* **Succession Planting:** Plant turnips every 2-3 weeks to ensure a continuous harvest.
* **Choose Different Varieties:** Plant both early-maturing and late-maturing varieties to extend the harvest window.
* **Store Turnips Properly:** Store harvested turnips in a cool, dry place to prolong their shelf life.
* **Overwintering:** In mild climates, you can overwinter turnips by mulching them heavily with straw or leaves.
Turnip Greens: A Nutritional Powerhouse
Don’t throw away those turnip greens! They are packed with vitamins and minerals, including vitamins A, C, and K, as well as calcium and folate. They’re also a good source of
Conclusion
So, there you have it! Mastering the art of home gardening turnip cultivation isn’t some mystical, unattainable feat. It’s a rewarding journey accessible to anyone with a patch of earth and a little dedication. We’ve explored the essential steps, from selecting the right turnip varieties to understanding the nuances of soil preparation and pest control. But the real magic lies in the DIY trick we’ve unveiled: the homemade turnip fertilizer.
Why is this DIY fertilizer a must-try? Because it’s a game-changer for your turnip yield and the overall health of your garden. Commercial fertilizers can be expensive and often contain harsh chemicals that disrupt the delicate balance of your soil ecosystem. Our homemade concoction, on the other hand, is cost-effective, environmentally friendly, and packed with nutrients that turnips crave. It’s a win-win-win!
This DIY fertilizer is more than just a recipe; it’s a philosophy. It’s about understanding the needs of your plants and providing them with the nourishment they require in a sustainable and responsible way. It’s about connecting with nature and taking pride in the food you grow.
But don’t just take our word for it. We encourage you to experiment and adapt the recipe to suit your specific needs and preferences. For example, if you have access to seaweed, consider adding a handful to the compost tea for an extra boost of micronutrients. Or, if your soil is particularly acidic, you might want to incorporate a small amount of wood ash to help raise the pH level.
Consider these variations to personalize your turnip growing experience:
* Spicy Turnips: Add a pinch of cayenne pepper to your DIY fertilizer for a subtle kick that may also deter some pests.
* Sweet Turnips: Incorporate a small amount of molasses into the fertilizer to enhance the sweetness of your turnips.
* Leafy Greens Boost: If you’re growing turnips primarily for their greens, add a nitrogen-rich component like alfalfa meal to the fertilizer.
The possibilities are endless! The key is to observe your plants closely and adjust your approach accordingly. Remember, gardening is a learning process, and every season brings new challenges and opportunities.
We are confident that this DIY trick will significantly improve your turnip growing experience. It’s a simple, effective, and sustainable way to nourish your plants and reap the rewards of a bountiful harvest. So, grab your gardening gloves, gather your ingredients, and get ready to witness the transformative power of homemade turnip fertilizer.
We are incredibly excited to hear about your experiences with this DIY trick. Please share your results, tips, and variations in the comments section below. Let’s create a community of passionate gardeners who are dedicated to growing healthy, delicious turnips in a sustainable and responsible way. Happy gardening!
Frequently Asked Questions (FAQ)
What exactly are the benefits of using a DIY turnip fertilizer compared to store-bought options?
DIY turnip fertilizer offers several advantages. Firstly, it’s significantly more cost-effective. You’re using readily available ingredients, often kitchen scraps or garden waste, minimizing expenses. Secondly, it’s environmentally friendly. You’re reducing your reliance on commercially produced fertilizers, which often involve energy-intensive manufacturing processes and can contribute to pollution. Thirdly, you have complete control over the ingredients. You know exactly what’s going into your fertilizer, avoiding potentially harmful chemicals or additives. Finally, DIY fertilizers are often richer in beneficial microbes, which improve soil health and nutrient availability. This leads to healthier, more resilient turnip plants.
How often should I apply this DIY turnip fertilizer to my plants?
The frequency of application depends on several factors, including the age of your plants, the quality of your soil, and the weather conditions. As a general guideline, apply the fertilizer every 2-3 weeks during the active growing season. For young seedlings, dilute the fertilizer to half strength to avoid burning their delicate roots. If your soil is particularly poor, you may need to apply the fertilizer more frequently. Conversely, if your soil is already rich in nutrients, you can reduce the frequency of application. Always observe your plants closely for signs of nutrient deficiencies or excesses and adjust your feeding schedule accordingly. Yellowing leaves may indicate a nitrogen deficiency, while stunted growth could suggest a lack of phosphorus or potassium.
Can I use this DIY fertilizer for other vegetables besides turnips?
Yes, absolutely! While this fertilizer is specifically formulated to meet the needs of turnips, it can also be beneficial for other root vegetables like carrots, radishes, and beets. The nutrient composition is generally well-suited for these types of plants. However, keep in mind that different vegetables have different nutrient requirements. For example, leafy greens like lettuce and spinach require more nitrogen than root vegetables. Therefore, you may need to adjust the recipe slightly to meet the specific needs of other plants. Research the nutrient requirements of the vegetables you’re growing and tailor your fertilizer accordingly.
What if I don’t have all the ingredients listed in the DIY fertilizer recipe? Can I substitute anything?
Flexibility is key when it comes to DIY gardening! If you’re missing an ingredient, don’t worry, there are often substitutes you can use. For example, if you don’t have compost, you can use well-rotted manure or worm castings instead. If you don’t have Epsom salts, you can skip it altogether, although it does provide a beneficial boost of magnesium. If you don’t have bone meal, you can use rock phosphate as a source of phosphorus. The most important thing is to understand the role of each ingredient and find a suitable alternative that provides the same nutrients. Remember to adjust the quantities accordingly to maintain the overall balance of the fertilizer.
How do I store the leftover DIY turnip fertilizer?
Proper storage is essential to maintain the effectiveness of your DIY fertilizer. Store the fertilizer in a cool, dark place in an airtight container. This will help prevent the growth of harmful bacteria and preserve the nutrients. Avoid storing the fertilizer in direct sunlight or extreme temperatures, as this can degrade the ingredients. If you’re using a liquid fertilizer, such as compost tea, it’s best to use it within a few days of preparation. Solid fertilizers, such as compost or bone meal, can be stored for several months if stored properly. Always label the container with the date of preparation to keep track of its age.
My turnips are growing, but the bulbs are small. Could this DIY fertilizer help?
Yes, the DIY fertilizer could definitely help! Small turnip bulbs often indicate a nutrient deficiency, particularly a lack of phosphorus or potassium. These nutrients are essential for root development and bulb formation. The bone meal in the DIY fertilizer is a good source of phosphorus, while the compost provides a range of essential nutrients, including potassium. Make sure you’re applying the fertilizer regularly and in the correct dosage. Also, ensure that your turnips are getting enough sunlight and water, as these factors also play a crucial role in bulb development. Thinning your turnip seedlings can also help, as it allows the remaining plants to access more resources.
Are there any potential risks associated with using DIY turnip fertilizer?
While DIY fertilizers are generally safe, there are a few potential risks to be aware of. Over-fertilizing can lead to nutrient burn, which can damage or even kill your plants. Always start with a diluted solution and observe your plants closely for signs of over-fertilization, such as yellowing or browning leaves. Also, be careful when using manure, as it can contain harmful pathogens if it’s not properly composted. Always use well-rotted manure to minimize the risk of contamination. Finally, be mindful of the pH level of your soil. Some DIY fertilizers can alter the pH, which can affect nutrient availability. Test your soil regularly and adjust your fertilizer accordingly to maintain a balanced pH.
Can I use this DIY fertilizer in hydroponic systems?
While the ingredients in this DIY fertilizer are beneficial, it’s not specifically designed for hydroponic systems. Hydroponics requires a carefully balanced nutrient solution that is readily available to the plants. The solid components of this DIY fertilizer, such as bone meal and compost, would not dissolve properly in a hydroponic system and could clog the system. For hydroponics, it’s best to use commercially available hydroponic nutrient solutions that are specifically formulated for this purpose. These solutions contain all the essential nutrients in a readily available form.


Leave a Comment