
Polish Stainless Steel: Unlocking the Gleam in Your Garden
I love the look of gleaming stainless steel, don’t you? But keeping those garden tools and planters sparkling can feel like a never-ending battle against rust and grime. That’s why I’m so excited to share my favorite Polish Stainless Steel tricks and DIY solutions with you today! This isn’t just about aesthetics; maintaining your stainless steel garden equipment is crucial for its longevity and performance. A little bit of preventative care goes a long way.
The use of stainless steel in gardening tools and outdoor décor has a relatively recent history, but its popularity is undeniable. Its durability and resistance to rust make it a favorite among gardeners, but even stainless steel needs a little TLC to keep it looking its best. For years, I struggled with dull, streaked stainless steel, until I discovered these simple yet effective Polish Stainless Steel methods.
Why You Need These DIY Hacks
Let’s face it: nobody wants to spend their precious gardening time scrubbing away at stubborn stains. These DIY Polish Stainless Steel techniques will save you time and effort, leaving you with more time to enjoy the fruits (and vegetables!) of your labor. Whether it’s restoring the shine to your favorite watering can or preventing rust on your prized shears, these hacks are essential for any gardener who values both efficiency and a beautiful garden.
From simple household ingredients to clever repurposing of everyday items, I’ll guide you through a range of techniques, ensuring you achieve that professional-grade polish without breaking the bank or spending hours on tedious cleaning. Get ready to rediscover the beauty of your stainless steel garden essentials!
Polishing Stainless Steel: A DIY Guide to Sparkling Surfaces
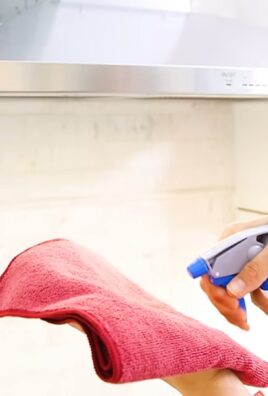
Stainless steel is a fantastic material – durable, sleek, and relatively easy to maintain. But even stainless steel can lose its shine over time. Scratches, fingerprints, and water spots can dull its luster. Luckily, you don’t need expensive professional cleaning services to restore your stainless steel to its former glory. I’m going to walk you through my favorite DIY methods for achieving a brilliant, streak-free polish.
Gathering Your Supplies
- Microfiber cloths (at least two; one for cleaning, one for polishing)
- Soft sponges
- Baking soda
- White vinegar
- Olive oil (optional, for extra shine)
- Warm water
- A spray bottle
- Non-abrasive cleaning pads (like Scotch-Brite pads – avoid steel wool!)
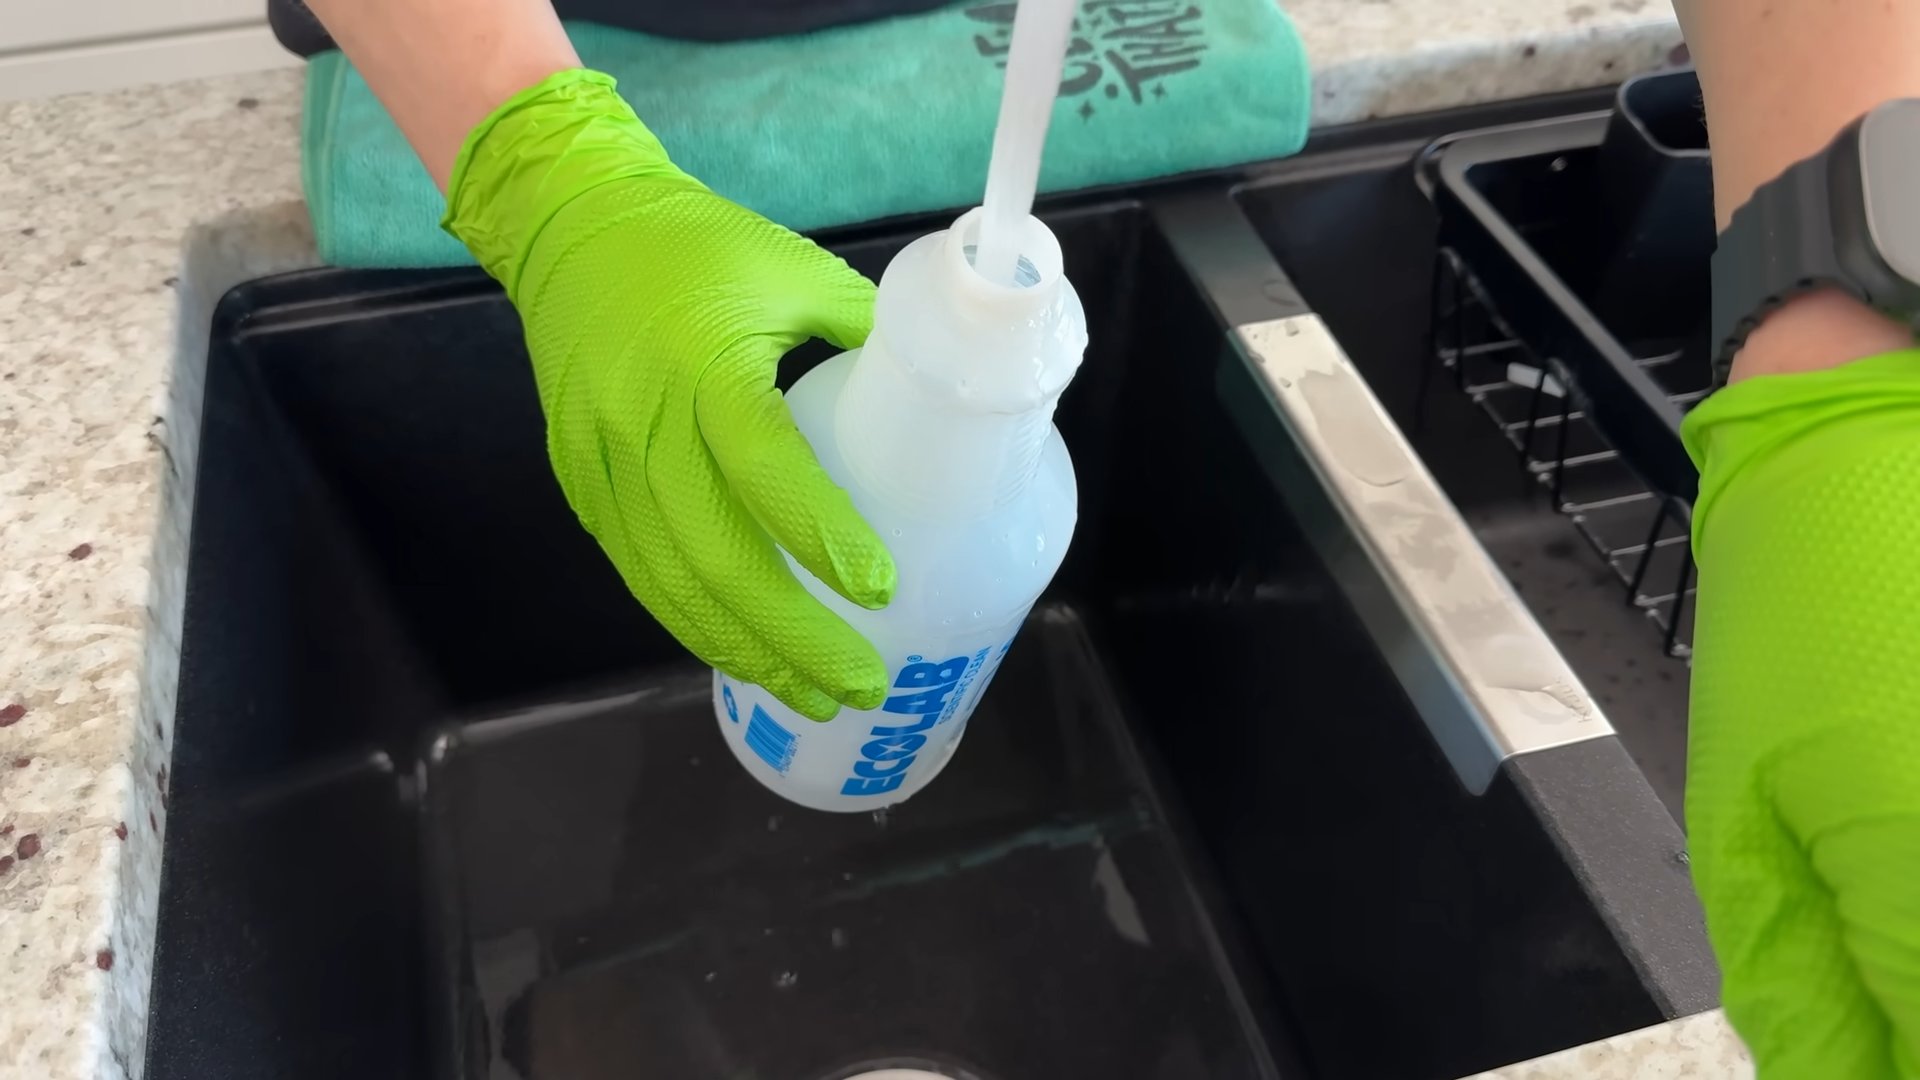
- Rubber gloves (optional, to protect your hands)
Step-by-Step Polishing Process
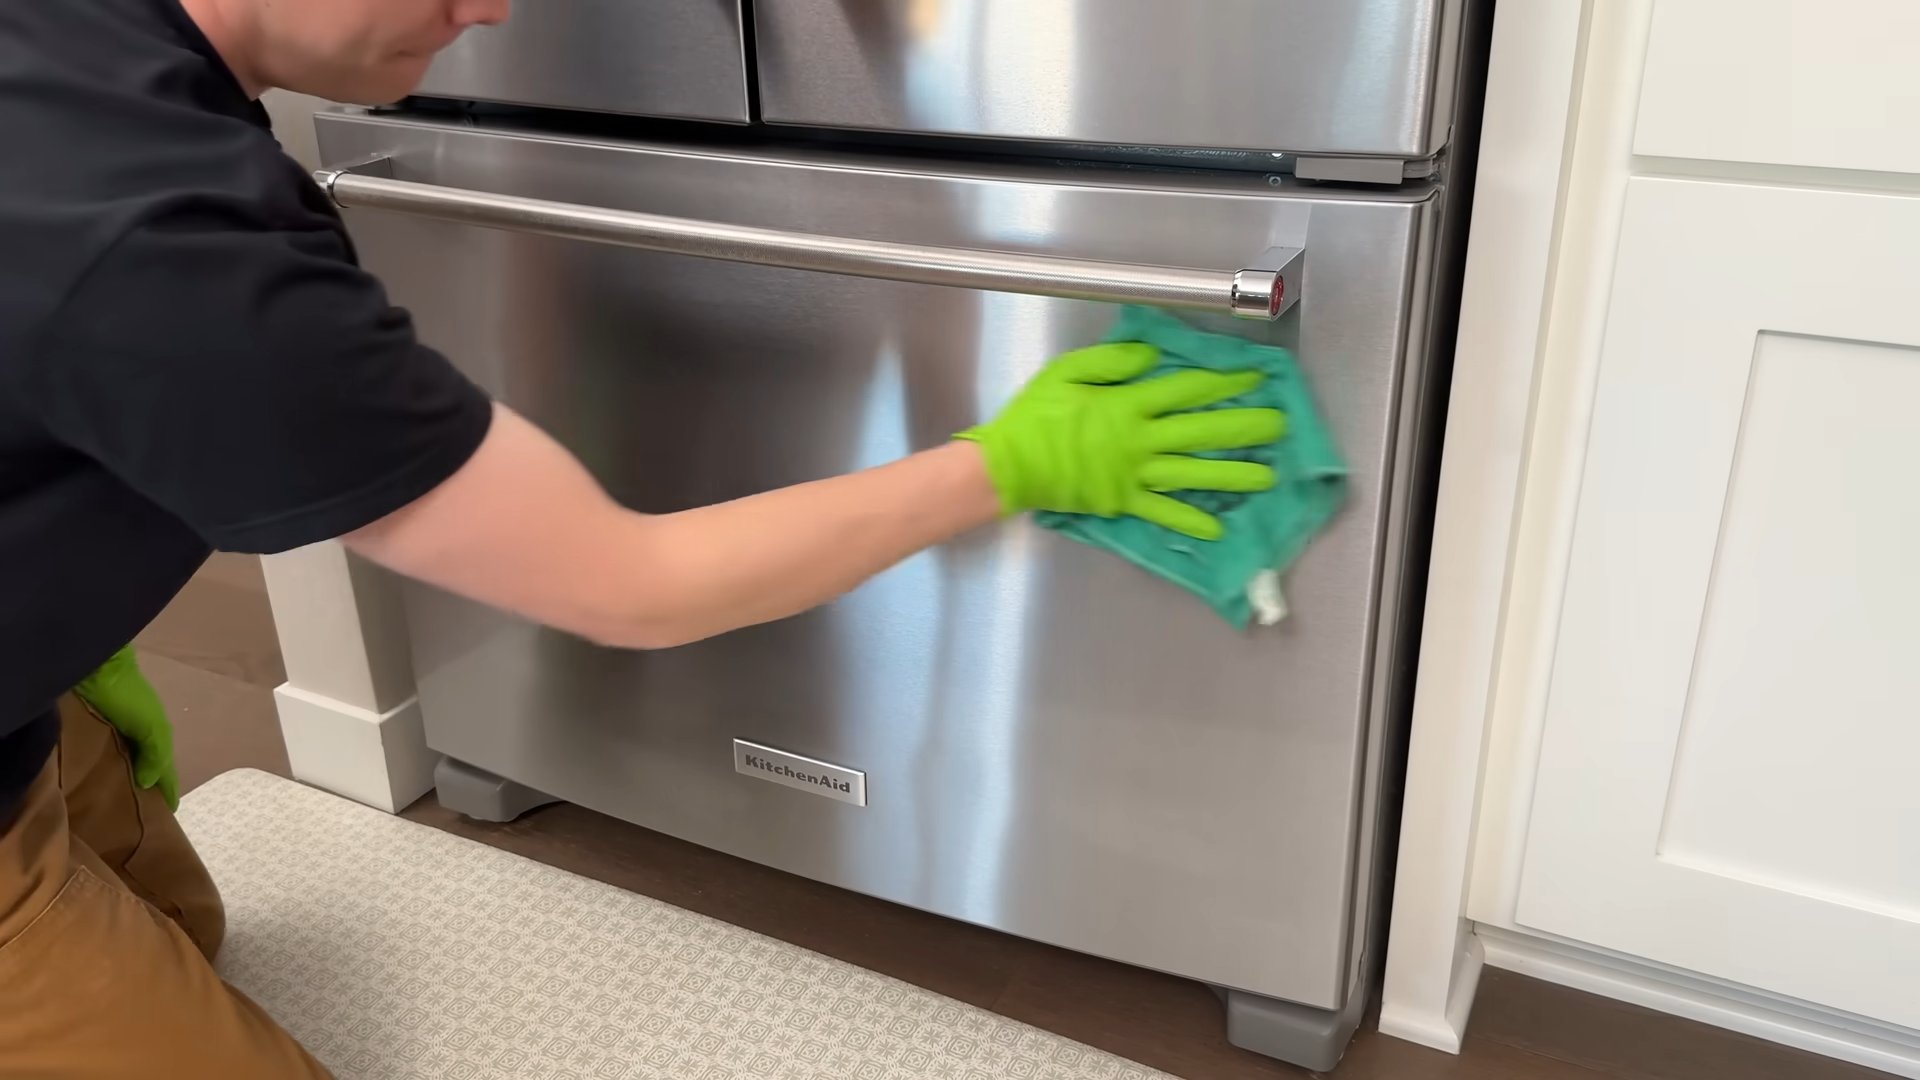
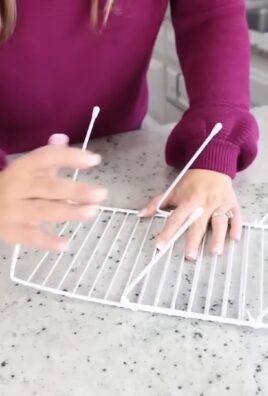
- Preparation is Key: Before you start polishing, clear the area around your stainless steel appliance or surface. Remove any loose debris or dust with a dry microfiber cloth. This prevents scratching during the cleaning process. I always make sure the surface is completely dry before I begin.
- The Initial Cleanse: Mix equal parts warm water and white vinegar in your spray bottle. Generously spray the stainless steel surface. Using a soft sponge, gently wipe the surface in the direction of the grain. Stainless steel has a grain, usually running vertically or horizontally, and cleaning with the grain prevents streaking and helps maintain the integrity of the surface. Pay close attention to any stubborn stains or fingerprints.
- Tackling Tough Stains: For more stubborn stains or water spots, create a paste of baking soda and a little water. Apply a small amount of the paste to a soft sponge or non-abrasive cleaning pad. Gently rub the paste onto the stained area, again following the grain of the steel. Don’t press too hard; you want to gently lift the stain, not scratch the surface. Rinse thoroughly with clean water and a soft sponge.
- The Baking Soda Power Clean (for heavier grime): For really grimy surfaces, you can skip the vinegar step and go straight to a baking soda paste. Make a thicker paste than before, and apply it liberally to the surface. Let it sit for about 10-15 minutes to allow the baking soda to work its magic. Then, gently scrub with a soft sponge or non-abrasive pad, following the grain. Rinse thoroughly with clean water.
- The Final Rinse: After cleaning with either method, rinse the entire surface thoroughly with clean water. Make sure to remove all traces of baking soda or vinegar. I usually use a clean, damp sponge for this step, followed by a final rinse with just plain water.
- The All-Important Drying: This is crucial for a streak-free finish. Use a clean, dry microfiber cloth to thoroughly dry the stainless steel surface. Again, wipe in the direction of the grain. This helps to prevent water spots and ensures a polished look. Don’t leave any standing water on the surface.
- Optional: Adding Extra Shine: For an extra-brilliant shine, apply a tiny amount of olive oil to a clean microfiber cloth. Gently buff the surface in the direction of the grain. The olive oil will help to repel water and fingerprints, keeping your stainless steel looking its best for longer. Be careful not to use too much oil, as it can leave a greasy residue.
- Inspect and Repeat: Once you’ve finished, inspect your work. Are there any areas that need a little extra attention? Don’t hesitate to repeat steps 3-7 as needed. Remember, patience is key to achieving a truly professional-looking polish.
Dealing with Specific Problems
Scratches
Minor scratches can often be buffed out with a little elbow grease and a polishing compound designed for stainless steel. Always test any product on an inconspicuous area first. For deeper scratches, you may need to consult a professional.
Rust
Rust is a more serious issue. If you see rust, act quickly. Use a non-abrasive cleaning pad and a paste of baking soda and water to gently remove the rust. If the rust is extensive, you may need a specialized rust remover. Always follow the manufacturer’s instructions carefully.
Water Spots
Water spots are often caused by hard water. The baking soda and vinegar solution is usually very effective at removing them. If you have persistent water spots, consider using a commercial stainless steel cleaner specifically designed to remove hard water stains. Always test any product on an inconspicuous area first.
Fingerprints
Fingerprints are a common nuisance on stainless steel. Regular cleaning with the methods described above will help to minimize their appearance. The olive oil step can also help to repel fingerprints, keeping your stainless steel looking cleaner for longer.
Tips for Maintaining Your Shine
- Clean regularly to prevent dirt and grime from building up.
- Use a soft cloth to wipe down the surface after each use.
- Avoid abrasive cleaners and scouring pads.
- Consider using a stainless steel cleaner specifically designed for your type of stainless steel.
- Always wipe in the direction of the grain.
By following these steps, you can easily keep your stainless steel appliances and surfaces sparkling and looking their best. Remember, a little patience and the right techniques can make all the difference!
Conclusion
So there you have it! Our guide to achieving a dazzling, showroom-worthy shine with your DIY Polish Stainless Steel method. This isn’t just about cleaning; it’s about restoring the inherent beauty of your stainless steel appliances and surfaces. By following these simple steps, you’ll not only avoid harsh chemicals and expensive cleaners but also achieve a superior, long-lasting polish that leaves your stainless steel looking its absolute best. This DIY Polish Stainless Steel technique is a must-try because it’s effective, economical, and environmentally friendly – a winning combination for any homeowner. The satisfying gleam you achieve is truly rewarding, transforming your kitchen or bathroom from ordinary to extraordinary.
Don’t be afraid to experiment and find what works best for you. The beauty of this method lies in its adaptability. For particularly stubborn stains or watermarks, you might consider a slightly longer application time or a gentle second pass with the microfiber cloth. If you’re dealing with a large surface area, like a stainless steel refrigerator, break the task into smaller sections for easier management. For a deeper clean, pre-clean the surface with a mild dish soap solution before applying the polish.
Feel free to explore variations on the polishing agents. While we’ve focused on baking soda and white vinegar, other mild abrasives like cornstarch or even finely ground rice flour can be used in a pinch. Remember to always test any new agent on a small, inconspicuous area first to ensure it doesn’t damage the surface. The key is to use gentle, circular motions and avoid harsh scrubbing. The goal is to polish, not to scratch.
We encourage you to try this DIY Polish Stainless Steel technique and share your results with us! Show us your sparkling appliances and surfaces on social media using #DIYPolishStainlessSteel. We’d love to see the transformation you achieve and hear about your experiences. Whether you’re tackling a fingerprint-covered stovetop or restoring the shine to your kitchen sink, this method is sure to impress. It’s a simple yet effective way to add a touch of elegance and sophistication to your home, all while saving money and protecting the environment. So, grab your supplies, get polishing, and prepare to be amazed by the results!
Frequently Asked Questions
We understand you might have some questions about our DIY Polish Stainless Steel method. Here are some answers to frequently asked questions:
Q: Can I use this method on all types of stainless steel?
A: While this method is generally safe for most stainless steel appliances and surfaces, it’s always best to test it on a small, inconspicuous area first. Avoid using this method on antique or highly polished stainless steel pieces, as the abrasive nature of baking soda could potentially damage the finish. Always refer to the manufacturer’s cleaning instructions for your specific appliance.
Q: How often should I polish my stainless steel using this method?
A: The frequency of polishing depends on how often you use your appliances and the level of soiling. For everyday use, a weekly or bi-weekly polish will usually suffice to maintain a sparkling shine. For less frequently used items, you may only need to polish them monthly or even less often.
Q: What if I accidentally scratch my stainless steel?
A: Minor scratches can often be buffed out with a very fine-grit polishing compound or a specialized stainless steel cleaner. However, deep scratches may require professional repair. To minimize the risk of scratching, always use a soft, microfiber cloth and apply gentle, circular motions when polishing.
Q: Are there any alternatives to baking soda and white vinegar?
A: Yes, as mentioned above, you can experiment with other mild abrasives like cornstarch or finely ground rice flour. However, baking soda and white vinegar are readily available, inexpensive, and highly effective. Always test any alternative on a small, inconspicuous area first.
Q: Can I use this method on stainless steel sinks with a textured finish?
A: Use caution with textured finishes. The abrasive nature of baking soda might affect the texture. It’s best to test a small, inconspicuous area first. You might need to adjust the pressure and technique to avoid damaging the texture. A softer approach with less baking soda might be necessary.
Q: What should I do if I see streaks after polishing?
A: Streaks often indicate that the surface wasn’t completely dry before polishing or that you didn’t use enough polishing agent. Try re-polishing the area with a fresh cloth and a small amount of polishing agent, ensuring the surface is completely dry before you begin. Using a clean microfiber cloth is crucial for streak-free results.
Q: Is this method safe for use around children and pets?
A: While baking soda and white vinegar are generally considered safe, it’s always best to keep cleaning supplies out of reach of children and pets. Supervise children closely during any cleaning activity and ensure pets are not in the area while you’re polishing.
Q: My stainless steel has some stubborn burnt-on food. Will this method work?
A: For stubborn burnt-on food, pre-soaking the area with warm, soapy water might be necessary before applying the DIY Polish Stainless Steel method. You may need to repeat the process several times for particularly stubborn stains. A plastic scraper can help loosen the food before polishing.
Leave a Comment