
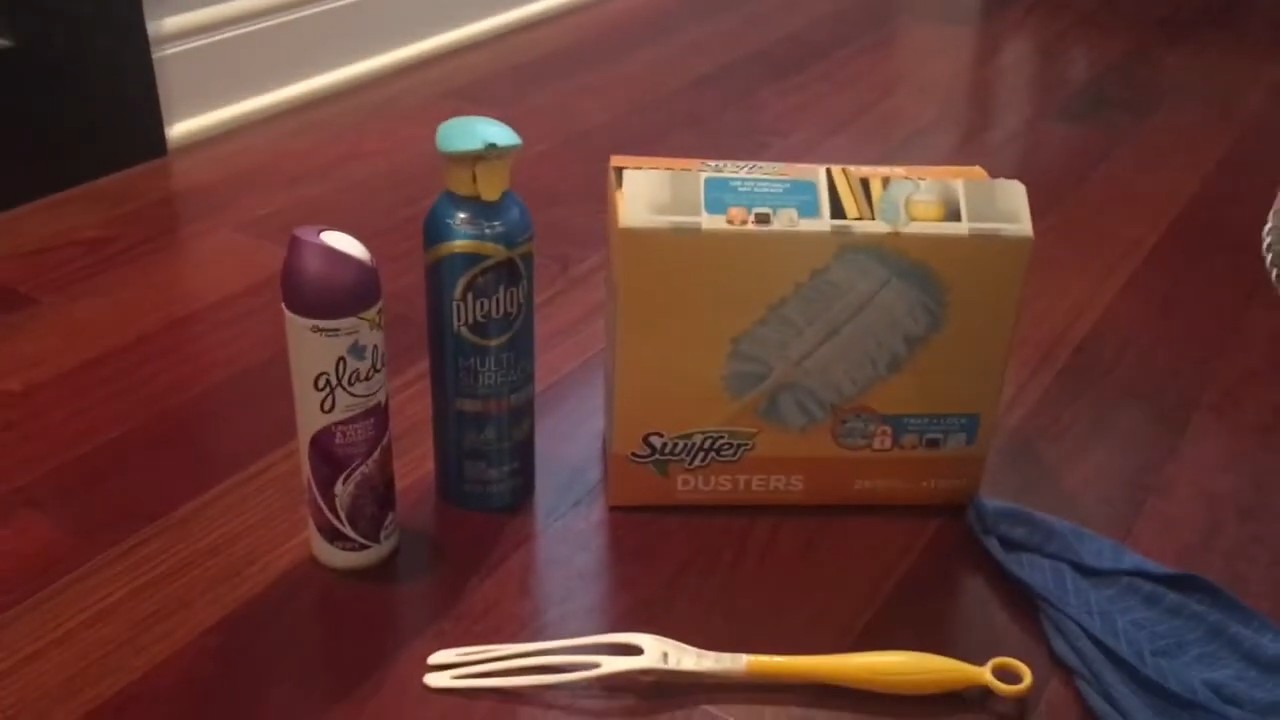
Pledge Multi-Surface Furniture Use: Ever feel like you’re battling dust bunnies and smudges on your beloved furniture, armed with a cabinet full of cleaners that promise the world but deliver… well, less than sparkling results? I know I have! That’s why I’m so excited to share some game-changing DIY tricks and hacks that will revolutionize how you approach furniture care, all centered around the surprisingly versatile Pledge Multi-Surface cleaner.
For generations, Pledge has been a household name, synonymous with keeping furniture looking its best. Its roots trace back to a time when elbow grease and natural oils were the primary weapons against grime. While those methods still have their charm, let’s face it, we’re all looking for efficient and effective solutions in today’s busy world. And that’s where these DIY hacks come in!
Why do you need these tricks? Because Pledge Multi-Surface Furniture Use extends far beyond just dusting your coffee table. I’m going to show you how to unlock its full potential, saving you money, time, and the frustration of using multiple specialized cleaners. From reviving dull wood to tackling stubborn fingerprints on stainless steel, these simple yet powerful techniques will transform your cleaning routine and leave your furniture looking its absolute best. Get ready to say goodbye to cleaning woes and hello to a sparkling, happy home!
DIY Furniture Polish with Pledge Multi-Surface: Reviving Your Wood’s Natural Shine
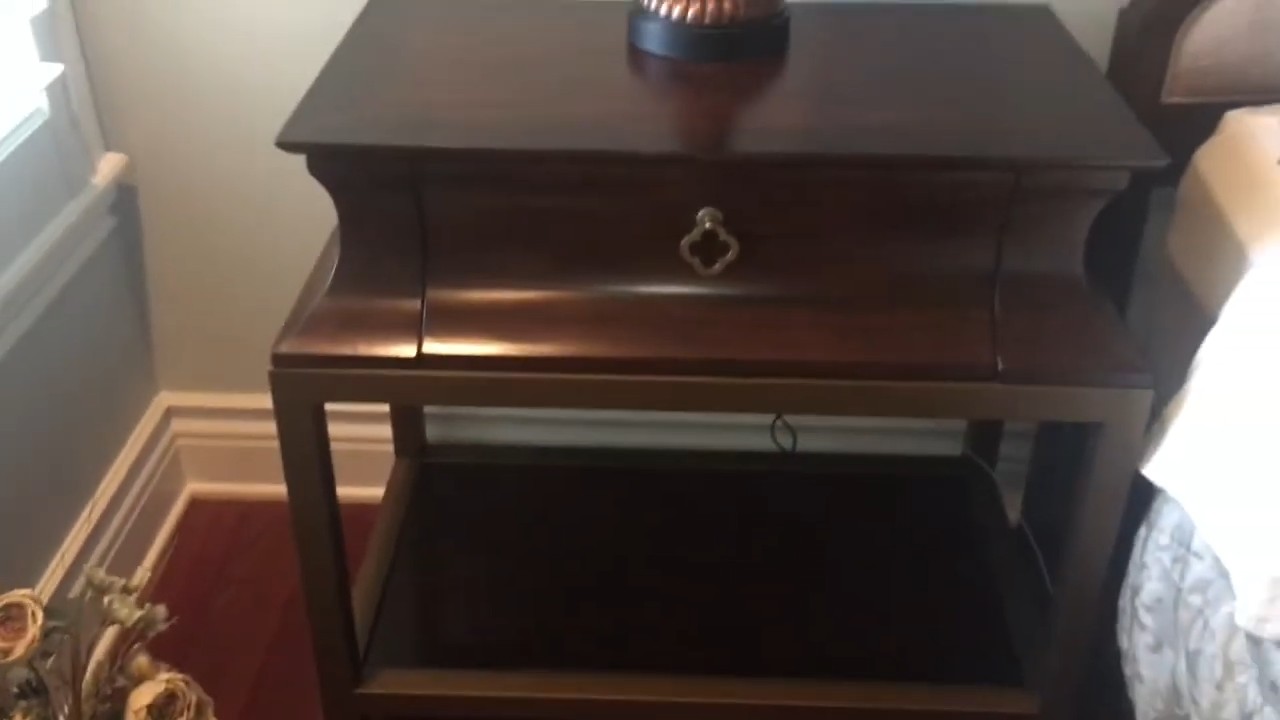
Okay, friends, let’s talk furniture. We all love that warm, inviting glow of well-maintained wood, but let’s be honest, commercial furniture polishes can be pricey and sometimes packed with chemicals we’d rather avoid. That’s where this super easy DIY hack comes in! I’m going to show you how to use Pledge Multi-Surface (yes, the same stuff you use on your countertops!) to create a fantastic furniture polish that will leave your wood surfaces looking refreshed and revitalized.
Why Pledge Multi-Surface?
You might be thinking, “Wait, Pledge Multi-Surface on wood? Is that safe?” And that’s a valid question! The key is understanding what Pledge Multi-Surface *actually* is. It’s designed to be gentle and non-abrasive, making it suitable for a variety of surfaces, including sealed wood. It cleans, shines, and helps protect against dust and fingerprints. Plus, it’s readily available and often more affordable than dedicated wood polishes.
Important Note: This method is best suited for sealed wood surfaces. If you have antique furniture or pieces with a delicate finish, it’s always best to consult with a professional before trying any DIY cleaning or polishing methods. Always test in an inconspicuous area first!
What You’ll Need
Before we dive in, let’s gather our supplies. This is a pretty simple project, so you probably already have most of these items on hand:
* Pledge Multi-Surface (Lemon or Orange scent are great for wood!)
* Two clean, soft microfiber cloths
* A small bowl (optional, for diluting the Pledge)
* Water (optional, for diluting the Pledge)
* Spray bottle (optional, if you prefer a spray application)
Step-by-Step Guide: Polishing Your Furniture
Alright, let’s get to the good stuff! Here’s how to use Pledge Multi-Surface to polish your furniture like a pro:
1. Dusting is Key: Before you even think about polishing, you need to remove any loose dust and debris. Use a clean, dry microfiber cloth to thoroughly dust the entire surface of the furniture. Pay attention to corners, crevices, and any areas where dust tends to accumulate. This step is crucial because polishing over dust will just grind it into the finish, creating scratches.
2. Prepare Your Pledge Solution (Optional): This step is optional, but I often find that diluting the Pledge slightly helps prevent buildup and makes it easier to spread evenly. In a small bowl, mix equal parts Pledge Multi-Surface and water. For example, you could use 1/4 cup of Pledge and 1/4 cup of water. If you prefer, you can skip this step and use the Pledge undiluted.
3. Application Method 1: Direct Application: If you’re using the Pledge undiluted, lightly spray it directly onto a clean microfiber cloth. Avoid spraying directly onto the furniture, as this can lead to uneven application and potential buildup.
4. Application Method 2: Spray Bottle: If you’ve diluted the Pledge, pour the mixture into a clean spray bottle. Lightly mist the surface of the furniture with the solution. Again, avoid over-saturating the wood.
5. Wipe and Polish: Using the damp microfiber cloth (either with Pledge sprayed on it or after misting the furniture), gently wipe the surface of the furniture in long, even strokes. Follow the grain of the wood for the best results. Apply light pressure and avoid scrubbing.
6. Buff to a Shine: Now, grab your second clean, dry microfiber cloth. Use this cloth to buff the surface of the furniture, removing any excess Pledge and bringing out the shine. Again, use long, even strokes and follow the grain of the wood.
7. Repeat as Needed: For heavily soiled or dull areas, you may need to repeat steps 5 and 6. Just be sure to use a clean section of your microfiber cloth each time.
8. Admire Your Work: Step back and admire your beautifully polished furniture! The wood should look clean, refreshed, and have a lovely, subtle shine.
Troubleshooting and Tips
Even with the best instructions, sometimes things don’t go exactly as planned. Here are a few troubleshooting tips to help you achieve the best results:
* Streaking: If you notice streaking after polishing, it’s likely due to using too much Pledge or not buffing thoroughly enough. Try using a clean, dry microfiber cloth to buff the surface again, applying a bit more pressure. You can also try lightly dampening the cloth with water and buffing again.
* Buildup: If you’ve been using Pledge or other polishes for a long time, you may notice a buildup of residue on your furniture. To remove this buildup, you can try using a mild soap and water solution to clean the surface before polishing. Be sure to dry the furniture thoroughly before applying the Pledge.
* Dull Finish: If your furniture still looks dull after polishing, it may be due to a damaged or worn finish. In this case, you may need to consider refinishing the furniture to restore its original luster.
* Always Test First: I can’t stress this enough! Before applying Pledge to the entire piece of furniture, test it in an inconspicuous area, such as the back of a leg or the underside of a table. This will allow you to see how the Pledge reacts with the finish and ensure that it doesn’t cause any damage or discoloration.
* Use the Right Cloths: Microfiber cloths are essential for this project. They are soft, absorbent, and won’t scratch the surface of your furniture. Avoid using paper towels or other abrasive materials, as they can damage the finish.
* Less is More: When it comes to polishing, less is definitely more. Start with a small amount of Pledge and add more as needed. Over-applying polish can lead to buildup and streaking.
* Regular Maintenance: To keep your furniture looking its best, polish it regularly. How often you need to polish will depend on how much use the furniture gets and how dusty your home is. A good rule of thumb is to polish your furniture every few months.
Beyond the Basics: Adding a Little Extra Care
While Pledge Multi-Surface is great for general polishing, here are a few extra tips to keep your wood furniture in tip-top shape:
* Sunlight Protection: Direct sunlight can fade and damage wood finishes over time. Try to position your furniture away from direct sunlight or use curtains or blinds to filter the light.
* Humidity Control: Extreme humidity can also damage wood furniture. Use a humidifier or dehumidifier to maintain a consistent humidity level in your home.
* Avoid Harsh Chemicals: When cleaning your furniture, avoid using harsh chemicals or abrasive cleaners. These can strip the finish and damage the wood.
* Use Coasters and Placemats: Protect your furniture from spills and scratches by using coasters and placemats.
* Professional Cleaning: For valuable or antique furniture, consider having it professionally cleaned and polished.
Conclusion
So there you have it! A simple, affordable, and effective way to polish your furniture using Pledge Multi-Surface. With a little bit of elbow grease and these helpful tips, you can keep your wood furniture looking its best for years to come. Happy polishing!
Conclusion
So, there you have it! This simple, yet incredibly effective, DIY Pledge Multi-Surface Furniture Use trick is a game-changer for anyone looking to keep their furniture looking its absolute best without breaking the bank. We’ve shown you how to create a powerful cleaning solution using ingredients you likely already have in your home. Forget those expensive, store-bought cleaners filled with harsh chemicals. This homemade version is not only gentler on your furniture but also on the environment.
Why is this a must-try? Because it’s economical, effective, and customizable. You’re in control of the ingredients, allowing you to tailor the scent and strength to your specific needs and preferences. Think about it: no more sticky residue, no more overpowering chemical smells, just beautifully clean and polished furniture that shines with a natural luster.
But the benefits don’t stop there. This DIY Pledge Multi-Surface Furniture Use alternative is incredibly versatile. While we’ve focused on furniture, don’t hesitate to experiment with it on other surfaces like sealed wood floors, cabinets, and even leather (always test in an inconspicuous area first!).
Looking for variations? Consider adding a few drops of your favorite essential oil for a personalized fragrance. Lavender, lemon, or cedarwood are all excellent choices that not only smell amazing but also offer additional cleaning and disinfecting properties. For a deeper clean, you can also add a tablespoon of white vinegar to the mixture. Just remember to adjust the ratios to suit your specific needs and the type of furniture you’re cleaning.
We’re confident that once you try this DIY Pledge Multi-Surface Furniture Use trick, you’ll never go back to store-bought cleaners again. It’s a simple, sustainable, and satisfying way to keep your home looking its best.
Now, it’s your turn! We encourage you to give this DIY recipe a try. Experiment with different variations, find the perfect scent combination, and discover the joy of cleaning with a homemade solution that truly works.
And most importantly, we want to hear about your experience! Share your tips, tricks, and results in the comments below. Let us know what worked for you, what variations you tried, and how this DIY Pledge Multi-Surface Furniture Use alternative has transformed your cleaning routine. Your feedback will not only help other readers but also inspire us to continue sharing valuable and practical DIY solutions. Let’s build a community of savvy homeowners who are passionate about keeping their homes clean, beautiful, and sustainable. So go ahead, give it a try, and share your story! We can’t wait to hear from you!
Frequently Asked Questions (FAQ)
Q: What exactly is Pledge Multi-Surface Furniture Use, and why should I make a DIY version?
A: Pledge Multi-Surface Furniture Use is a popular commercial cleaning product designed to clean and polish various types of furniture and surfaces. While effective, it can be expensive and contain chemicals that some people prefer to avoid. Making a DIY version allows you to control the ingredients, save money, and create a more environmentally friendly cleaning solution. You know exactly what you’re putting on your furniture, avoiding harsh chemicals and potential allergens. Plus, it’s incredibly satisfying to create something yourself that works just as well, if not better, than the store-bought alternative.
Q: What are the basic ingredients needed for this DIY Pledge Multi-Surface Furniture Use alternative?
A: The basic ingredients typically include water, white vinegar (or lemon juice), olive oil (or another oil like jojoba or almond oil), and a few drops of dish soap. The exact ratios can vary depending on your preferences and the type of furniture you’re cleaning. The water acts as a base, the vinegar or lemon juice helps to cut through grime and dirt, the oil provides shine and protects the furniture, and the dish soap helps to emulsify the mixture and lift away stubborn stains.
Q: Can I use different types of oil in this recipe? What are the benefits of each?
A: Yes, you can definitely experiment with different types of oil. Olive oil is a common choice because it’s readily available and provides a good shine. However, other oils like jojoba oil, almond oil, or even coconut oil (melted) can also be used. Jojoba oil is known for its moisturizing properties and is great for dry wood. Almond oil has a light scent and is easily absorbed. Coconut oil can add a nice sheen but should be used sparingly as it can sometimes leave a residue. Always test a small, inconspicuous area first to ensure the oil doesn’t damage or discolor your furniture.
Q: Is vinegar safe to use on all types of furniture?
A: While vinegar is a great cleaning agent, it’s important to exercise caution when using it on certain types of furniture. Avoid using vinegar on delicate or antique furniture, as it can damage the finish. It’s also not recommended for use on waxed surfaces. Always test the solution in an inconspicuous area first to ensure it doesn’t cause any discoloration or damage. For delicate furniture, consider using lemon juice instead of vinegar, as it’s slightly less acidic.
Q: How do I adjust the recipe for different types of furniture, like wood vs. leather?
A: For wood furniture, you can use the standard recipe, but be sure to test it in an inconspicuous area first. For leather furniture, you’ll want to use a much smaller amount of vinegar or lemon juice, as these can dry out the leather. Focus more on the oil component to moisturize and protect the leather. You might even consider using a leather conditioner instead of the oil in the recipe. Always test on a hidden area first!
Q: Can I add essential oils to this DIY cleaner? If so, which ones are recommended?
A: Absolutely! Adding essential oils is a great way to customize the scent and add additional cleaning benefits. Lavender, lemon, orange, tea tree, and cedarwood are all excellent choices. Lavender has a calming scent and antibacterial properties. Lemon and orange are uplifting and help to cut through grease. Tea tree is a powerful disinfectant. Cedarwood is great for wood furniture and has a pleasant, woody scent. Start with just a few drops and adjust to your preference.
Q: How long will this DIY Pledge Multi-Surface Furniture Use solution last?
A: This DIY solution is best used within a few weeks. Since it doesn’t contain any preservatives, it can eventually go bad. Store it in a cool, dark place in a tightly sealed spray bottle to prolong its shelf life. If you notice any changes in color, smell, or consistency, discard the solution and make a fresh batch.
Q: What’s the best way to apply this DIY cleaner to my furniture?
A: The best way to apply the cleaner is to lightly spray it onto a soft, clean cloth. Avoid spraying directly onto the furniture, as this can lead to oversaturation and potential damage. Wipe the furniture in a circular motion, then buff with a dry cloth to remove any excess cleaner and enhance the shine.
Q: What if I don’t have all the ingredients on hand? Can I substitute anything?
A: Yes, you can often substitute ingredients. If you don’t have white vinegar, you can use lemon juice. If you don’t have olive oil, you can use another oil like jojoba or almond oil. If you don’t have dish soap, you can try using a small amount of castile soap. The key is to experiment and find what works best for you and your furniture.
Q: My DIY cleaner seems to be leaving a residue on my furniture. What am I doing wrong?
A: If your cleaner is leaving a residue, it could be due to a few factors. You might be using too much oil in the recipe. Try reducing the amount of oil in your next batch. You might also be using too much cleaner on your furniture. Remember to spray the cleaner onto a cloth, not directly onto the furniture. Finally, make sure you’re buffing the furniture with a clean, dry cloth after cleaning to remove any excess residue.
Q: Can I use this DIY cleaner on painted furniture?
A: It’s generally not recommended to use this DIY cleaner on painted furniture, especially if the paint is old or delicate. The vinegar or lemon juice can potentially damage the paint. If you want to clean painted furniture, use a very mild solution of water and dish soap, and always test in an inconspicuous area first.
Q: Is this DIY cleaner safe for pets and children?
A: While this DIY cleaner is generally safer than commercial cleaners, it’s still important to exercise caution when using it around pets and children. Keep the cleaner out of reach of children and pets. If your pet ingests the cleaner, contact your veterinarian. While the ingredients are generally non-toxic, they can still cause stomach upset.


Leave a Comment