
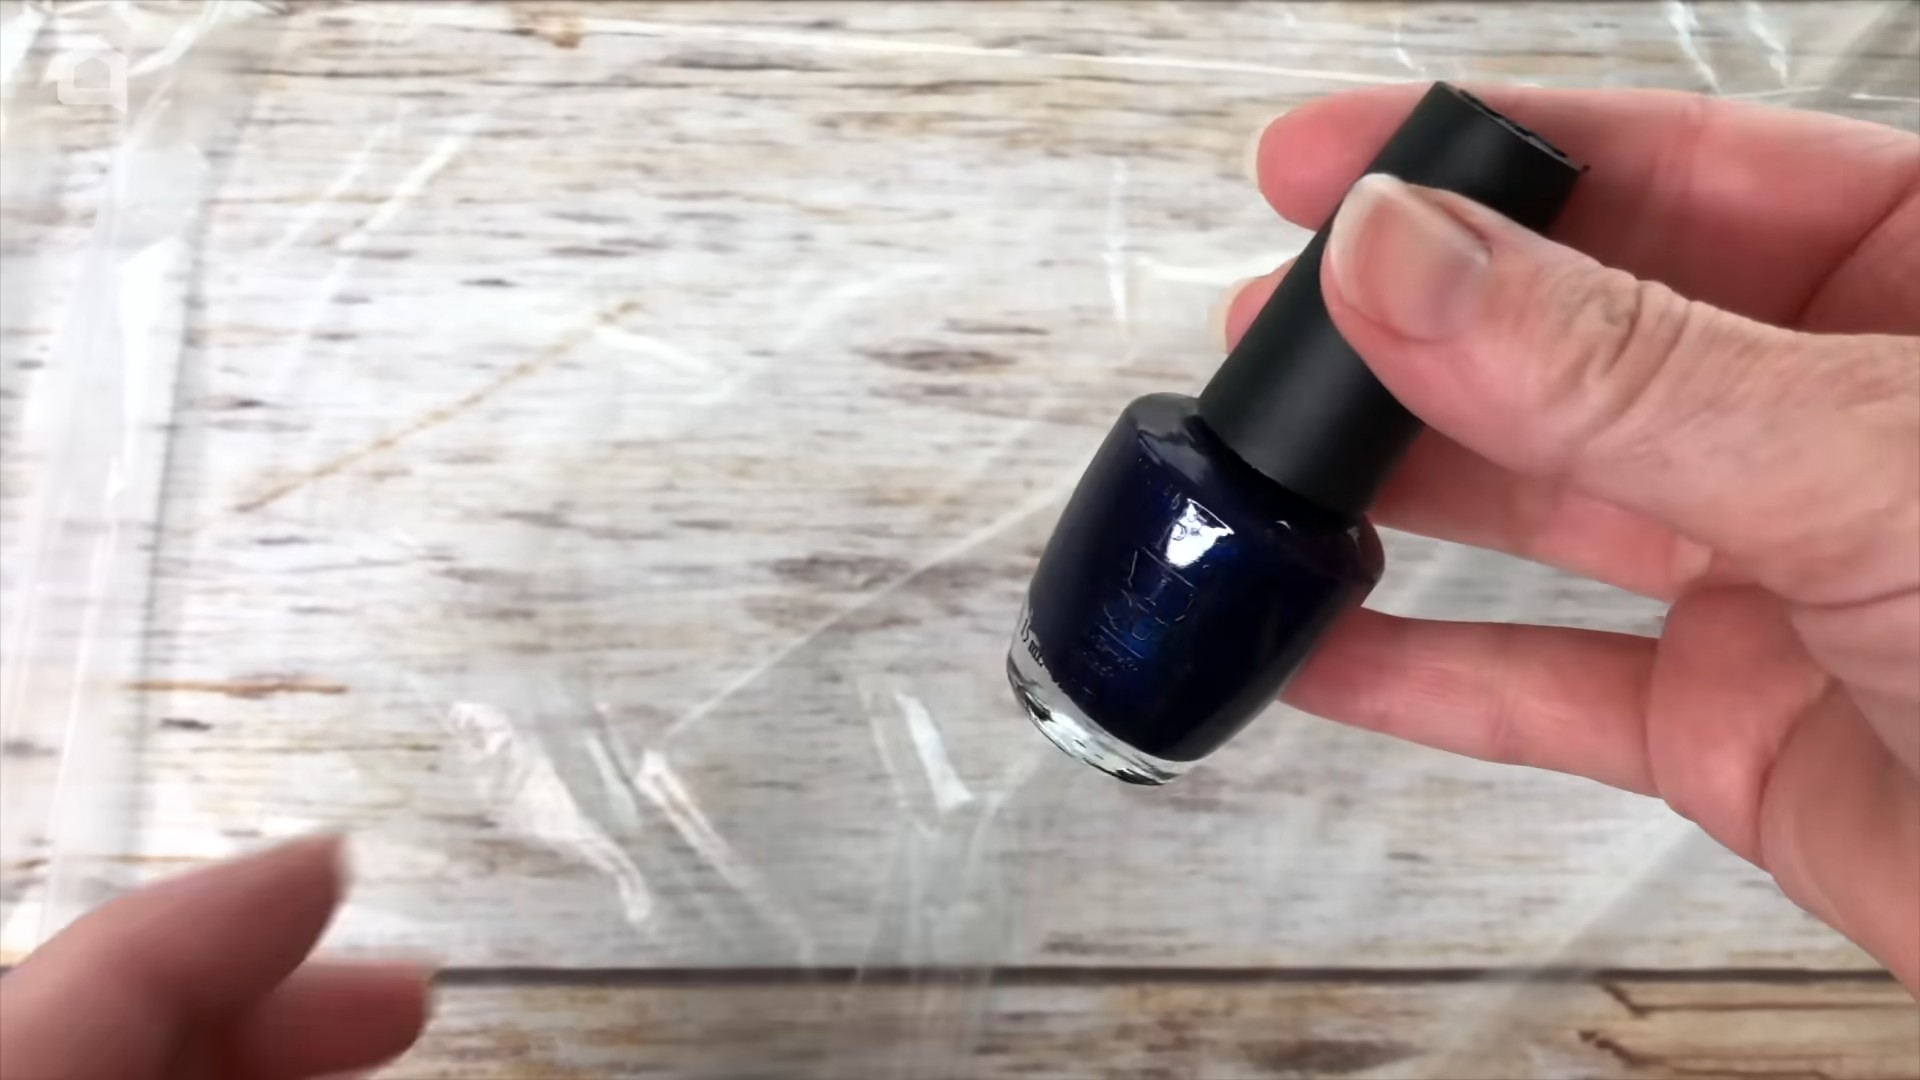
Nail polish home hacks – who knew those tiny bottles of vibrant color could be so much more than just a manicure essential? I’m always amazed by the clever ways everyday items can be repurposed, and nail polish is a true unsung hero in the DIY world.
From mending snags in your favorite tights to color-coding keys, the possibilities are surprisingly endless. While nail polish might seem like a modern invention, the desire to adorn our nails dates back to ancient civilizations. Egyptians used henna to stain their nails, signifying social status, and in China, nail color represented royalty as early as 3000 BC! Fast forward to today, and we’re not just painting our nails; we’re using nail polish to solve everyday problems around the house.
Why do you need these nail polish home hacks in your life? Because life is full of little annoyances, and sometimes the simplest solutions are the best! Instead of running to the store for a specialized product, you can often reach for that bottle of nail polish sitting in your drawer and tackle the issue head-on. I’m excited to share some of my favorite and most practical nail polish tricks that will save you time, money, and a whole lot of frustration. Get ready to unleash the power of your polish!
Nail Polish: Your Secret Weapon for Home Hacks!
Hey there, DIY enthusiasts! You know that drawer overflowing with nail polish bottles in every color imaginable? Well, get ready to look at them in a whole new light! Forget just pretty nails; these little bottles of magic are about to become your go-to for solving everyday household problems. I’m going to show you some amazing nail polish hacks that will save you time, money, and maybe even a little sanity. Let’s dive in!
Threading a Needle Made Easy
Is there anything more frustrating than trying to thread a needle? My eyesight isn’t what it used to be, and it can feel like an impossible task. But fear not, nail polish to the rescue!
* The Problem: Frayed thread ends making it impossible to fit through the needle’s eye.
* The Solution: A tiny dab of clear nail polish to stiffen and bind the thread.
Step-by-Step Instructions:
1. Cut the Thread: Snip the end of the thread you want to use.
2. Apply Nail Polish: Take your clear nail polish and carefully apply a very small amount to the last half-inch of the thread. Less is more here! You don’t want a big glob.
3. Shape and Dry: Gently roll the thread between your fingers to shape the polish into a point. This will help it slide through the eye of the needle. Let it dry completely. This usually takes just a minute or two.
4. Thread the Needle: Once dry, the thread should be stiff enough to easily slip through the eye of the needle. Voila!
Preventing Rust on Metal
Living in a humid climate means battling rust constantly. I’ve found that nail polish is a fantastic preventative measure, especially for small metal items.
* The Problem: Metal objects rusting due to exposure to moisture.
* The Solution: A protective layer of nail polish to seal out moisture.
Step-by-Step Instructions:
1. Identify Vulnerable Areas: Look for areas on metal objects that are prone to rusting, such as the heads of screws, the bottoms of metal furniture legs, or the edges of metal tools.
2. Clean the Surface: Before applying nail polish, make sure the surface is clean and dry. Remove any existing rust with a wire brush or sandpaper if necessary. Wipe away any dust or debris.
3. Apply Nail Polish: Choose a clear nail polish or a color that matches the metal object. Apply a thin, even coat to the vulnerable area.
4. Let it Dry: Allow the nail polish to dry completely before exposing the object to moisture. This usually takes about 15-20 minutes.
5. Reapply as Needed: Check the nail polish coating periodically and reapply as needed, especially if you notice any signs of wear or chipping.
Jewelry Savior: Preventing Tarnish and Allergic Reactions
Do you have jewelry that tarnishes easily or causes allergic reactions? Nail polish can help with both!
* The Problem: Jewelry tarnishing quickly or causing skin irritation.
* The Solution: A barrier of clear nail polish to prevent tarnishing and contact with the skin.
Step-by-Step Instructions:
1. Clean the Jewelry: Make sure your jewelry is clean and dry before applying nail polish. Use a jewelry cleaner or a soft cloth to remove any dirt or oils.
2. Apply Nail Polish: Apply a thin, even coat of clear nail polish to the parts of the jewelry that come into contact with your skin. This is especially important for the back of earrings, the inside of rings, and the clasp of necklaces.
3. Let it Dry Completely: Allow the nail polish to dry completely before wearing the jewelry. This usually takes about 30 minutes to an hour.
4. Reapply as Needed: The nail polish coating will eventually wear off, so you’ll need to reapply it periodically. How often you need to reapply will depend on how often you wear the jewelry and how much friction it experiences.
Color Coding Keys and Tools
I’m always grabbing the wrong key or tool from my toolbox. Nail polish is a simple and colorful way to organize them!
* The Problem: Difficulty distinguishing between similar-looking keys or tools.
* The Solution: Color-coding with different shades of nail polish.
Step-by-Step Instructions:
1. Choose Your Colors: Select a variety of nail polish colors to represent different categories of keys or tools. For example, you could use red for house keys, blue for shed keys, and green for garden tools.
2. Apply Nail Polish: Apply a generous coat of nail polish to the head of each key or the handle of each tool. Be sure to cover the entire surface so the color is easily visible.
3. Let it Dry: Allow the nail polish to dry completely before using the keys or tools. This usually takes about 30 minutes.
4. Add a Second Coat (Optional): For extra durability, you can apply a second coat of nail polish after the first coat has dried.
5. Label Your Keys (Optional): For even better organization, you can use a permanent marker to label each key with its corresponding location or purpose.
Repairing Small Scratches and Chips
Got a tiny scratch on your car or a chip in your ceramic tile? Nail polish can be a surprisingly effective fix!
* The Problem: Small scratches or chips on surfaces that need to be concealed.
* The Solution: Matching nail polish to fill in the imperfection.
Step-by-Step Instructions:
1. Find a Matching Color: This is the most crucial step! Try to find a nail polish color that closely matches the color of the surface you’re repairing. You might need to mix two colors together to get the perfect match.
2. Clean the Area: Clean the area around the scratch or chip with a mild soap and water solution. Make sure the surface is completely dry before proceeding.
3. Apply Nail Polish: Carefully apply a small amount of nail polish to the scratch or chip. Use a fine-tipped brush or a toothpick to apply the polish precisely.
4. Let it Dry: Allow the nail polish to dry completely. This usually takes about an hour.
5. Smooth the Surface (Optional): If the nail polish is slightly raised above the surface, you can gently smooth it down with a very fine-grit sandpaper or a polishing cloth. Be careful not to scratch the surrounding area.
Waterproofing Labels
I love labeling everything, but those labels often get ruined by water. Nail polish to the rescue!
* The Problem: Labels becoming illegible due to water damage.
* The Solution: A protective coating of clear nail polish to waterproof the label.
Step-by-Step Instructions:
1. Apply the Label: Attach your label to the item you want to waterproof. Make sure the label is securely attached and free of any wrinkles or bubbles.
2. Apply Nail Polish: Apply a thin, even coat of clear nail polish over the entire surface of the label. Be sure to cover all the edges to prevent water from seeping in.
3. Let it Dry: Allow the nail polish to dry completely before exposing the label to water. This usually takes about 30 minutes.
4. Add a Second Coat (Optional): For extra protection, you can apply a second coat of nail polish after the first coat has dried.
Tightening Loose Screws
A loose screw can be a real pain, especially if it’s in a hard-to-reach place. Here’s a quick fix using nail polish.
* The Problem: Loose screws that won’t stay tightened.
* The Solution: Adding nail polish to the screw threads to create a tighter fit.
Step-by-Step Instructions:
1. Remove the Screw: Carefully remove the loose screw from the object.
2. Apply Nail Polish: Apply a generous amount of nail polish to the threads of the screw.
3. Reinsert the Screw: Carefully reinsert the screw into the hole.
4. Tighten the Screw: Tighten the screw as much as possible without stripping the threads.
5. Let it Dry: Allow the nail polish to dry completely before using the object. This usually takes about an hour. The nail polish will act as a sort of “glue” to help hold the screw in place.
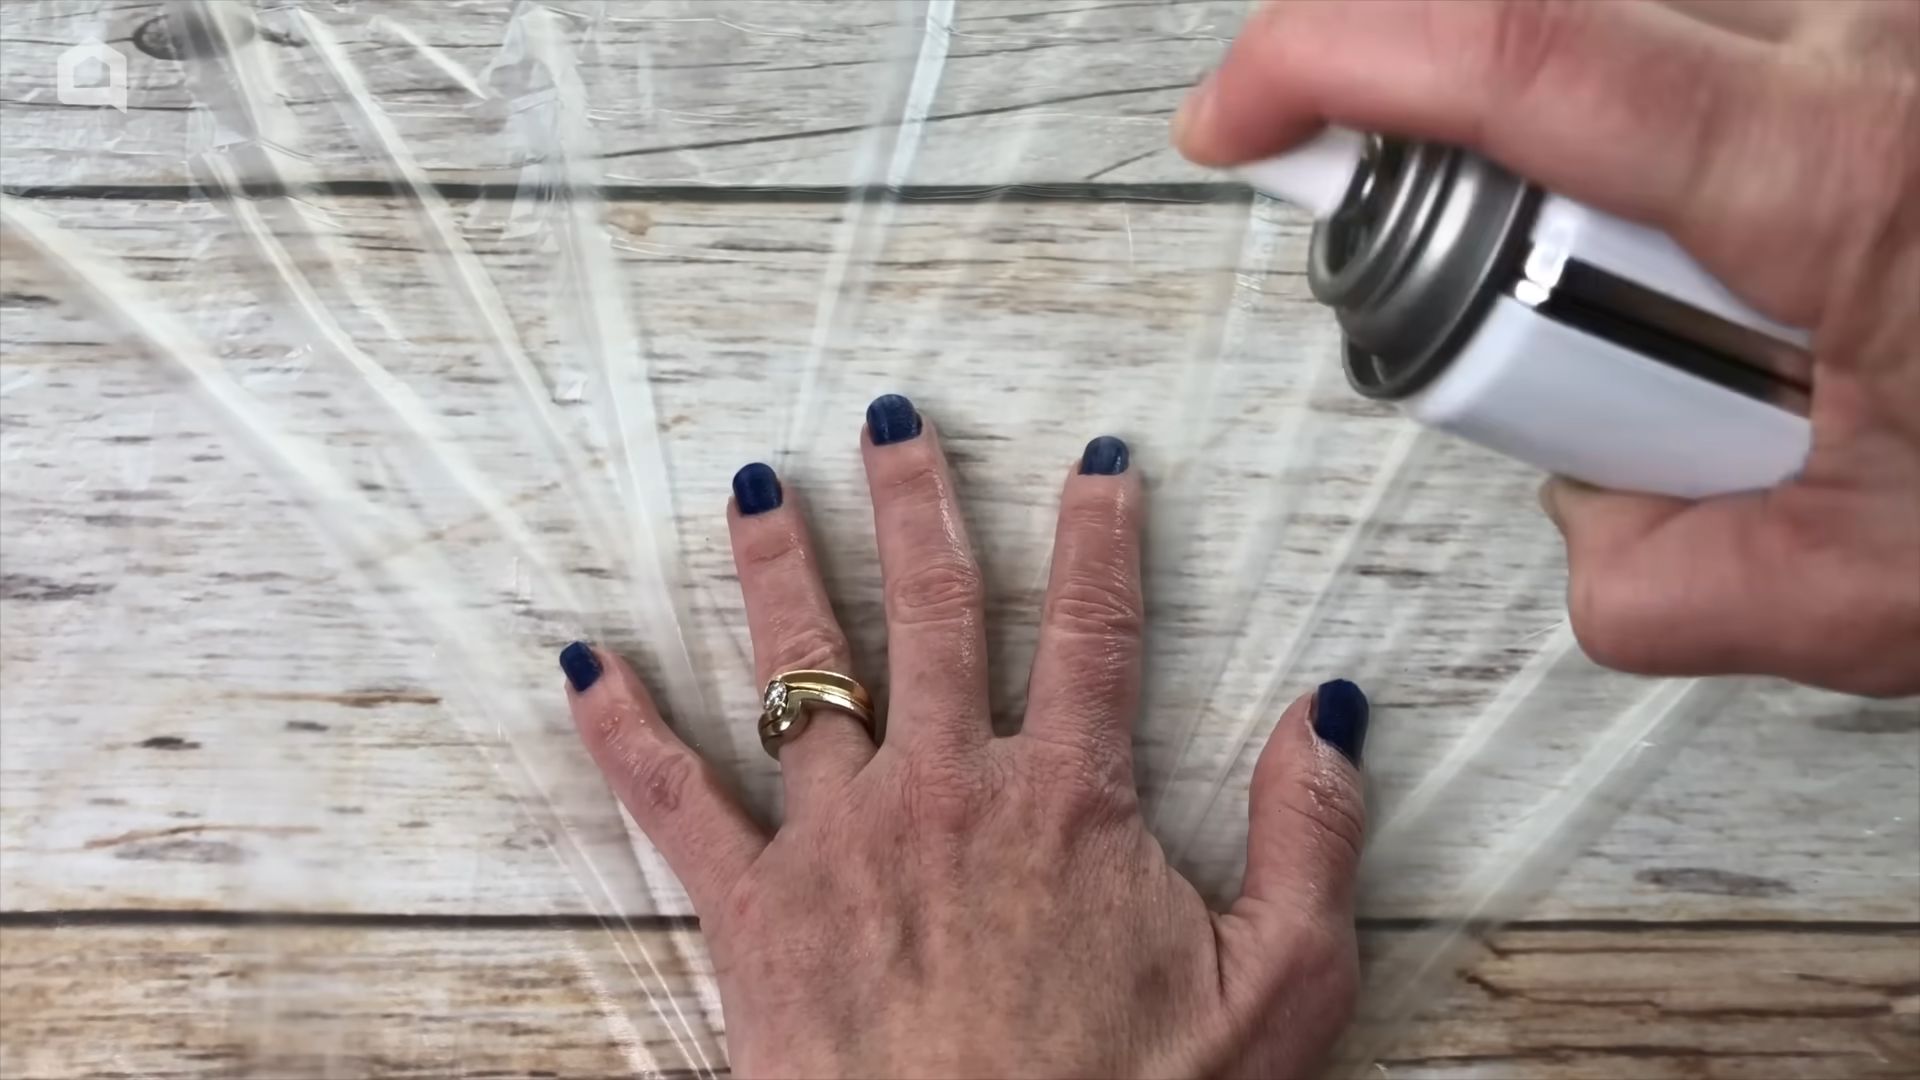
Preventing Runs in Hosiery
That dreaded moment when you see a run starting in your favorite pair of tights! Nail polish can stop it in its tracks.
* The Problem: Runs in hosiery that can quickly worsen.
* The Solution: A dab of clear nail polish to stop the run from spreading.
Step-by-Step Instructions:
Conclusion
So, there you have it! Transforming your beauty routine with these simple, yet incredibly effective nail polish home hacks is not just about saving money; it’s about unlocking a world of creative possibilities and taking control of your self-care. We’ve explored how to revive that gloopy bottle of your favorite shade, create custom colors that perfectly match your mood, and even repair a broken nail with a little bit of polish magic. These aren’t just tricks; they’re game-changers that empower you to be resourceful and innovative.
Why is this a must-try? Because it’s practical, fun, and yields impressive results. Imagine never having to throw away a half-used bottle of nail polish again. Think about the satisfaction of creating a unique color that no one else has. Consider the convenience of fixing a chipped nail at home without rushing to the salon. These nail polish home hacks offer all of that and more.
But the fun doesn’t stop here! Feel free to experiment with variations. Try adding a drop of essential oil to your nail polish thinner for a subtle fragrance. Mix different glitter polishes to create a dazzling, multi-dimensional effect. Use a toothpick to create intricate designs with your custom colors. The possibilities are truly endless.
Don’t be afraid to get creative and personalize these techniques to suit your own needs and preferences. For example, if you’re using the nail polish as glue, consider adding a tiny bit of baking soda to the polish for extra strength. If you’re creating custom colors, start with small amounts of each polish and gradually add more until you achieve the desired shade. Always test your creations on a piece of paper or a spare nail before applying them to your actual nails.
We are confident that once you try these nail polish home hacks, you’ll wonder how you ever lived without them. They’re easy, affordable, and incredibly rewarding. They also promote sustainability by reducing waste and encouraging you to make the most of what you already have.
So, go ahead, give these nail polish home hacks a try! We’re eager to hear about your experiences. Share your successes, your challenges, and your own unique variations in the comments below. Let’s create a community of resourceful beauty enthusiasts who are passionate about making the most of their nail polish collection. We can’t wait to see what you create!
Frequently Asked Questions (FAQ)
Q: My nail polish is so thick and gloopy, I think it’s beyond saving. Is there really any hope?
A: Don’t give up just yet! Even seemingly hopeless bottles of nail polish can often be revived. The key is to use a dedicated nail polish thinner, not acetone or nail polish remover. Acetone can damage the formula and make it even worse in the long run. Start by adding a few drops of thinner, rolling the bottle gently between your hands (don’t shake it, as this can create air bubbles), and then testing the consistency. Repeat this process until the polish reaches a smooth, workable texture. If it’s still too thick after several attempts, it might be time to let it go, but it’s definitely worth trying to revive it first. Also, make sure the lid is tightly closed when you’re not using the polish to prevent it from drying out in the first place. Store your polishes in a cool, dark place to extend their lifespan.
Q: Can I really mix different nail polishes together to create a custom color? Won’t that ruin them?
A: Absolutely! Creating custom nail polish colors is one of the most fun and rewarding nail polish home hacks. As long as you’re mixing similar types of polish (e.g., don’t mix a gel polish with a regular polish), you shouldn’t have any problems. The best way to do this is to use a small, empty container (like an old nail polish bottle that’s been thoroughly cleaned) or a mixing palette. Start with small amounts of each color and gradually add more until you achieve the desired shade. Keep a record of the ratios you used so you can recreate the color later if you love it. Be aware that some pigments may be more dominant than others, so start with the lighter colors first and add the darker ones gradually.
Q: I’ve heard that nail polish can be used as glue. Is this safe and effective?
A: Yes, nail polish can be used as a temporary adhesive for small repairs, like fixing a chipped nail or reattaching a small embellishment. However, it’s important to use it sparingly and only for minor fixes. It’s not a substitute for proper glue or adhesive for larger or more permanent repairs. When using nail polish as glue, apply a thin layer to both surfaces you want to adhere, let it become slightly tacky, and then press them together firmly. Hold them in place for a few seconds until the polish dries. For added strength, you can sprinkle a tiny amount of baking soda onto the polish before pressing the surfaces together. Remember that nail polish is not a strong adhesive, so this is only a temporary solution.
Q: How can I prevent my nail polish from chipping so quickly?
A: Chipping is a common frustration, but there are several things you can do to prevent it. First, make sure your nails are clean and dry before applying polish. Use a base coat to create a smooth surface and protect your nails from staining. Apply thin, even coats of polish, allowing each coat to dry completely before applying the next. Seal the edges of your nails with each coat, including the top coat. Use a high-quality top coat to protect your polish and add shine. Reapply top coat every other day to extend the life of your manicure. Avoid exposing your nails to harsh chemicals or excessive water, and wear gloves when doing household chores.
Q: What’s the best way to store my nail polish to keep it from drying out?
A: Proper storage is crucial for extending the life of your nail polish. Store your polishes in a cool, dark place, away from direct sunlight and heat. This will prevent the pigments from fading and the polish from thickening. Make sure the lids are tightly closed after each use to prevent air from getting in and drying out the polish. You can also store your polishes upside down to keep the pigments evenly distributed. Avoid storing your polishes in the bathroom, as the humidity can cause them to separate and become gloopy.
Q: Are there any safety precautions I should take when using nail polish home hacks?
A: Yes, safety should always be a priority. Work in a well-ventilated area to avoid inhaling the fumes from the nail polish and thinner. Avoid getting nail polish in your eyes or mouth. If you do, rinse immediately with water. Keep nail polish and thinner out of reach of children and pets. Do not use nail polish on open wounds or irritated skin. If you experience any allergic reactions, such as redness, itching, or swelling, discontinue use immediately and consult a doctor. Always dispose of nail polish and thinner properly, according to local regulations.


Leave a Comment