
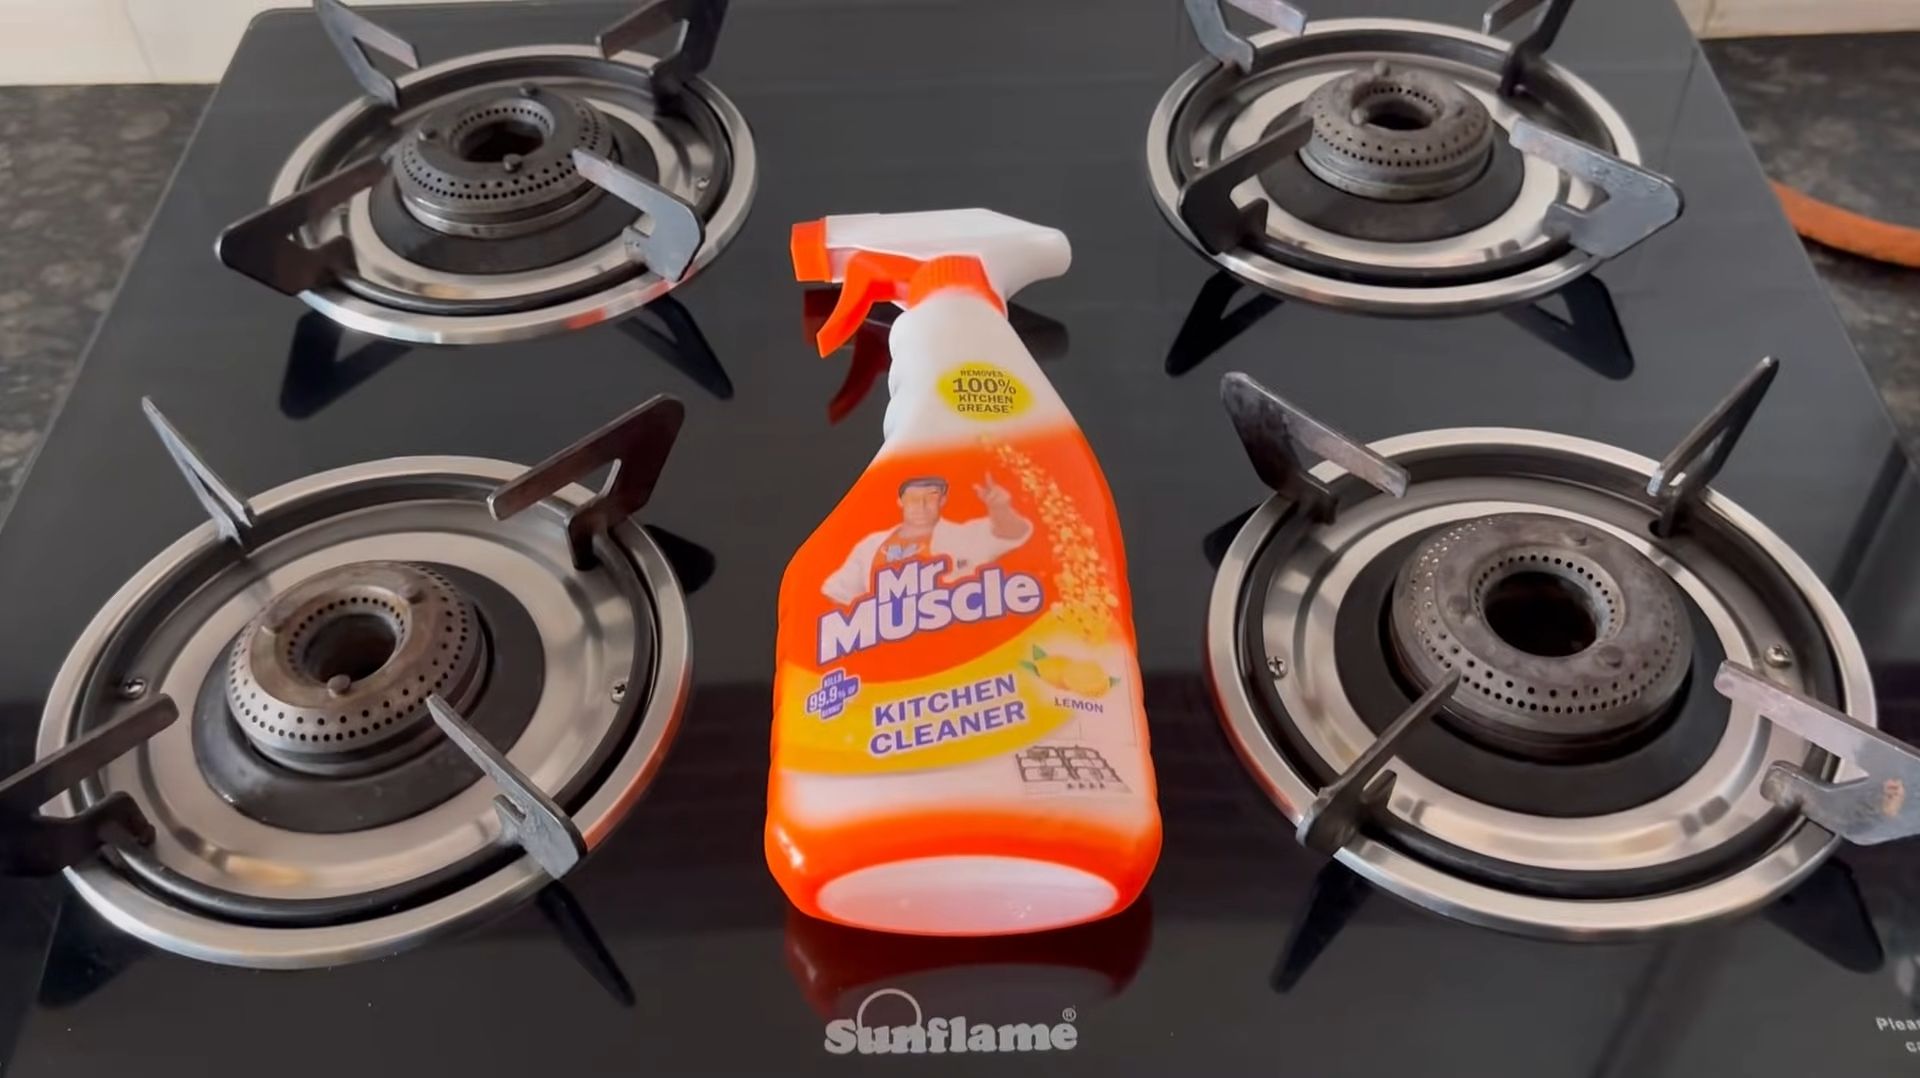
Mr Muscle Kitchen Cleaning Tips: Let’s face it, the kitchen – the heart of our home – can quickly become a battlefield against grease, grime, and stubborn stains. Are you tired of spending hours scrubbing, only to be left with less-than-sparkling results? I know I was! That’s why I’ve compiled this ultimate guide to DIY kitchen cleaning, armed with the power of Mr Muscle and a few clever hacks that will transform your cleaning routine.
For generations, keeping a clean kitchen has been a symbol of health and well-being. From ancient civilizations using natural remedies to disinfect cooking spaces, to the modern era’s reliance on powerful cleaning agents, the quest for a spotless kitchen is a timeless pursuit. But let’s be honest, who has the time (or energy!) for endless scrubbing? That’s where these Mr Muscle Kitchen Cleaning Tips come in handy.
For generations, keeping a clean kitchen has been a symbol of health and well-being. From ancient civilizations using natural remedies to disinfect cooking spaces, to the modern era’s reliance on powerful cleaning agents, the quest for a spotless kitchen is a timeless pursuit. But let’s be honest, who has the time (or energy!) for endless scrubbing? That’s where these Mr Muscle Kitchen Cleaning Tips come in handy.
This article is packed with easy-to-follow DIY solutions that will help you tackle even the toughest kitchen messes. We’ll explore how to maximize the effectiveness of Mr Muscle products, discover surprising uses for everyday household items, and learn time-saving techniques that will leave your kitchen gleaming. Say goodbye to kitchen cleaning dread and hello to a sparkling, inviting space you’ll actually enjoy spending time in!
Growing Dill Indoors: A Comprehensive Guide
Hey there, fellow plant enthusiasts! Ever dreamt of having fresh, fragrant dill right at your fingertips, no matter the season? Well, you’re in luck! Growing dill indoors is totally achievable, and I’m here to walk you through every step of the process. Get ready to enjoy that delicious dill flavor in your soups, salads, and dips all year round!
Choosing the Right Dill Variety
Not all dill varieties are created equal, especially when it comes to indoor growing. Some get super tall and leggy, which isn’t ideal for a confined space. Here are a few of my favorite compact dill varieties that thrive indoors:
* Dwarf Dill: As the name suggests, this variety stays nice and small, making it perfect for pots.
* Fernleaf Dill: This one is known for its feathery foliage and compact size. It’s also slow to bolt, which means it won’t go to seed too quickly.
* Bouquet Dill: While it can get a bit taller than the others, Bouquet dill is still manageable indoors and offers a fantastic flavor.
Gathering Your Supplies
Before we dive into the planting process, let’s make sure you have everything you need. Trust me, having all your supplies ready beforehand will make things so much smoother. Here’s your checklist:
* Dill Seeds: Choose your preferred variety from the list above. Make sure they’re fresh for the best germination rate.
* Pot: Select a pot that’s at least 6 inches deep and has drainage holes. Dill needs room for its roots to grow.
* Potting Mix: Use a high-quality, well-draining potting mix. Avoid using garden soil, as it can compact and hinder drainage.
* Grow Lights (Optional but Recommended): Dill needs plenty of light, so if you don’t have a sunny windowsill, grow lights are a must.
* Watering Can or Spray Bottle: For gentle watering.
* Small Shovel or Trowel: For planting the seeds.
* Seed Starting Tray (Optional): If you prefer to start your seeds indoors before transplanting.
Planting Your Dill Seeds
Okay, now for the fun part – planting those dill seeds! I’ve found that these steps work like a charm:
1. Prepare the Pot: Fill your pot with the potting mix, leaving about an inch of space at the top. Gently pat down the soil to remove any air pockets.
2. Sow the Seeds: Sprinkle the dill seeds evenly over the surface of the soil. You can sow them quite densely, as you can always thin them out later.
3. Cover the Seeds: Lightly cover the seeds with a thin layer of potting mix, about 1/4 inch deep.
4. Water Gently: Use a watering can or spray bottle to gently moisten the soil. Be careful not to overwater, as this can cause the seeds to rot.
5. Provide Light: Place the pot in a sunny windowsill that receives at least 6 hours of direct sunlight per day. If you don’t have enough natural light, use grow lights. Position the lights a few inches above the soil surface.
6. Maintain Moisture: Keep the soil consistently moist but not soggy. Check the soil moisture daily and water when the top inch feels dry to the touch.
Germination and Early Care
Patience is key! Dill seeds usually germinate within 7-14 days. Once your seedlings emerge, here’s how to keep them happy and healthy:
1. Thinning: Once the seedlings are a few inches tall, thin them out so that they’re spaced about 2-3 inches apart. This will give them enough room to grow and prevent overcrowding. I know it feels harsh to pull some out, but it’s necessary for the overall health of your dill plants.
2. Watering: Continue to water regularly, keeping the soil consistently moist. Avoid letting the soil dry out completely, as this can stress the plants.
3. Fertilizing: Dill doesn’t need a lot of fertilizer, but a light feeding every few weeks can help boost growth. Use a balanced liquid fertilizer diluted to half strength.
4. Turning the Pot: If you’re growing your dill on a windowsill, rotate the pot regularly to ensure that all sides of the plant receive equal light. This will prevent the plants from leaning towards the light source.
Providing the Right Environment
Dill thrives in specific conditions, so let’s make sure you’re creating the perfect environment for your indoor dill garden:
* Light: As I mentioned earlier, dill needs plenty of light. Aim for at least 6 hours of direct sunlight per day. If you’re using grow lights, keep them on for 12-14 hours per day.
* Temperature: Dill prefers temperatures between 60-70°F (15-21°C). Avoid placing your dill plants near drafts or sources of extreme heat or cold.
* Humidity: Dill doesn’t require high humidity, but it does appreciate a little extra moisture in the air. You can increase humidity by placing a tray of water near the plants or using a humidifier.
* Air Circulation: Good air circulation is important for preventing fungal diseases. Make sure your dill plants have plenty of space around them and that the air is circulating freely.
Harvesting Your Dill
The best part! You can start harvesting dill leaves once the plants are about 6-8 inches tall. Here’s how I do it:
1. Snip the Leaves: Use scissors or pruning shears to snip off the leaves as needed. Start by harvesting the outer leaves, leaving the inner leaves to continue growing.
2. Harvest Regularly: Regular harvesting encourages the plant to produce more leaves. Don’t be afraid to harvest frequently!
3. Flowering: If your dill plant starts to flower, you can still harvest the leaves, but they may become slightly less flavorful. You can also harvest the dill flowers and use them in salads or as a garnish.
4. Seed Saving: If you want to save dill seeds for future planting, allow the flowers to dry on the plant. Once the seed heads are brown and dry, you can harvest the seeds and store them in an airtight container in a cool, dry place.
Troubleshooting Common Problems
Even with the best care, you might encounter a few challenges along the way. Here are some common problems and how to fix them:
* Yellowing Leaves: This could be a sign of overwatering, underwatering, or nutrient deficiency. Check the soil moisture and adjust your watering schedule accordingly. If the soil is dry, water thoroughly. If the soil is soggy, allow it to dry out before watering again. You can also try fertilizing with a balanced liquid fertilizer.
* Leggy Growth: This is usually caused by insufficient light. Move your dill plants to a sunnier location or use grow lights.
* Pests: Dill can be susceptible to pests like aphids and spider mites. Inspect your plants regularly for signs of infestation. If you find pests, you can try washing them off with a strong stream of water or using an insecticidal soap.
* Fungal Diseases: Fungal diseases can be a problem in humid environments. Make sure your dill plants have good air circulation and avoid overwatering. If you notice signs of fungal disease, such as powdery mildew, you can try spraying the plants with a fungicide.
Extending Your Dill Harvest
Want to keep that fresh dill coming? Here are a few tips for extending your harvest:
* Succession Planting: Sow new dill seeds every few weeks to ensure a continuous supply of fresh dill.
* Pinching Back: Pinching back the growing tips of your dill plants can encourage them to produce more leaves.
* Overwintering: Dill is an annual plant, which means it completes its life cycle in one year. However, you can try overwintering your dill plants indoors by providing them with plenty of light and keeping them in a cool location.
Using Your Fresh Dill
Now that you’ve got a bountiful supply of fresh dill, it’s time to put it to good use! Here are some of my favorite ways to use fresh dill:
* Soups and Stews: Dill adds a bright, fresh flavor to soups and stews.
* Salads: Sprinkle fresh dill over salads for a burst of flavor.
* Dips and Sauces: Dill is a key ingredient in many dips and sauces, such as tzatziki and dill sauce.
* Fish and Seafood: Dill pairs perfectly with fish and seafood.
* Pickling: Dill is a classic ingredient in pickles.
* Garnish: Use fresh dill as a garnish for your favorite dishes.
Growing dill indoors is a rewarding experience that allows you to enjoy fresh, flavorful dill all year round. With a little bit of care and attention, you can
Conclusion
So, there you have it! Ditching the harsh chemicals and embracing a more natural, effective, and budget-friendly approach to kitchen cleaning is entirely within your reach. This DIY Mr Muscle kitchen cleaning alternative isn’t just about saving money; it’s about creating a healthier environment for you and your family. The potent combination of readily available ingredients like vinegar, baking soda, and essential oils works wonders on grease, grime, and stubborn stains, leaving your kitchen sparkling clean and smelling fresh.
Why is this DIY trick a must-try? Because it’s a game-changer. It’s a simple, sustainable solution that empowers you to take control of your cleaning routine. You’ll be amazed at how effectively this homemade cleaner tackles the same messes as commercial products, without the harsh chemicals that can irritate your skin and pollute your home. Plus, you’ll have the satisfaction of knowing exactly what’s going into your cleaning solutions.
Looking for variations? Absolutely! For extra degreasing power, add a tablespoon of washing soda (sodium carbonate) to the mix. If you prefer a citrus scent, use lemon or orange essential oils instead of lavender or tea tree. You can also infuse your vinegar with citrus peels for a few weeks before using it in the recipe for an even more potent and fragrant cleaner. For tougher stains on stainless steel, create a paste of baking soda and water, apply it to the stain, let it sit for a few minutes, and then scrub gently. Remember to always test any cleaning solution on an inconspicuous area first to ensure it doesn’t damage the surface.
We wholeheartedly encourage you to give this DIY Mr Muscle kitchen cleaning alternative a try. It’s easy to make, effective, and environmentally friendly. Once you experience the cleaning power and the peace of mind that comes with using natural ingredients, you’ll never go back to harsh chemical cleaners.
Don’t just take our word for it! We want to hear about your experiences. Share your before-and-after photos, your favorite variations, and any tips or tricks you discover along the way. Let’s build a community of eco-conscious cleaners who are passionate about creating healthy and sparkling kitchens. Leave a comment below and let us know how this DIY cleaner worked for you. We can’t wait to hear your success stories!
Frequently Asked Questions (FAQs)
1. Is this DIY Mr Muscle kitchen cleaning alternative as effective as the store-bought version?
Yes, in many cases, it can be even more effective! The combination of vinegar, baking soda, and essential oils provides a powerful cleaning action that can tackle grease, grime, and stains just as well as, if not better than, commercial cleaners. Vinegar is a natural disinfectant and degreaser, baking soda is a mild abrasive that helps scrub away stubborn messes, and essential oils add a pleasant scent and can also have antibacterial properties. The key is to use the right proportions and to allow the cleaner to sit on the surface for a few minutes before wiping it away.
2. What surfaces can I use this DIY cleaner on?
This DIY cleaner is generally safe for most kitchen surfaces, including countertops (granite, quartz, laminate), sinks (stainless steel, porcelain), stovetops (glass, ceramic), and appliances (refrigerators, ovens). However, it’s essential to test the cleaner on an inconspicuous area first, especially on delicate surfaces like marble or painted wood. Avoid using vinegar on natural stone surfaces like marble or granite, as it can etch the surface over time. For these surfaces, use a milder solution of soap and water.
3. Can I use this cleaner to clean my oven?
Yes, you can use this DIY cleaner to clean your oven, but it requires a slightly different approach. First, remove any loose debris from the oven. Then, make a paste of baking soda and water and spread it all over the interior of the oven, avoiding the heating elements. Let the paste sit overnight. The next day, spray the paste with vinegar and watch it fizz. Wipe away the paste with a damp cloth. For stubborn stains, you may need to scrub a little harder.
4. How long does this DIY cleaner last?
This DIY cleaner can last for several weeks when stored in a cool, dark place. However, it’s best to use it within a month for optimal effectiveness. The essential oils may lose their potency over time, and the vinegar may start to evaporate. To prolong the shelf life, store the cleaner in an airtight spray bottle.
5. Can I use different essential oils?
Absolutely! Feel free to experiment with different essential oils to find your favorite scent. Lemon, orange, grapefruit, and tea tree oil are all excellent choices for kitchen cleaning. They have antibacterial and antifungal properties and leave a fresh, clean scent. Lavender is also a good option for its calming aroma. Just be sure to use pure essential oils and not fragrance oils, which don’t have the same cleaning properties.
6. Is this DIY cleaner safe for pets and children?
Yes, this DIY cleaner is generally safe for pets and children, as it doesn’t contain harsh chemicals. However, it’s still important to keep the cleaner out of reach of children and pets, as ingestion can cause irritation. If you have pets that are sensitive to strong smells, you may want to use a milder essential oil or omit it altogether. Always ventilate the area well when cleaning.
7. What if I don’t have essential oils?
If you don’t have essential oils, you can still make this DIY cleaner. Simply omit the essential oils from the recipe. The vinegar and baking soda will still provide a powerful cleaning action. You can also add a few drops of lemon juice for a fresh scent.
8. Can I use this cleaner on my wooden cutting boards?
While vinegar is a natural disinfectant, it’s not recommended for use on wooden cutting boards, as it can dry out the wood. Instead, clean your wooden cutting boards with hot, soapy water and then disinfect them with a solution of hydrogen peroxide.
9. How do I get rid of stubborn grease stains with this DIY cleaner?
For stubborn grease stains, try pre-treating the area with a paste of baking soda and water. Apply the paste to the stain, let it sit for a few minutes, and then scrub gently with a sponge or cloth. Follow up with the DIY cleaner to remove any remaining residue. You can also add a tablespoon of washing soda (sodium carbonate) to the cleaner for extra degreasing power.
10. What kind of spray bottle should I use?
It’s best to use a sturdy, reusable spray bottle made of plastic or glass. Avoid using spray bottles that have previously contained harsh chemicals, as they may contaminate the DIY cleaner. Be sure to label the spray bottle clearly so that you don’t accidentally mix it up with other cleaning products. A dark-colored bottle can help protect the essential oils from light degradation.

Leave a Comment