
Home Cherry Growing Tips are more accessible than you might think! Imagine stepping into your backyard and plucking a juicy, sun-ripened cherry straight from the tree. Sounds like a dream, right? Well, it doesn’t have to be! For centuries, cherry trees have been cherished not only for their delicious fruit but also for their stunning blossoms, a symbol of spring and renewal in many cultures, particularly in Japan with their famed Sakura festivals.
But let’s be honest, the thought of growing your own cherries can feel a little daunting. Maybe you’ve heard they’re finicky, or that you need acres of land. That’s where this DIY guide comes in! I’m here to share some simple, effective tricks and hacks that will empower you to successfully cultivate your own cherry tree, even if you have limited space or gardening experience.
Why do you need these home cherry growing tips? Because store-bought cherries, while tasty, simply can’t compare to the flavor and satisfaction of harvesting your own. Plus, you’ll know exactly where your fruit is coming from and how it was grown. So, let’s ditch the intimidation and dive into the wonderful world of home cherry growing! Get ready to enjoy the sweet rewards of your labor – fresh, delicious cherries right from your own backyard!
Grow Your Own Cherries: A DIY Guide to Sweet Success!
Hey there, fellow gardening enthusiasts! Ever dreamt of plucking juicy, ripe cherries straight from your own backyard? Well, dream no more! Growing your own cherries might seem intimidating, but with a little know-how and a dash of patience, you can absolutely make it happen. I’m going to walk you through everything you need to know, from choosing the right tree to harvesting your delicious bounty. Let’s get started!
Choosing the Right Cherry Tree
Okay, first things first: picking the perfect cherry tree for your space and climate is crucial. Not all cherry trees are created equal! Here’s what to consider:
* Sweet vs. Sour: Sweet cherries (like Bing, Rainier, and Lambert) are the ones you typically eat fresh. Sour cherries (like Montmorency and Morello) are fantastic for pies, jams, and preserves. Think about what you want to use your cherries for.
* Climate: Cherry trees need a certain number of “chill hours” – hours below 45°F (7°C) – to properly set fruit. Sweet cherries generally need more chill hours than sour cherries. Check your local climate zone and choose a variety that’s suitable.
* Size: Cherry trees can get pretty big! Consider dwarf or semi-dwarf varieties if you have limited space. These are grafted onto rootstocks that control their size.
* Pollination: Many sweet cherry varieties are not self-pollinating, meaning they need another compatible cherry tree nearby to produce fruit. Sour cherries are generally self-pollinating. Research the pollination requirements of the variety you choose.
My Recommendation: If you’re a beginner, I’d suggest starting with a self-pollinating sour cherry like Montmorency. They’re more forgiving and easier to grow.
Preparing the Planting Site
Alright, you’ve got your cherry tree! Now, let’s get it ready for its new home. Proper site preparation is key to a happy and productive tree.
* Sunlight: Cherry trees need at least 6-8 hours of direct sunlight per day. Choose a spot that gets plenty of sunshine.
* Soil: Well-drained soil is essential. Cherry trees hate having wet feet! If your soil is heavy clay, amend it with plenty of organic matter like compost or well-rotted manure.
* Drainage Test: To check drainage, dig a hole about a foot deep and fill it with water. If the water doesn’t drain within 24 hours, you’ll need to improve the drainage before planting.
* Soil pH: Cherry trees prefer a slightly acidic to neutral soil pH (around 6.0-7.0). You can test your soil pH with a home test kit or send a sample to your local extension office for analysis.
* Clear the Area: Remove any grass, weeds, or other vegetation from a 3-4 foot diameter circle around where you’ll be planting.
Planting Your Cherry Tree: Step-by-Step
Okay, time to get your hands dirty! Here’s how to plant your cherry tree:
1. Dig the Hole: Dig a hole that’s twice as wide as the root ball and just as deep. You want the top of the root ball to be level with the surrounding soil.
2. Amend the Soil (Optional): If your soil is poor, mix some compost or well-rotted manure into the soil you removed from the hole.
3. Remove the Tree from the Container: Gently remove the tree from its container. If the roots are circling the pot, gently loosen them with your fingers or a small trowel.
4. Position the Tree: Place the tree in the hole, making sure the top of the root ball is level with the surrounding soil.
5. Backfill the Hole: Backfill the hole with the amended soil, gently tamping it down as you go.
6. Water Thoroughly: Water the tree deeply after planting. This helps settle the soil and encourages root growth.
7. Mulch: Apply a 2-3 inch layer of mulch around the base of the tree, keeping it a few inches away from the trunk. Mulch helps retain moisture, suppress weeds, and regulate soil temperature.
8. Stake (Optional): If your tree is young and spindly, you may want to stake it for the first year or two to provide support.
Caring for Your Cherry Tree: The Long Haul
Planting is just the beginning! Here’s how to keep your cherry tree healthy and productive:
* Watering: Water your cherry tree regularly, especially during dry spells. Young trees need more frequent watering than established trees. Aim for deep, infrequent watering rather than shallow, frequent watering.
* Fertilizing: Fertilize your cherry tree in the spring with a balanced fertilizer. Follow the instructions on the fertilizer label. Avoid over-fertilizing, as this can lead to excessive growth and reduced fruit production.
* Pruning: Pruning is essential for maintaining the shape and health of your cherry tree. Prune in late winter or early spring, before the tree starts to grow. Remove any dead, damaged, or crossing branches. Prune to open up the center of the tree to allow for good air circulation and sunlight penetration.
* Pest and Disease Control: Cherry trees can be susceptible to a variety of pests and diseases. Monitor your tree regularly for signs of problems. Common pests include aphids, cherry fruit flies, and borers. Common diseases include brown rot, leaf spot, and powdery mildew. Treat any problems promptly with appropriate insecticides or fungicides. Always follow the instructions on the product label.
* Protecting from Birds: Birds love cherries just as much as we do! If you want to protect your crop, you’ll need to take steps to deter them. Netting is the most effective way to keep birds away from your cherries. You can also try using bird scare devices like reflective tape or noisemakers.
Dealing with Common Cherry Tree Problems
Even with the best care, you might encounter some problems along the way. Here are a few common issues and how to address them:
* Lack of Fruit: If your cherry tree isn’t producing fruit, there could be several reasons:
* Pollination Issues: Make sure you have a compatible pollinator nearby if you’re growing a non-self-pollinating variety.
* Insufficient Chill Hours: If your climate doesn’t provide enough chill hours, your tree may not set fruit properly.
* Poor Soil: Make sure your soil is well-drained and has adequate nutrients.
* Over-Fertilizing: Too much nitrogen can lead to excessive growth and reduced fruit production.
* Late Frost: A late frost can damage the blossoms and prevent fruit from setting.
* Cracked Fruit: Cracked fruit is often caused by inconsistent watering. Water your tree regularly, especially during dry spells.
* Leaf Spot: Leaf spot is a fungal disease that can cause brown spots on the leaves. Treat with a fungicide.
* Aphids: Aphids are small, sap-sucking insects that can cause distorted leaves and stunted growth. Spray with insecticidal soap.
* Cherry Fruit Flies: Cherry fruit flies lay their eggs in the cherries, causing them to become wormy. Use traps or spray with an insecticide to control them.
Harvesting Your Cherries: The Sweet Reward!
Finally, the moment you’ve been waiting for! Harvesting your cherries is the most rewarding part of the process.
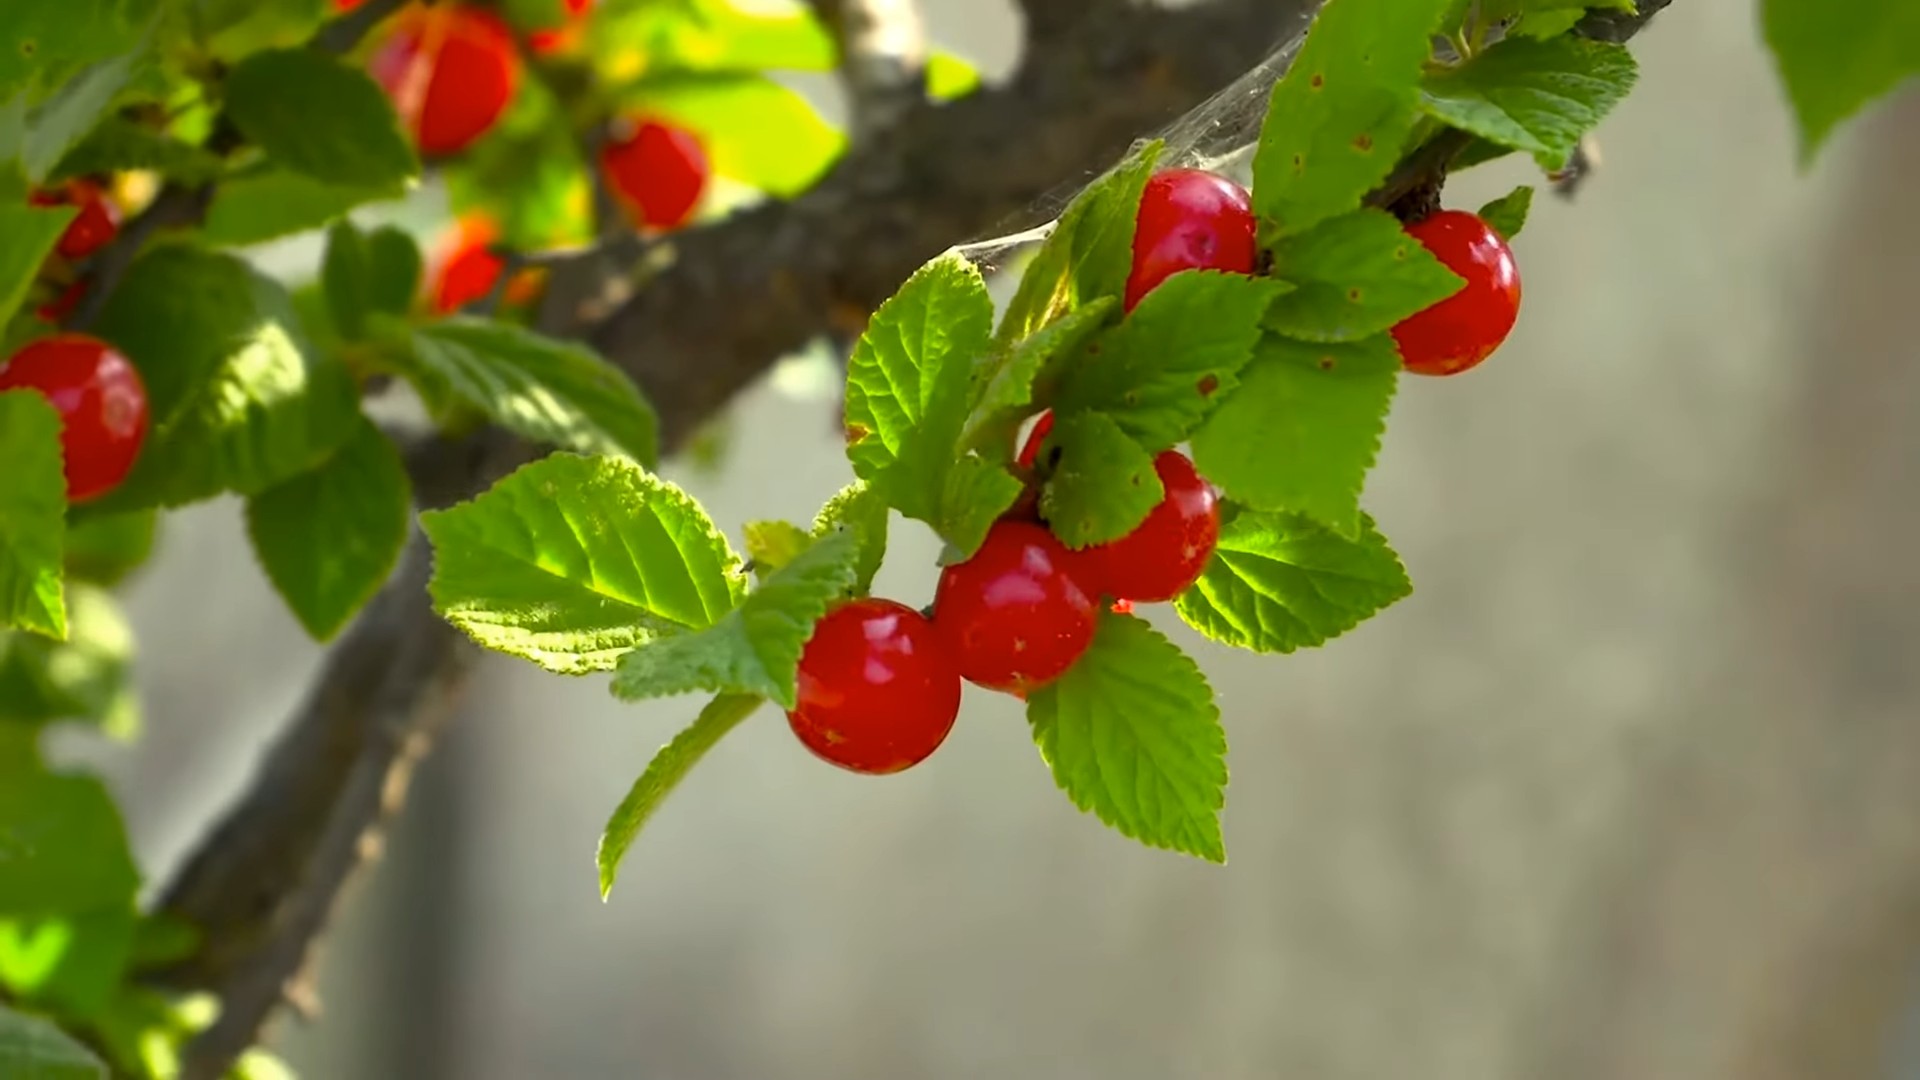
* When to Harvest: Cherries are typically ready to harvest in late spring or early summer, depending on the variety and your climate. The cherries should be fully colored and slightly soft to the touch.
* How to Harvest: Gently twist the cherries off the tree, leaving the stem attached. This helps prevent the cherries from rotting.
* Storage: Store your cherries in the refrigerator for up to a week. You can also freeze them for longer storage.
Enjoying Your Homegrown Cherries
Now that you’ve harvested your cherries, it’s time to enjoy them! Eat them fresh, bake them into pies, make jam, or freeze them for later. The possibilities are endless!
Growing your own cherries is a rewarding experience that will provide you with delicious fruit for years to come. With a little care and attention, you can enjoy the sweet taste of homegrown cherries right from your own backyard. Happy gardening!
Conclusion
So, there you have it! Growing your own cherries at home might seem daunting at first, but with these simple yet effective tips, you’re well on your way to enjoying a bountiful harvest of sweet, juicy cherries right from your backyard. We’ve covered everything from selecting the right cherry variety for your climate and space to ensuring proper pollination and protecting your precious trees from pests and diseases. Remember, patience is key. Cherry trees, especially those grown from seed, can take a few years to mature and produce fruit. But trust us, the wait is absolutely worth it.
The satisfaction of biting into a cherry you’ve nurtured from a sapling is unparalleled. It’s a testament to your hard work and dedication, and a delicious reward for your efforts. Plus, homegrown cherries are often far superior in taste and quality to those you find in the grocery store. They’re fresher, more flavorful, and free from the chemicals and preservatives that are often used in commercial farming.
But the benefits of growing your own cherries extend beyond just the taste. Cherry trees are beautiful additions to any landscape, providing shade, visual interest, and even attracting beneficial pollinators to your garden. They’re also a sustainable and eco-friendly way to enjoy fresh fruit, reducing your carbon footprint and supporting local biodiversity.
Why is this DIY cherry growing trick a must-try? Because it empowers you to take control of your food source, connect with nature, and enjoy the unparalleled flavor of homegrown cherries. It’s a rewarding and fulfilling experience that will bring joy to your life for years to come.
Looking for variations? Consider experimenting with different training methods to shape your cherry trees for optimal fruit production and ease of harvesting. Espalier, for example, is a technique where you train the branches to grow flat against a wall or fence, creating a beautiful and productive living screen. You could also try grafting different cherry varieties onto a single rootstock to create a multi-grafted “fruit salad” tree. This is a great way to maximize your space and enjoy a wider range of cherry flavors. Another variation is to focus on organic cherry growing practices, using natural fertilizers and pest control methods to ensure a healthy and sustainable harvest.
Don’t be afraid to experiment and adapt these tips to your specific needs and circumstances. Every garden is different, and what works for one person may not work for another. The key is to be observant, patient, and willing to learn from your mistakes.
We’re confident that with these home cherry growing tips, you’ll be well on your way to enjoying a delicious and rewarding harvest. So, grab your gardening gloves, choose your favorite cherry variety, and get started today!
We’d love to hear about your experiences growing cherries at home. Share your tips, successes, and challenges in the comments below. Let’s create a community of cherry-growing enthusiasts and learn from each other. Happy gardening!
FAQ
Here are some frequently asked questions about growing cherries at home to help you further on your cherry-growing journey:
What is the best time to plant cherry trees?
The best time to plant cherry trees is typically in the early spring or late fall, when the tree is dormant. This allows the tree to establish its roots before the heat of summer or the cold of winter sets in. If you live in an area with mild winters, fall planting is often preferred, as it gives the tree more time to develop its root system before the growing season begins. When planting, make sure the soil is well-draining and amended with compost or other organic matter. Avoid planting during periods of extreme heat or cold, as this can stress the tree and hinder its growth.
How much sunlight do cherry trees need?
Cherry trees need at least 6-8 hours of direct sunlight per day to thrive and produce fruit. Choose a planting location that receives full sun throughout the day, especially during the morning hours. Sunlight is essential for photosynthesis, the process by which trees convert sunlight into energy. Insufficient sunlight can lead to reduced fruit production, weak growth, and increased susceptibility to diseases. If you live in an area with limited sunlight, consider planting your cherry tree in a location that receives the most sunlight possible, or choose a variety that is more tolerant of partial shade.
What type of soil is best for cherry trees?
Cherry trees prefer well-draining soil that is rich in organic matter. The ideal soil pH is between 6.0 and 7.0. Before planting, it’s a good idea to test your soil to determine its pH and nutrient content. If your soil is heavy clay or sandy, amend it with compost, peat moss, or other organic matter to improve drainage and fertility. Avoid planting cherry trees in areas with standing water or compacted soil, as this can lead to root rot and other problems. Good drainage is crucial for cherry trees, as they are susceptible to root diseases in waterlogged conditions.
How often should I water my cherry tree?
Water your cherry tree deeply and regularly, especially during the first few years after planting. Young trees need consistent moisture to establish their root systems. Water deeply at the base of the tree, allowing the water to soak into the soil. Avoid frequent, shallow watering, as this can encourage shallow root growth. During periods of drought or extreme heat, you may need to water your cherry tree more frequently. Once the tree is established, it will be more drought-tolerant, but it still needs regular watering, especially during fruit development.
How do I protect my cherry tree from pests and diseases?
There are several steps you can take to protect your cherry tree from pests and diseases. First, choose disease-resistant varieties whenever possible. Second, maintain good sanitation practices by removing fallen leaves and fruit from around the tree. Third, prune your cherry tree regularly to improve air circulation and reduce humidity, which can help prevent fungal diseases. Fourth, monitor your tree regularly for signs of pests or diseases, and take action promptly if you notice any problems. Common pests of cherry trees include aphids, cherry fruit flies, and borers. Common diseases include brown rot, leaf spot, and powdery mildew. Use appropriate insecticides or fungicides to control pests and diseases, following the manufacturer’s instructions carefully. Consider using organic pest control methods whenever possible, such as insecticidal soap or neem oil.
How do I prune my cherry tree?
Pruning is essential for maintaining the health and productivity of your cherry tree. Prune your cherry tree in late winter or early spring, before new growth begins. Remove any dead, damaged, or diseased branches. Thin out crowded branches to improve air circulation and sunlight penetration. Prune to shape the tree and encourage fruit production. Sweet cherry trees are typically pruned to a central leader system, while tart cherry trees are often pruned to an open center system. Consult a pruning guide or video for specific instructions on how to prune your cherry tree based on its variety and growth habit.
How long does it take for a cherry tree to produce fruit?
The time it takes for a cherry tree to produce fruit depends on the variety, rootstock, and growing conditions. Generally, sweet cherry trees take 4-7 years to produce fruit, while tart cherry trees take 3-5 years. Grafted trees typically produce fruit sooner than trees grown from seed. To encourage fruit production, make sure your cherry tree receives adequate sunlight, water, and nutrients. Pollination is also essential for fruit set. If your cherry tree is not self-pollinating, you will need to plant a compatible pollinator variety nearby.
What are some good cherry varieties to grow at home?
There are many different cherry varieties to choose from, each with its own unique characteristics. Some popular sweet cherry varieties include Bing, Rainier, and Lambert. Some popular tart cherry varieties include Montmorency and Balaton. When choosing a cherry variety, consider your climate, space, and taste preferences. Also, make sure to choose a variety that is self-pollinating or plant a compatible pollinator variety nearby. Your local nursery or extension office can provide recommendations for cherry varieties that are well-suited to your area.
How do I know when my cherries are ripe?
Cherries are typically ripe when they are fully colored, slightly soft to the touch, and easily detach from the stem. The exact color and texture will vary depending on the variety. Taste a few cherries to determine if they are ripe. Ripe cherries will be sweet and juicy. Harvest your cherries as soon as they are ripe to prevent them from being eaten by birds or other pests.
Can I grow cherry trees in containers?
Yes, you can grow cherry trees in containers, but you will need to choose a dwarf or semi-dwarf variety that is well-suited to container growing. Use a large container with good drainage and fill it with a high-quality potting mix. Water your container-grown cherry tree regularly and fertilize it as needed. Container-grown cherry trees may need to be protected from extreme temperatures in the winter.

Leave a Comment