
Growing Tomatoes at Home can feel like a daunting task, but trust me, it’s more rewarding than you might think! Imagine biting into a juicy, sun-ripened tomato, bursting with flavor, that you nurtured from a tiny seed right in your own backyard. Forget those bland, store-bought tomatoes – we’re talking about a taste sensation that’s simply unmatched.
For centuries, tomatoes have held a special place in cultures around the world. Originating in South America, they were initially viewed with suspicion in Europe, but eventually, their vibrant color and delicious taste won everyone over. Now, they’re a staple in countless cuisines, from Italian pasta sauces to refreshing summer salads.
But why should you bother with the effort of growing your own? Well, besides the superior flavor, growing tomatoes at home allows you to control exactly what goes into your food. No harmful pesticides or artificial fertilizers – just pure, natural goodness. Plus, it’s a fantastic way to connect with nature, relieve stress, and even save some money on your grocery bill. In this article, I’m going to share some of my favorite DIY tricks and hacks that will help you cultivate a thriving tomato garden, even if you’re a complete beginner. Get ready to unleash your inner gardener and enjoy the fruits (or should I say, vegetables!) of your labor!
Growing Tomatoes at Home: A DIY Guide to Juicy Success!
Okay, tomato lovers, let’s get our hands dirty! I’m going to walk you through everything you need to know to grow delicious, juicy tomatoes right in your own backyard (or even on your balcony!). Forget those bland supermarket tomatoes – we’re talking homegrown flavor explosions!
Choosing Your Tomato Varieties
Before we even think about soil, we need to decide what kind of tomatoes we want to grow. This is the fun part! There are literally hundreds of varieties, so don’t be afraid to experiment. Here are a few popular choices to get you started:
* Cherry Tomatoes: These are small, sweet, and perfect for snacking or salads. They’re also generally easier to grow, making them a great choice for beginners. ‘Sungold’ and ‘Sweet Million’ are two fantastic options.
* Roma Tomatoes: These are paste tomatoes, ideal for making sauces and canning. They have a meaty texture and fewer seeds. ‘Roma’ and ‘San Marzano’ are classic choices.
* Beefsteak Tomatoes: These are the big boys! They’re juicy, flavorful, and perfect for slicing on sandwiches. ‘Brandywine’ and ‘Mortgage Lifter’ are popular heirloom varieties.
* Heirloom Tomatoes: These are older varieties that have been passed down through generations. They often have unique flavors and colors, but can be a bit more challenging to grow.
* Determinate vs. Indeterminate: This is important! Determinate tomatoes grow to a certain size and then stop, producing all their fruit at once. Indeterminate tomatoes keep growing and producing fruit throughout the season. Choose determinate varieties if you have limited space or want a concentrated harvest.
Getting Started: Seeds vs. Seedlings
You have two main options for starting your tomato plants: from seed or from seedlings (also called transplants).
* Starting from Seed: This gives you more control over the varieties you grow and can be more economical. However, it requires more time and effort. You’ll need to start your seeds indoors about 6-8 weeks before the last expected frost.
* Buying Seedlings: This is the easier option, especially for beginners. You can find seedlings at most garden centers in the spring. Just make sure to choose healthy-looking plants with sturdy stems and no signs of disease.
Starting from Seed: A Step-by-Step Guide
If you’re feeling adventurous, let’s start those seeds!
1. Gather Your Supplies: You’ll need seed starting trays or small pots, seed starting mix (not regular potting soil!), tomato seeds, a spray bottle, and a heat mat (optional, but helpful).
2. Fill Your Trays/Pots: Moisten the seed starting mix and fill your trays or pots, leaving about half an inch of space at the top.
3. Sow the Seeds: Plant 2-3 seeds per cell or pot, about ¼ inch deep. Gently cover the seeds with more seed starting mix.
4. Water Gently: Use a spray bottle to mist the soil. You don’t want to overwater, just keep the soil consistently moist.
5. Provide Warmth: Place the trays or pots on a heat mat (if using) and cover them with a clear plastic dome or plastic wrap to create a humid environment.
6. Provide Light: Once the seeds germinate (sprout), remove the plastic cover and place the trays or pots under a grow light or in a sunny window. They need at least 6-8 hours of light per day.
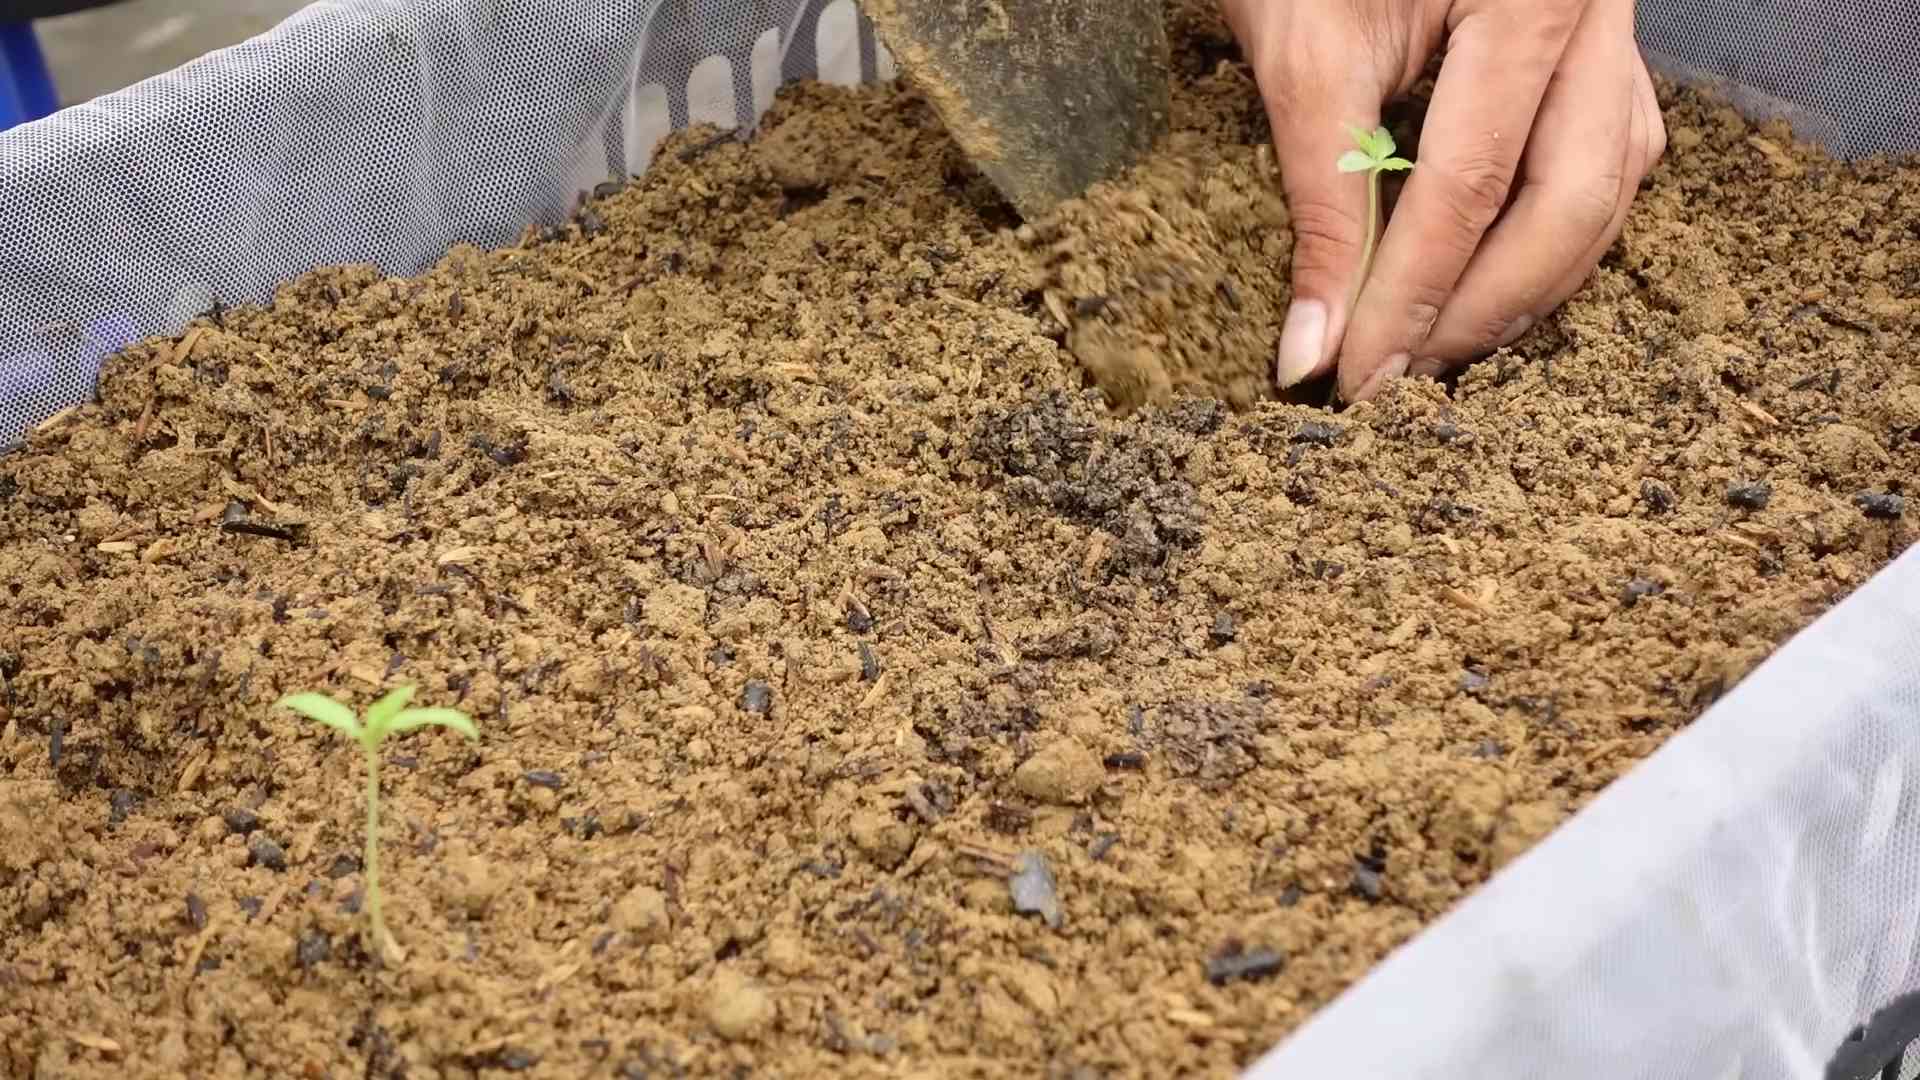
7. Thin the Seedlings: Once the seedlings have their first true leaves (the second set of leaves that appear after the initial seed leaves), thin them to one plant per cell or pot. Choose the strongest-looking seedling and snip off the others at the soil line.
8. Harden Off the Seedlings: About a week before you plan to transplant the seedlings outdoors, you need to “harden them off.” This means gradually exposing them to outdoor conditions. Start by placing them outside for an hour or two each day, gradually increasing the time over the course of a week. This will help them adjust to the sun, wind, and temperature changes.
Transplanting Your Tomato Plants
Whether you started from seed or bought seedlings, transplanting is a crucial step.
1. Choose the Right Location: Tomatoes need at least 6-8 hours of sunlight per day. Choose a location that gets plenty of sun and has well-drained soil.
2. Prepare the Soil: Amend the soil with compost or other organic matter to improve drainage and fertility. Tomatoes are heavy feeders, so they need nutrient-rich soil.
3. Dig the Holes: Dig holes that are slightly larger than the root ball of your tomato plants. Space the plants about 2-3 feet apart, depending on the variety. Determinate varieties can be planted closer together than indeterminate varieties.
4. Plant Deeply: This is a key trick for growing strong tomato plants! Remove the lower leaves from the stem and plant the tomato plant deep enough so that the lowest remaining leaves are just above the soil line. Tomatoes can grow roots along their stems, so planting deeply will encourage a stronger root system.
5. Water Thoroughly: After planting, water the tomato plants thoroughly.
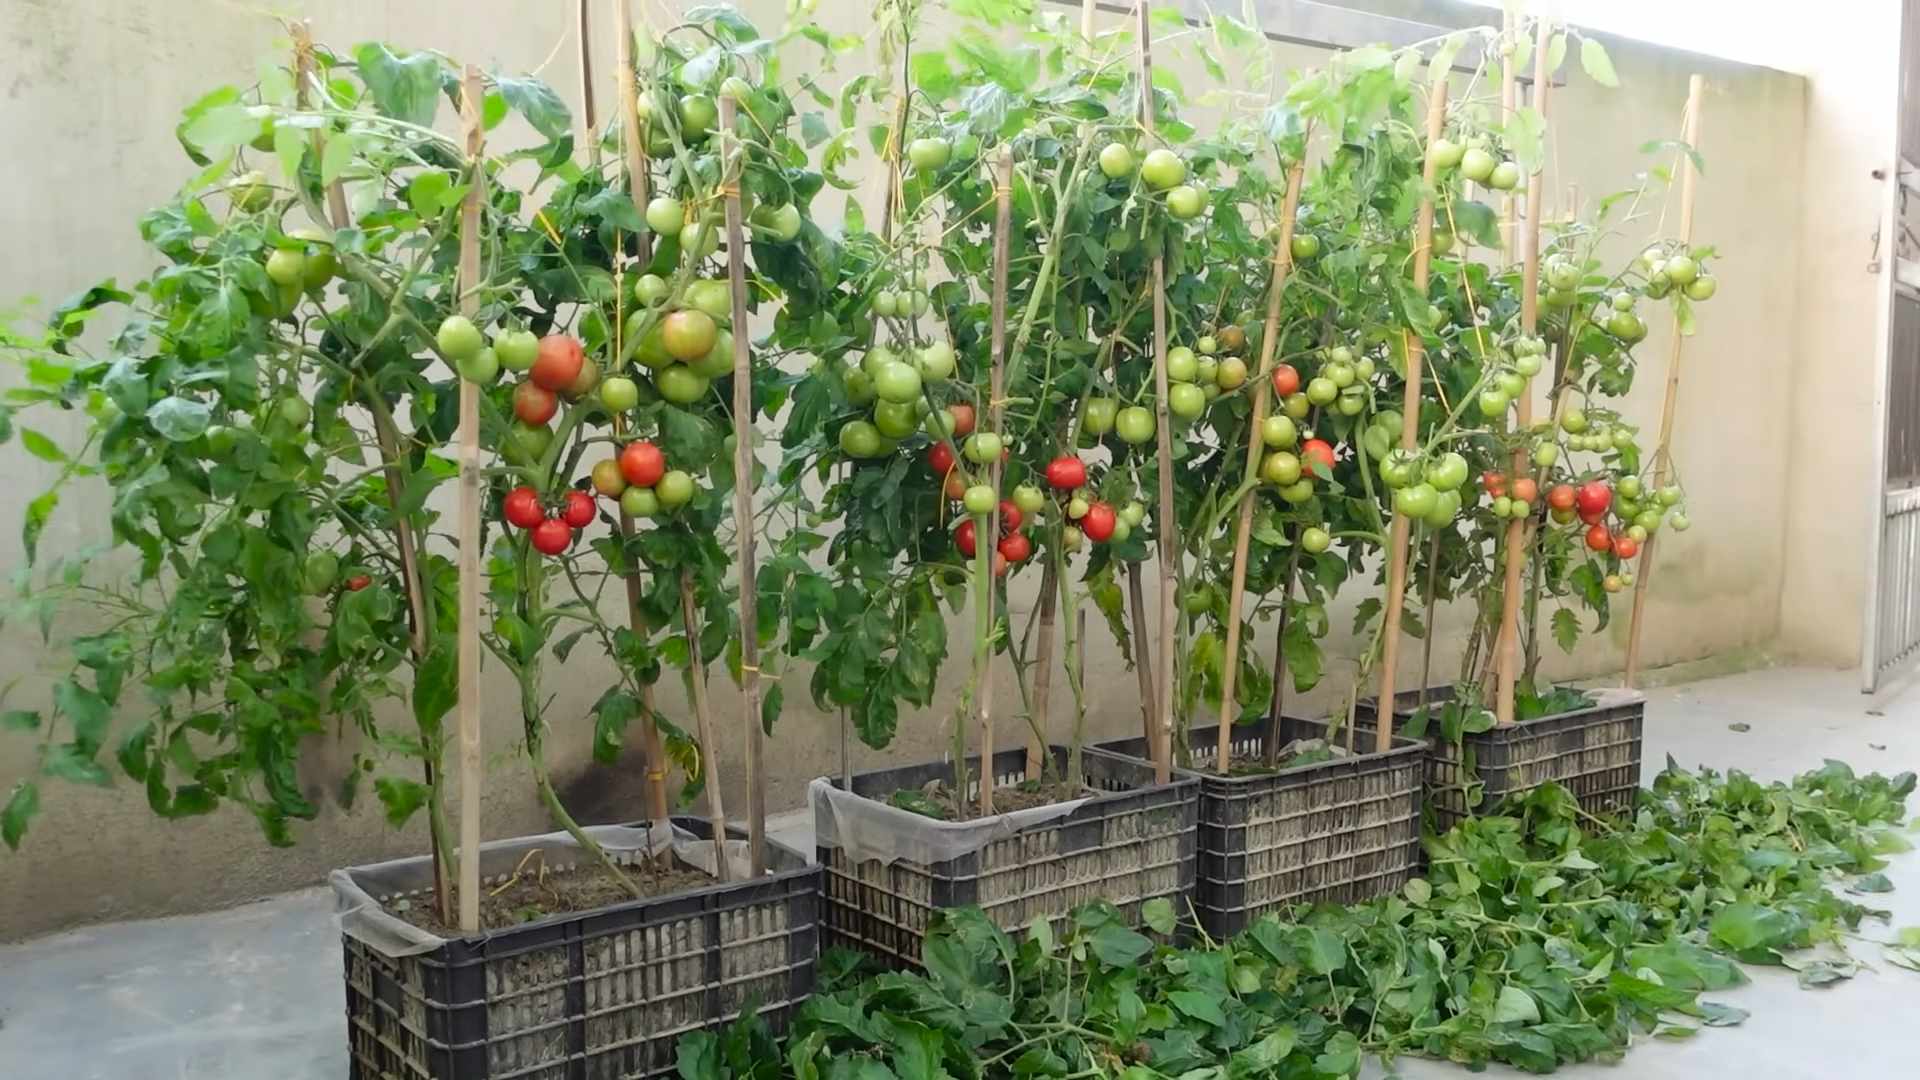
6. Add Support: Tomatoes, especially indeterminate varieties, need support to keep them from falling over. You can use stakes, cages, or trellises. Install the support at the time of planting to avoid damaging the roots later.
Caring for Your Tomato Plants
Now that your tomato plants are in the ground, it’s time to give them some TLC.
1. Watering: Water deeply and regularly, especially during hot, dry weather. Aim to water at the base of the plant to avoid wetting the leaves, which can lead to disease.
2. Fertilizing: Fertilize your tomato plants every 2-3 weeks with a balanced fertilizer or a tomato-specific fertilizer. Follow the instructions on the fertilizer package.
3. Pruning: Pruning is important for indeterminate tomato varieties. Remove the “suckers” that grow between the main stem and the branches. These suckers will steal energy from the plant and reduce fruit production.
4. Mulching: Apply a layer of mulch around the base of the plants to help retain moisture, suppress weeds, and regulate soil temperature. Straw, wood chips, or shredded leaves are good choices for mulch.
5. Pest and Disease Control: Keep an eye out for pests and diseases. Common tomato pests include aphids, tomato hornworms, and whiteflies. Common diseases include early blight, late blight, and blossom end rot. Treat any problems promptly with appropriate organic or chemical controls.
6. Blossom End Rot Prevention: Blossom end rot, characterized by a dark, sunken spot on the bottom of the tomato, is caused by a calcium deficiency. Ensure consistent watering and consider adding calcium to the soil. Crushed eggshells mixed into the soil can help.
Harvesting Your Tomatoes
The moment we’ve all been waiting for!
1. When to Harvest: Tomatoes are ready to harvest when they are fully colored and slightly soft to the touch. The color will depend on the variety.
2. How to Harvest: Gently twist the tomato off the vine.
3. Enjoy! Eat your tomatoes fresh, use them in your favorite recipes, or preserve them for later.
Troubleshooting Common Tomato Problems
Even with the best care, you might encounter some problems along the way. Here are a few common issues and how to address them:
* Yellowing Leaves: This can be caused by a variety of factors, including nutrient deficiencies, overwatering, or disease. Check the soil drainage and fertilize if necessary.
* Curling Leaves: This can be caused by heat stress, drought, or pests. Water deeply and provide shade during the hottest part of the day.
* Blossom Drop: This is when the flowers fall off the plant without producing fruit. It’s often caused by temperature extremes or lack of pollination. Ensure consistent watering and try hand-pollinating the flowers by gently shaking the plant.
* Cracked Tomatoes: This is caused by inconsistent watering. Water deeply and regularly, especially during dry spells.
Extra Tips for Tomato Success
* Rotate Your Crops: Don’t plant tomatoes in the same spot year after year. Rotate your crops to prevent soilborne diseases.
* Companion Planting: Plant basil, marigolds, or other companion plants near your tomatoes to deter pests and attract pollinators.
* Use Epsom Salts: Some gardeners swear by Epsom salts to boost tomato production. Dissolve 1 tablespoon of Epsom salts in a gallon of water and spray the plants every 2-3 weeks.
* Record Keeping: Keep a record of what varieties you planted, when you planted them, and any problems you encountered. This will help you improve your tomato-growing skills year after year.
Growing tomatoes can be incredibly rewarding. With
Conclusion
So, there you have it! Growing tomatoes at home, especially with these simple yet effective DIY tricks, is not just a gardening endeavor; it’s an investment in flavor, health, and a deeper connection with the food you consume. We’ve explored methods that bypass the need for expensive equipment or specialized knowledge, focusing instead on readily available resources and time-tested techniques. From optimizing soil composition with homemade compost to creating natural pest deterrents, these strategies empower you to cultivate a thriving tomato patch, regardless of your experience level.
Why is this a must-try? Because the difference between a store-bought tomato and a homegrown one is astronomical. The vibrant color, the intense aroma, and the burst of flavor are simply unmatched. Plus, you have complete control over what goes into your tomatoes, ensuring they are free from harmful chemicals and pesticides. You’re not just growing tomatoes; you’re growing peace of mind.
But the beauty of gardening lies in its adaptability. Feel free to experiment with different tomato varieties. Try heirloom tomatoes for unique flavors and colors, or opt for cherry tomatoes for a prolific harvest perfect for snacking. Consider companion planting – basil, marigolds, and carrots are excellent choices for deterring pests and enhancing growth. You can also explore different trellising methods to support your plants and maximize space. Perhaps you’ll even discover your own secret ingredient for the perfect tomato fertilizer!
Don’t be afraid to get your hands dirty and embrace the learning process. Gardening is a journey, not a destination. There will be challenges, but the rewards are well worth the effort. Imagine the satisfaction of serving a Caprese salad made with tomatoes you nurtured from seed, or the joy of sharing your bounty with friends and neighbors.
We wholeheartedly encourage you to try these DIY tricks for growing tomatoes at home. Start small, be patient, and most importantly, have fun! And once you’ve experienced the magic of homegrown tomatoes, we’d love to hear about it. Share your successes, your challenges, and your own unique tips in the comments below. Let’s create a community of tomato enthusiasts, sharing our knowledge and inspiring each other to grow the best tomatoes possible. Your experiences can help others discover the joy and satisfaction of cultivating their own delicious, homegrown tomatoes. Let’s get growing!
Frequently Asked Questions (FAQs)
Q: What is the best time to start growing tomatoes at home?
A: The timing depends on your climate. In warmer regions with mild winters, you can start seeds indoors 6-8 weeks before the last expected frost. In colder regions, you’ll want to start seeds later, perhaps 4-6 weeks before the last frost. A good rule of thumb is to transplant seedlings outdoors when the soil temperature consistently reaches 60°F (15°C). You can also purchase starter plants from a local nursery if you prefer to skip the seed-starting process.
Q: What kind of soil is best for growing tomatoes?
A: Tomatoes thrive in well-draining, slightly acidic soil with a pH between 6.0 and 6.8. Amend your soil with compost or well-rotted manure to improve its fertility and drainage. If your soil is heavy clay, consider adding sand or perlite to improve drainage. A soil test can help you determine the pH and nutrient levels of your soil, allowing you to make necessary adjustments.
Q: How much sunlight do tomatoes need?
A: Tomatoes are sun-loving plants and require at least 6-8 hours of direct sunlight per day. Choose a location in your garden that receives ample sunlight throughout the day. If you’re growing tomatoes in containers, make sure to place them in a sunny spot. Insufficient sunlight can lead to leggy plants and reduced fruit production.
Q: How often should I water my tomato plants?
A: Water deeply and regularly, especially during hot, dry weather. Aim to keep the soil consistently moist but not waterlogged. Water at the base of the plant to avoid wetting the foliage, which can increase the risk of fungal diseases. Mulching around the plants can help retain moisture and suppress weeds. A good rule of thumb is to water when the top inch of soil feels dry to the touch.
Q: What are some common tomato pests and diseases, and how can I prevent them?
A: Common tomato pests include aphids, tomato hornworms, and whiteflies. Diseases include early blight, late blight, and blossom end rot. To prevent pests, inspect your plants regularly and remove any pests you find. You can also use insecticidal soap or neem oil to control pests. To prevent diseases, ensure good air circulation around your plants, avoid overhead watering, and remove any diseased foliage promptly. Crop rotation can also help prevent soilborne diseases. For blossom end rot, ensure consistent watering and add calcium to the soil if necessary.
Q: How do I prune my tomato plants?
A: Pruning can help improve air circulation, promote fruit production, and prevent diseases. Remove suckers (the small shoots that grow between the main stem and the branches) to encourage the plant to focus its energy on fruit production. You can also remove any yellowing or diseased leaves. For indeterminate tomato varieties (those that continue to grow throughout the season), pruning is especially important.
Q: When should I harvest my tomatoes?
A: Tomatoes are ripe when they are fully colored and slightly soft to the touch. The color will vary depending on the variety. Gently twist the tomato from the vine, leaving the stem attached. Ripe tomatoes can be stored at room temperature for a few days or in the refrigerator for longer storage.
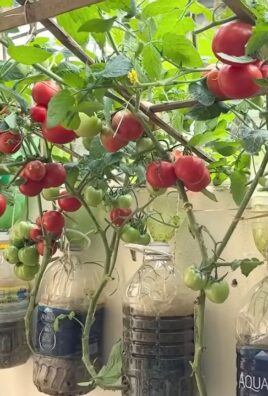
Q: Can I grow tomatoes in containers?
A: Yes, tomatoes can be successfully grown in containers. Choose a large container (at least 10 gallons) with drainage holes. Use a high-quality potting mix and provide regular watering and fertilization. Container-grown tomatoes may require more frequent watering and fertilization than those grown in the ground. Dwarf or bush tomato varieties are particularly well-suited for container gardening.
Q: What are some good companion plants for tomatoes?
A: Basil, marigolds, carrots, onions, and garlic are all excellent companion plants for tomatoes. Basil helps repel pests and improve the flavor of tomatoes. Marigolds also deter pests and attract beneficial insects. Carrots help loosen the soil and improve drainage. Onions and garlic repel pests and can help prevent fungal diseases.
Q: How can I make my own tomato fertilizer?
A: There are several ways to make your own tomato fertilizer. You can use compost tea, which is made by steeping compost in water. You can also use eggshells, which are a good source of calcium. Simply crush the eggshells and add them to the soil around your tomato plants. Another option is to use banana peels, which are rich in potassium. Bury the banana peels near the base of your tomato plants.
Q: What if my tomato plant is growing tall but not producing fruit?
A: This could be due to several factors, including insufficient sunlight, over-fertilization with nitrogen, or extreme temperatures. Ensure your plant is getting at least 6-8 hours of direct sunlight per day. Avoid over-fertilizing with nitrogen, as this can promote leafy growth at the expense of fruit production. If temperatures are consistently above 90°F (32°C) or below 55°F (13°C), pollination may be inhibited. You can try hand-pollinating your tomato flowers to improve fruit set.
Q: How do I save seeds from my homegrown tomatoes?
A: Saving seeds from heirloom tomatoes is a great way to preserve your favorite varieties. Choose ripe, healthy tomatoes. Squeeze the seeds and pulp into a jar and add a little water. Let the mixture ferment for a few days, stirring occasionally. This process will help remove the gelatinous coating from the seeds. After fermentation, rinse the seeds thoroughly and spread them out on a paper towel to dry completely. Store the dried seeds in an airtight container in a cool, dark place.


Leave a Comment