
Growing bush beans can be incredibly rewarding, offering a delicious and nutritious harvest right from your own backyard! Have you ever dreamed of plucking fresh, crisp beans straight from the vine and adding them to your dinner plate? Well, this DIY guide is your ticket to making that dream a reality, even if you’re short on space or gardening experience.
Beans have a rich history, dating back thousands of years and playing a vital role in diets across the globe. From ancient civilizations in the Americas to traditional European cuisines, beans have been a staple food source. Today, the joy of growing bush beans connects us to that history, allowing us to cultivate a piece of the past in our own gardens.
But why should you bother with growing your own bush beans? In today’s world, where we’re increasingly conscious of where our food comes from, knowing you’ve nurtured your own vegetables from seed to table is incredibly satisfying. Plus, homegrown beans often taste far superior to store-bought varieties. This DIY article will provide you with simple, effective tricks and hacks to ensure a bountiful harvest, regardless of your gardening skill level. I’m excited to share these tips with you, so let’s get started and unlock the secrets to successful bush bean cultivation!
Growing Bush Beans: A Beginner’s Guide to a Bountiful Harvest
Hey there, fellow gardening enthusiasts! I’m so excited to share my experience growing bush beans with you. They’re one of the easiest and most rewarding vegetables to cultivate, perfect for beginners and seasoned gardeners alike. Plus, nothing beats the taste of fresh, homegrown beans! Let’s dive into how you can get started.
Choosing Your Bush Bean Variety
Before we get our hands dirty, let’s talk about bean varieties. Bush beans are compact and don’t require staking, making them ideal for smaller gardens or container gardening. Here are a few popular choices:
* Blue Lake Bush: A classic, reliable variety known for its excellent flavor and high yields.
* Contender: An early-maturing bean that’s resistant to common bean diseases.
* Provider: Another early variety that produces stringless, tender beans.
* Roma II: A flat-podded Italian bean with a rich, buttery flavor.
* Golden Wax: A yellow wax bean that’s both beautiful and delicious.
I personally love growing Blue Lake Bush because they’re so productive and have a fantastic taste. But feel free to experiment and find your favorite!
Preparing Your Garden Bed
Bush beans thrive in well-drained soil that’s rich in organic matter. Here’s how I prepare my garden bed:
1. Choose a Sunny Spot: Bush beans need at least 6-8 hours of sunlight per day. Pick a location in your garden that gets plenty of sunshine.
2. Clear the Area: Remove any weeds, rocks, or debris from the planting area.
3. Amend the Soil: This is crucial! Beans prefer slightly acidic to neutral soil (pH 6.0-7.0). I usually add compost or well-rotted manure to improve soil fertility and drainage. You can also use a soil testing kit to check your soil’s pH and nutrient levels.
4. Loosen the Soil: Use a garden fork or tiller to loosen the soil to a depth of about 12 inches. This will allow the bean roots to penetrate easily.
5. Rake the Soil: Rake the soil smooth to create a level planting surface.
Planting Your Bush Beans
Now for the fun part – planting! Bush beans are typically planted directly in the garden after the last frost. Here’s my planting process:
1. Check the Soil Temperature: Bush beans germinate best when the soil temperature is at least 60°F (15°C). You can use a soil thermometer to check the temperature.
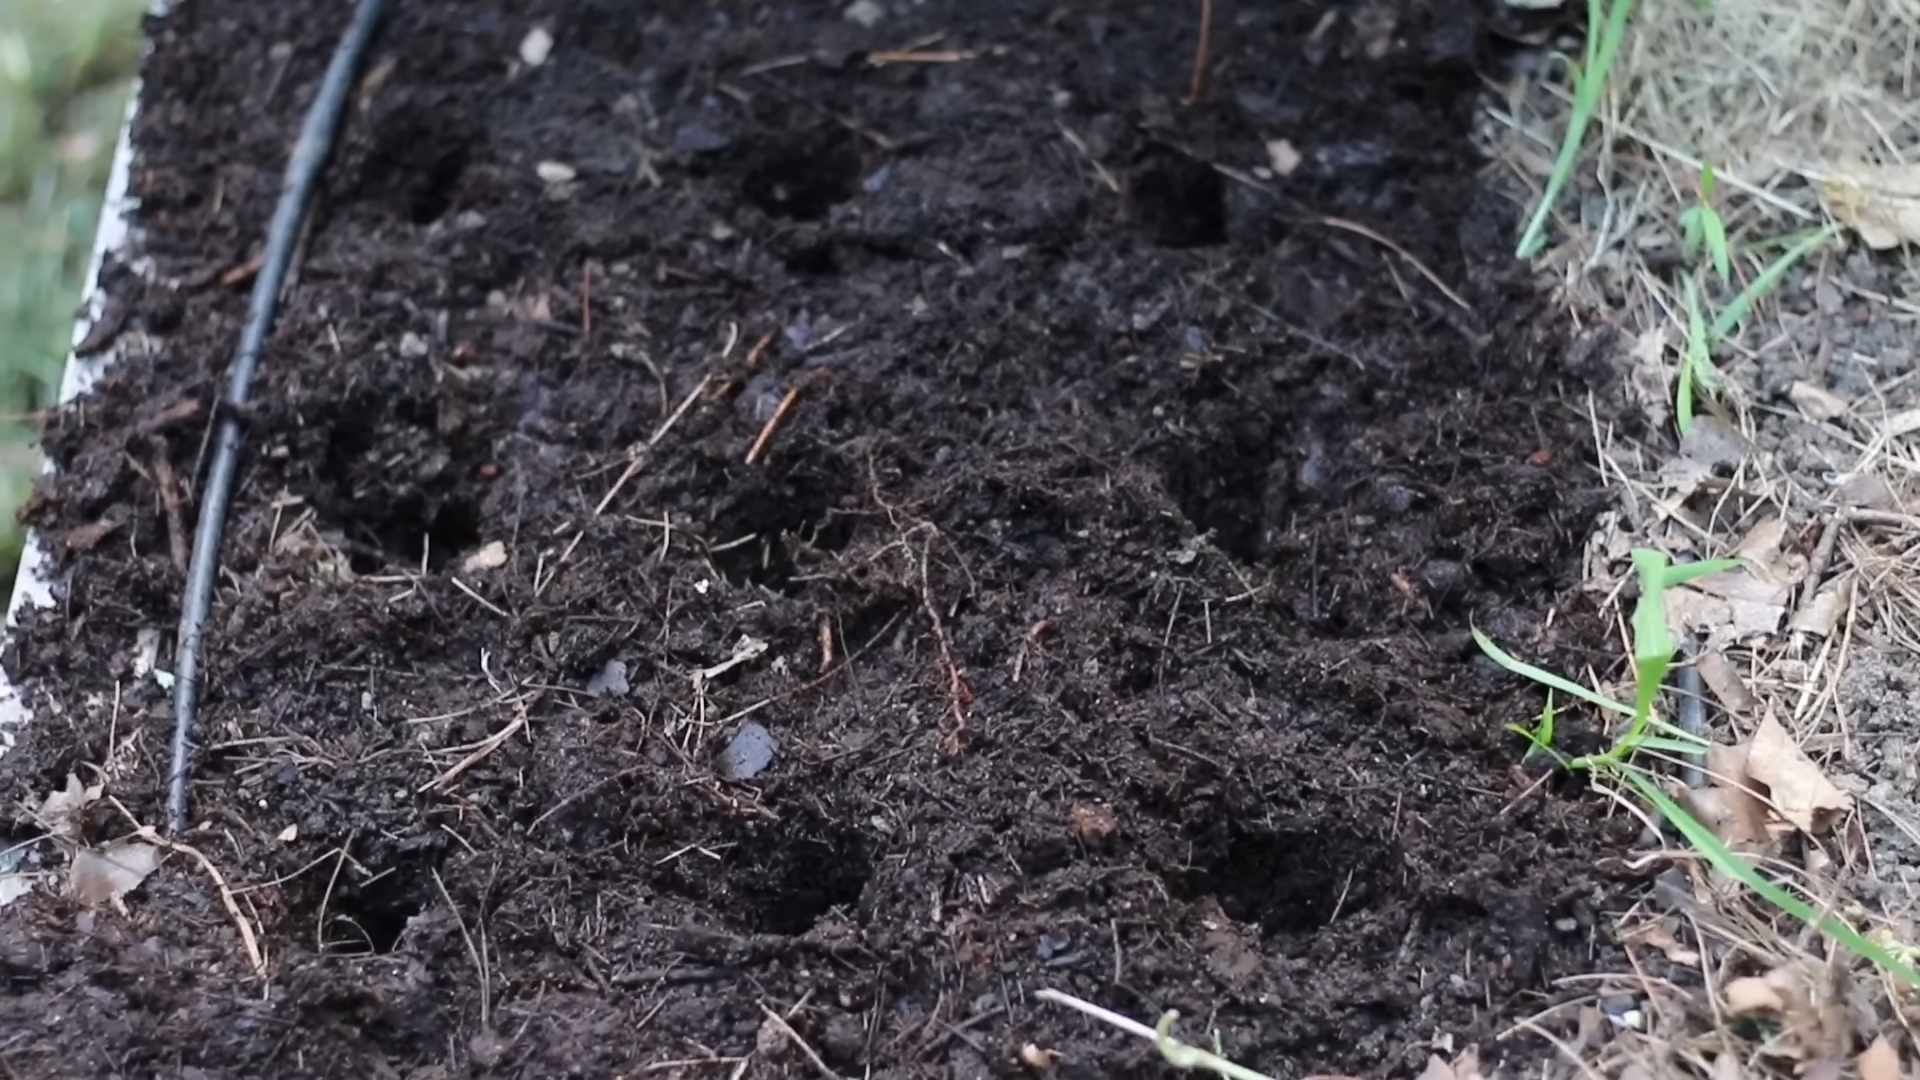
2. Sow the Seeds: Plant the bean seeds about 1 inch deep and 2-3 inches apart in rows that are 18-24 inches apart. I like to use a dibber or my finger to create small holes for the seeds.
3. Cover the Seeds: Gently cover the seeds with soil and pat it down lightly.
4. Water Thoroughly: Water the planting area thoroughly to moisten the soil.
5. Mark the Rows: Use plant markers or labels to identify the rows of beans. This will help you keep track of what you’ve planted.
Caring for Your Bush Beans
Bush beans are relatively low-maintenance, but they do need some care to thrive. Here’s what I do to keep my bean plants happy:
1. Watering: Water regularly, especially during dry spells. Aim to keep the soil consistently moist, but not waterlogged. I usually water deeply once or twice a week, depending on the weather.
2. Weeding: Keep the garden bed free of weeds, which can compete with the bean plants for nutrients and water. I like to hand-pull weeds or use a hoe to cultivate the soil.
3. Fertilizing: Bush beans don’t need a lot of fertilizer, but you can give them a boost with a side dressing of compost or a balanced fertilizer a few weeks after planting. Avoid over-fertilizing, as this can lead to excessive foliage growth and fewer beans.
4. Pest Control: Keep an eye out for common bean pests, such as aphids, bean beetles, and slugs. I usually inspect my plants regularly and hand-pick any pests that I find. You can also use insecticidal soap or neem oil to control pests.
5. Disease Prevention: Bush beans can be susceptible to diseases, such as powdery mildew and bean rust. To prevent diseases, make sure to provide good air circulation around the plants and avoid overhead watering. If you notice any signs of disease, remove the affected leaves or plants immediately.
Harvesting Your Bush Beans
Harvesting is the most rewarding part of growing bush beans! Here’s how I know when it’s time to harvest:
1. Check the Pods: Bush beans are typically ready to harvest about 50-60 days after planting. The pods should be firm, plump, and snap easily when bent.
2. Harvest Regularly: Harvest the beans regularly, every few days, to encourage continued production. Overripe beans can become tough and stringy.
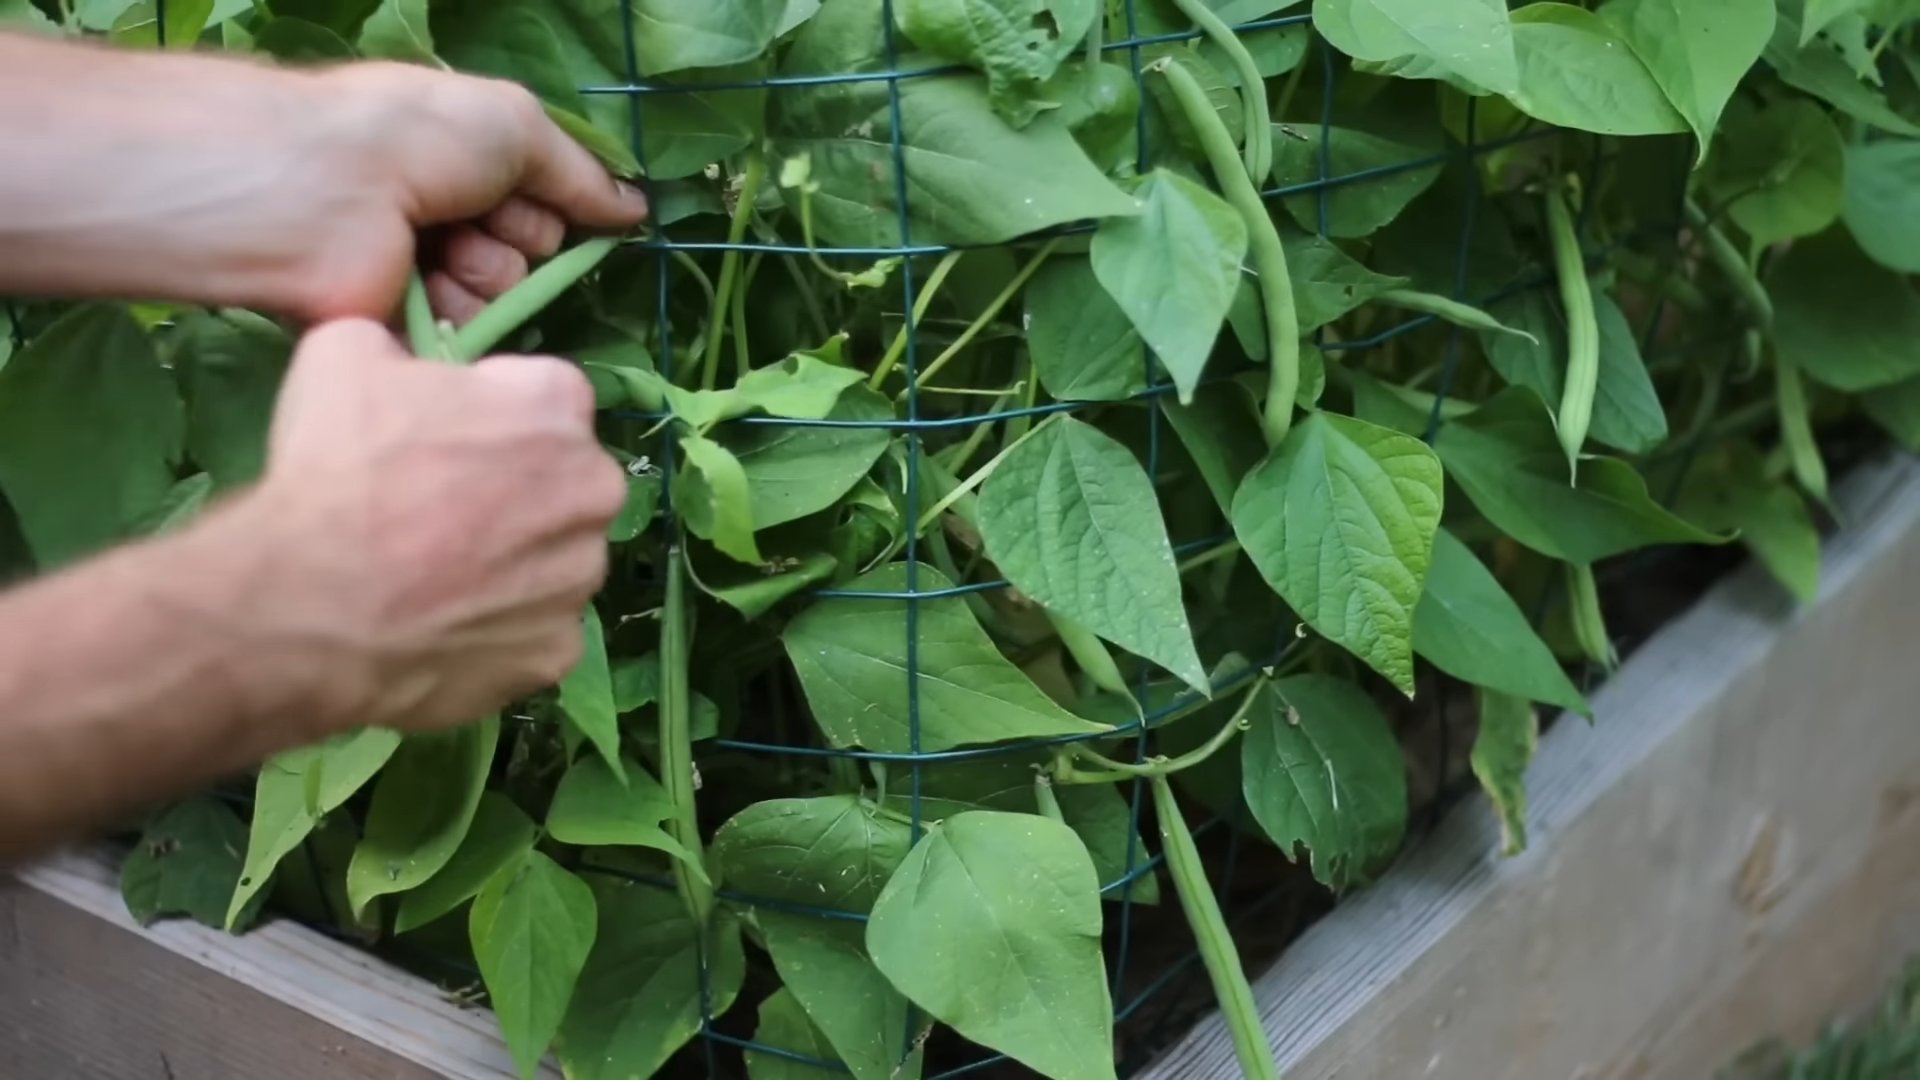
3. Pick Carefully: Gently snap the bean pods off the plant, being careful not to damage the stems or leaves.
4. Enjoy Your Harvest: Freshly harvested bush beans are delicious steamed, sautéed, or added to salads and soups. You can also freeze or can them for later use.
Troubleshooting Common Problems
Even with the best care, you might encounter some problems when growing bush beans. Here are a few common issues and how I deal with them:
* Poor Germination: If your bean seeds aren’t germinating, it could be due to cold soil, poor soil quality, or overwatering. Make sure the soil temperature is at least 60°F (15°C) before planting, and improve the soil with compost or well-rotted manure. Avoid overwatering, which can cause the seeds to rot.
* Yellowing Leaves: Yellowing leaves can be a sign of nutrient deficiency, overwatering, or disease. Check the soil pH and nutrient levels, and adjust accordingly. Make sure the soil is well-drained and avoid overwatering. If you suspect a disease, remove the affected leaves or plants.
* Pest Infestations: Aphids, bean beetles, and slugs can all damage bean plants. Inspect your plants regularly and hand-pick any pests that you find. You can also use insecticidal soap or neem oil to control pests.
* Lack of Bean Production: If your bean plants are growing well but not producing beans, it could be due to poor pollination, high temperatures, or over-fertilizing. Make sure the plants are getting enough sunlight and water, and avoid over-fertilizing. You can also try hand-pollinating the flowers by gently shaking the plants.
Extending Your Bean Harvest
Want to enjoy fresh bush beans for as long as possible? Here are a few tips for extending your harvest:
* Succession Planting: Plant a new batch of bean seeds every 2-3 weeks to ensure a continuous harvest.
* Choose Early and Late Varieties: Plant a combination of early-maturing and late-maturing varieties to extend the harvest season.
* Provide Shade: In hot climates, provide some shade for the bean plants during the hottest part of the day to prevent them from bolting (going to seed).
* Harvest Regularly: As mentioned earlier, harvesting the beans regularly encourages continued production.
Saving Bean Seeds
If you want to save seeds from your bush beans for next year, here’s what I do:
1. Select Healthy Plants: Choose healthy, vigorous plants that produce high-quality beans.
2. Allow Pods to Mature: Allow some of the bean pods to mature completely on the plant. The pods will turn brown and dry out.
3. Harvest the Pods: Harvest the dry bean pods and remove the seeds.
4. Dry the Seeds: Spread the seeds out on a tray and allow them to dry completely in a cool, dry place for several weeks.
5. Store the Seeds: Store the dried seeds in an airtight container in a cool, dark place. They should remain viable for several years.
Bush Beans in Containers
Don’t have a garden? No problem! You can easily grow bush beans in containers. Here’s what you’ll need:
* Large Containers: Choose containers that are at least 12 inches in diameter and 12 inches deep.
* Well-Draining Potting Mix: Use a high-quality potting mix that drains well.
* Sunlight: Place the containers in a sunny location that gets at least 6-8 hours of sunlight per day.
* Watering: Water the containers regularly, especially during hot weather.
* Fertilizing: Fertilize the bean plants every few weeks with a balanced fertilizer.
Growing bush beans in containers is
Conclusion
So, there you have it! Growing bush beans doesn’t have to be a daunting task. With a little preparation, the right techniques, and a dash of patience, you can enjoy a bountiful harvest of fresh, delicious beans right from your own backyard. This DIY approach to growing bush beans is a must-try for several compelling reasons.
First and foremost, it’s incredibly rewarding. There’s something deeply satisfying about nurturing a plant from seed to table, knowing exactly where your food comes from and how it was grown. You avoid the pesticides and herbicides often used in commercial farming, ensuring a healthier and more flavorful product for you and your family.
Secondly, it’s cost-effective. While there’s an initial investment in seeds and perhaps some soil amendments, growing your own bush beans can significantly reduce your grocery bill, especially if you consume beans regularly. Plus, you can save seeds from your harvest to plant the following year, further reducing your expenses.
Thirdly, it’s environmentally friendly. By growing your own food, you reduce your carbon footprint associated with transportation and packaging. You can also compost kitchen scraps and yard waste to enrich your soil, creating a closed-loop system that benefits both your garden and the planet.
But the real magic lies in the versatility of bush beans. While we’ve focused on the basic method, there are countless variations you can explore. Consider planting different varieties of bush beans, such as Blue Lake, Contender, or Provider, to discover your favorite flavors and textures. Experiment with companion planting by intercropping your beans with other vegetables like carrots, cucumbers, or marigolds to deter pests and improve soil health. You can even try succession planting, sowing new seeds every few weeks, to extend your harvest season and enjoy a continuous supply of fresh beans.
For those with limited space, container gardening is an excellent option. Choose a large pot with good drainage and use a high-quality potting mix. Bush beans thrive in containers and can be easily moved to sunny locations as needed. Just remember to water them regularly, as containers tend to dry out faster than garden beds.
Another exciting variation is to grow bush beans vertically using a trellis or netting. While bush beans are naturally compact, providing support can help improve air circulation and prevent fungal diseases. It also makes harvesting easier and more efficient.
Don’t be afraid to experiment and adapt the techniques to suit your specific needs and preferences. Gardening is a journey of discovery, and there’s always something new to learn.
We wholeheartedly encourage you to give this DIY trick a try. Whether you’re a seasoned gardener or a complete beginner, growing bush beans is a fun and fulfilling experience that will connect you with nature and provide you with delicious, nutritious food.
Once you’ve harvested your first crop, we’d love to hear about your experience! Share your tips, tricks, and photos in the comments section below. Let’s create a community of bush bean enthusiasts and inspire others to embrace the joys of home gardening. What variety did you grow? What challenges did you face, and how did you overcome them? Your insights could be invaluable to other readers.
So, grab your seeds, get your hands dirty, and get ready to enjoy the fruits (or rather, the beans) of your labor. Happy gardening!
Frequently Asked Questions (FAQ)
What is the best time of year to plant bush beans?
The ideal time to plant bush beans is after the last frost in spring, when the soil has warmed to at least 60°F (15°C). Bush beans are sensitive to cold temperatures and will not germinate well in cold soil. In most regions, this is typically between May and July. You can also plant a second crop in late summer for a fall harvest, provided you have enough time before the first frost. Check your local frost dates to determine the best planting time for your area.
How much sunlight do bush beans need?
Bush beans require at least 6-8 hours of direct sunlight per day to thrive. Choose a planting location that receives full sun throughout the day. If you’re growing bush beans in containers, you can move them to different locations to ensure they get enough sunlight. Insufficient sunlight can lead to leggy growth and reduced yields.
How often should I water bush beans?
Bush beans need consistent moisture, especially during germination and pod development. Water deeply and regularly, aiming for about 1 inch of water per week. Avoid overhead watering, as this can promote fungal diseases. Instead, water at the base of the plants. Check the soil moisture regularly and water when the top inch feels dry to the touch. Mulching around the plants can help retain moisture and suppress weeds.
What kind of soil is best for growing bush beans?
Bush beans prefer well-drained, fertile soil with a pH between 6.0 and 7.0. Amend the soil with compost or other organic matter to improve drainage and fertility. Avoid heavy clay soils, as they can become waterlogged and inhibit root growth. If you have clay soil, consider growing bush beans in raised beds or containers with a well-draining potting mix.
Do bush beans need fertilizer?
Bush beans are relatively light feeders and don’t require heavy fertilization. However, adding a balanced fertilizer at planting time can help promote healthy growth. Look for a fertilizer with a ratio of 5-10-10 or similar. Avoid fertilizers that are high in nitrogen, as this can promote excessive foliage growth at the expense of pod production. You can also side-dress the plants with compost tea or fish emulsion during the growing season to provide additional nutrients.
How long does it take for bush beans to mature?
Bush beans typically mature in 50-60 days from planting. However, the exact time can vary depending on the variety and growing conditions. Check the seed packet for specific information on the maturity date of your chosen variety. You can start harvesting beans when they are about the size of a pencil and the pods are firm and crisp.
What are some common pests and diseases that affect bush beans?
Common pests that can affect bush beans include aphids, bean beetles, and spider mites. You can control these pests with insecticidal soap, neem oil, or by handpicking them off the plants. Common diseases include powdery mildew, bean rust, and anthracnose. Prevent these diseases by providing good air circulation, avoiding overhead watering, and using disease-resistant varieties.
Can I grow bush beans in containers?
Yes, bush beans are well-suited for container gardening. Choose a large pot with good drainage and use a high-quality potting mix. Make sure the container receives at least 6-8 hours of direct sunlight per day. Water regularly and fertilize as needed. Container-grown bush beans may require more frequent watering than those grown in the ground.
How do I harvest bush beans?
Harvest bush beans when the pods are about the size of a pencil and the beans inside are just beginning to develop. The pods should be firm and crisp, not bulging or tough. Snap the beans off the plant carefully, being careful not to damage the stems or leaves. Harvest regularly to encourage continued production.
Can I save seeds from my bush bean harvest?
Yes, you can save seeds from your bush bean harvest for planting the following year. Allow some of the pods to dry completely on the plant. Once the pods are dry and brittle, shell the beans and store them in an airtight container in a cool, dry place. Be sure to label the container with the variety and date. Note that hybrid varieties may not produce true-to-type seeds.
Leave a Comment