
Grow Spring Onions in Containers and unlock a world of fresh, flavorful possibilities right on your windowsill or balcony! Imagine snipping vibrant green onions to add a zesty kick to your salads, soups, and stir-fries, all grown with your own two hands. For centuries, cultivating food close to home has been a cornerstone of self-sufficiency and a connection to nature. From ancient rooftop gardens in bustling cities to humble kitchen gardens in rural villages, the ability to nurture life and harvest sustenance has been a source of pride and resilience.
In today’s fast-paced world, the convenience of store-bought produce often overshadows the simple joy of growing your own. But what if you could reclaim that connection, even with limited space? That’s where the magic of container gardening comes in! Growing spring onions in containers is not only incredibly easy, but it also offers a sustainable and cost-effective way to enjoy fresh produce year-round. Plus, it’s a fantastic way to reduce your carbon footprint and connect with the natural world, even in the heart of the city. I’m excited to share my favorite DIY tricks and hacks that will have you harvesting a bountiful crop of spring onions in no time. Let’s get started and grow spring onions in containers together!
Grow Spring Onions in Containers: A Beginner’s Guide
Hey there, fellow gardening enthusiasts! I’m so excited to share my experience with growing spring onions in containers. It’s a super easy and rewarding project, perfect for beginners or anyone with limited space. Plus, having fresh spring onions right outside your door is a total game-changer for your cooking!
What You’ll Need
Before we dive in, let’s gather our supplies. Here’s a list of everything you’ll need to successfully grow spring onions in containers:
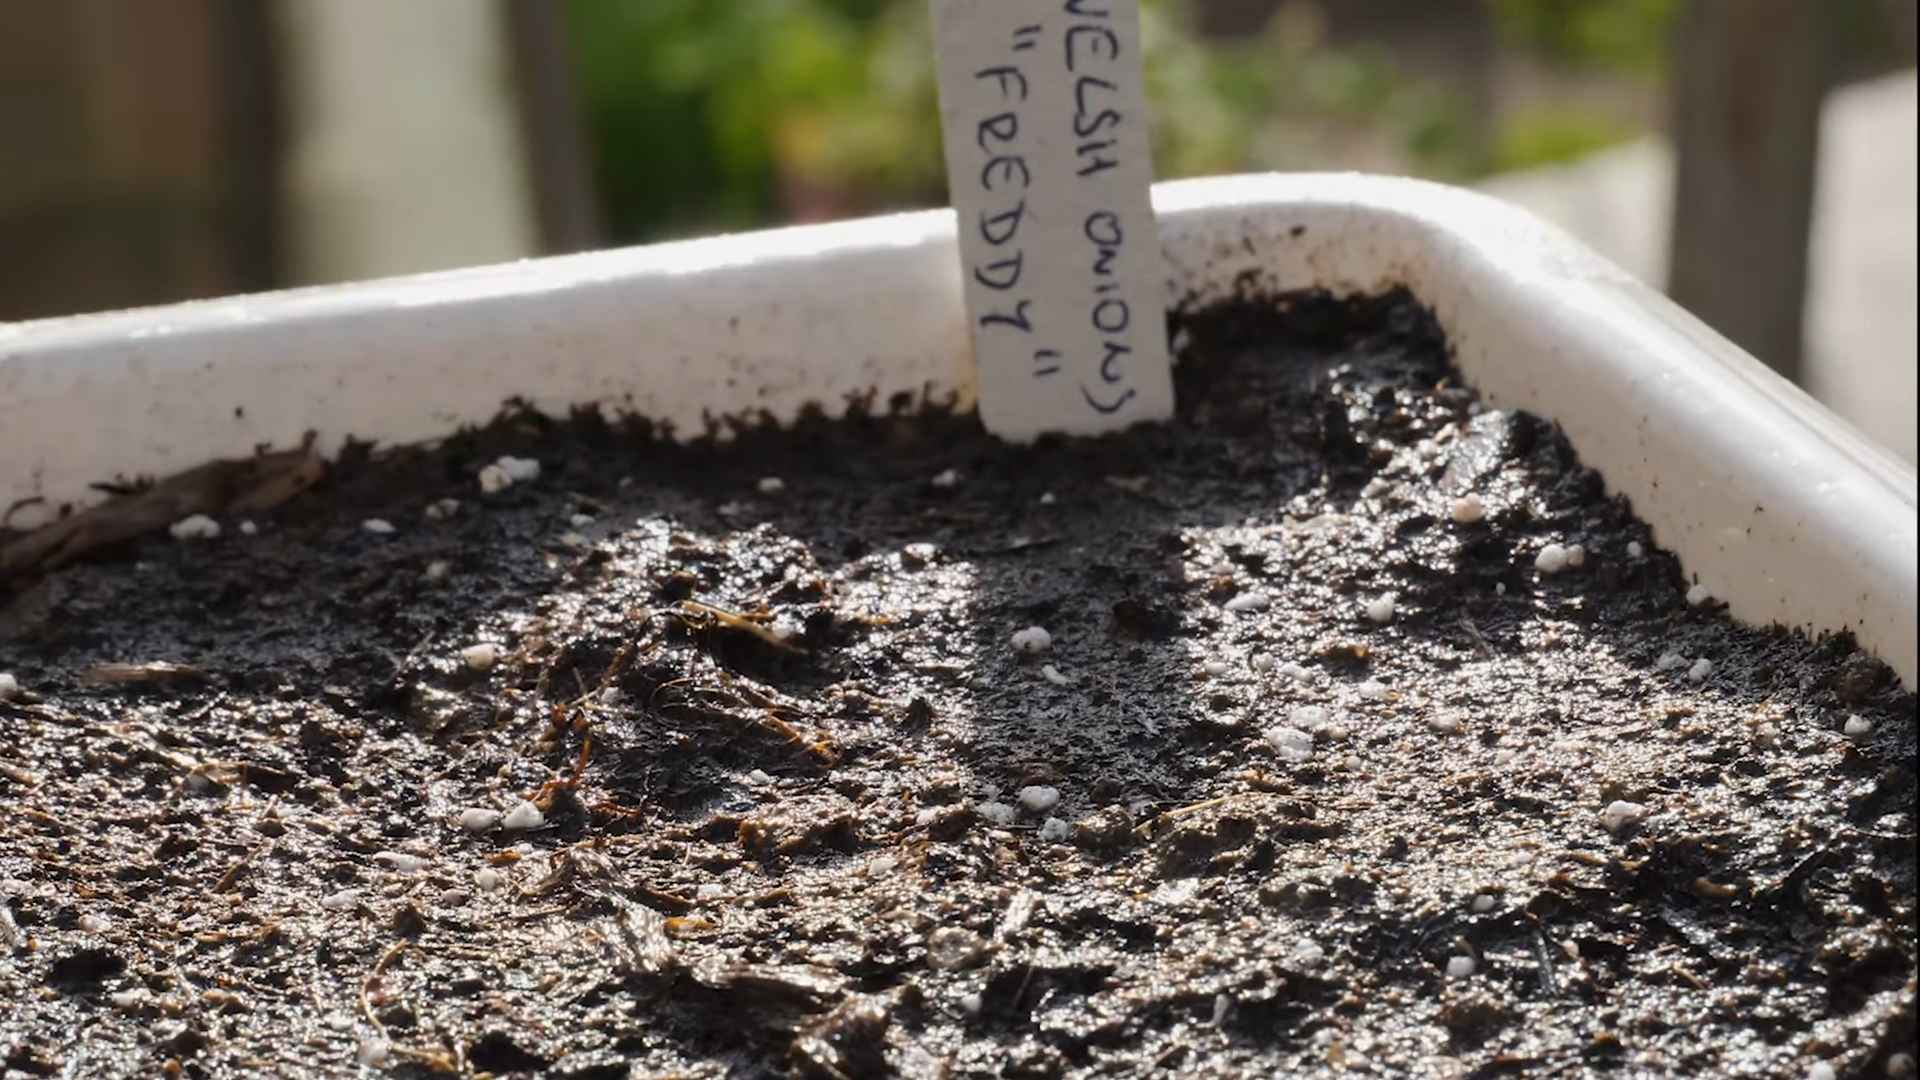
* Containers: Choose containers that are at least 6 inches deep and wide. You can use plastic pots, terracotta pots, or even repurposed containers like buckets or tubs. Just make sure they have drainage holes!
* Potting Mix: Use a high-quality potting mix that drains well. Avoid using garden soil, as it can compact in containers and hinder root growth.
* Spring Onion Sets or Seeds: You can start spring onions from sets (small, immature bulbs) or seeds. Sets are faster and easier, but seeds offer more variety. I personally prefer sets for a quicker harvest.
* Watering Can or Hose: For regular watering.
* Fertilizer (Optional): A balanced liquid fertilizer can help boost growth, but it’s not essential.
* Trowel or Small Shovel: For planting.
* Gardening Gloves (Optional): To keep your hands clean.
Choosing the Right Container
The container you choose plays a crucial role in the success of your spring onion crop. Here’s what to keep in mind:
* Size Matters: Spring onions don’t need a ton of space, but they do need enough room for their roots to develop. A container that’s at least 6 inches deep and wide is ideal. If you’re planning to grow a lot of spring onions, opt for a larger container.
* Drainage is Key: Make sure your container has drainage holes. Spring onions don’t like to sit in soggy soil, which can lead to root rot. If your container doesn’t have drainage holes, you can drill some yourself.
* Material Considerations: Plastic pots are lightweight and inexpensive, but they can dry out quickly in hot weather. Terracotta pots are more breathable and help regulate soil temperature, but they’re also heavier and can be more expensive. Repurposed containers are a great eco-friendly option, but make sure they’re clean and food-safe if you’re using them for edible plants.
Planting Spring Onions from Sets
Planting from sets is the quickest and easiest way to get your spring onion crop started. Here’s how to do it:
1. Prepare the Container: Fill your container with potting mix, leaving about an inch of space at the top. Gently pat down the soil to remove any air pockets.
2. Plant the Sets: Make small holes in the soil, about 1-2 inches deep and 2-3 inches apart. Place a spring onion set in each hole, with the root end facing down.
3. Cover the Sets: Gently cover the sets with soil, leaving the tips exposed.
4. Water Thoroughly: Water the container thoroughly until the soil is evenly moist.
5. Place in a Sunny Location: Spring onions need at least 6 hours of sunlight per day. Place your container in a sunny spot, such as a patio, balcony, or windowsill.
Planting Spring Onions from Seeds
Starting from seeds takes a bit longer, but it’s a great way to grow a wider variety of spring onions. Here’s how to do it:
1. Prepare the Container: Fill your container with potting mix, leaving about an inch of space at the top. Gently pat down the soil to remove any air pockets.
2. Sow the Seeds: Sprinkle the spring onion seeds evenly over the surface of the soil.
3. Cover the Seeds: Lightly cover the seeds with a thin layer of soil.
4. Water Gently: Water the container gently using a spray bottle or watering can with a fine rose attachment. Avoid overwatering, as this can wash away the seeds.
5. Cover with Plastic Wrap (Optional): To help retain moisture, you can cover the container with plastic wrap. Remove the plastic wrap once the seedlings emerge.
6. Place in a Sunny Location: Spring onions need at least 6 hours of sunlight per day. Place your container in a sunny spot, such as a patio, balcony, or windowsill.
7. Thin the Seedlings: Once the seedlings are a few inches tall, thin them out so that they’re about 2-3 inches apart. This will give them enough room to grow.
Caring for Your Spring Onions
Once your spring onions are planted, it’s important to provide them with the right care to ensure a healthy and abundant harvest.
* Watering: Spring onions need consistent moisture, but they don’t like to be waterlogged. Water them whenever the top inch of soil feels dry to the touch. Avoid watering the foliage, as this can promote fungal diseases.
* Fertilizing (Optional): If you want to give your spring onions a boost, you can fertilize them every few weeks with a balanced liquid fertilizer. Follow the instructions on the fertilizer label.
* Weeding: Keep your container free of weeds, as they can compete with your spring onions for nutrients and water.
* Sunlight: Ensure your spring onions are getting at least 6 hours of sunlight per day. If you’re growing them indoors, you may need to supplement with artificial light.
* Pest Control: Spring onions are generally pest-resistant, but they can occasionally be affected by aphids or onion flies. If you notice any pests, you can try spraying them with insecticidal soap or neem oil.
Harvesting Your Spring Onions
The best part about growing spring onions is, of course, harvesting them! You can start harvesting your spring onions when they’re about 6-8 inches tall.
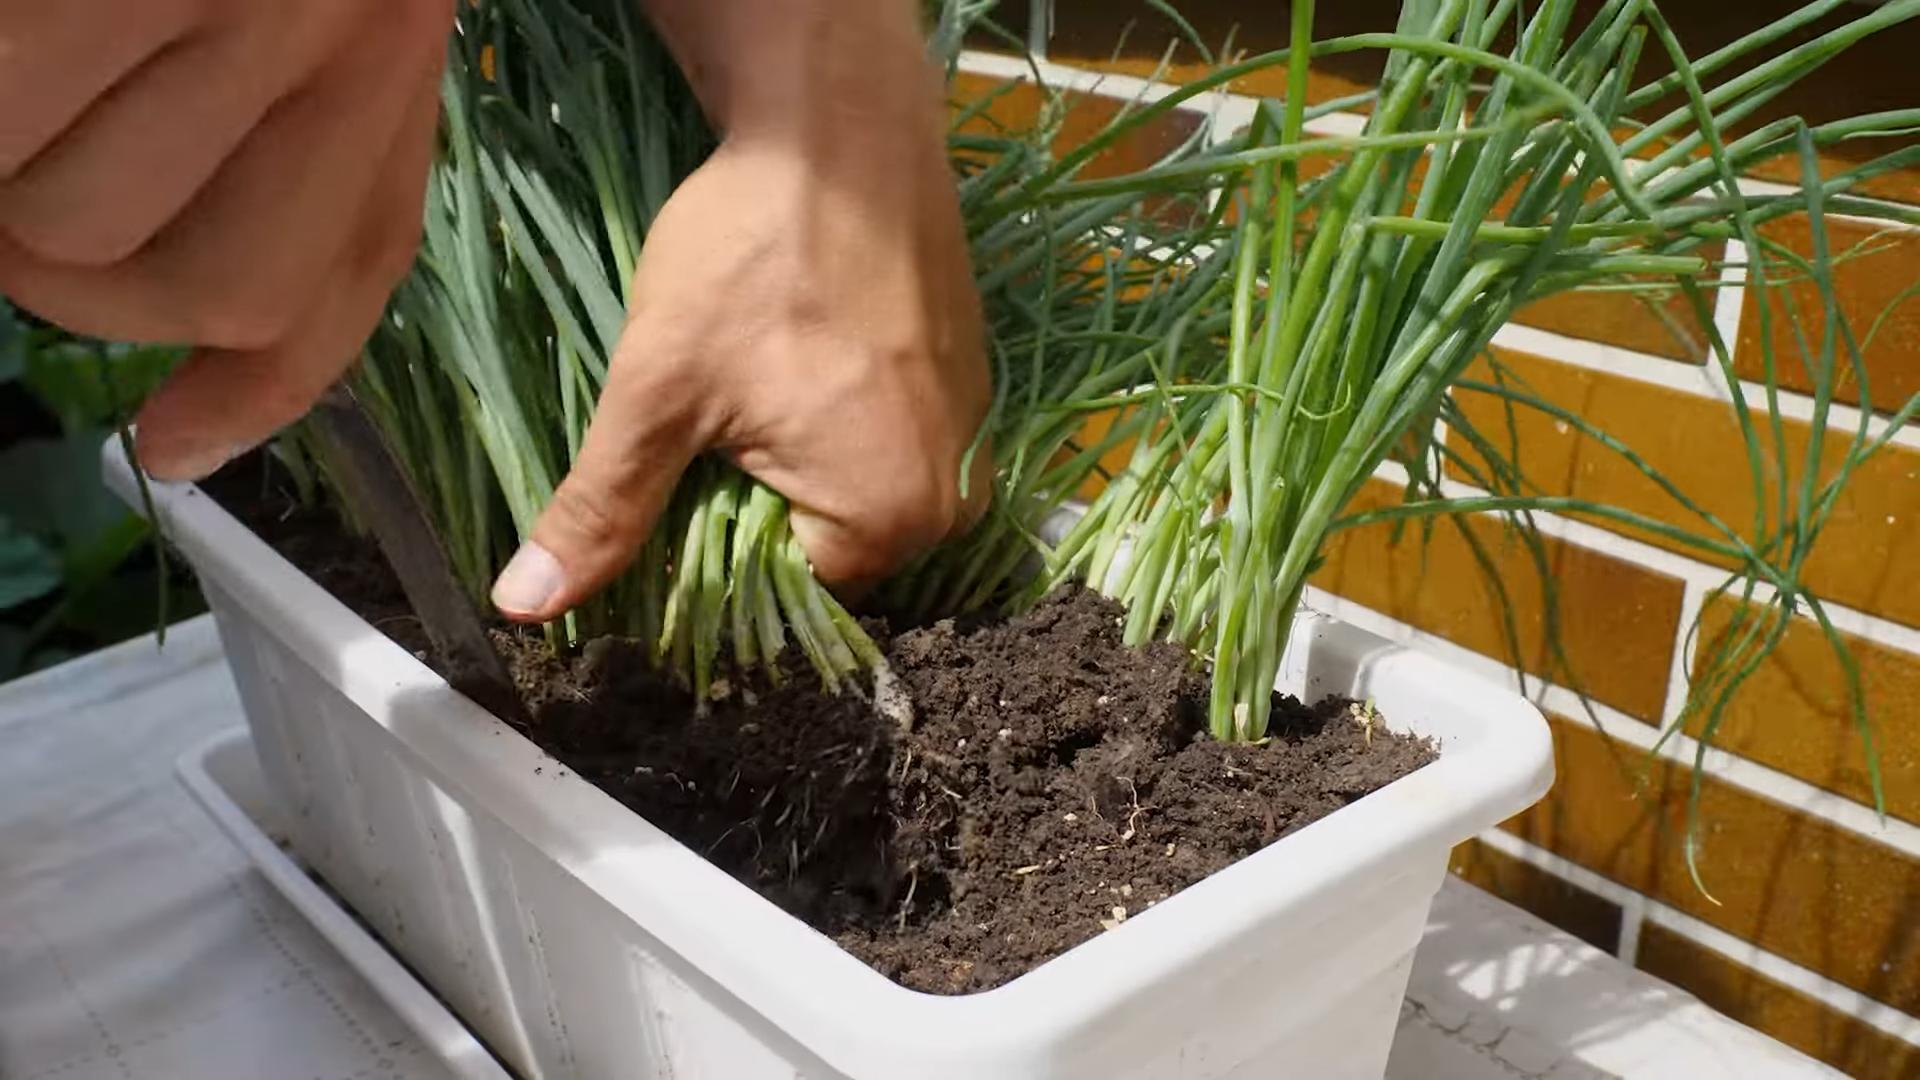
1. Loosen the Soil: Gently loosen the soil around the spring onions you want to harvest.
2. Pull or Cut: You can either pull the spring onions out of the soil or cut them off at the base. I prefer to pull them, as this allows me to use the entire plant.
3. Wash and Use: Wash the spring onions thoroughly before using them in your cooking.
Succession Planting for Continuous Harvest
To enjoy a continuous harvest of spring onions, consider succession planting. This means planting new sets or seeds every few weeks. This way, you’ll always have a fresh supply of spring onions ready to harvest.
Troubleshooting Common Problems
Even with the best care, you might encounter some problems while growing spring onions. Here are a few common issues and how to address them:
* Yellowing Leaves: Yellowing leaves can be a sign of overwatering, underwatering, or nutrient deficiency. Check the soil moisture and adjust your watering accordingly. If the soil is dry, water more frequently. If the soil is soggy, allow it to dry out before watering again. You can also try fertilizing your spring onions with a balanced liquid fertilizer.
* Slow Growth: Slow growth can be caused by insufficient sunlight, poor soil, or overcrowding. Make sure your spring onions are getting at least 6 hours of sunlight per day. If the soil is compacted or nutrient-poor, consider transplanting your spring onions into a container with fresh potting mix. If the plants are overcrowded, thin them out to give them more room to grow.
* Pest Infestations: Aphids and onion flies are the most common pests that affect spring onions. If you notice any pests, you can try spraying them with insecticidal soap or neem oil. You can also try attracting beneficial insects to your garden, such as ladybugs and lacewings, which will prey on the pests.
* Root Rot: Root rot is a fungal disease that can occur when spring onions are grown in soggy soil. To prevent root rot, make sure your container has drainage holes and avoid overwatering. If you suspect root rot, you can try transplanting your spring onions into a container with fresh potting mix.
Creative Ways to Use Your Homegrown Spring Onions
Now that you’ve successfully grown your own spring onions, it’s time to enjoy the fruits (or rather, vegetables) of your labor! Here are a few creative ways to use your homegrown spring onions:
* Garnish: Sprinkle chopped spring onions over soups, salads, tacos, and other dishes for a burst of fresh flavor.
* Stir-fries: Add chopped spring onions to stir-fries for a savory and aromatic touch.
* Omelets and Frittatas: Incorporate chopped spring onions into omelets and frittatas for a delicious and nutritious breakfast.
* Dips and Sauces: Use chopped spring onions to make flavorful dips and sauces, such as guacamole, salsa, and sour cream dip.
*
Conclusion
So, there you have it! Growing spring onions in containers is not just a gardening project; it’s a gateway to fresh, flavorful ingredients right at your fingertips. This simple DIY trick transforms your balcony, patio, or even a sunny windowsill into a miniature edible garden. Forget those sad, wilted bunches from the grocery store – imagine snipping vibrant, crisp spring onions whenever you need them, adding a burst of freshness to your salads, stir-fries, and countless other dishes.
Why is this a must-try? Because it’s incredibly easy, cost-effective, and rewarding. You don’t need acres of land or a green thumb of steel. All you need are a few basic supplies, a little bit of patience, and the desire to enjoy the unparalleled taste of homegrown produce. Plus, it’s a fantastic way to reduce food waste. Those leftover spring onion roots that usually end up in the compost bin? They’re now your seed stock for a continuous supply of deliciousness.
But the beauty of this DIY trick lies in its adaptability. Feel free to experiment with different container sizes and materials. Terracotta pots offer excellent drainage, while plastic containers are lightweight and retain moisture well. You can even repurpose old buckets or tubs – just make sure they have drainage holes.
Consider companion planting to enhance your spring onion growth. Carrots and chamomile are known to be beneficial companions, deterring pests and improving the overall health of your plants. You can also try growing different varieties of spring onions, from the classic white Lisbon to the more robust Japanese bunching onions. Each variety offers a slightly different flavor profile, allowing you to tailor your harvest to your culinary preferences.
Don’t be afraid to get creative with your soil mix. While a standard potting mix works well, you can enrich it with compost or worm castings for added nutrients. A slightly acidic soil pH is ideal for spring onions, so consider adding a small amount of peat moss or sulfur to your mix.
And remember, consistent watering is key. Spring onions thrive in moist, but not waterlogged, soil. Check the soil moisture regularly and water when the top inch feels dry to the touch. During hot weather, you may need to water more frequently.
We wholeheartedly encourage you to try this simple yet transformative DIY trick. It’s a fantastic way to connect with nature, reduce your carbon footprint, and enjoy the freshest, most flavorful spring onions imaginable. Once you experience the satisfaction of harvesting your own homegrown produce, you’ll never look at store-bought spring onions the same way again.
So, grab your containers, potting mix, and spring onion roots, and get ready to embark on a rewarding gardening adventure. And most importantly, don’t forget to share your experiences with us! We’d love to hear about your successes, challenges, and any variations you’ve tried. Share your photos and tips on social media using #ContainerSpringOnions and let’s inspire others to embrace the joy of homegrown goodness. Let’s all get growing spring onions in containers!
Frequently Asked Questions (FAQ)
How often should I water my container spring onions?
Watering frequency depends on several factors, including the size of your container, the type of potting mix you’re using, and the weather conditions. As a general rule, check the soil moisture daily. If the top inch of soil feels dry to the touch, it’s time to water. Water thoroughly until excess water drains out of the drainage holes. Avoid overwatering, as this can lead to root rot. During hot, dry weather, you may need to water more frequently, perhaps even twice a day. Conversely, during cooler, wetter periods, you may only need to water every few days. A good way to check is to stick your finger about an inch into the soil. If it feels dry, water. If it feels moist, hold off.
What kind of soil is best for growing spring onions in containers?
Spring onions prefer well-draining soil that is rich in organic matter. A standard potting mix works well, but you can improve its quality by adding compost, worm castings, or aged manure. These amendments will provide essential nutrients and improve drainage. A slightly acidic soil pH (around 6.0 to 7.0) is ideal for spring onions. If your soil is too alkaline, you can amend it with peat moss or sulfur. Avoid using garden soil in containers, as it tends to compact and doesn’t drain well. A good mix would be equal parts potting soil, compost, and perlite or vermiculite for added drainage.
How much sunlight do spring onions need?
Spring onions thrive in full sun, which means they need at least 6 hours of direct sunlight per day. However, they can also tolerate partial shade, especially during the hottest part of the day. If you’re growing your spring onions indoors, place them near a sunny window or use a grow light to supplement natural light. Insufficient sunlight can lead to leggy growth and reduced yields. If you notice your spring onions are stretching towards the light, it’s a sign that they need more sunlight. Rotate the container regularly to ensure even growth on all sides.
How long does it take for spring onions to grow in containers?
Spring onions are relatively fast-growing, and you can typically start harvesting them within 30-60 days of planting. The exact time will depend on the variety of spring onion you’re growing, the growing conditions, and your desired size. You can harvest spring onions at any stage of growth, from small, slender scallions to larger, more mature onions. To encourage continuous growth, harvest only the outer leaves, leaving the inner leaves to continue growing. This will allow you to enjoy a continuous supply of fresh spring onions throughout the growing season.
Can I grow spring onions from seed in containers?
Yes, you can definitely grow spring onions from seed in containers. Start by sowing the seeds indoors 6-8 weeks before the last expected frost. Sow the seeds thinly in a seed-starting tray filled with a seed-starting mix. Keep the soil moist and warm, and provide plenty of light. Once the seedlings are large enough to handle, transplant them into individual containers or into a larger container, spacing them about 1-2 inches apart. Alternatively, you can direct sow the seeds into containers outdoors after the last frost. Sow the seeds thinly and cover them with a thin layer of soil. Keep the soil moist until the seeds germinate.
What are some common pests and diseases that affect spring onions?
Spring onions are generally resistant to pests and diseases, but they can occasionally be affected by onion thrips, onion maggots, and fungal diseases such as downy mildew and onion smut. To prevent pest and disease problems, practice good sanitation, such as removing any dead or decaying leaves. Avoid overwatering, as this can create a favorable environment for fungal diseases. If you notice any pests, you can try spraying your plants with insecticidal soap or neem oil. For fungal diseases, you can try spraying with a copper-based fungicide. Companion planting with carrots can help deter onion flies.
Can I grow spring onions indoors year-round?
Yes, you can grow spring onions indoors year-round, provided you provide them with adequate light, water, and nutrients. Place your containers near a sunny window or use a grow light to supplement natural light. Keep the soil moist but not waterlogged, and fertilize regularly with a balanced liquid fertilizer. You may need to adjust your watering and fertilizing schedule depending on the season and the growing conditions. With proper care, you can enjoy a continuous supply of fresh spring onions throughout the year.
How do I harvest spring onions from containers?
Harvesting spring onions is easy. You can either pull up the entire plant or snip off the green tops with scissors. If you want to harvest the entire plant, gently loosen the soil around the base of the plant and pull it up. If you want to harvest only the green tops, snip them off about an inch above the soil line. This will allow the plant to continue growing and producing more leaves. Harvest the outer leaves first, leaving the inner leaves to continue growing. You can harvest spring onions at any stage of growth, from small, slender scallions to larger, more mature onions.
Can I regrow spring onions from the roots I buy at the store?
Absolutely! This is the core of the DIY trick! When you buy spring onions from the store, don’t throw away the root ends. Instead, place them in a glass of water, making sure the roots are submerged but the green tops are above the water line. Place the glass in a sunny location and change the water every day or two. Within a few days, you should see new green shoots emerging from the top of the roots. Once the roots have grown a few inches, you can transplant them into a container filled with potting mix. This is a great way to recycle food scraps and enjoy a continuous supply of fresh spring onions.
What are some creative ways to use homegrown spring onions?
The possibilities are endless! Spring onions add a delicious, mild onion flavor to a wide variety of dishes. Use them in salads, stir-fries, soups, omelets, tacos, and dips. They’re also great as a garnish for grilled meats and vegetables. You can even use them to make spring onion pancakes or spring onion pesto. Get creative and experiment with different ways to incorporate your homegrown spring onions into your favorite recipes. You can also freeze chopped spring onions for later use. Simply wash and chop the


Leave a Comment