
Grow spinach in a pot? Absolutely! Imagine stepping outside your door and harvesting fresh, vibrant spinach for your salad, smoothie, or side dish. No sprawling garden needed! For centuries, container gardening has allowed people, even those in urban environments, to connect with nature and cultivate their own food. From the hanging gardens of Babylon to the humble window boxes of today, the desire to nurture plants in limited spaces is deeply ingrained in human history.
But why should you learn to grow spinach in a pot? Well, think about it: store-bought spinach can be expensive and often lacks the fresh, crisp flavor of homegrown varieties. Plus, you have complete control over the growing conditions, ensuring your spinach is free from harmful pesticides and chemicals. This DIY guide will provide you with simple, step-by-step instructions and clever hacks to successfully cultivate this leafy green right on your balcony, patio, or even windowsill. I’m excited to share my favorite tips and tricks to help you enjoy a bountiful harvest of delicious, nutritious spinach, no matter how small your space!
Growing Spinach in a Pot: A Beginner’s Guide
Hey there, fellow plant enthusiasts! I’m so excited to share my experience with growing spinach in pots. It’s surprisingly easy and rewarding, even if you don’t have a huge garden. Fresh, homegrown spinach is so much tastier than the store-bought stuff, and you know exactly what went into growing it. Let’s dive in!
Choosing the Right Pot and Location
Before we get our hands dirty, let’s talk about the essentials. Spinach needs a good home and the right environment to thrive.
* Pot Size: Aim for a pot that’s at least 6-8 inches deep and wide. This gives the spinach roots enough room to grow. A wider pot is better than a deeper one, as spinach roots tend to spread out more than down. I personally prefer using a 12-inch pot for a good harvest.
* Drainage: This is crucial! Make sure your pot has drainage holes. Spinach hates sitting in soggy soil, which can lead to root rot. If your pot doesn’t have holes, you can drill some yourself.
* Location: Spinach loves sunlight, but not scorching heat. Aim for a spot that gets at least 4-6 hours of sunlight per day, especially in the cooler months. In hotter climates, partial shade is your best friend. Morning sun and afternoon shade are ideal. I’ve found that an east-facing balcony works perfectly for me.
Preparing the Soil
The right soil is key to happy spinach plants.
* Soil Type: Spinach prefers well-draining, fertile soil with a pH between 6.5 and 7.0. A good potting mix is your best bet. Avoid using garden soil directly, as it can be too heavy and compacted.
* Amendments: I like to amend my potting mix with compost or well-rotted manure. This adds nutrients and improves drainage. You can also add a slow-release fertilizer to give your spinach a boost.
* Mixing: In a large container, mix your potting mix with compost or manure in a 2:1 ratio (2 parts potting mix, 1 part compost/manure). Make sure everything is well combined.
Planting the Spinach Seeds
Now for the fun part 鈥?planting!
1. Moisten the Soil: Before planting, lightly moisten the potting mix. You don’t want it soaking wet, just damp.
2. Sowing Seeds: Sow the spinach seeds about 陆 inch deep and 1 inch apart. You can sow them in rows or scatter them evenly across the pot. I prefer scattering them for a more natural look.
3. Covering the Seeds: Gently cover the seeds with a thin layer of potting mix.
4. Watering: Water the pot gently using a watering can with a rose head or a spray bottle. Avoid overwatering, which can wash away the seeds.
5. Labeling: Don’t forget to label your pot with the date and type of spinach you planted. This will help you keep track of your progress.
Caring for Your Spinach Plants
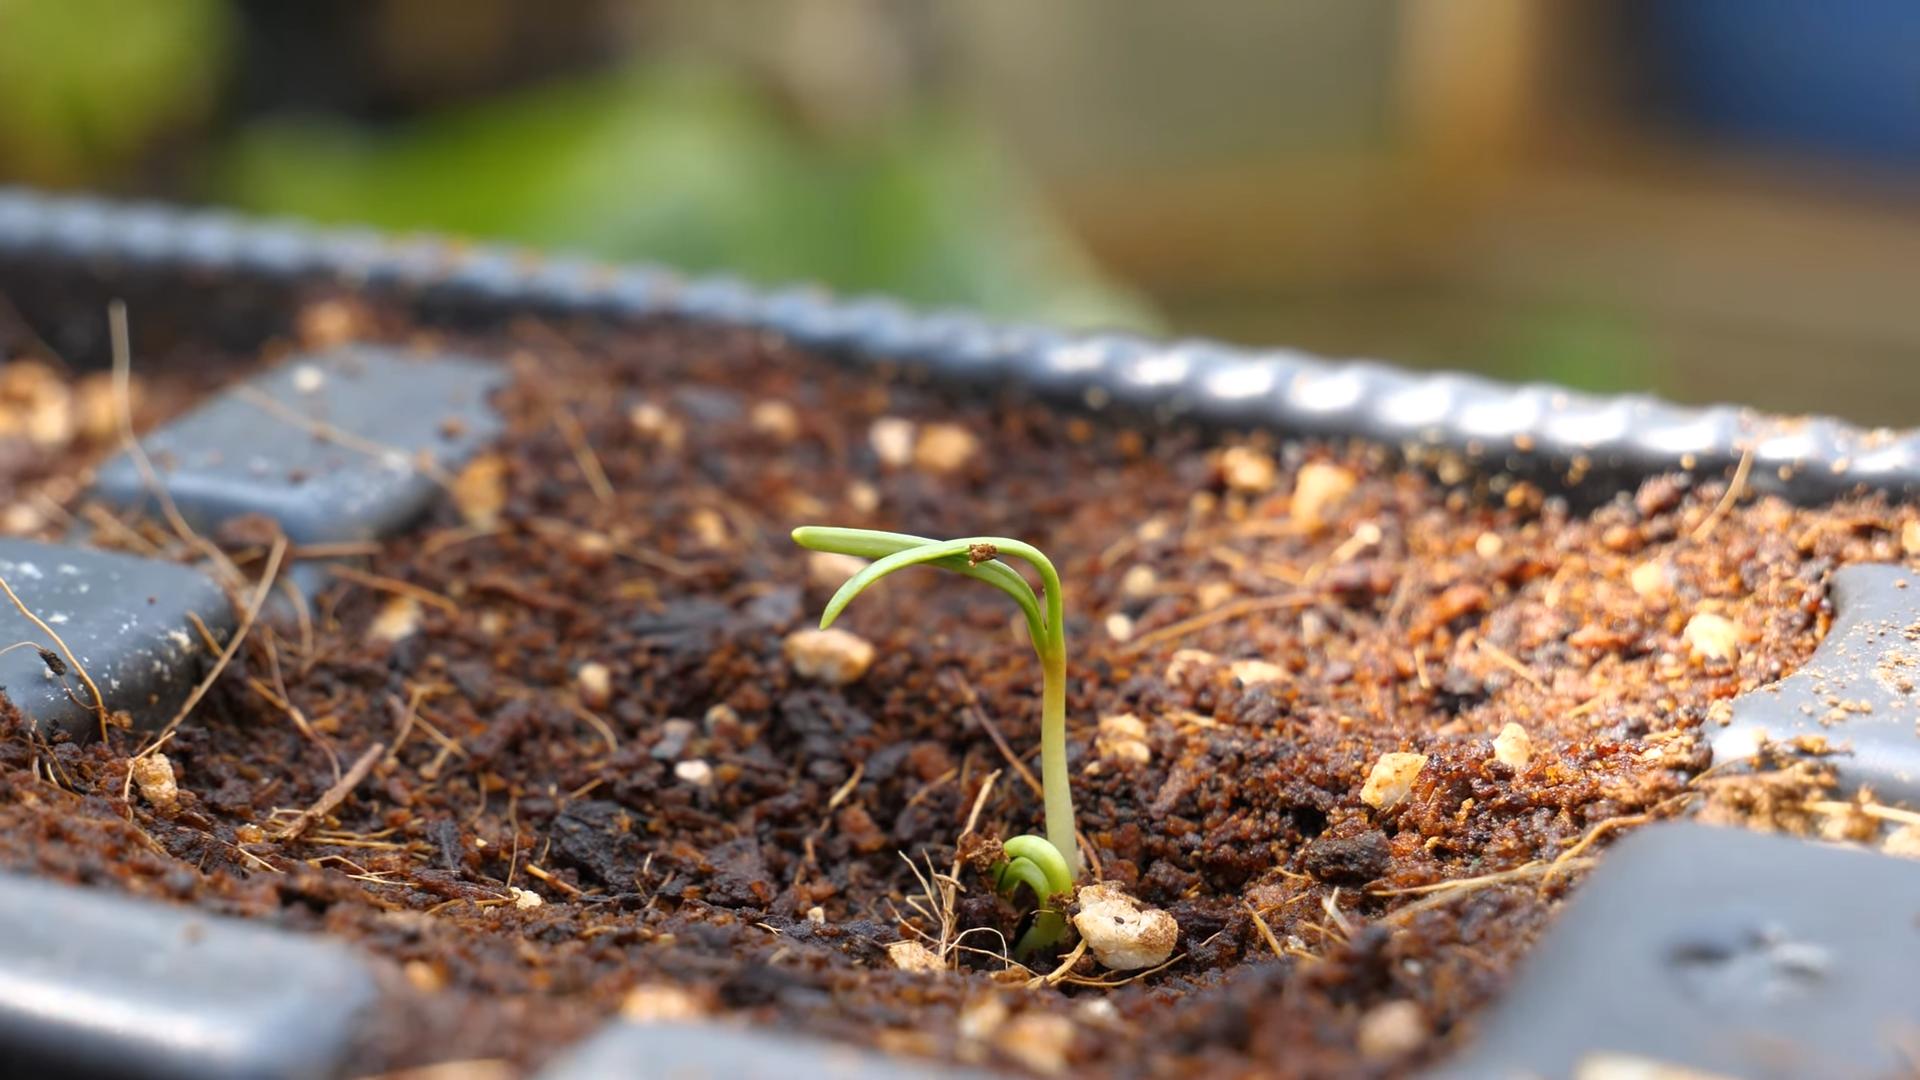
Once your spinach seeds have sprouted, it’s time to provide them with the care they need to thrive.
* Watering: Spinach needs consistent moisture, but avoid overwatering. Water when the top inch of soil feels dry to the touch. Water deeply, allowing the water to drain out of the drainage holes. I usually water every 2-3 days, depending on the weather.
* Thinning: Once your spinach seedlings have a few true leaves (the leaves that appear after the initial seed leaves), thin them out to about 3-4 inches apart. This gives the remaining plants enough room to grow. You can eat the thinned-out seedlings as microgreens!
* Fertilizing: Spinach is a heavy feeder, so it benefits from regular fertilization. Use a balanced liquid fertilizer diluted to half strength every 2-3 weeks. You can also side-dress with compost or manure.
* Weeding: Keep your pot free of weeds, which can compete with your spinach for nutrients and water. Hand-pull any weeds as soon as you see them.
* Pest Control: Spinach can be susceptible to pests like aphids, slugs, and snails. Inspect your plants regularly for signs of infestation. You can control aphids with a strong spray of water or insecticidal soap. Slugs and snails can be hand-picked or trapped with beer traps. I’ve found that companion planting with marigolds helps deter pests.
* Bolting Prevention: Bolting is when spinach plants prematurely flower and produce seeds, which makes the leaves bitter. This is usually triggered by hot weather. To prevent bolting, provide your spinach with shade during the hottest part of the day, water regularly, and harvest frequently. Choose bolt-resistant varieties if you live in a warm climate.
Harvesting Your Spinach
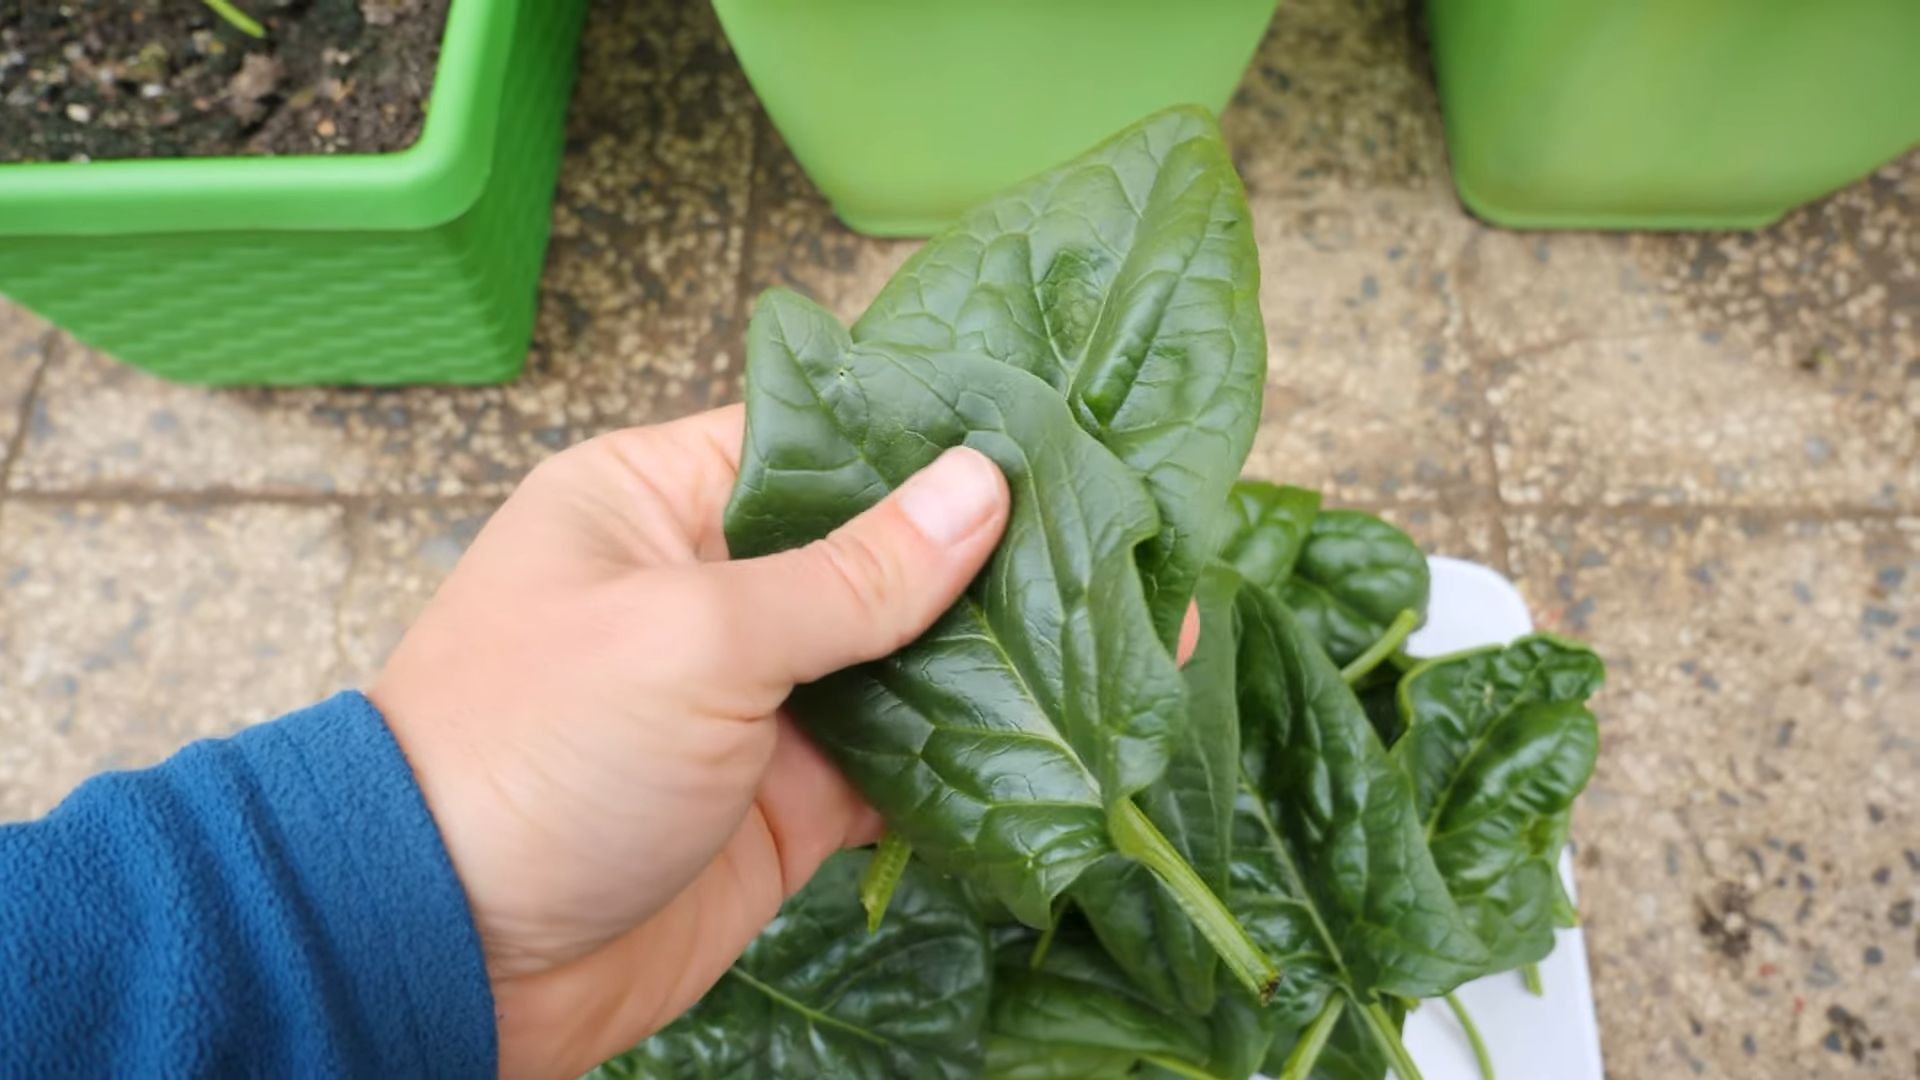
The best part 鈥?harvesting your delicious, homegrown spinach!
* When to Harvest: You can start harvesting spinach leaves when they are about 4-6 inches long.
* How to Harvest: Use scissors or a sharp knife to cut the outer leaves, leaving the inner leaves to continue growing. This is known as “cut and come again” harvesting.
* Harvesting Frequency: Harvest your spinach regularly to encourage continued growth and prevent bolting.
* Storage: Freshly harvested spinach is best used immediately. If you need to store it, wash it thoroughly, dry it well, and store it in a plastic bag in the refrigerator. It will keep for a few days.
Troubleshooting
Even with the best care, you might encounter some problems. Here are a few common issues and how to address them:
* Yellowing Leaves: This can be caused by overwatering, underwatering, nutrient deficiencies, or pests. Check the soil moisture, fertilize if necessary, and inspect for pests.
* Slow Growth: This can be caused by insufficient sunlight, poor soil, or lack of nutrients. Move your pot to a sunnier location, amend the soil with compost, and fertilize regularly.
* Bolting: As mentioned earlier, bolting is usually triggered by hot weather. Provide shade, water regularly, and harvest frequently.
* Pest Infestations: Address pest infestations promptly with appropriate control measures.
Choosing Spinach Varieties
There are many different spinach varieties to choose from, each with its own unique characteristics. Here are a few popular options:
* Savoy Spinach: This type has crinkled, curly leaves and a slightly stronger flavor. It’s a good choice for cooking.
* Flat-Leaf Spinach: This type has smooth, flat leaves and a milder flavor. It’s a good choice for salads.
* Semi-Savoy Spinach: This type is a cross between savoy and flat-leaf spinach. It has slightly crinkled leaves and a good flavor.
* Malabar Spinach: While technically not a true spinach, Malabar spinach is a heat-tolerant alternative that grows well in warm climates. It has thick, fleshy leaves and a slightly lemony flavor.
Extending Your Spinach Season
Spinach is a cool-season crop, so it grows best in spring and fall. However, you can extend your spinach season with a few simple tricks:
* Succession Planting: Sow new seeds every 2-3 weeks to ensure a continuous harvest.
* Cold Frames or Greenhouses: Use a cold frame or greenhouse to protect your spinach from frost and extend the growing season into the winter.
* Shade Cloth: Use shade cloth to protect your spinach from the hot sun in the summer.
* Bolt-Resistant Varieties: Choose bolt-resistant varieties that are less likely to bolt in hot weather.
Enjoying Your Harvest
Now that you’ve grown your own spinach, it’s time to enjoy the fruits (or rather, leaves) of your labor! Here are a few ideas:
* Salads: Fresh spinach is a delicious addition to salads.
* Smoothies: Add a handful of spinach to your smoothies for a healthy boost.
* Sauteed Spinach: Saute spinach with garlic and olive oil for a simple and flavorful side dish.
* Spinach Dip: Make a creamy spinach dip for parties or gatherings.
* Spinach Pie: Bake a savory spinach pie for a hearty meal.
* Soups and Stews: Add spinach to soups and stews for extra nutrients.
Growing spinach in a pot is a rewarding experience that anyone can enjoy. With a little bit of care and attention, you can have a continuous supply of fresh, delicious spinach right at your fingertips. Happy gardening!
Conclusion
So, there you have it! Growing your own spinach in a pot is not only achievable, but it’s also incredibly rewarding. Forget those limp, pre-packaged greens from the supermarket. Imagine stepping out onto your balcony or patio and harvesting fresh, vibrant spinach leaves whenever you need them. The taste difference alone is enough to convince anyone to give this a try. The flavor is brighter, cleaner, and far more intense than anything you can buy in a store. Plus, you have the satisfaction of knowing exactly where your food came from and what went into growing it.
This DIY trick is a must-try for several reasons. First, it’s incredibly space-efficient. Even if you live in an apartment with limited outdoor space, you can still enjoy fresh spinach. Second, it’s cost-effective. Once you’ve invested in a pot, some soil, and seeds, you’ll be saving money on groceries in the long run. Third, it’s a sustainable way to add greens to your diet. You’re reducing your carbon footprint by growing your own food locally. Finally, it’s just plain fun! There’s something deeply satisfying about nurturing a plant from seed to harvest.
But the best part is the versatility. Feel free to experiment with different varieties of spinach. Try baby spinach for tender salads, or go for a more robust variety like Bloomsdale for cooking. You can also add companion plants to your pot, such as marigolds to deter pests or herbs like basil to enhance the flavor of your spinach. Consider succession planting 鈥?sowing new seeds every few weeks 鈥?to ensure a continuous harvest throughout the growing season. You can even try growing other leafy greens like lettuce or kale in similar pots, creating a mini-salad garden right at your doorstep.
Don’t be intimidated if you’ve never grown anything before. Growing spinach in a pot is a beginner-friendly project that requires minimal effort and yields impressive results. Just remember to provide your spinach with plenty of sunlight, well-draining soil, and regular watering. Keep an eye out for pests and diseases, and address them promptly. And most importantly, don’t be afraid to experiment and learn from your mistakes.
We wholeheartedly encourage you to give this DIY trick a try. You’ll be amazed at how easy and rewarding it is to grow your own fresh spinach. And once you’ve tasted the difference between homegrown and store-bought spinach, you’ll never go back.
So, grab a pot, some soil, and some seeds, and get ready to enjoy the freshest, most delicious spinach you’ve ever tasted. And don’t forget to share your experience with us! We’d love to hear about your successes, your challenges, and any tips or tricks you’ve discovered along the way. Share your photos and stories in the comments below, or tag us on social media. Let’s inspire each other to grow more of our own food and enjoy the many benefits of homegrown spinach. This method of growing spinach in a pot is a game changer.
Frequently Asked Questions (FAQ)
What size pot do I need to grow spinach?
A pot that is at least 6-8 inches deep and 12 inches in diameter is ideal for growing spinach. This will provide enough space for the roots to develop and allow for good drainage. You can grow multiple spinach plants in a larger pot, but be sure to space them out adequately to prevent overcrowding. Overcrowding can lead to stunted growth and increased susceptibility to pests and diseases. A good rule of thumb is to allow at least 4-6 inches between plants. Consider using a fabric pot, as these promote better aeration and drainage, which are crucial for healthy spinach growth.
What kind of soil should I use?
Spinach thrives in well-draining soil that is rich in organic matter. A good potting mix specifically formulated for vegetables is a great option. You can also amend your own soil by adding compost, aged manure, or other organic materials. These amendments will improve the soil’s fertility, drainage, and water-holding capacity. Avoid using heavy clay soil, as it can become waterlogged and suffocate the roots. The ideal pH for spinach is between 6.0 and 7.0. You can test your soil’s pH using a soil testing kit and amend it accordingly with lime (to raise the pH) or sulfur (to lower the pH).
How much sunlight does spinach need?
Spinach needs at least 4-6 hours of sunlight per day to grow well. However, it can also tolerate partial shade, especially in hot climates. If you live in a region with intense summer heat, consider placing your spinach pot in a location that receives morning sun and afternoon shade. This will help prevent the leaves from wilting or burning. If you don’t have enough natural sunlight, you can supplement with grow lights. LED grow lights are a good option because they are energy-efficient and produce minimal heat.
How often should I water my spinach?
Spinach needs consistent moisture to thrive, but it doesn’t like to be waterlogged. Water your spinach pot whenever the top inch of soil feels dry to the touch. Water deeply, ensuring that the water reaches the roots. Avoid overhead watering, as this can promote fungal diseases. Instead, water at the base of the plant. During hot weather, you may need to water your spinach more frequently. Check the soil moisture regularly and adjust your watering schedule accordingly.
What are some common pests and diseases that affect spinach?
Some common pests that can affect spinach include aphids, spider mites, and leaf miners. Aphids are small, sap-sucking insects that can cause the leaves to become distorted and yellow. Spider mites are tiny pests that create webs on the undersides of the leaves. Leaf miners are larvae that tunnel through the leaves, leaving behind unsightly trails. To control these pests, you can use insecticidal soap, neem oil, or horticultural oil. You can also try introducing beneficial insects, such as ladybugs, which prey on aphids. Common diseases that can affect spinach include downy mildew and powdery mildew. Downy mildew is a fungal disease that causes yellow spots on the upper surface of the leaves and a grayish-purple mold on the underside. Powdery mildew is another fungal disease that causes a white, powdery coating on the leaves. To prevent these diseases, ensure good air circulation around your spinach plants and avoid overhead watering. You can also use a fungicide if necessary.
When is the best time to harvest spinach?
You can start harvesting spinach leaves as soon as they are large enough to eat, typically when they are about 4-6 inches long. Harvest the outer leaves first, leaving the inner leaves to continue growing. This will allow you to enjoy a continuous harvest over several weeks. Avoid harvesting spinach during the hottest part of the day, as the leaves will be more likely to wilt. The best time to harvest is in the morning, after the dew has dried.
Can I grow spinach indoors?
Yes, you can grow spinach indoors, but you’ll need to provide it with adequate light. Place your spinach pot near a sunny window that receives at least 6 hours of direct sunlight per day. If you don’t have enough natural light, you can supplement with grow lights. You’ll also need to ensure good air circulation and maintain a consistent temperature. Spinach prefers cooler temperatures, so avoid placing it near a heat source.
How do I prevent my spinach from bolting (going to seed)?
Bolting is a common problem with spinach, especially in hot weather. When spinach bolts, it produces a flower stalk and the leaves become bitter. To prevent bolting, choose bolt-resistant varieties of spinach. Also, provide your spinach with plenty of water and shade during hot weather. You can also try planting spinach in the spring or fall, when temperatures are cooler.
Can I grow spinach from seed or transplants?
You can grow spinach from either seed or transplants. Growing from seed is generally more cost-effective, but it takes longer to harvest. Transplants will give you a head start, but they can be more expensive. If you’re growing from seed, sow the seeds directly into your pot, about 1/2 inch deep. Keep the soil moist until the seeds germinate, which usually takes about 5-10 days. If you’re using transplants, gently remove them from their containers and plant them in your pot, spacing them out adequately.
What are some good companion plants for spinach?
Some good companion plants for spinach include radishes, lettuce, carrots, and onions. Radishes help to break up the soil and deter pests. Lettuce provides shade for the spinach roots. Carrots help to improve the soil’s drainage. Onions repel aphids and other pests. Avoid planting spinach near fennel, as it can inhibit its growth.


Leave a Comment