
Grow Radishes Indoors? Absolutely! Imagine fresh, peppery radishes gracing your salads and snacks, even when the snow is falling outside. For centuries, humans have sought ways to extend the growing season, from ancient Roman greenhouses to the modern-day hydroponics systems. But you don’t need fancy equipment to enjoy the satisfaction of homegrown produce year-round.
This DIY guide is your ticket to cultivating these vibrant root vegetables right on your windowsill. Forget those bland, store-bought radishes – we’re talking about crisp, flavorful gems bursting with freshness. I know, I know, you might be thinking, “Radishes indoors? Is that even possible?” Trust me, it is, and it’s easier than you think!
In today’s busy world, finding moments of connection with nature can be a challenge. Grow Radishes Indoors is more than just a gardening project; it’s a therapeutic activity that brings a touch of the outdoors inside. Plus, it’s a fantastic way to reduce your reliance on grocery stores and enjoy truly fresh, organic produce. So, grab your potting mix and let’s get started on this rewarding journey!
Grow Radishes Indoors: A Beginner’s Guide
Hey there, fellow gardening enthusiasts! Ever thought about growing your own crunchy, peppery radishes right in your cozy apartment? Well, let me tell you, it’s totally doable and surprisingly rewarding. Forget those bland, store-bought radishes – homegrown ones are bursting with flavor and freshness. Plus, it’s a fantastic way to add a little green to your indoor space, especially during those long winter months. So, grab your gardening gloves (or not, radishes are pretty low-maintenance!), and let’s get started!
Choosing the Right Radish Variety
Not all radishes are created equal, especially when it comes to indoor growing. We want varieties that mature quickly and don’t need a ton of space. Here are a few of my favorites:
* Cherry Belle: These are classic, round, red radishes that are super fast growers. You can usually harvest them in about 22-25 days.
* French Breakfast: These are elongated, red radishes with a white tip. They have a milder flavor than some other varieties and mature in around 20-30 days.
* Easter Egg: This is a fun mix of radishes that come in a variety of colors – red, pink, purple, and white. They’re quick to mature and add a splash of color to your indoor garden.
* Sparkler: Similar to Cherry Belle, but with a white tip. They’re crisp, mild, and ready to harvest in about 22 days.
Gathering Your Supplies
Before we dive into the planting process, let’s make sure we have everything we need. Here’s a checklist:
* Containers: You’ll need containers that are at least 6 inches deep. Radishes don’t have super long roots, but they still need some space to grow. I like to use plastic pots, but you can also use terracotta pots or even recycled containers like yogurt tubs (just make sure to poke some drainage holes in the bottom!).
* Potting Mix: Don’t use garden soil for indoor growing! It’s too heavy and doesn’t drain well. Instead, opt for a good quality potting mix that’s specifically designed for containers.
* Radish Seeds: Choose the radish variety you want to grow and purchase seeds from a reputable source.
* Watering Can or Spray Bottle: You’ll need something to water your radishes. A watering can with a gentle spout or a spray bottle works well.
* Grow Lights (Optional): If you don’t have a sunny windowsill, you might want to invest in some grow lights. Radishes need at least 6 hours of sunlight per day.
* Fertilizer (Optional): Radishes don’t need a lot of fertilizer, but a little boost can help them grow faster. Use a balanced liquid fertilizer diluted to half strength.
Planting Your Radish Seeds
Okay, now for the fun part – planting! Here’s how to do it:
1. Prepare Your Containers: Fill your containers with potting mix, leaving about an inch of space at the top. Gently pat down the soil.
2. Sow the Seeds: Sprinkle the radish seeds evenly over the surface of the soil. You can sow them fairly densely, about ½ inch apart.
3. Cover the Seeds: Cover the seeds with a thin layer of potting mix, about ¼ inch deep.
4. Water Gently: Water the soil gently with a watering can or spray bottle until it’s evenly moist. Be careful not to wash away the seeds.
5. Label Your Containers: It’s always a good idea to label your containers with the date you planted the seeds and the radish variety. This will help you keep track of your progress.
Caring for Your Indoor Radishes
Now that your radishes are planted, it’s time to take care of them. Here’s what you need to do:
1. Provide Adequate Light: Radishes need at least 6 hours of sunlight per day. If you don’t have a sunny windowsill, use grow lights. Position the lights about 6-12 inches above the plants.
2. Water Regularly: Keep the soil consistently moist, but not soggy. Water when the top inch of soil feels dry to the touch. Overwatering can lead to root rot.
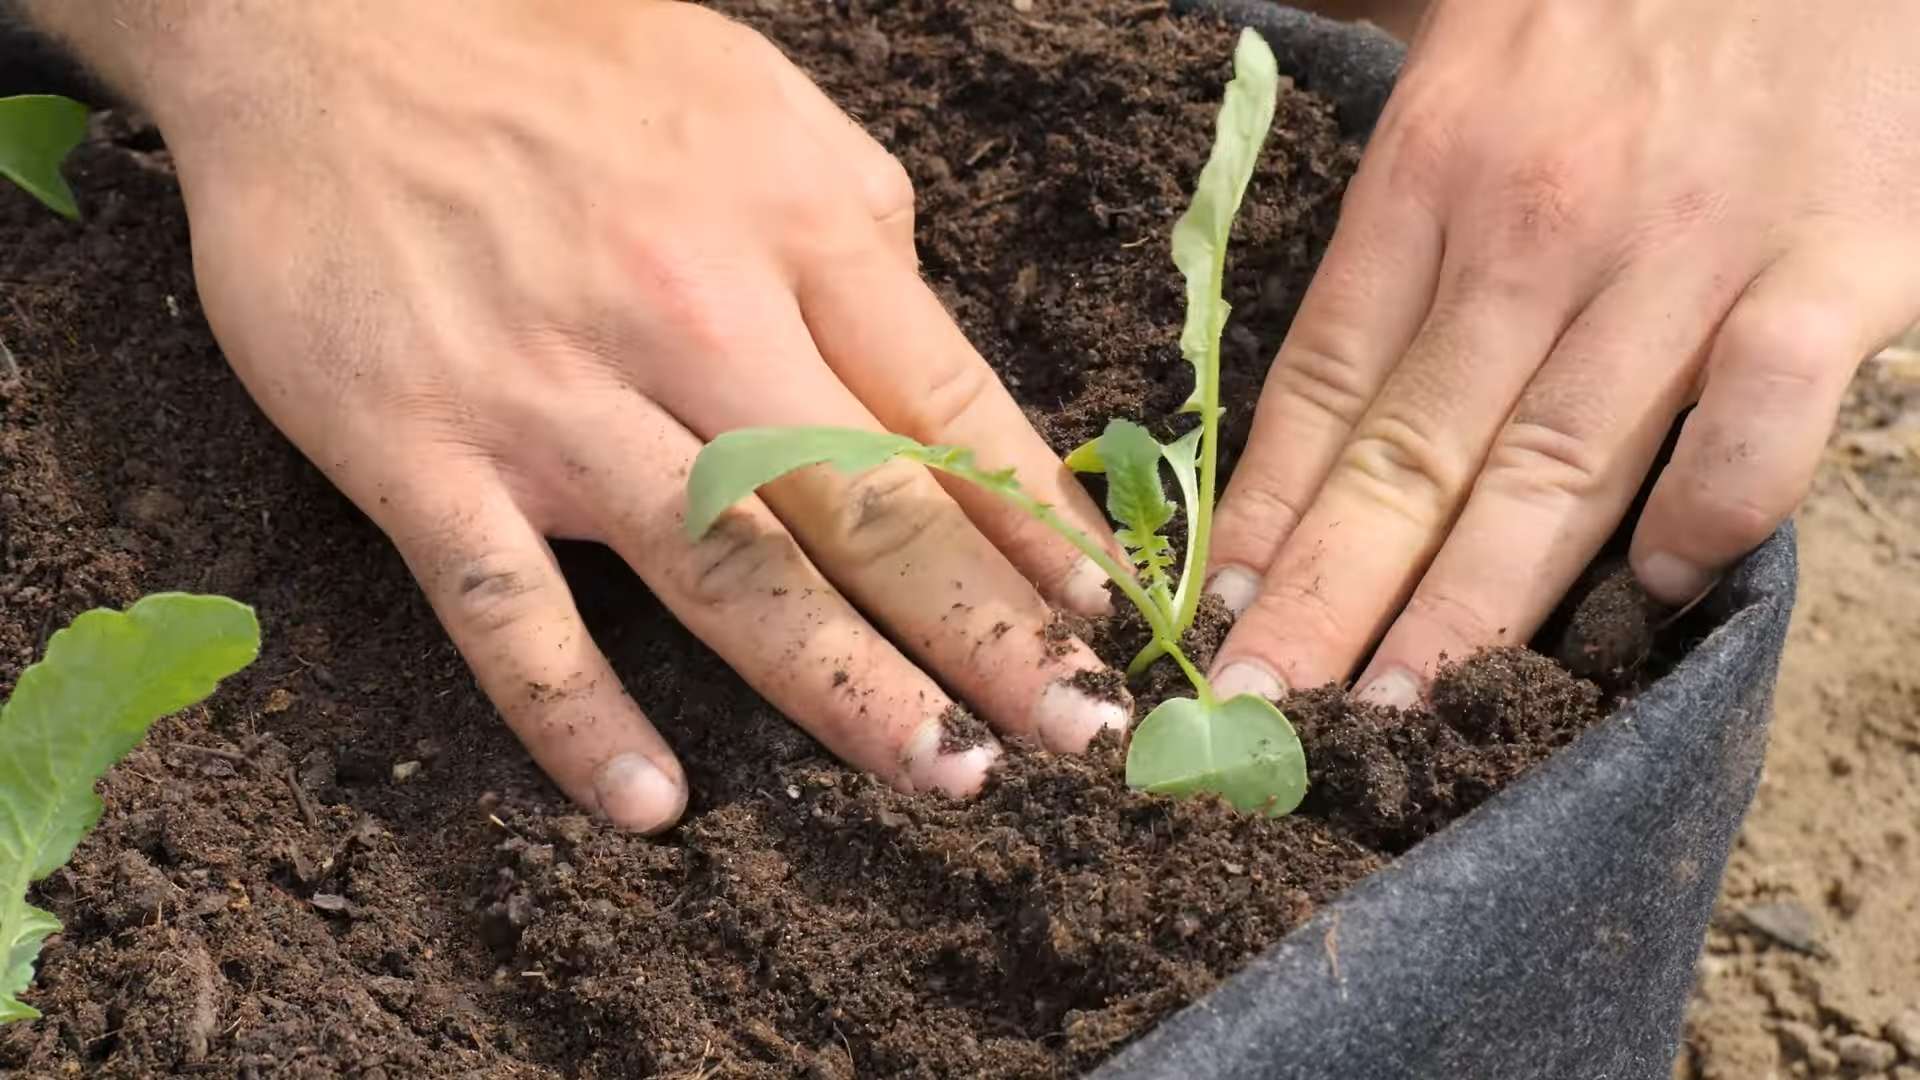
3. Thin Seedlings (If Necessary): Once the seedlings emerge, you may need to thin them out if they’re too crowded. Aim for about 1-2 inches of space between plants. To thin, simply snip off the unwanted seedlings at the soil line with scissors.
4. Fertilize (Optional): If you want to give your radishes a little boost, you can fertilize them with a balanced liquid fertilizer diluted to half strength. Do this every 2-3 weeks.
5. Monitor for Pests and Diseases: Radishes are generally pest-resistant, but keep an eye out for aphids or other common garden pests. If you spot any, you can try spraying them with insecticidal soap. Root rot can be a problem if the soil is too wet, so make sure your containers have good drainage.
Harvesting Your Radishes
The best part of growing your own radishes is, of course, harvesting them! Here’s how to know when they’re ready:
1. Check the Maturity Date: Refer to the seed packet to find out the expected maturity date for your radish variety.
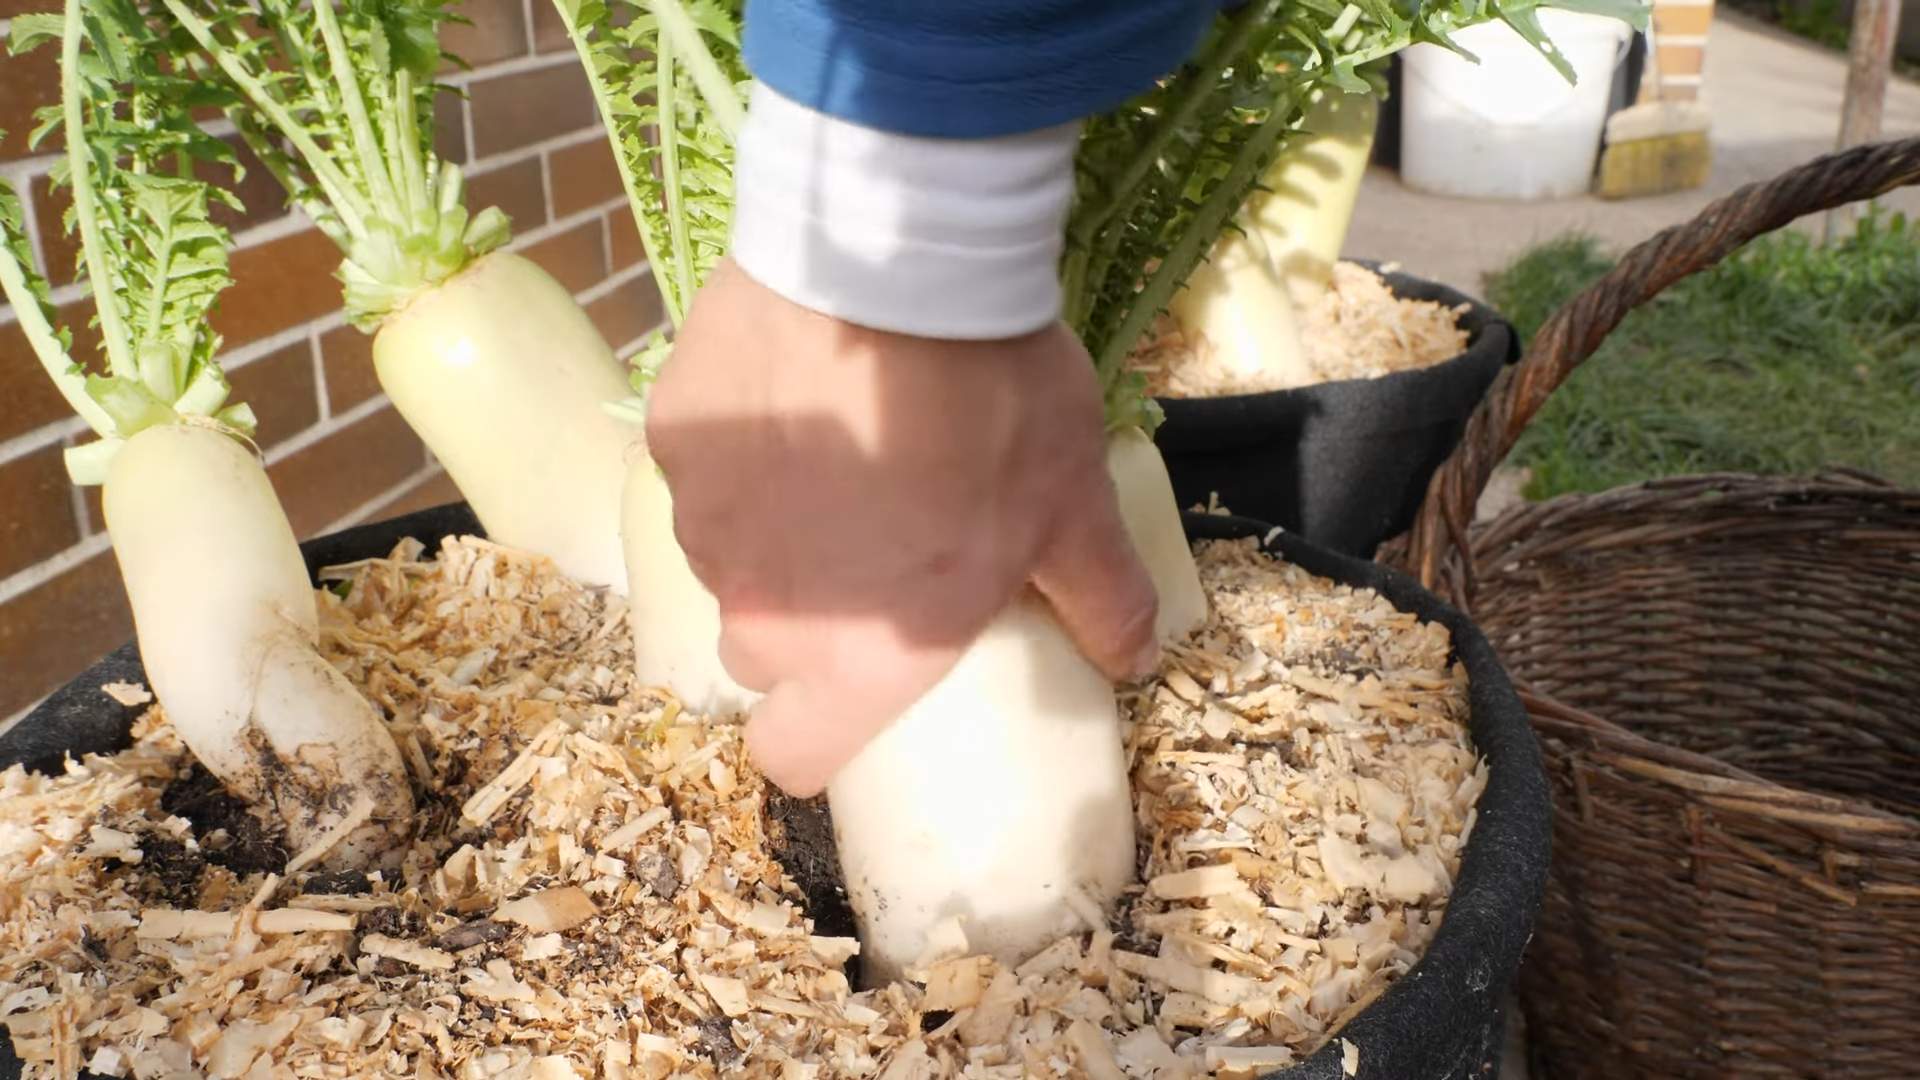
2. Feel the Radishes: Gently push aside the soil around the base of the radish and feel its size. They should be about 1 inch in diameter for most varieties.
3. Harvest Carefully: To harvest, gently pull the radishes out of the soil by the greens. If they’re difficult to pull, you can loosen the soil around them with a small trowel.
4. Enjoy Your Harvest: Wash the radishes thoroughly and enjoy them fresh. You can eat them raw in salads, slice them on sandwiches, or roast them for a delicious side dish.
Troubleshooting Common Problems
Even with the best care, you might encounter a few problems when growing radishes indoors. Here are some common issues and how to fix them:
* Leggy Seedlings: If your seedlings are tall and spindly, it means they’re not getting enough light. Move them to a sunnier location or use grow lights.
* Radishes Don’t Bulb: This can be caused by several factors, including overcrowding, poor soil, or lack of sunlight. Make sure you thin the seedlings properly, use a good quality potting mix, and provide adequate light.
* Bitter Radishes: Radishes can become bitter if they’re not watered regularly or if they’re left in the ground too long. Keep the soil consistently moist and harvest the radishes when they’re the right size.
* Root Rot: This is caused by overwatering. Make sure your containers have good drainage and don’t let the soil stay soggy.
Tips for Success
Here are a few extra tips to help you grow the best radishes possible:
* Succession Planting: To have a continuous supply of radishes, sow a new batch of seeds every 1-2 weeks.
* Rotate Your Crops: Don’t plant radishes in the same container year after year. Rotate them with other crops to prevent soil depletion.
* Use Companion Planting: Plant radishes alongside other vegetables like carrots, lettuce, and spinach. They can help deter pests and improve the flavor of your other crops.
* Don’t Forget the Greens: Radish greens are edible and delicious! You can add them to salads, stir-fries, or soups.
Growing radishes indoors is a fun and easy way to add fresh, flavorful vegetables to your diet. With a little bit of care and attention, you can enjoy a bountiful harvest of homegrown radishes all year round. Happy gardening!
Conclusion
So, there you have it! Growing radishes indoors is not only possible, but it’s also surprisingly simple and rewarding. Forget those bland, store-bought radishes that lack the peppery punch you crave. With just a few basic supplies and a little bit of patience, you can cultivate your own vibrant, crisp, and flavorful radishes right in the comfort of your home. This DIY trick is a must-try for anyone looking to add a fresh, homegrown element to their meals, regardless of the season.
Why is this a must-try? Because it puts you in control. You control the soil, the light, and the watering, ensuring that your radishes are grown without harmful pesticides or chemicals. You also get to enjoy the satisfaction of nurturing something from seed to harvest. Plus, imagine the bragging rights when you serve a salad featuring radishes you grew yourself!
But the fun doesn’t stop there. Feel free to experiment with different varieties of radishes. Try growing French Breakfast radishes for their mild flavor and elongated shape, or opt for Cherry Belle radishes for their classic round form and vibrant red color. You can even try growing black Spanish radishes for a more intense, spicy flavor.
Consider using different containers as well. While a standard pot works perfectly well, you could also try using a repurposed container like an old bucket or even a window box. Just make sure the container has adequate drainage.
Another variation to consider is companion planting. Try planting your radishes alongside other herbs or vegetables that thrive in similar conditions, such as lettuce or spinach. This can help to create a more balanced and productive indoor garden.
Don’t be afraid to get creative with your indoor radish garden. Add a decorative touch with pebbles or moss, or create a miniature trellis for the radish greens to climb. The possibilities are endless!
Ultimately, the best way to discover the joys of growing radishes indoors is to simply give it a try. It’s an easy, affordable, and incredibly satisfying project that will bring a touch of freshness and flavor to your life. So, grab some seeds, gather your supplies, and get ready to experience the magic of homegrown radishes.
We’re confident that you’ll be amazed at how easy and rewarding it is to grow your own radishes indoors. And we can’t wait to hear about your experience! Share your photos, tips, and stories with us in the comments below. Let’s create a community of indoor radish growers and inspire others to discover the joys of homegrown goodness. Happy gardening!
Frequently Asked Questions (FAQ)
What is the best time of year to grow radishes indoors?
The beauty of growing radishes indoors is that you can do it year-round! Unlike outdoor gardening, you’re not limited by the seasons. As long as you provide adequate light, temperature, and moisture, you can enjoy fresh radishes any time of the year. This makes it a perfect project for those who live in areas with harsh winters or limited outdoor space.
How much light do radishes need when grown indoors?
Radishes need at least 6 hours of direct sunlight per day to thrive. If you don’t have a sunny windowsill, you can supplement with artificial light. A grow light or even a fluorescent light can provide the necessary illumination. Position the light about 6-12 inches above the plants and keep it on for 12-16 hours per day. Insufficient light can result in leggy plants and small, underdeveloped radishes.
What type of soil is best for growing radishes indoors?
Radishes prefer well-draining soil that is rich in organic matter. A good potting mix specifically formulated for vegetables is ideal. You can also amend your own soil by mixing equal parts of potting soil, compost, and perlite or vermiculite. This will provide the necessary nutrients and drainage for healthy radish growth. Avoid using heavy clay soil, as it can become waterlogged and hinder root development.
How often should I water my indoor radishes?
Radishes need consistent moisture to grow properly. Water them regularly, keeping the soil evenly moist but not soggy. Check the soil moisture by sticking your finger about an inch deep. If the soil feels dry, it’s time to water. Avoid overwatering, as this can lead to root rot. A good rule of thumb is to water deeply when the top inch of soil feels dry.
How long does it take for radishes to mature when grown indoors?
One of the great things about radishes is that they mature quickly. Most varieties are ready to harvest in just 3-4 weeks. Check the seed packet for specific maturity times. You’ll know your radishes are ready to harvest when the roots are about 1 inch in diameter. Gently pull them from the soil, being careful not to damage the surrounding plants.
Can I grow radishes in a small container?
Yes, radishes are well-suited for growing in small containers. A pot that is at least 6 inches deep and 6 inches wide is sufficient for a few plants. Make sure the container has drainage holes to prevent waterlogging. You can also grow radishes in window boxes or other shallow containers. Just be sure to adjust your watering schedule accordingly, as smaller containers tend to dry out more quickly.
What are some common problems when growing radishes indoors?
Some common problems when growing radishes indoors include:
* **Leggy plants:** This is usually caused by insufficient light. Provide more light or move the plants to a sunnier location.
* **Small roots:** This can be caused by overcrowding, poor soil, or lack of nutrients. Thin out the plants, amend the soil with compost, and fertilize with a balanced fertilizer.
* **Root rot:** This is caused by overwatering. Allow the soil to dry out slightly between waterings and ensure the container has adequate drainage.
* **Pests:** Aphids and other pests can sometimes infest indoor radish plants. Inspect your plants regularly and treat any infestations with insecticidal soap or neem oil.
Can I eat the radish greens?
Absolutely! Radish greens are delicious and nutritious. They have a peppery flavor similar to the roots. You can add them to salads, stir-fries, or soups. Just be sure to wash them thoroughly before eating.
How do I store harvested radishes?
To store harvested radishes, remove the greens and store them separately. Place the radishes in a plastic bag in the refrigerator. They should last for about a week. The greens can be stored in a separate plastic bag in the refrigerator for a few days.
What kind of fertilizer should I use for indoor radishes?
A balanced, water-soluble fertilizer is best for indoor radishes. Look for a fertilizer with an NPK ratio of 10-10-10 or similar. Fertilize every 2-3 weeks, following the instructions on the fertilizer package. Avoid over-fertilizing, as this can burn the roots.

Leave a Comment