
Grow Radicchio at Home? Absolutely! You might think this vibrant, slightly bitter leafy vegetable is only found in fancy restaurants or gourmet grocery stores, but I’m here to tell you that growing your own radicchio is surprisingly easy and incredibly rewarding. For centuries, radicchio has been a staple in Italian cuisine, adding a pop of color and a unique flavor profile to salads, risottos, and grilled dishes. Its history is deeply rooted in the Veneto region of Italy, where it was carefully cultivated and prized for its distinctive taste and health benefits.
But why should you bother to grow radicchio at home? Well, for starters, imagine the satisfaction of harvesting your own fresh, organic radicchio, knowing exactly where it came from and what went into growing it. Plus, store-bought radicchio can be expensive and sometimes lacks the freshness and flavor of homegrown varieties. This DIY guide will walk you through every step of the process, from selecting the right seeds to harvesting your beautiful, ruby-red heads. Whether you’re a seasoned gardener or a complete beginner, I’ll share my best tips and tricks to ensure your radicchio growing adventure is a success. Get ready to impress your friends and family with your homegrown culinary creations!
Grow Your Own Radicchio: A Beginner’s Guide
Hey there, fellow gardening enthusiasts! Ever wanted to add a touch of bitterness and vibrant color to your salads? Then you’ve come to the right place! Today, I’m going to walk you through the surprisingly simple process of growing your own radicchio at home. Trust me, it’s easier than you think, and the reward of fresh, homegrown radicchio is totally worth it.
What is Radicchio, Anyway?
Before we dive in, let’s quickly cover what radicchio actually is. It’s a leafy vegetable, a member of the chicory family, known for its slightly bitter taste and beautiful red or variegated leaves. It’s often used in salads, grilled, or roasted, adding a unique flavor profile to your dishes.
Choosing Your Radicchio Variety
There are several types of radicchio, each with its own unique characteristics. Here are a few popular choices:
* Chioggia: This is the most common type, forming a round, tight head with red leaves and white veins. It’s relatively easy to grow and has a good balance of bitterness.
* Treviso: This variety has elongated, spear-shaped heads with red leaves and prominent white ribs. It has a slightly milder flavor than Chioggia. There are two types of Treviso: Early and Late. Early Treviso is more rounded, while Late Treviso is more elongated and requires forcing (more on that later!).
* Castelfranco: This is a beautiful variety with loose, open heads of pale green leaves speckled with red. It’s also known as “Orchid Radicchio” due to its delicate appearance. It has a milder, sweeter flavor compared to other types.
* Rosa del Veneto: This variety is known for its beautiful rose-like shape and pinkish-red leaves. It has a slightly bitter taste and is often used in salads.
I recommend starting with Chioggia if you’re a beginner, as it’s the most forgiving.
Getting Started: Seeds or Seedlings?
You have two options for starting your radicchio: seeds or seedlings.
* Seeds: Starting from seed gives you more control over the entire growing process and is generally more economical. However, it requires a bit more patience and attention.
* Seedlings: Buying seedlings from a nursery is a quicker and easier option, especially if you’re short on time or space. Just make sure to choose healthy-looking seedlings with no signs of disease or pests.
I personally prefer starting from seed, as I enjoy the whole process from beginning to end. But either way works!
Timing is Everything: When to Plant
Radicchio is a cool-season crop, meaning it thrives in cooler temperatures. The ideal time to plant is in early spring or late summer/early fall.
* Spring Planting: Start seeds indoors 6-8 weeks before the last expected frost. Transplant seedlings outdoors after the danger of frost has passed.
* Fall Planting: Sow seeds directly into the garden 8-10 weeks before the first expected frost.
Check your local frost dates to determine the best planting time for your area.
Preparing the Soil: A Happy Plant Starts with Happy Soil
Radicchio prefers well-drained soil that is rich in organic matter. Here’s how to prepare your soil:
1. Choose a sunny location: Radicchio needs at least 6 hours of sunlight per day.
2. Amend the soil: Incorporate plenty of compost or well-rotted manure into the soil to improve drainage and fertility.
3. Check the pH: Radicchio prefers a soil pH of 6.0 to 7.0. You can test your soil pH with a soil testing kit and amend it accordingly.
4. Loosen the soil: Use a garden fork or tiller to loosen the soil to a depth of 12 inches.
5. Remove rocks and debris: Clear the area of any rocks, weeds, or other debris.
Planting Your Radicchio: From Seed to Sprout
Now for the fun part: planting!
Starting from Seed Indoors:
1. Sow seeds: Fill seed trays or small pots with seed-starting mix. Sow seeds about 录 inch deep and gently water.
2. Provide warmth and light: Keep the soil moist and provide warmth (around 70掳F) for germination. Use a heat mat if necessary. Place the trays under grow lights or in a sunny window.
3. Thin seedlings: Once the seedlings have emerged and have a few true leaves, thin them out, leaving only the strongest seedling in each cell or pot.
4. Harden off seedlings: Before transplanting outdoors, gradually acclimate the seedlings to outdoor conditions by placing them outside for a few hours each day, increasing the time each day for about a week.
Direct Sowing Seeds Outdoors:
1. Prepare the soil: Follow the soil preparation steps outlined above.
2. Sow seeds: Sow seeds about 陆 inch deep and 1 inch apart in rows.
3. Water gently: Water the soil gently to avoid disturbing the seeds.
4. Thin seedlings: Once the seedlings have emerged and have a few true leaves, thin them out to 8-12 inches apart.
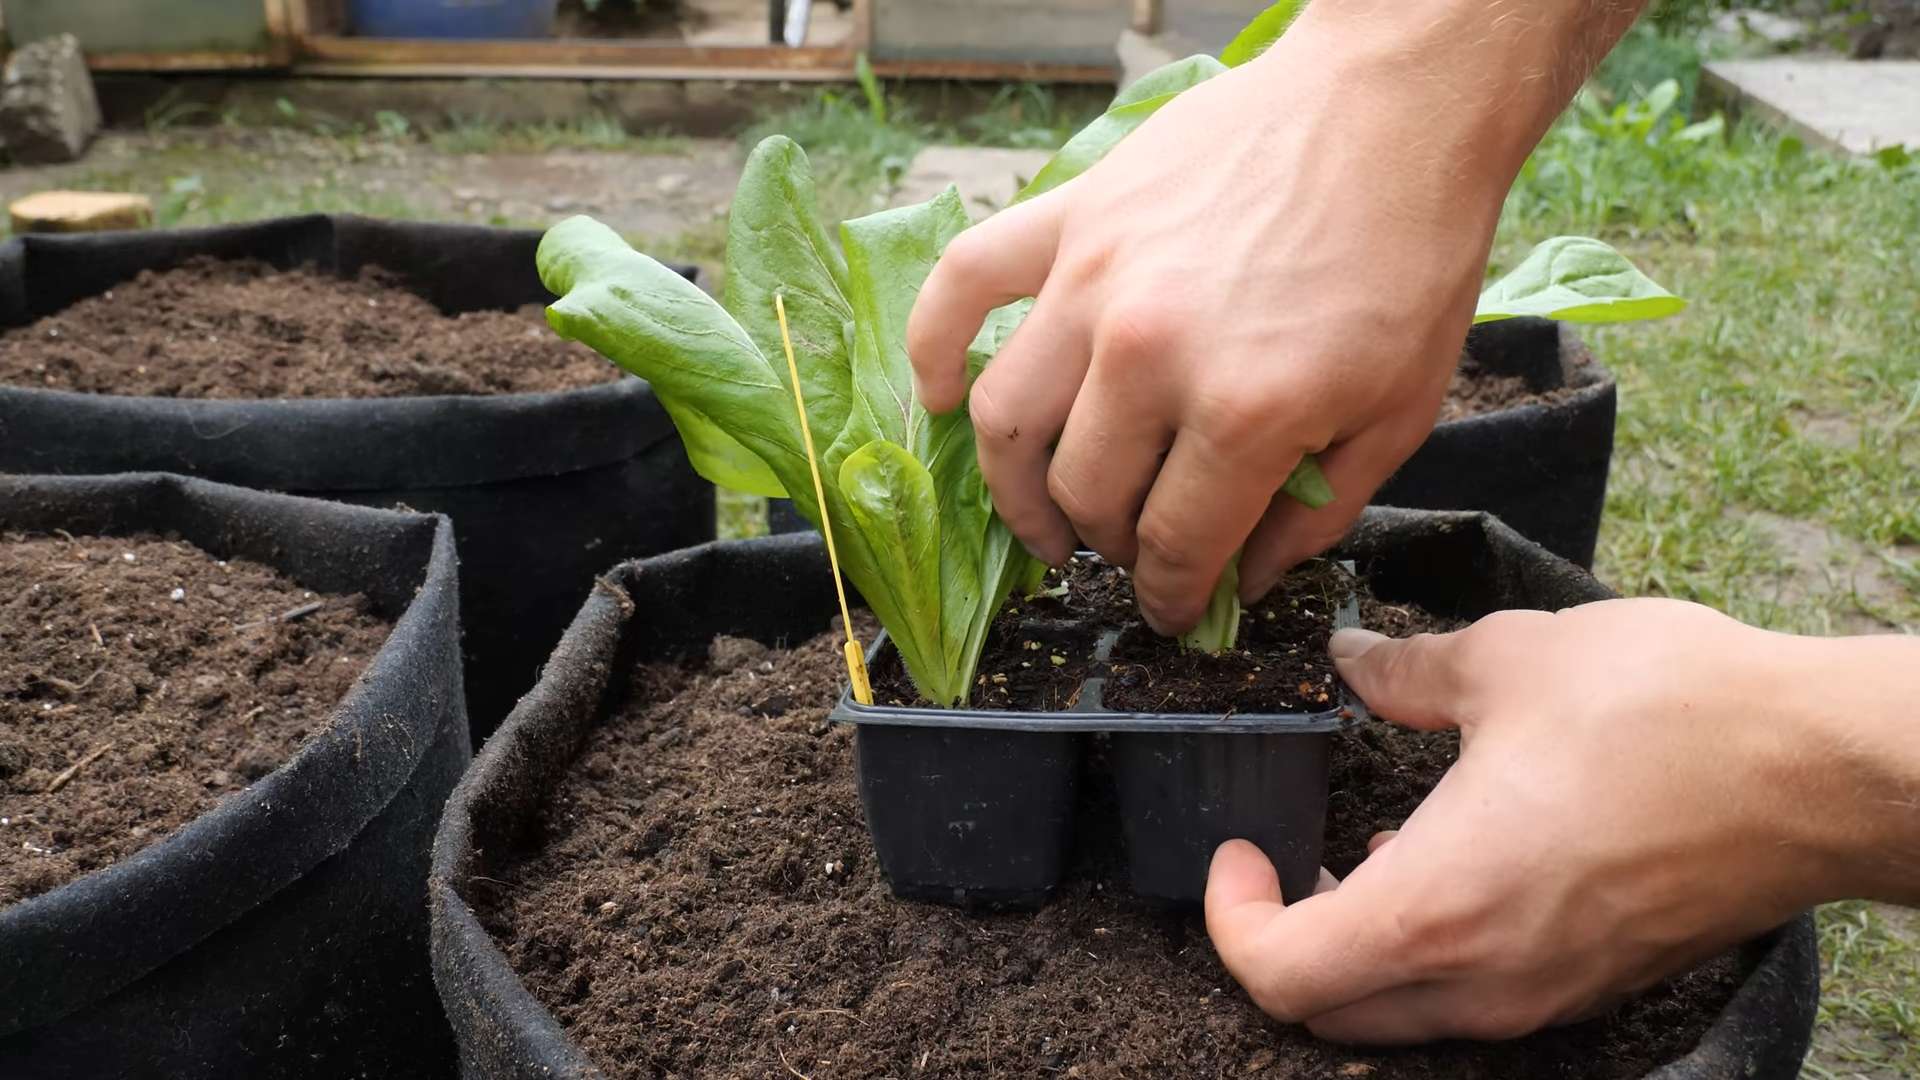
Transplanting Seedlings:
1. Dig holes: Dig holes that are slightly larger than the root ball of the seedlings. Space the holes 8-12 inches apart.
2. Remove seedlings from pots: Gently remove the seedlings from their pots, being careful not to damage the roots.
3. Place seedlings in holes: Place the seedlings in the holes and backfill with soil.
4. Water thoroughly: Water the seedlings thoroughly after planting.
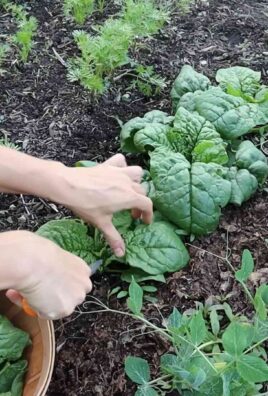
Caring for Your Radicchio: Watering, Weeding, and Feeding
Once your radicchio is planted, it’s important to provide proper care to ensure a healthy and productive harvest.
1. Watering: Water regularly, especially during dry periods. Keep the soil consistently moist, but avoid overwatering, which can lead to root rot. Water deeply and less frequently, rather than shallowly and often.
2. Weeding: Keep the area around your radicchio plants free of weeds. Weeds compete with the plants for nutrients and water. Hand-pull weeds regularly or use a hoe to cultivate the soil.
3. Fertilizing: Radicchio benefits from regular fertilization. Apply a balanced fertilizer (e.g., 10-10-10) every 2-3 weeks. You can also use a liquid fertilizer or compost tea.
4. Pest and Disease Control: Keep an eye out for pests such as aphids, slugs, and snails. Use organic pest control methods such as insecticidal soap or diatomaceous earth. Radicchio can also be susceptible to diseases such as downy mildew and leaf spot. Prevent these diseases by providing good air circulation and avoiding overhead watering. If you notice any signs of disease, remove the affected leaves immediately.
5. Blanching (Optional): Some gardeners blanch their radicchio to reduce bitterness. To blanch, tie the outer leaves together to exclude light from the inner leaves for about a week before harvest. This will result in paler, milder-tasting leaves.
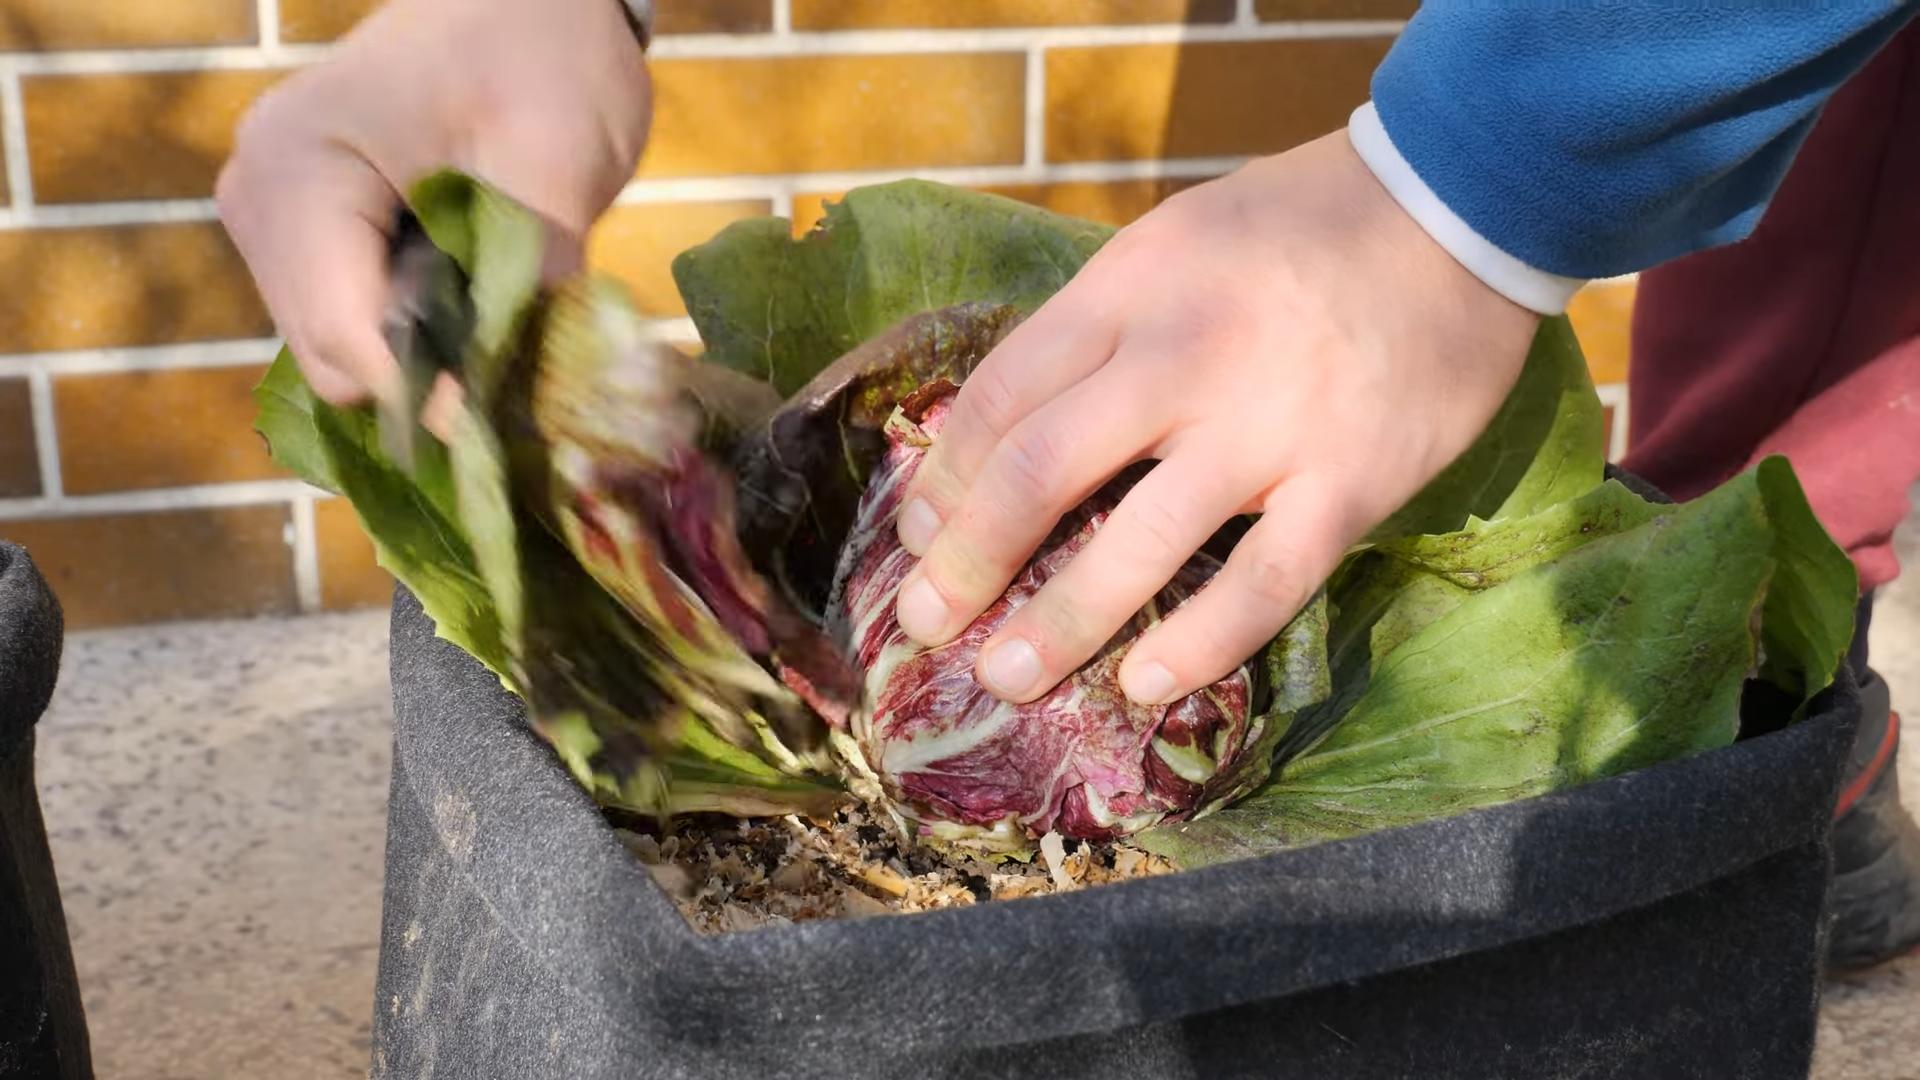
Harvesting Your Radicchio: The Sweet Taste of Success
Radicchio is typically ready to harvest 70-90 days after planting.
1. Check for maturity: The heads should be firm and well-formed.
2. Harvest: Cut the heads at the base with a sharp knife.
3. Store: Store harvested radicchio in the refrigerator for up to 2 weeks.
Forcing Radicchio (For Late Treviso): A Little Extra Effort
Late Treviso radicchio requires a process called forcing to develop its characteristic elongated shape and mild flavor. This involves digging up the plants in late fall and replanting them in a dark, cool environment.
1. Dig up plants: In late fall, before the first hard frost, carefully dig up the radicchio plants, being sure to retain as much of the root system as possible.
2. Trim leaves: Trim the outer leaves, leaving only the inner core.
3. Replant in containers: Replant the radicchio plants in containers filled with moist sand or soil.
4. Provide darkness and coolness: Place the containers in a dark, cool (40-50掳F) location, such as a basement or garage.
5. Water sparingly: Water the plants sparingly, just enough to keep the soil moist.
6. Wait for forcing: Over the next few weeks, the radicchio will begin to grow new, elongated leaves. This process is called forcing.
7. Harvest: Harvest the forced radicchio when the heads are well-formed and the leaves are pale and tender.
Enjoying Your Radicchio: From Garden to Table
Conclusion
So, there you have it! Growing radicchio at home isn’t just a gardening project; it’s an adventure in flavor, a testament to your green thumb, and a way to bring a touch of Italian flair to your table. We’ve walked you through the process, from selecting the right variety to harvesting your beautiful, bitter heads. And while it might seem a little daunting at first, trust us, the reward of biting into a freshly grown, slightly bitter, and incredibly satisfying radicchio salad is well worth the effort.
Why is this DIY trick a must-try? Because store-bought radicchio simply can’t compare to the vibrant color and intense flavor of homegrown. You control the growing conditions, ensuring a superior product free from unwanted pesticides. Plus, there’s an undeniable satisfaction in nurturing a plant from seed to plate. It’s a connection to nature, a mindful activity, and a delicious way to enhance your meals.
But don’t stop there! Experiment with different varieties of radicchio. Try the classic Chioggia with its tightly formed round heads, or venture into the elongated Treviso with its elegant, spear-like leaves. You can even try forcing radicchio indoors during the winter months for a continuous supply of fresh greens. Consider companion planting with herbs like rosemary and sage, which are said to deter pests and enhance the flavor of your radicchio.
And remember, growing radicchio at home is a journey, not a destination. There will be successes and perhaps a few setbacks along the way. But each experience is a learning opportunity, a chance to refine your skills and deepen your connection to the natural world.
We wholeheartedly encourage you to give this DIY project a try. Embrace the challenge, enjoy the process, and savor the delicious results. And most importantly, share your experience with us! We’d love to hear about your successes, your challenges, and your favorite ways to enjoy your homegrown radicchio. Post pictures of your garden, share your recipes, and let’s create a community of radicchio enthusiasts! Let us know what works best for you and what challenges you face. Your insights can help other gardeners succeed in their own radicchio-growing endeavors.
So, grab your seeds, prepare your soil, and get ready to embark on a flavorful adventure. Happy gardening!
Frequently Asked Questions (FAQ)
What is the best time of year to plant radicchio?
The ideal time to plant radicchio depends on your climate. In general, radicchio prefers cooler temperatures. For a spring harvest, start seeds indoors 6-8 weeks before the last expected frost. Transplant seedlings outdoors once the soil has warmed up and the risk of frost has passed. For a fall harvest, sow seeds directly into the garden in mid-summer, about 8-10 weeks before the first expected frost. In warmer climates, you can grow radicchio throughout the winter.
What kind of soil does radicchio need?
Radicchio thrives in well-drained soil that is rich in organic matter. Amend your soil with compost or well-rotted manure before planting to improve its fertility and drainage. A slightly acidic to neutral soil pH (around 6.0 to 7.0) is ideal.
How much sunlight does radicchio need?
Radicchio prefers full sun, meaning at least 6 hours of direct sunlight per day. However, in hotter climates, it can benefit from some afternoon shade to prevent bolting (premature flowering).
How often should I water radicchio?
Keep the soil consistently moist, but not waterlogged. Water deeply whenever the top inch of soil feels dry to the touch. Avoid overhead watering, as this can increase the risk of fungal diseases. Drip irrigation or soaker hoses are excellent options for providing consistent moisture.
What are some common pests and diseases that affect radicchio?
Common pests that can affect radicchio include aphids, slugs, and flea beetles. Aphids can be controlled with insecticidal soap or a strong blast of water from a hose. Slugs can be trapped with beer traps or handpicked. Flea beetles can be deterred with row covers or diatomaceous earth.
Common diseases include downy mildew and bottom rot. Downy mildew can be prevented by providing good air circulation and avoiding overhead watering. Bottom rot can be prevented by ensuring good drainage and avoiding overcrowding. If diseases occur, remove affected leaves promptly to prevent the spread.
How do I know when radicchio is ready to harvest?
Radicchio is typically ready to harvest when the heads are firm and well-formed. The exact size and shape will vary depending on the variety. For Chioggia types, the heads should be about the size of a softball. For Treviso types, the leaves should be elongated and slightly curled. You can harvest the entire head at once, or you can harvest individual leaves as needed.
How do I reduce the bitterness of radicchio?
Radicchio is known for its slightly bitter flavor, but there are several ways to reduce the bitterness. Soaking the leaves in cold water for 30 minutes before using them can help to mellow the flavor. Grilling or roasting radicchio can also reduce the bitterness and bring out its sweetness. Pairing radicchio with sweet or creamy ingredients, such as honey, balsamic vinegar, or goat cheese, can also help to balance the bitterness.
Can I grow radicchio in containers?
Yes, radicchio can be successfully grown in containers. Choose a container that is at least 12 inches in diameter and 12 inches deep. Use a well-draining potting mix and provide adequate sunlight and water. Container-grown radicchio may need to be fertilized more frequently than garden-grown radicchio.
What are some ways to use radicchio in cooking?
Radicchio can be used in a variety of culinary applications. It can be eaten raw in salads, grilled or roasted as a side dish, or added to soups and stews. It pairs well with other bitter greens, such as arugula and endive, as well as sweet and creamy ingredients. Try it in a salad with walnuts, pears, and gorgonzola cheese, or grilled with olive oil, balsamic vinegar, and a sprinkle of Parmesan cheese. You can also braise it with pancetta and onions for a flavorful side dish. The possibilities are endless!
Is growing radicchio at home organic?
Growing radicchio at home gives you complete control over the growing process, allowing you to easily grow it organically. By using organic soil amendments, avoiding synthetic pesticides and fertilizers, and practicing good garden hygiene, you can ensure that your homegrown radicchio is free from harmful chemicals. Look for certified organic seeds to start your plants off right.
Leave a Comment