
Grow Peas at Home – imagine stepping outside your back door and plucking fresh, sweet peas straight from the vine! It’s a dream many gardeners share, and I’m here to tell you it’s totally achievable, even if you’re short on space or experience. For centuries, peas have been a staple crop, nourishing families and adding a touch of sweetness to countless dishes. From ancient civilizations to modern-day gardens, these little green gems have held a special place in our hearts (and on our plates!).
But let’s be honest, sometimes getting those perfect pods can feel a bit tricky. Maybe your peas are stunted, or the yields are disappointing. That’s where my favorite DIY tricks and hacks come in! I’ve gathered some simple, yet effective, methods to help you grow peas at home like a pro. Whether you’re dealing with limited sunlight, pesky pests, or just want to maximize your harvest, I’ve got you covered.
Why do you need these DIY tricks? Because everyone deserves to enjoy the satisfaction of growing their own food! Plus, homegrown peas taste infinitely better than anything you’ll find in the store. So, let’s dive in and unlock the secrets to a bountiful pea harvest. Get ready to roll up your sleeves and transform your garden into a pea-producing paradise!

Growing Peas at Home: A Complete DIY Guide
Hey there, fellow gardening enthusiasts! I’m so excited to share my tried-and-true method for growing delicious, sweet peas right in your own backyard (or even on your balcony!). Trust me, there’s nothing quite like the taste of freshly picked peas, and it’s way easier than you might think. Let’s dive in!
Choosing Your Pea Variety
Before we get our hands dirty, let’s talk about pea varieties. There are a few main types, and your choice will depend on your preferences and space:
* Shelling Peas (English Peas): These are the classic peas you shell from their pods. They’re known for their sweet flavor. Popular varieties include ‘Little Marvel,’ ‘Green Arrow,’ and ‘Wando.’
* Snap Peas: These have edible pods that are plump and crunchy. You eat the whole thing! ‘Sugar Snap’ is a very popular and reliable variety.
* Snow Peas: These have flat, edible pods. They’re often used in stir-fries. ‘Oregon Sugar Pod II’ is a great choice.
My Recommendation: If you’re a beginner, I highly recommend starting with ‘Sugar Snap’ peas. They’re incredibly easy to grow and produce a generous harvest.
Preparing Your Pea Patch
Peas thrive in cool weather, so the best time to plant them is in early spring (as soon as the soil is workable) or in the fall. Here’s how to get your garden ready:
* Sunlight: Peas need at least 6 hours of sunlight per day. Choose a spot in your garden that gets plenty of sunshine.
* Soil: Peas prefer well-drained soil that’s rich in organic matter. Amend your soil with compost or well-rotted manure before planting.
* Soil pH: The ideal soil pH for peas is between 6.0 and 7.5. You can test your soil pH with a simple soil testing kit.
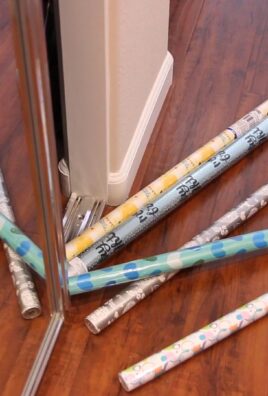
* Support System: Peas are climbing plants, so they need a support system to grow on. This could be a trellis, a fence, or even just some sturdy sticks.
Important Tip: Avoid planting peas in the same spot year after year, as this can lead to soilborne diseases. Rotate your crops to keep your garden healthy.
Step-by-Step Planting Guide
Now for the fun part – planting! Here’s a detailed guide to help you get your pea seeds in the ground:
1. Soak the Seeds: Before planting, soak your pea seeds in water for 12-24 hours. This will help them germinate faster. I usually put them in a small bowl and cover them with water.
2. Prepare the Soil: Loosen the soil in your planting area and remove any rocks or debris. Add compost or other organic matter to improve drainage and fertility.
3. Create Furrows: Use a hoe or trowel to create furrows (shallow trenches) in the soil. The furrows should be about 1 inch deep and 2-3 inches wide. Space the furrows about 12 inches apart.
4. Sow the Seeds: Plant the pea seeds about 1 inch apart in the furrows.
5. Cover the Seeds: Gently cover the seeds with soil and pat it down lightly.
6. Water Thoroughly: Water the planting area thoroughly to moisten the soil.
7. Add a Support System: Install your trellis, fence, or other support system near the planting area. This will give the pea vines something to climb on as they grow. I like to use a simple trellis made of bamboo stakes and twine.
8. Label Your Rows: Don’t forget to label your rows with the variety of peas you planted and the date. This will help you keep track of your garden.
Caring for Your Pea Plants
Once your pea seeds have sprouted, it’s important to provide them with the right care to ensure a bountiful harvest.
* Watering: Peas need consistent moisture, especially during flowering and pod development. Water deeply whenever the soil feels dry to the touch. Avoid overwatering, as this can lead to root rot.
* Weeding: Keep the planting area free of weeds, as weeds can compete with pea plants for nutrients and water. Hand-pull weeds carefully to avoid disturbing the pea roots.
* Fertilizing: Peas are legumes, which means they can fix nitrogen from the air. However, they still benefit from a light feeding of fertilizer. Use a balanced fertilizer or a fertilizer specifically formulated for legumes. I like to use a liquid seaweed fertilizer.
* Pest Control: Peas can be susceptible to pests such as aphids and pea weevils. Inspect your plants regularly for signs of pests and take action if necessary. You can use insecticidal soap or neem oil to control aphids. For pea weevils, you can use row covers to protect your plants.
* Training the Vines: As your pea vines grow, gently guide them onto the support system. This will help them climb properly and prevent them from falling over. I like to use plant clips or twine to secure the vines to the trellis.
Pro Tip: Mulching around your pea plants with straw or wood chips can help retain moisture, suppress weeds, and regulate soil temperature.
Harvesting Your Peas
The moment you’ve been waiting for – harvesting your peas! The timing of the harvest will depend on the variety of peas you’re growing.
* Shelling Peas: Harvest shelling peas when the pods are plump and full, but before they become tough. The peas inside should be well-developed but not overly mature.
* Snap Peas: Harvest snap peas when the pods are plump and crunchy, but before the peas inside become too large. The pods should be bright green and snap easily when bent.
* Snow Peas: Harvest snow peas when the pods are flat and tender, before the peas inside develop. The pods should be bright green and translucent.
Harvesting Technique: Gently snap the pea pods from the vine. Avoid pulling on the vine, as this can damage the plant. Harvest regularly to encourage continued production.
Storage: Freshly harvested peas are best eaten right away. However, you can store them in the refrigerator for a few days. Shelling peas can be shelled and stored in a sealed container. Snap peas and snow peas can be stored whole in a plastic bag. You can also freeze peas for longer storage. Blanch them for a few minutes in boiling water, then cool them in ice water before freezing.
Troubleshooting Common Pea Problems
Even with the best care, you might encounter some problems when growing peas. Here are a few common issues and how to address them:
* Poor Germination: If your pea seeds aren’t germinating, it could be due to several factors, such as cold soil, poor drainage, or old seeds. Make sure the soil is warm enough (at least 45°F) and well-drained. Use fresh seeds and soak them before planting.
* Yellowing Leaves: Yellowing leaves can be a sign of nutrient deficiency, overwatering, or disease. Check the soil drainage and adjust your watering accordingly. Fertilize with a balanced fertilizer or a fertilizer specifically formulated for legumes.
* Powdery Mildew: Powdery mildew is a fungal disease that can affect pea plants, especially in humid conditions. It appears as a white, powdery coating on the leaves. Improve air circulation around your plants and avoid overhead watering. You can also use a fungicide to control powdery mildew.
* Aphids: Aphids are small, sap-sucking insects that can weaken pea plants. They often cluster on the undersides of leaves. Spray aphids with insecticidal soap or neem oil. You can also attract beneficial insects, such as ladybugs, to your garden to help control aphids.
Enjoying Your Homegrown Peas
Now that you’ve harvested your delicious homegrown peas, it’s time to enjoy them! Here are a few ideas:
* Eat them fresh: Snap peas and snow peas are delicious eaten straight from the garden. Shelling peas can be shelled and eaten raw or cooked.
* Add them to salads: Fresh peas add a sweet and crunchy element to salads.
* Use them in stir-fries: Snow peas are a classic ingredient in stir-fries.
* Make pea soup: Pea soup is a comforting and nutritious dish.
* Freeze them for later: As mentioned earlier, you can freeze peas for longer storage.
Growing peas at home is a rewarding experience that allows you to enjoy fresh, delicious vegetables right from your own garden. With a little bit of planning and care, you can have a bountiful harvest of peas to enjoy all season long. Happy gardening!
Conclusion
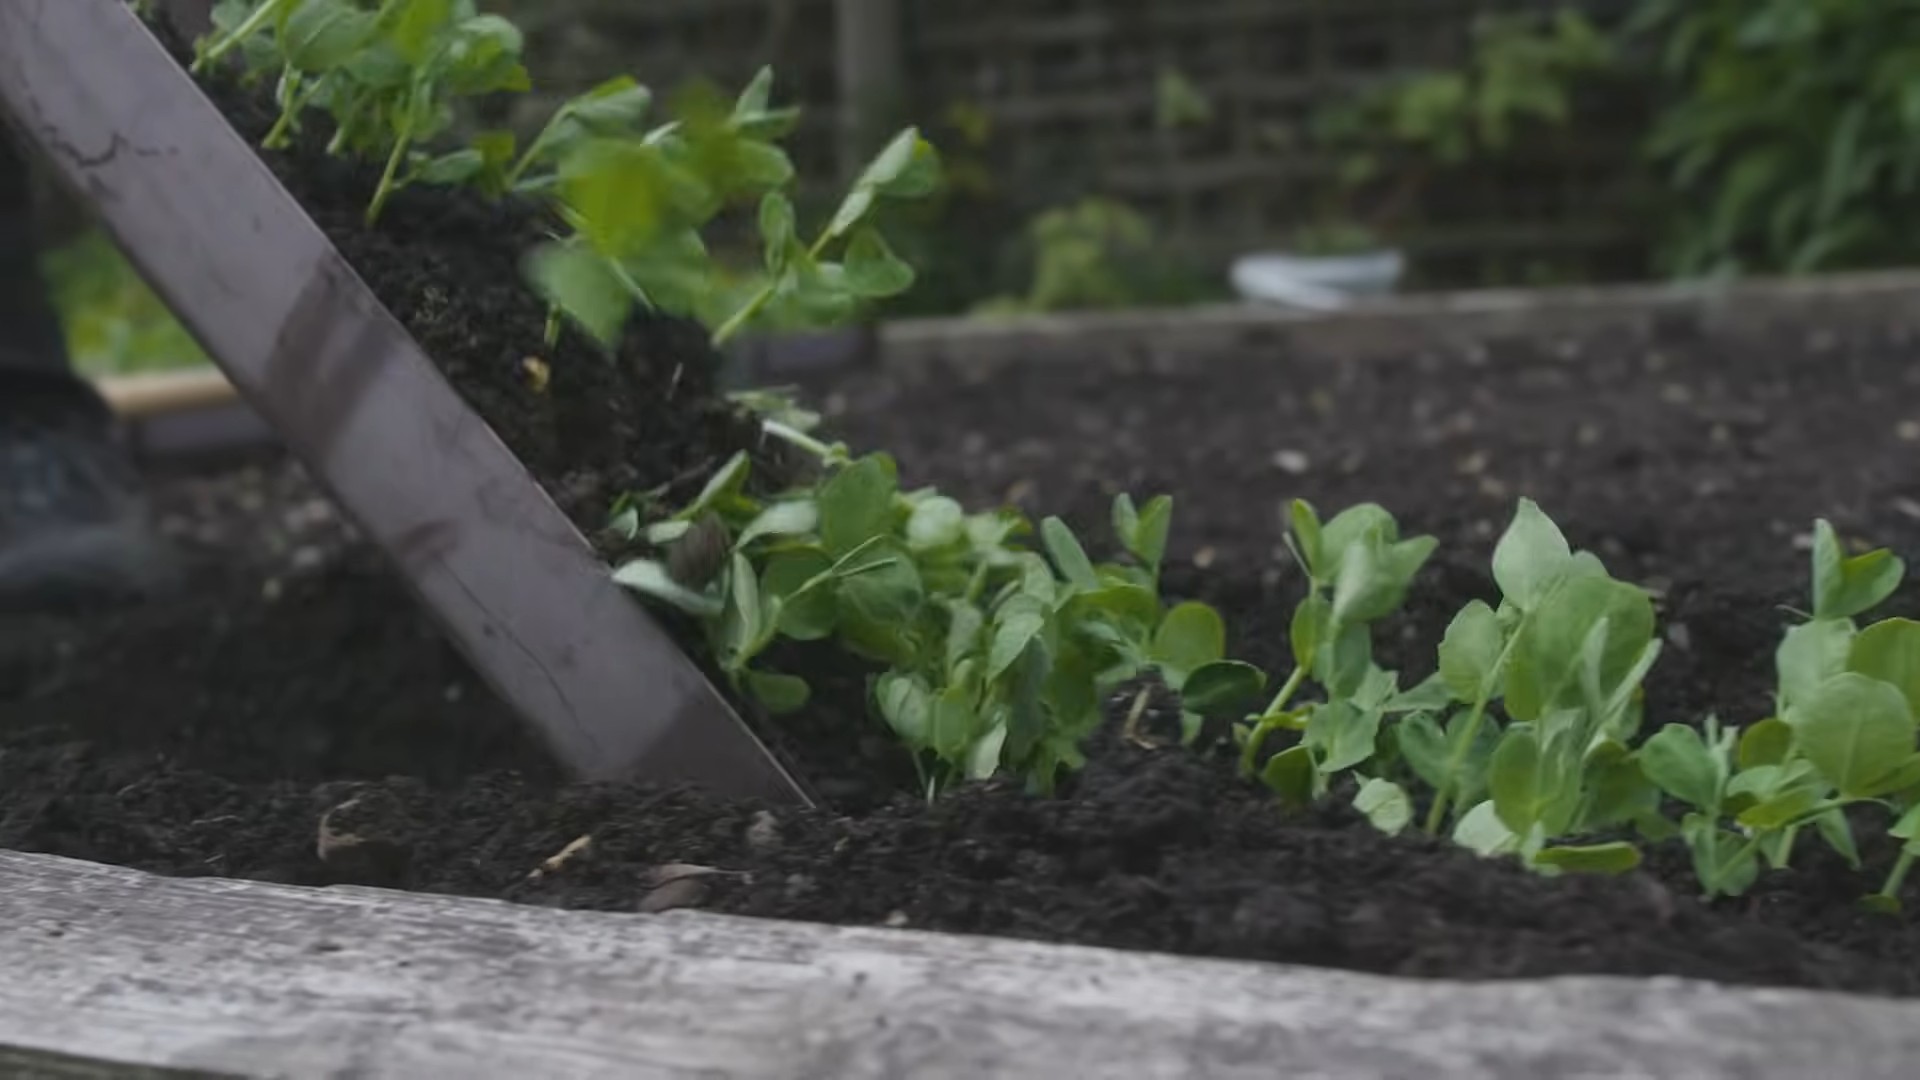
So, there you have it! Growing peas at home is not only achievable, but it’s also incredibly rewarding. From the vibrant green shoots emerging from the soil to the sweet, crisp taste of freshly picked pods, the entire process is a testament to the magic of gardening. We’ve walked you through the essential steps, from selecting the right variety and preparing your soil to providing support and protecting your precious plants.
But why is this DIY trick a must-try? Beyond the sheer satisfaction of nurturing life, growing your own peas offers a multitude of benefits. Firstly, you gain access to peas that are far fresher and more flavorful than anything you can find in the supermarket. The moment you harvest them, the sugars begin to convert to starch, so the sooner you eat them, the sweeter they’ll be. Secondly, you have complete control over the growing process, ensuring that your peas are free from harmful pesticides and chemicals. This is especially important if you’re conscious about your health and the environment. Thirdly, growing peas is a fantastic way to connect with nature and de-stress. The simple act of tending to your plants can be incredibly therapeutic, providing a welcome escape from the hustle and bustle of daily life. Finally, it’s a budget-friendly way to enjoy a delicious and nutritious vegetable.
Looking to add a personal touch to your pea-growing adventure? Consider these variations:
* **Vertical Gardening:** If you’re short on space, try growing your peas vertically on a trellis or netting. This not only saves space but also adds a beautiful visual element to your garden.
* **Succession Planting:** Plant new seeds every few weeks to ensure a continuous harvest throughout the growing season.
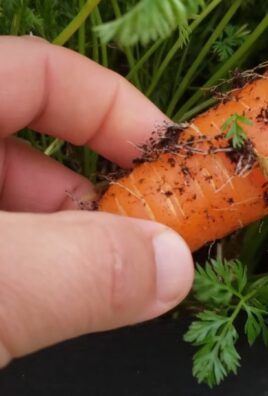
* **Companion Planting:** Plant peas alongside beneficial companions like carrots, radishes, and cucumbers to improve growth and deter pests.
* **Edible Pea Shoots:** Don’t forget about the delicious pea shoots! These tender leaves and tendrils can be harvested and used in salads, stir-fries, or as a garnish.
* **Container Gardening:** Peas thrive in containers, making them perfect for balconies and patios. Choose a large container with good drainage and use a high-quality potting mix.
We wholeheartedly encourage you to give this DIY trick a try. Whether you’re a seasoned gardener or a complete beginner, growing peas at home is a fun and fulfilling experience that anyone can enjoy. The taste of homegrown peas is simply unparalleled, and the satisfaction of harvesting your own food is truly priceless.
So, grab your seeds, prepare your soil, and get ready to embark on a pea-growing adventure! And most importantly, don’t forget to share your experience with us. We’d love to hear about your successes, challenges, and any tips or tricks you’ve discovered along the way. Share your photos and stories on social media using [Your Hashtag] and let’s inspire others to embrace the joy of growing their own food. Happy gardening!
Frequently Asked Questions (FAQs)
What is the best time of year to plant peas?
Peas are a cool-season crop, meaning they thrive in cooler temperatures. The best time to plant peas is in early spring, as soon as the soil can be worked. In warmer climates, you can also plant peas in the fall for a winter harvest. Avoid planting peas during the heat of summer, as they will not thrive. The ideal soil temperature for germination is between 45°F and 70°F (7°C and 21°C). Check your local weather forecast and soil temperature before planting.
What kind of soil do peas need?
Peas prefer well-drained soil that is rich in organic matter. Before planting, amend your soil with compost or well-rotted manure to improve its fertility and drainage. Peas also prefer a slightly acidic to neutral soil pH, ideally between 6.0 and 7.0. You can test your soil pH using a soil testing kit and adjust it accordingly with lime or sulfur. Avoid planting peas in heavy clay soil, as this can lead to poor drainage and root rot. If you have clay soil, amend it with plenty of organic matter to improve its structure.
How much sunlight do peas need?
Peas need at least 6 hours of sunlight per day to thrive. Choose a planting location that receives full sun for most of the day. If you live in a hot climate, provide some afternoon shade to protect your peas from scorching. Insufficient sunlight can lead to leggy growth and reduced yields.
How often should I water my peas?
Peas need consistent moisture to thrive, especially during germination and pod development. Water your peas regularly, especially during dry spells. Aim to keep the soil consistently moist but not waterlogged. Avoid overhead watering, as this can promote fungal diseases. Instead, water at the base of the plants using a soaker hose or drip irrigation system. Mulching around your pea plants can also help to retain moisture in the soil.
Do peas need support?
Yes, most varieties of peas need support to climb. Provide a trellis, netting, or stakes for your peas to climb on. This will help to keep the plants off the ground, improve air circulation, and make harvesting easier. Install the support system at the time of planting to avoid disturbing the roots later on.
What are some common pests and diseases that affect peas?
Some common pests that affect peas include aphids, pea weevils, and slugs. Aphids can be controlled with insecticidal soap or neem oil. Pea weevils can be controlled by handpicking or using row covers. Slugs can be controlled with slug bait or by handpicking them at night. Common diseases that affect peas include powdery mildew, root rot, and fusarium wilt. Powdery mildew can be prevented by providing good air circulation and avoiding overhead watering. Root rot can be prevented by planting in well-drained soil. Fusarium wilt can be prevented by planting disease-resistant varieties.
When are peas ready to harvest?
Peas are typically ready to harvest about 60-70 days after planting, depending on the variety. Harvest peas when the pods are plump and filled with peas, but before they become too tough or starchy. Snap peas can be harvested when the pods are still relatively flat and tender. Snow peas can be harvested when the pods are flat and the peas are just beginning to develop. Harvest peas regularly to encourage continued production.
Can I save pea seeds for next year?
Yes, you can save pea seeds for next year. Allow some of your pea pods to dry completely on the vine. Once the pods are dry and brittle, shell the peas and store them in an airtight container in a cool, dry place. Label the container with the variety and date. Before planting, test the germination rate of your saved seeds by planting a few in a moist paper towel. If the germination rate is low, you may need to purchase new seeds.
Are pea shoots edible?
Yes, pea shoots are edible and delicious! Pea shoots are the tender leaves and tendrils of the pea plant. They can be harvested and used in salads, stir-fries, or as a garnish. Harvest pea shoots when they are young and tender. Avoid harvesting too many shoots from a single plant, as this can reduce pea production.

Leave a Comment