
Grow Lettuce Indoors? Absolutely! Imagine fresh, crisp lettuce gracing your salads, sandwiches, and wraps, all year round, regardless of the weather outside. Forget those sad, wilted greens from the grocery store – with a few simple tricks, you can cultivate your own thriving lettuce patch right in your home.
The history of indoor gardening stretches back centuries, with evidence suggesting that even the Romans cultivated plants indoors to extend their growing seasons. Today, the practice is experiencing a major resurgence, driven by a desire for fresh, locally sourced food and a connection to nature, even in urban environments. I think that’s pretty cool!
Why should you learn how to grow lettuce indoors? Well, for starters, it’s incredibly rewarding! Plus, it gives you complete control over the growing environment, minimizing the risk of pests and diseases. More importantly, it’s a fantastic way to reduce your carbon footprint and enjoy delicious, nutritious greens without ever leaving your house. I’m going to show you some easy DIY tricks and hacks that will have you harvesting your own lettuce in no time. Get ready to ditch the store-bought stuff and embrace the joy of homegrown goodness!
Grow Your Own Ginger: A Beginner’s Guide
Hey there, fellow plant enthusiasts! Ever thought about growing your own ginger? It’s surprisingly easy and incredibly rewarding. Imagine having fresh, organic ginger right at your fingertips whenever you need it for cooking, tea, or even just a little boost of flavor. I’m going to walk you through the whole process, step-by-step, so you can enjoy the satisfaction of harvesting your own homegrown ginger. Let’s get started!
Choosing Your Ginger Rhizome
First things first, you need a ginger rhizome. This is essentially the “root” of the ginger plant, and it’s what you’ll be planting.
* Look for plump, healthy rhizomes: When selecting your ginger, head to your local grocery store or Asian market. Look for rhizomes that are firm, plump, and have visible “eyes” (these are the little buds that will sprout). Avoid any that are shriveled, moldy, or look dried out.
* Organic is best: Opt for organic ginger if possible. Non-organic ginger may have been treated with growth inhibitors to prevent sprouting, which would obviously defeat the purpose.
* Soak if necessary: If your ginger looks a little dry, soak it in water overnight before planting. This will help rehydrate it and encourage sprouting.
Preparing Your Ginger for Planting
Before you can actually plant your ginger, there are a few things you need to do to get it ready.
* Cut the rhizome (optional): If you have a large rhizome with multiple “eyes,” you can cut it into smaller pieces. Each piece should have at least one or two eyes. This will allow you to grow multiple ginger plants from a single rhizome.
* Let the cut pieces callous over: After cutting the rhizome, let the pieces sit out in a dry place for a day or two to allow the cut surfaces to callous over. This will help prevent rot.
Planting Your Ginger
Now for the fun part – planting!
* Choose the right pot: Ginger needs plenty of room to spread out, so choose a wide, shallow pot rather than a deep one. A pot that’s at least 12 inches in diameter and 6 inches deep is a good starting point.
* Use well-draining soil: Ginger prefers well-draining soil that’s rich in organic matter. A good potting mix is essential. You can also amend your soil with compost or aged manure to improve drainage and fertility.
* Planting depth: Place the ginger rhizome horizontally in the pot, with the “eyes” facing upwards. Cover it with about 1-2 inches of soil.
* Water gently: Water the soil gently after planting, making sure not to overwater. The soil should be moist but not soggy.
Caring for Your Ginger Plant
Ginger is relatively easy to care for, but there are a few key things to keep in mind.
* Location, location, location: Ginger thrives in warm, humid environments with partial shade. Avoid direct sunlight, which can scorch the leaves. An east-facing window or a spot under a tree is ideal.
* Watering: Water your ginger plant regularly, keeping the soil consistently moist but not waterlogged. Allow the top inch of soil to dry out slightly between waterings.
* Humidity: Ginger loves humidity. If you live in a dry climate, you can increase humidity by misting the plant regularly, placing a tray of water near the plant, or using a humidifier.
* Fertilizing: Feed your ginger plant every few weeks with a balanced liquid fertilizer. Follow the instructions on the fertilizer label.
* Temperature: Ginger prefers temperatures between 65°F and 90°F (18°C and 32°C). Protect your plant from frost and cold drafts.
Harvesting Your Ginger
The best part! Harvesting your own ginger is so satisfying.
* When to harvest: You can start harvesting ginger about 8-10 months after planting. The leaves will start to turn yellow and die back when the ginger is ready to harvest.
* How to harvest: Gently dig around the plant and lift the rhizomes out of the soil. You can harvest the entire plant or just take a few pieces at a time, leaving the rest to continue growing.
* Storing your ginger: Freshly harvested ginger can be stored in the refrigerator for several weeks. You can also freeze it for longer storage. To freeze, peel and chop the ginger, then place it in a freezer bag or container.
Troubleshooting
Even with the best care, you might encounter a few problems along the way. Here are some common issues and how to deal with them:
* Yellowing leaves: Yellowing leaves can be a sign of overwatering, underwatering, or nutrient deficiency. Check the soil moisture and adjust your watering accordingly. If the soil is dry, water more frequently. If the soil is soggy, water less frequently. You may also need to fertilize your plant.
* Root rot: Root rot is caused by overwatering and poor drainage. If you suspect root rot, remove the plant from the pot and inspect the roots. If the roots are brown and mushy, cut away the affected areas and repot the plant in fresh, well-draining soil.
* Pests: Ginger plants can be susceptible to pests such as aphids and spider mites. Inspect your plant regularly for signs of infestation. If you find pests, you can treat them with insecticidal soap or neem oil.
Step-by-Step Instructions: A Detailed Guide
Okay, let’s break down the whole process into numbered steps to make it super clear.
1. Acquire Your Ginger Rhizome: Head to your local grocery store or Asian market and select a plump, healthy ginger rhizome with visible “eyes.” Organic is preferable.
2. Prepare the Rhizome (Optional): If your rhizome is large, cut it into smaller pieces, ensuring each piece has at least one or two “eyes.”
3. Callous the Cut Pieces (If Applicable): If you cut the rhizome, let the pieces sit out in a dry place for 1-2 days to allow the cut surfaces to callous over. This prevents rot.
4. Choose Your Pot: Select a wide, shallow pot that’s at least 12 inches in diameter and 6 inches deep.
5. Prepare Your Soil: Fill the pot with well-draining potting mix. Amend with compost or aged manure for added nutrients and drainage.
6. Plant the Rhizome: Place the ginger rhizome horizontally in the pot, with the “eyes” facing upwards. Cover it with 1-2 inches of soil.
7. Water Gently: Water the soil gently after planting, ensuring it’s moist but not soggy.
8. Find the Perfect Location: Place the pot in a warm, humid location with partial shade. An east-facing window or a spot under a tree is ideal.
9. Water Regularly: Water your ginger plant regularly, keeping the soil consistently moist but not waterlogged. Allow the top inch of soil to dry out slightly between waterings.
10. Maintain Humidity: Increase humidity by misting the plant regularly, placing a tray of water near the plant, or using a humidifier.
11. Fertilize Every Few Weeks: Feed your ginger plant every few weeks with a balanced liquid fertilizer, following the instructions on the label.
12. Monitor Temperature: Ensure the temperature remains between 65°F and 90°F (18°C and 32°C). Protect from frost and cold drafts.
13. Watch for Yellowing Leaves: Monitor the leaves for yellowing, which can indicate overwatering, underwatering, or nutrient deficiency. Adjust your care accordingly.
14. Inspect for Pests: Regularly inspect your plant for pests such as aphids and spider mites. Treat with insecticidal soap or neem oil if necessary.
15. Harvest After 8-10 Months: After 8-10 months, when the leaves start to turn yellow and die back, gently dig around the plant and lift the rhizomes out of the soil.
16. Store Your Harvest: Store freshly harvested ginger in the refrigerator for several weeks or freeze it for longer storage.
Extra Tips for Ginger Growing Success
Here are a few extra tips I’ve learned along the way that can really help you succeed:
* Don’t be afraid to experiment: Every environment is different, so don’t be afraid to adjust your care routine based on what your plant needs.
* Be patient: Ginger can take a while to sprout, so don’t get discouraged if you don’t see any growth right away. Just keep watering it and providing it with the right conditions, and it will eventually sprout.
* Enjoy the process: Growing your own ginger is a rewarding experience. Take the time to enjoy the process and appreciate the
Conclusion
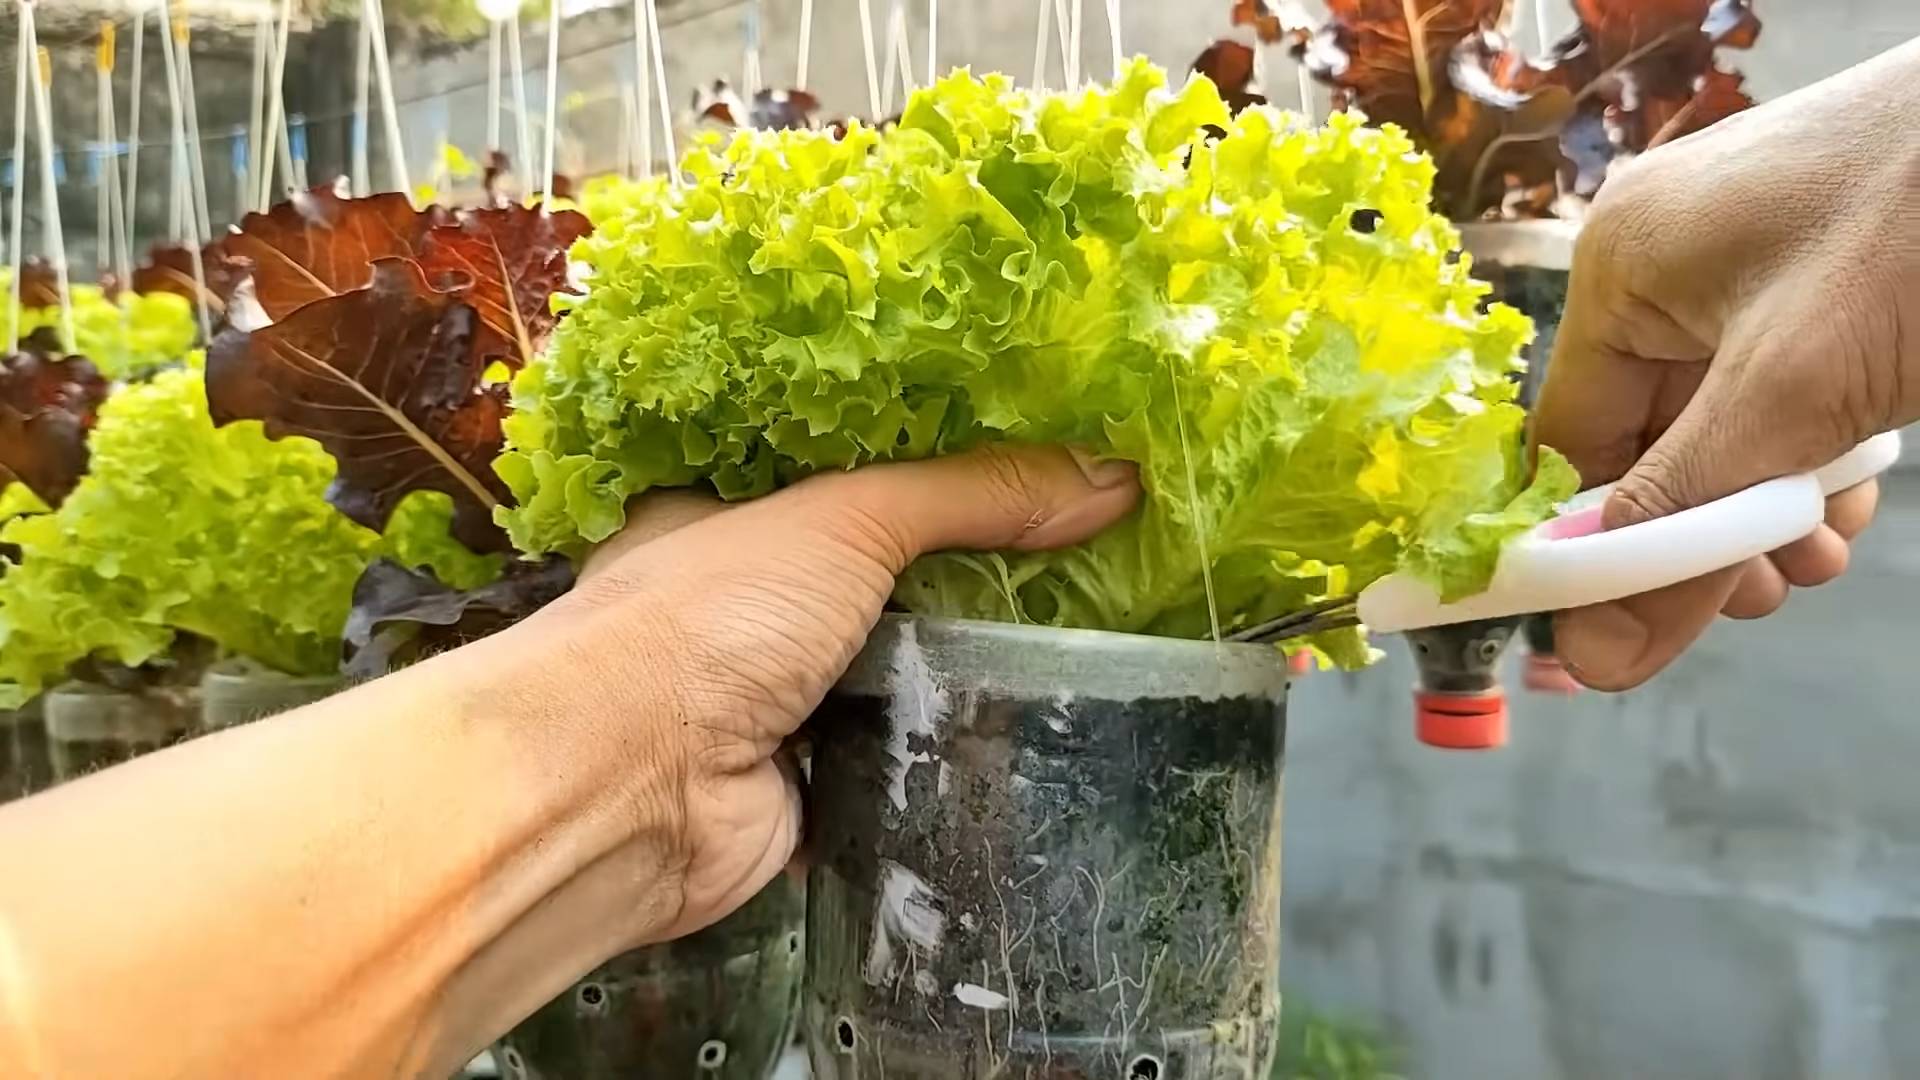
So, there you have it! Growing lettuce indoors is not only achievable, but it’s also a remarkably rewarding experience. Imagine fresh, crisp lettuce leaves available at your fingertips, regardless of the season or the weather outside. No more last-minute trips to the grocery store for a wilted head of lettuce. No more wondering about the pesticides or chemicals used in commercial farming. With this simple DIY guide, you can cultivate your own thriving lettuce patch right in the comfort of your home.
This method is a must-try for several compelling reasons. First and foremost, it offers unparalleled freshness. The taste of homegrown lettuce, harvested just moments before you eat it, is simply unmatched. Secondly, it’s incredibly cost-effective. Once you’ve invested in the initial setup – which, as you’ve seen, can be quite minimal – the ongoing costs are negligible. You’ll save money on groceries and reduce food waste by only harvesting what you need. Thirdly, it’s an environmentally friendly choice. By growing your own lettuce, you’re reducing your carbon footprint associated with transportation and packaging. Finally, and perhaps most importantly, it’s a fun and educational project for the whole family. It’s a great way to teach children about where their food comes from and the importance of sustainable living.
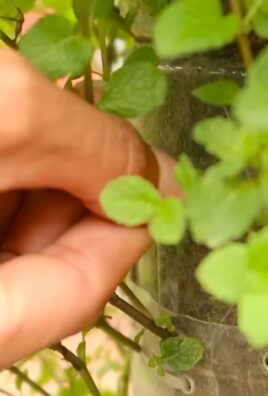
But don’t stop there! Experiment with different varieties of lettuce. Try growing romaine, butterhead, or even a colorful mix of leafy greens. You can also explore different growing mediums, such as hydroponics, for an even more efficient and space-saving approach. Consider adding companion plants, like herbs, to your indoor garden to enhance the flavor of your lettuce and deter pests naturally. You can also adjust the lighting schedule to see if you can optimize the growth rate and leaf size of your lettuce.
Growing lettuce indoors is a journey of discovery, and we encourage you to embark on it. Don’t be afraid to experiment, learn from your mistakes, and adapt the techniques to suit your specific environment and preferences. The satisfaction of harvesting your own fresh lettuce is well worth the effort.
We’re confident that you’ll find this DIY trick to be a game-changer in your kitchen. So, grab your seeds, gather your supplies, and get ready to enjoy the freshest lettuce you’ve ever tasted. We can’t wait to hear about your experiences! Share your photos, tips, and questions in the comments below. Let’s build a community of indoor lettuce growers and inspire others to embrace this sustainable and delicious way of life. Happy growing!
Frequently Asked Questions (FAQ)
1. What is the best type of lettuce to grow indoors?
The best types of lettuce to grow indoors are loose-leaf varieties like Black Seeded Simpson, Salad Bowl, and Red Sails. These varieties are relatively quick to mature, don’t require a lot of space, and can be harvested continuously as needed. Butterhead lettuce, such as Buttercrunch, also performs well indoors. Avoid head lettuce varieties like iceberg, as they require more space and time to mature.
2. What kind of lighting do I need to grow lettuce indoors?
Lettuce needs at least 12-14 hours of light per day to thrive. If you don’t have a sunny windowsill that provides this much light, you’ll need to supplement with artificial lighting. LED grow lights are an excellent choice because they are energy-efficient and provide the full spectrum of light that lettuce needs. Fluorescent lights can also be used, but they are less energy-efficient. Position the lights a few inches above the lettuce seedlings and adjust as they grow.
3. What is the ideal temperature for growing lettuce indoors?
Lettuce prefers cooler temperatures, ideally between 60-70°F (15-21°C). Avoid placing your lettuce plants near heat sources like radiators or vents. If your home is too warm, you can try placing a fan near the plants to circulate the air and keep them cool.
4. How often should I water my indoor lettuce plants?
Water your lettuce plants when the top inch of soil feels dry to the touch. Avoid overwatering, as this can lead to root rot. Ensure that your containers have drainage holes to allow excess water to escape. A good rule of thumb is to water thoroughly until water drains out of the bottom of the pot.
5. What type of soil should I use for growing lettuce indoors?
Use a well-draining potting mix that is rich in organic matter. You can also add compost to the potting mix to provide additional nutrients. Avoid using garden soil, as it can be too heavy and may contain pests or diseases.
6. How do I harvest lettuce from my indoor garden?
You can harvest lettuce leaves as soon as they are large enough to eat. Simply snip off the outer leaves with scissors or a knife, leaving the inner leaves to continue growing. This is known as “cut-and-come-again” harvesting, and it allows you to harvest lettuce continuously for several weeks.
7. How can I prevent pests and diseases from affecting my indoor lettuce plants?
Inspect your lettuce plants regularly for signs of pests or diseases. Common pests that can affect lettuce include aphids, spider mites, and whiteflies. You can control these pests by spraying your plants with insecticidal soap or neem oil. To prevent diseases, avoid overwatering and ensure that your plants have good air circulation.
8. Can I grow lettuce indoors year-round?
Yes, you can grow lettuce indoors year-round, as long as you provide adequate light, temperature, and water. Indoor growing allows you to control the environment and avoid the seasonal limitations of outdoor gardening.
9. How long does it take for lettuce to grow indoors?
Lettuce typically takes 30-60 days to mature, depending on the variety and growing conditions. Loose-leaf varieties tend to mature more quickly than head lettuce varieties. You can start harvesting leaves as soon as they are large enough to eat, which is usually around 3-4 weeks after planting.
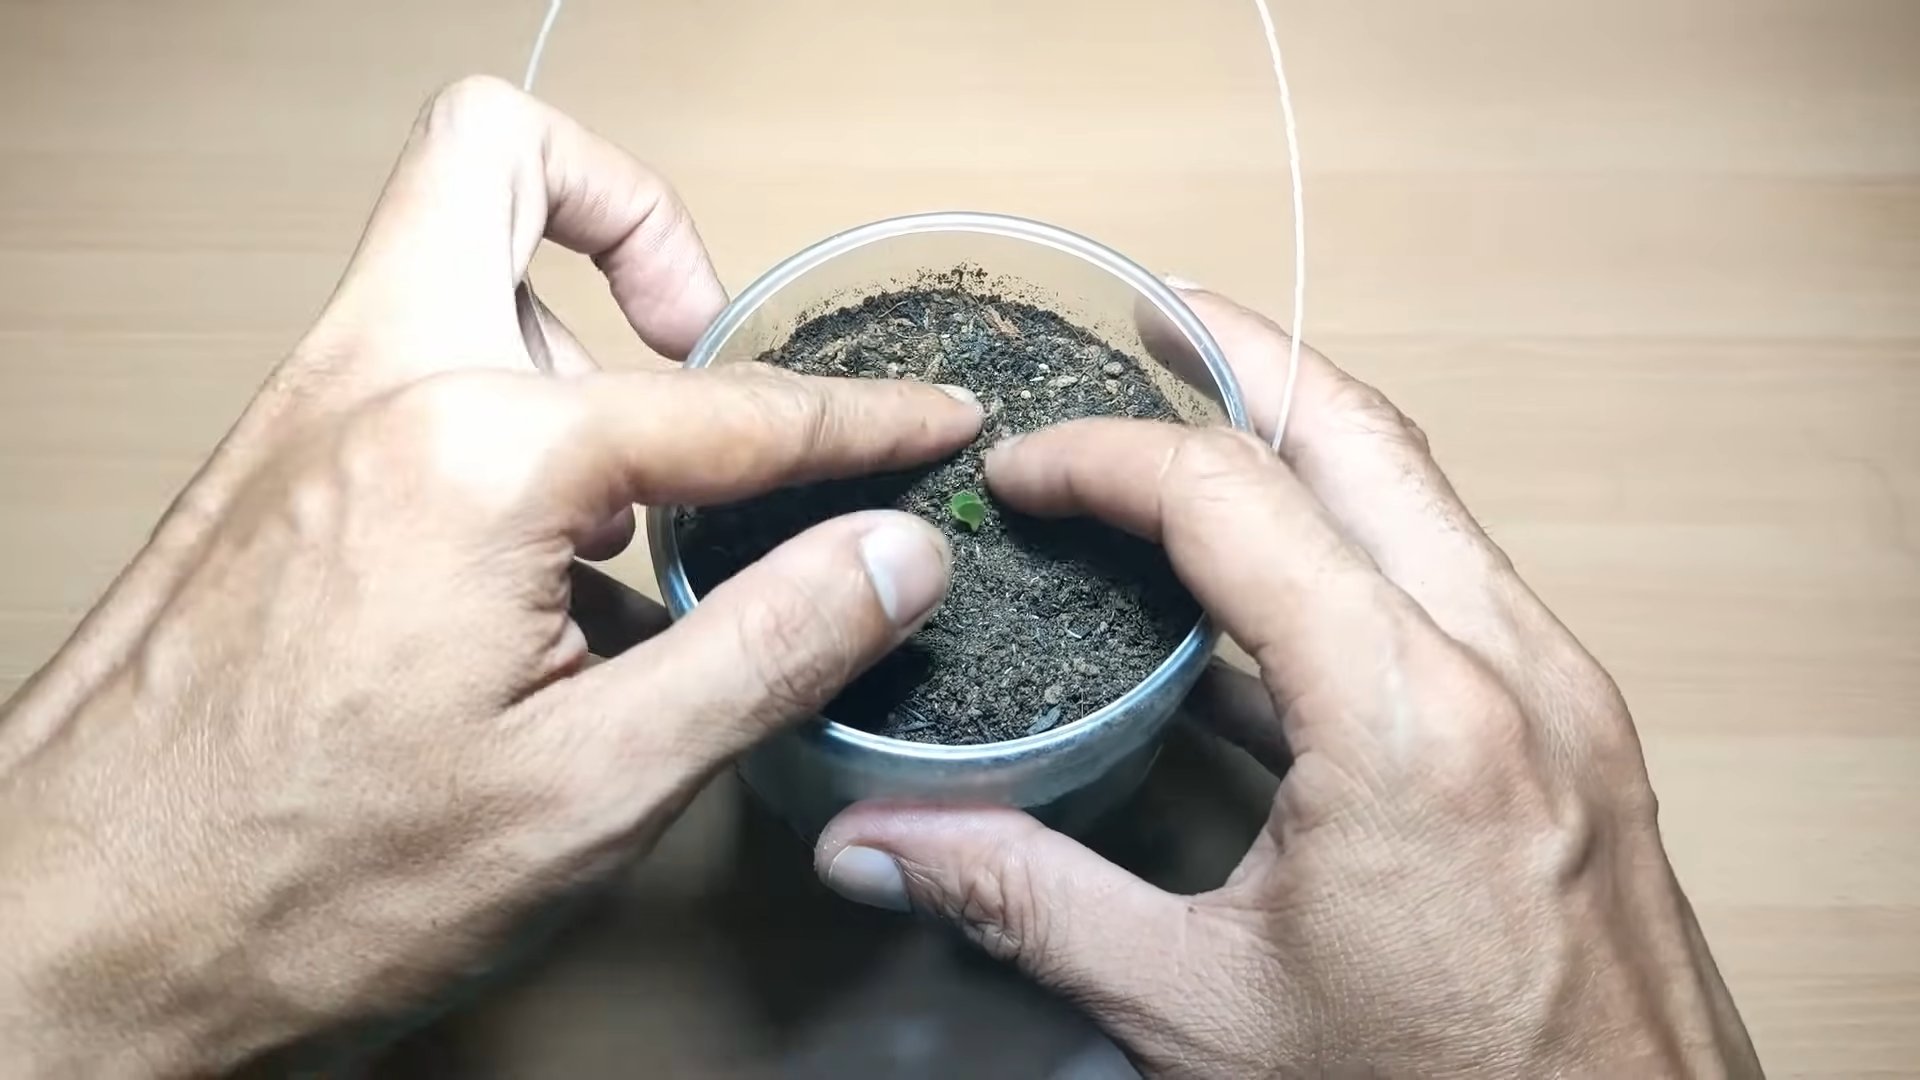
10. Can I grow lettuce indoors from seed?
Yes, you can easily grow lettuce indoors from seed. Start by sowing the seeds in a seed-starting tray or small pots filled with seed-starting mix. Keep the soil moist and warm, and the seeds should germinate within a few days. Once the seedlings have developed a few true leaves, you can transplant them into larger containers.

Leave a Comment