
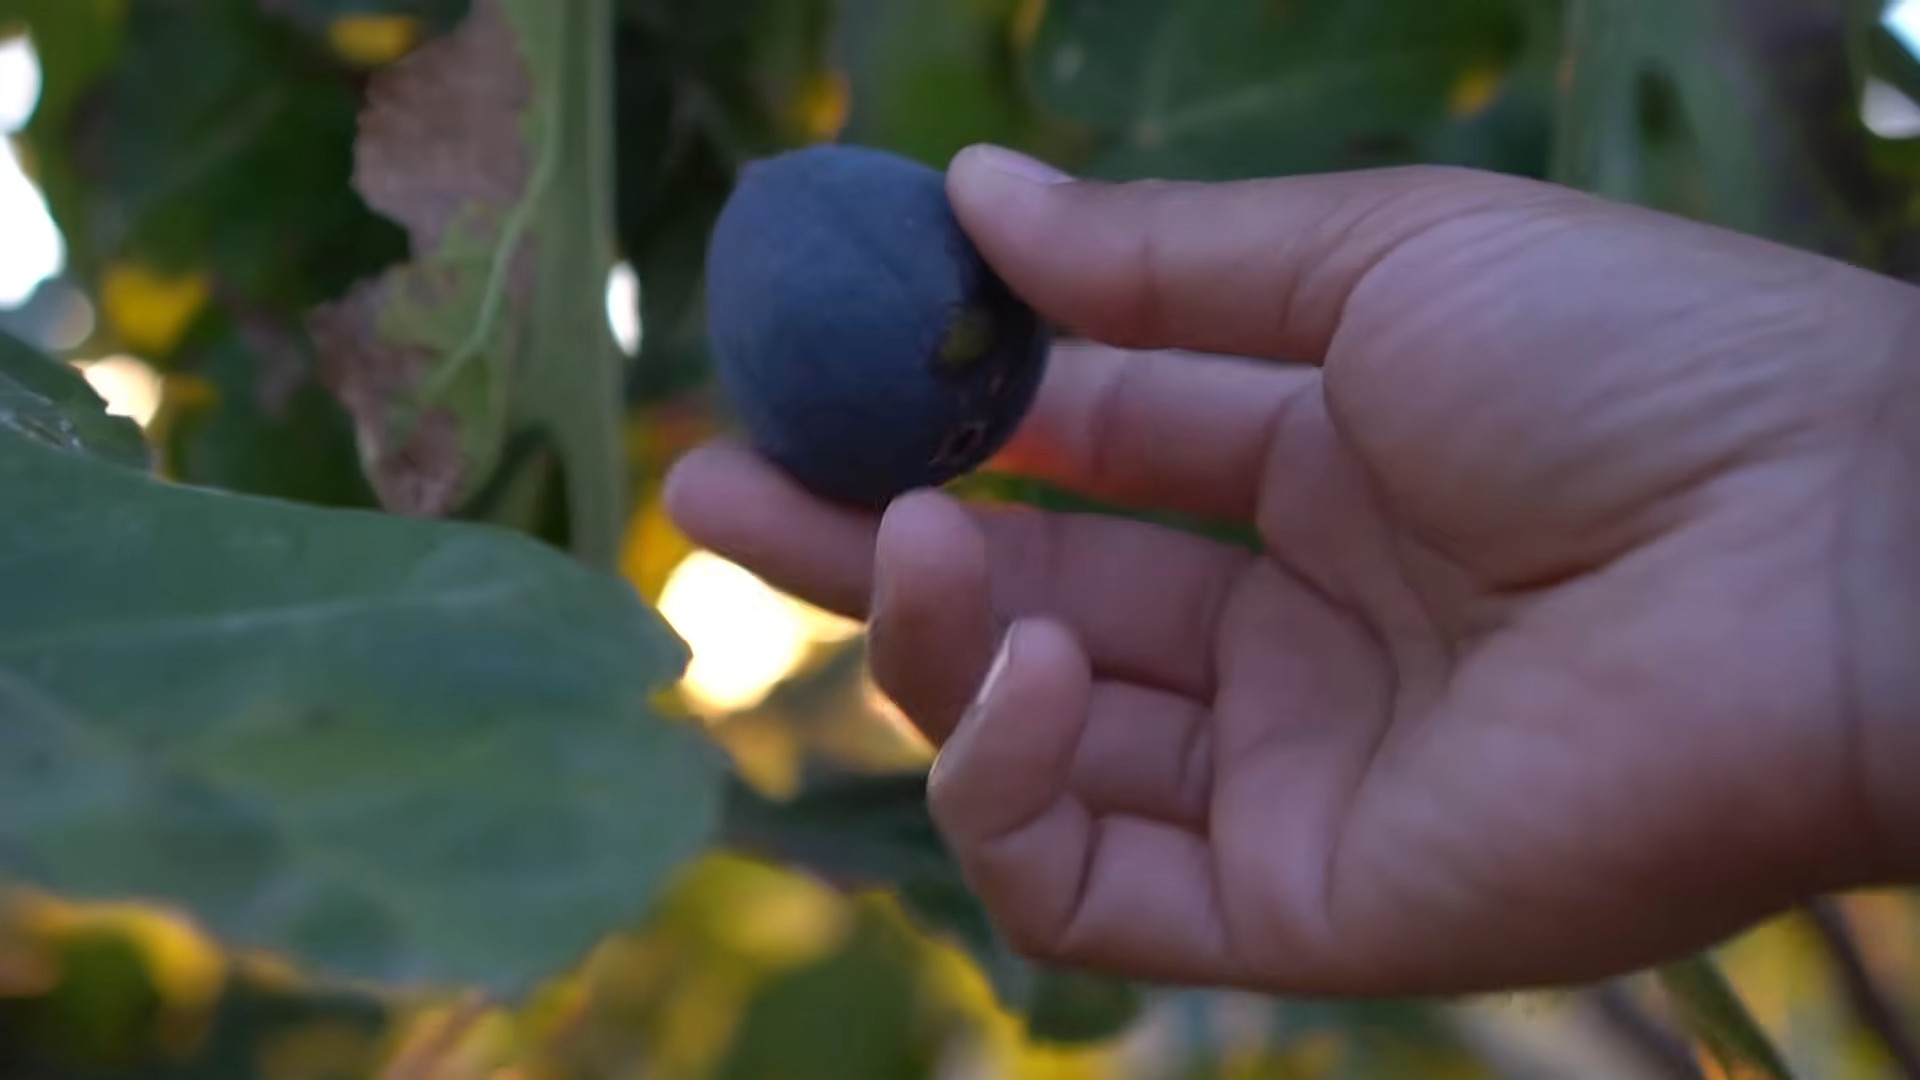
Grow Figs Bountiful Harvest – that’s the dream, isn’t it? Imagine stepping into your backyard and plucking sweet, juicy figs straight from your own tree. No more expensive grocery store trips for subpar fruit! For centuries, figs have been cherished, not just for their delicious taste, but also for their rich symbolism of peace and prosperity. From ancient Rome, where they were considered sacred, to modern-day Mediterranean diets, figs have held a special place in our hearts and on our tables.
But let’s be honest, achieving that bountiful harvest can sometimes feel like a distant fantasy. Maybe your fig tree is stubbornly refusing to produce, or perhaps the fruits are small and bland. That’s where these DIY tricks and hacks come in! I’m here to share my tried-and-true secrets to help you grow figs bountiful harvest, even if you’re a complete beginner.
This isn’t just about having a pretty tree; it’s about enjoying the satisfaction of nurturing something from the earth and reaping the rewards of your labor. It’s about reducing your carbon footprint by growing your own food. And, of course, it’s about indulging in the unparalleled flavor of homegrown figs. So, grab your gardening gloves, and let’s get started on this exciting journey to a fig-filled future!
DIY: Unlock a Bountiful Fig Harvest – My Secrets Revealed!
Okay, fig lovers, gather ’round! I’m about to spill all my secrets for growing a fig tree that practically explodes with delicious, juicy figs. Forget those tiny, sad figs you sometimes see in the store – we’re aiming for a harvest so abundant, you’ll be giving them away to all your friends and neighbors! This isn’t just about planting a tree; it’s about understanding its needs and giving it the TLC it craves. Let’s get started!
Choosing the Right Fig Variety
Before you even think about digging a hole, you need to pick the right fig variety for your climate. This is crucial! Some figs are cold-hardy, while others thrive in warmer regions. Planting the wrong variety is a recipe for disappointment.
* Consider your climate zone: Research which fig varieties are known to do well in your area. Your local nursery is a great resource for this!
* Think about size: Fig trees can get quite large, so consider how much space you have. Dwarf varieties are perfect for smaller gardens or even containers.
* Fruiting time: Some figs produce a single crop per year, while others produce two (a “breba” crop in early summer and a main crop in late summer/fall). Choose a variety that fits your harvesting schedule.
* Popular and reliable choices: Brown Turkey, Celeste, Chicago Hardy, and Black Mission are all popular and relatively easy to grow.
Preparing the Planting Site
Figs are sun-worshippers! They need at least 6-8 hours of direct sunlight per day to produce a good crop. The soil is also important.
* Sunlight is key: Choose a spot in your yard that gets plenty of sunshine.
* Well-draining soil: Figs hate soggy roots. Make sure the soil drains well. If you have heavy clay soil, amend it with compost, sand, and other organic matter.
* Slightly acidic to neutral pH: Figs prefer a soil pH between 6.0 and 7.0. You can test your soil pH with a kit from your local garden center.
* Protection from wind: Strong winds can damage fig trees, especially young ones. If possible, plant your fig tree in a sheltered location.
Planting Your Fig Tree
Alright, now for the fun part! Planting your fig tree is a relatively straightforward process, but it’s important to do it right.
1. Dig a hole: Dig a hole that’s twice as wide as the root ball and just as deep.
2. Amend the soil: Mix some compost or other organic matter into the soil you removed from the hole. This will help improve drainage and provide nutrients.
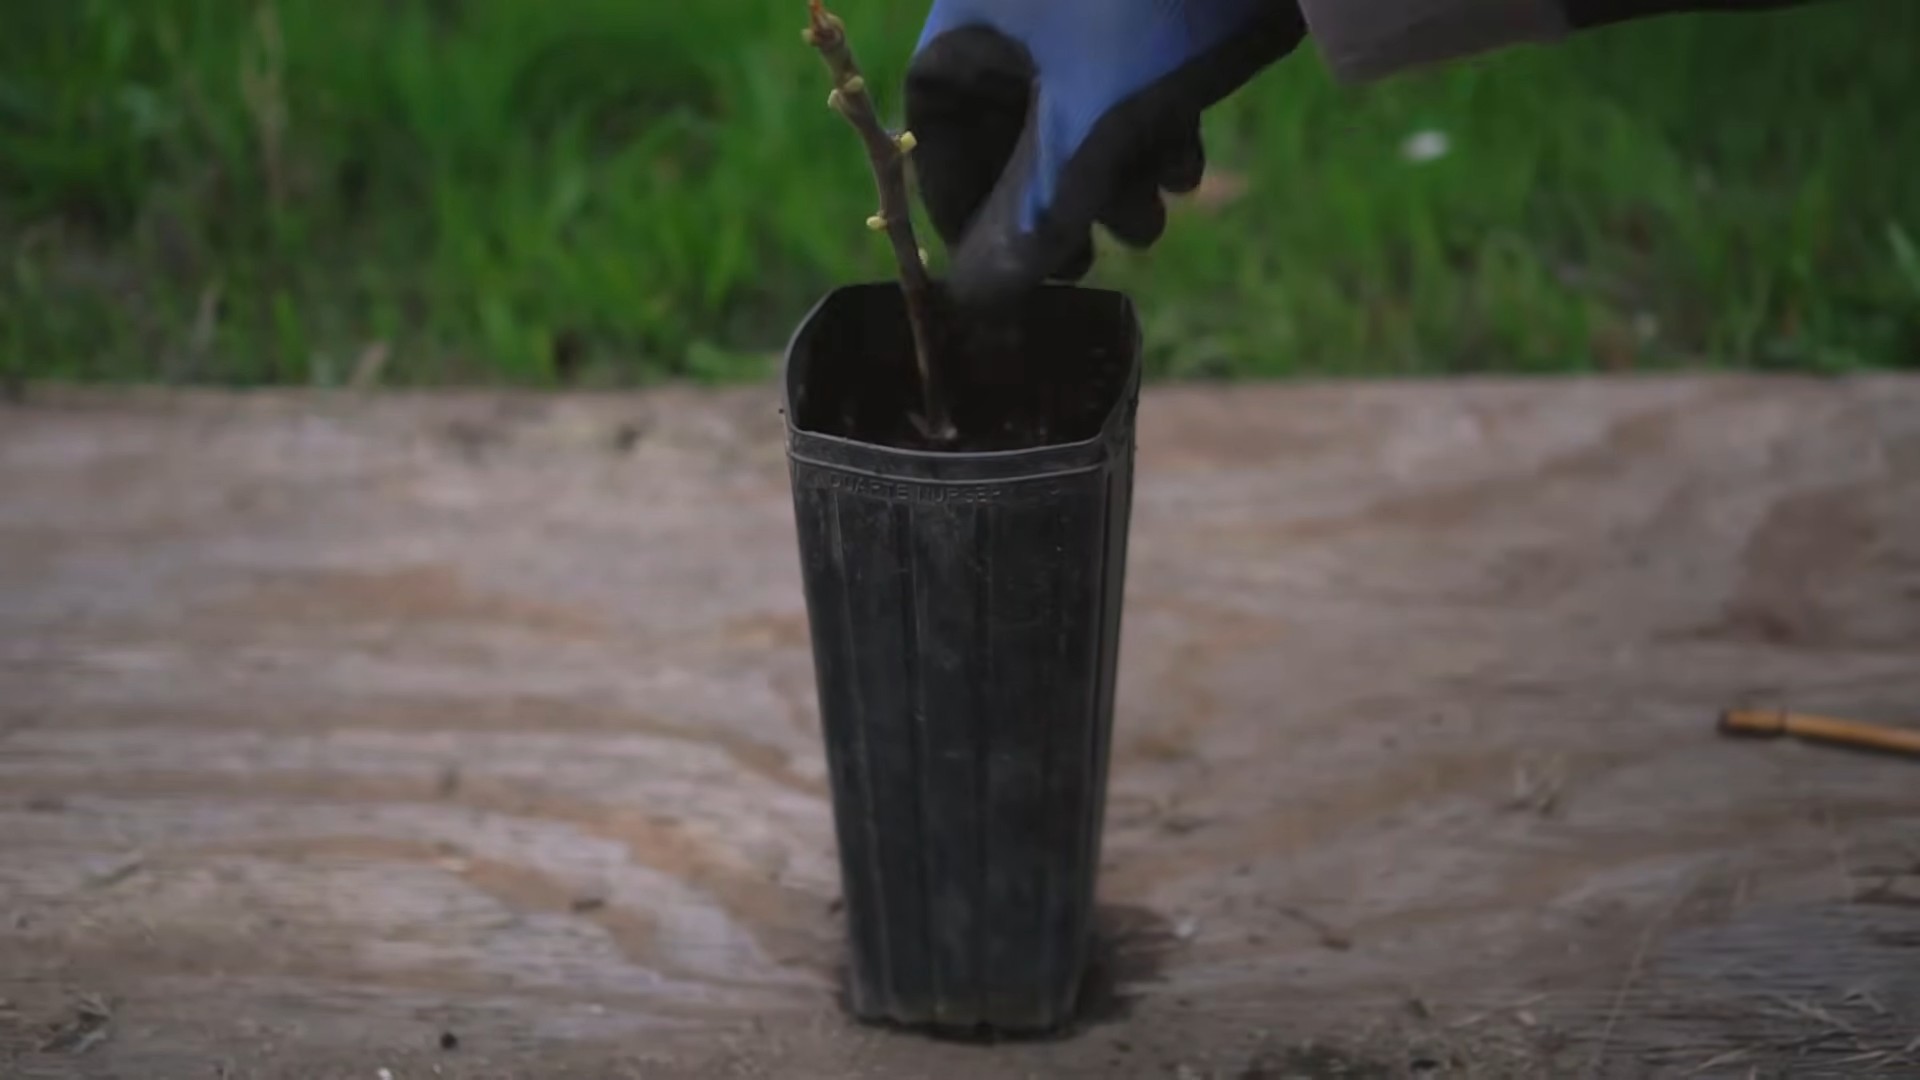
3. Remove the tree from its container: Gently remove the fig tree from its container. If the roots are pot-bound (tightly circling the root ball), gently loosen them with your fingers or a small trowel.
4. Place the tree in the hole: Position the tree in the hole so that the top of the root ball is level with the surrounding soil.
5. Backfill the hole: Backfill the hole with the amended soil, gently tamping it down as you go.
6. Water thoroughly: Water the newly planted tree thoroughly to help settle the soil and get the roots established.
7. Mulch around the base: Apply a layer of mulch (such as wood chips or straw) around the base of the tree to help retain moisture and suppress weeds. Keep the mulch a few inches away from the trunk to prevent rot.
Watering and Fertilizing
Proper watering and fertilizing are essential for a healthy and productive fig tree.
* Watering: Water deeply and regularly, especially during dry periods. Young trees need more frequent watering than established trees. Aim for about 1 inch of water per week. Check the soil moisture before watering – it should be slightly moist but not soggy.
* Fertilizing: Figs are not heavy feeders, but they do benefit from regular fertilization.
* Spring feeding: In early spring, fertilize with a balanced fertilizer (such as 10-10-10) to promote growth. Follow the instructions on the fertilizer package.
* Avoid late-season nitrogen: Avoid fertilizing with high-nitrogen fertilizers in late summer or fall, as this can encourage new growth that won’t have time to harden off before winter.
* Organic options: You can also use organic fertilizers, such as compost or aged manure.
Pruning for a Bountiful Harvest
Pruning is crucial for shaping your fig tree, promoting air circulation, and maximizing fruit production.
* Timing is everything: The best time to prune fig trees is in late winter or early spring, before new growth begins.
* Remove dead, damaged, or diseased branches: Start by removing any dead, damaged, or diseased branches.
* Thin out crowded branches: Thin out crowded branches to improve air circulation and sunlight penetration. This will help prevent diseases and encourage fruit production.
* Shape the tree: Prune to shape the tree and encourage a strong, open structure. Aim for a vase-like shape with well-spaced branches.
* Pruning young trees: For young trees, focus on developing a strong central leader (the main trunk) and well-spaced branches.
* Pruning mature trees: For mature trees, focus on removing old, unproductive wood and encouraging new growth.
* Breba crop pruning: If your fig variety produces a breba crop, be careful not to prune too heavily in the spring, as you could remove the branches that will produce the breba figs.
* “Pinching” new growth: Throughout the growing season, you can “pinch” the tips of new growth to encourage branching and fruit production. Simply pinch off the top inch or two of the new growth.
Protecting Your Fig Tree from Pests and Diseases
Figs are generally relatively pest- and disease-resistant, but it’s still important to be vigilant.
* Common pests:
* Fig beetles: These beetles can damage ripening figs. Hand-picking them off the tree is often the best solution.
* Nematodes: These microscopic worms can damage the roots of fig trees. Improve soil health and drainage to help prevent nematode problems.
* Scale insects: These insects can suck the sap from fig trees. Treat with horticultural oil in the dormant season.
* Common diseases:
* Fig rust: This fungal disease causes reddish-brown spots on the leaves. Improve air circulation and apply a fungicide if necessary.
* Anthracnose: This fungal disease can cause fruit rot. Remove infected fruit and apply a fungicide if necessary.
* Root rot: This fungal disease can occur in poorly drained soil. Improve soil drainage to prevent root rot.
* Prevention is key:
* Choose disease-resistant varieties: When selecting a fig variety, choose one that is known to be resistant to common diseases.
* Maintain good air circulation: Prune your fig tree regularly to improve air circulation and prevent diseases.
* Water properly: Avoid overwatering, as this can create conditions that are favorable for fungal diseases.
* Keep the area around the tree clean: Remove fallen leaves and fruit to prevent the spread of pests and diseases.
* Monitor your tree regularly: Inspect your fig tree regularly for signs of pests or diseases. The earlier you catch a problem, the easier it will be to treat.
Overwintering Fig Trees in Cold Climates
If you live in a cold climate, you’ll need to take steps to protect your fig tree from freezing temperatures. Some varieties are more cold hardy than others, but even cold-hardy varieties can be damaged by severe cold.
* Container-grown trees: The easiest way to overwinter a fig tree in a cold climate is to grow it in a container. In the fall, before the first frost, move the container to a sheltered location, such as a garage, shed, or basement. The tree doesn’t need light during the dormant season, but it should be kept cool (around 40-50°F). Water sparingly during the winter, just enough to keep the soil from drying out completely.
* In-ground trees: If your fig tree is planted in the ground, you’ll need to take more drastic measures to protect it from the cold.
* Wrap the tree: Wrap the trunk and branches of the tree with burlap or other insulating material.
* Build a frame: Build a frame around the tree and fill it with straw or leaves.
* Mound soil around the base: Mound soil around the base of the tree to protect the roots.
* Consider a “fig burrito”: For smaller trees, you can create a “fig burrito” by bending the
Conclusion
So, there you have it – a simple yet incredibly effective DIY trick to unlock a truly bountiful fig harvest! We’ve explored the ins and outs of this method, highlighting how it can significantly improve fruit production, even in less-than-ideal climates or with younger trees. The beauty of this technique lies in its accessibility; it requires minimal investment, uses readily available materials, and can be easily adapted to suit your specific needs and growing conditions.
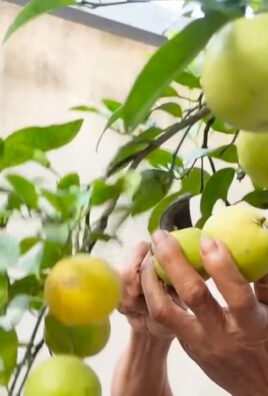
Why is this a must-try? Because who wouldn’t want more delicious, juicy figs? Beyond the sheer abundance, this method often leads to larger, sweeter, and earlier-ripening fruit. Imagine the satisfaction of harvesting baskets overflowing with figs, perfect for enjoying fresh, preserving into jams and preserves, or incorporating into your favorite recipes. It’s a game-changer for any fig enthusiast, transforming a potentially modest yield into a truly impressive one.
But don’t just take our word for it! We encourage you to experiment and discover the magic of this DIY approach for yourself.
Variations and Suggestions:
* Timing is Key: While we’ve outlined a general timeframe, pay close attention to your local climate and the specific variety of fig you’re growing. Adjust the timing of the application based on when your tree typically begins to show signs of fruit development.
* Material Alternatives: If you don’t have access to the exact materials mentioned, get creative! The principle remains the same: gently constricting the branch to encourage fruit production. Consider using soft twine or even a carefully folded piece of cloth, ensuring it doesn’t cut into the bark.
* Experiment with Different Branches: Try applying the technique to a few different branches on the same tree to see which ones respond best. This allows you to fine-tune your approach and maximize your overall harvest.
* Combine with Other Techniques: This DIY trick works beautifully in conjunction with other fig-growing best practices, such as proper pruning, fertilization, and watering. A holistic approach will yield the best results.
* Consider the Age of Your Tree: Younger trees might be more sensitive, so apply the technique with extra care. Monitor the branch closely for any signs of stress.
* Document Your Progress: Keep a record of when you applied the technique, the materials you used, and the results you observed. This will help you refine your approach in subsequent years and share your insights with other fig growers.
We are confident that this DIY trick will revolutionize your fig-growing experience. It’s a simple, effective, and rewarding way to boost your harvest and enjoy the fruits (literally!) of your labor.
Now, we want to hear from you! Have you tried this technique before? What were your results? Do you have any tips or variations to share? Head over to the comments section and let us know. Your experiences and insights will help other readers learn and grow even more bountiful fig harvests. Let’s cultivate a community of thriving fig growers! Don’t forget to share your pictures of your bountiful fig harvest!
Frequently Asked Questions (FAQs)
Q: What exactly does this DIY trick do to help grow figs?
A: This technique, in essence, mimics a form of girdling. By gently constricting the branch, you temporarily restrict the flow of nutrients and water. This stress signal prompts the tree to prioritize reproduction (fruit production) over vegetative growth (leaf and stem development). The tree senses a potential threat and focuses its energy on producing seeds, which are contained within the figs. This results in a higher yield of fruit on the treated branch.
Q: Will this DIY trick work on all varieties of fig trees?
A: While this technique can be beneficial for most fig varieties, the effectiveness may vary slightly depending on the specific cultivar. Some varieties are naturally more prolific than others. It’s always a good idea to research the specific needs and characteristics of your fig variety to optimize your growing practices. Experimentation is key!
Q: When is the best time to apply this DIY trick?
A: The ideal time to apply this technique is typically in the spring, just as the tree begins to show signs of new growth and fruit development. Look for the emergence of small figlets (tiny, immature figs). Applying it too early, before the tree is actively growing, may not be as effective. Applying it too late, after the fruit has already set, may not significantly increase the harvest.
Q: How tightly should I constrict the branch?
A: This is crucial! You want to apply gentle pressure, not strangle the branch. The goal is to slightly impede the flow of nutrients, not completely cut it off. The constriction should be snug but not so tight that it damages the bark or causes the branch to swell excessively. Regularly check the branch for any signs of distress, such as excessive swelling or discoloration. If you notice any problems, loosen the constriction immediately.
Q: How long should I leave the constriction in place?
A: Generally, you should leave the constriction in place for about 4-6 weeks, or until the figs on the treated branch have begun to ripen. After this period, carefully remove the material to allow the branch to resume normal growth. Leaving it on for too long can damage the branch and hinder future fruit production.
Q: Can I reuse the same material for multiple branches or trees?
A: Yes, you can reuse the material, but it’s essential to clean it thoroughly between uses to prevent the spread of diseases or pests. Wash it with soap and water, and consider disinfecting it with a diluted bleach solution.
Q: Will this DIY trick harm my fig tree?
A: When applied correctly, this technique should not harm your fig tree. However, it’s crucial to monitor the treated branch closely for any signs of stress. If you notice any problems, such as excessive swelling, discoloration, or leaf drop, loosen or remove the constriction immediately. Avoid applying this technique to very young or weak trees, as they may be more susceptible to damage.
Q: Can I use this technique on multiple branches of the same tree?
A: Yes, you can apply this technique to multiple branches of the same tree, but it’s best to start with a few branches and observe the results before treating the entire tree. This allows you to assess the tree’s response and fine-tune your approach. Avoid treating too many branches at once, as this could put excessive stress on the tree.
Q: What if I don’t see any results after trying this DIY trick?
A: Several factors can influence the success of this technique, including the variety of fig, the age of the tree, the climate, and the overall health of the tree. If you don’t see any results in the first year, don’t be discouraged. Try again the following year, adjusting the timing and technique as needed. Remember that patience and experimentation are key to successful gardening. Also, ensure your tree is getting adequate sunlight, water, and nutrients.
Q: My figs are splitting before they ripen. Is this DIY trick causing that?
A: Fig splitting can be caused by several factors, including inconsistent watering, rapid changes in humidity, and certain fig varieties being more prone to splitting. While this DIY trick shouldn’t directly cause splitting, it’s important to ensure consistent watering, especially as the figs are ripening. If splitting is a recurring problem, consider choosing a fig variety that is less susceptible to splitting.
Q: Can I use this technique on potted fig trees?
A: Yes, you can use this technique on potted fig trees, but it’s even more important to monitor the tree closely for any signs of stress. Potted trees are generally more sensitive to environmental changes and nutrient deficiencies. Ensure that your potted fig tree is getting adequate sunlight, water, and fertilizer.
Q: Where can I find more information about growing figs?
A: There are many excellent resources available online and in libraries. Look for information from reputable sources, such as university extension services, agricultural research institutions, and experienced fig growers. Joining a local gardening club or online forum can also provide valuable insights and support.

Leave a Comment