
Grow Dill Kitchen Garden: Imagine stepping into your kitchen, needing a sprig of fresh dill for that creamy cucumber salad or a flavorful garnish for your grilled salmon, and simply snipping it right from your windowsill. Sounds dreamy, right? Well, it’s absolutely achievable, and I’m here to show you how! For centuries, dill has been more than just a culinary herb; it’s been a symbol of good luck and protection, used in ancient rituals and traditional medicine. From the Mediterranean to Scandinavia, dill’s distinct flavor has graced countless dishes, adding a touch of freshness and vibrancy.
But let’s be honest, running to the grocery store every time you need a little dill can be a hassle. Plus, store-bought herbs often lack that intense, fresh flavor that homegrown dill boasts. That’s where this DIY guide comes in! I’m going to share my favorite tricks and hacks for successfully grow dill kitchen garden, even if you have limited space or a less-than-green thumb. We’ll cover everything from choosing the right container and soil to ensuring your dill gets the perfect amount of sunlight and water. Get ready to enjoy the satisfaction of harvesting your own fragrant dill, adding a burst of flavor to your meals, and maybe even a little bit of good luck to your kitchen!
Your Own Dill Kitchen Garden: It’s This Easy!
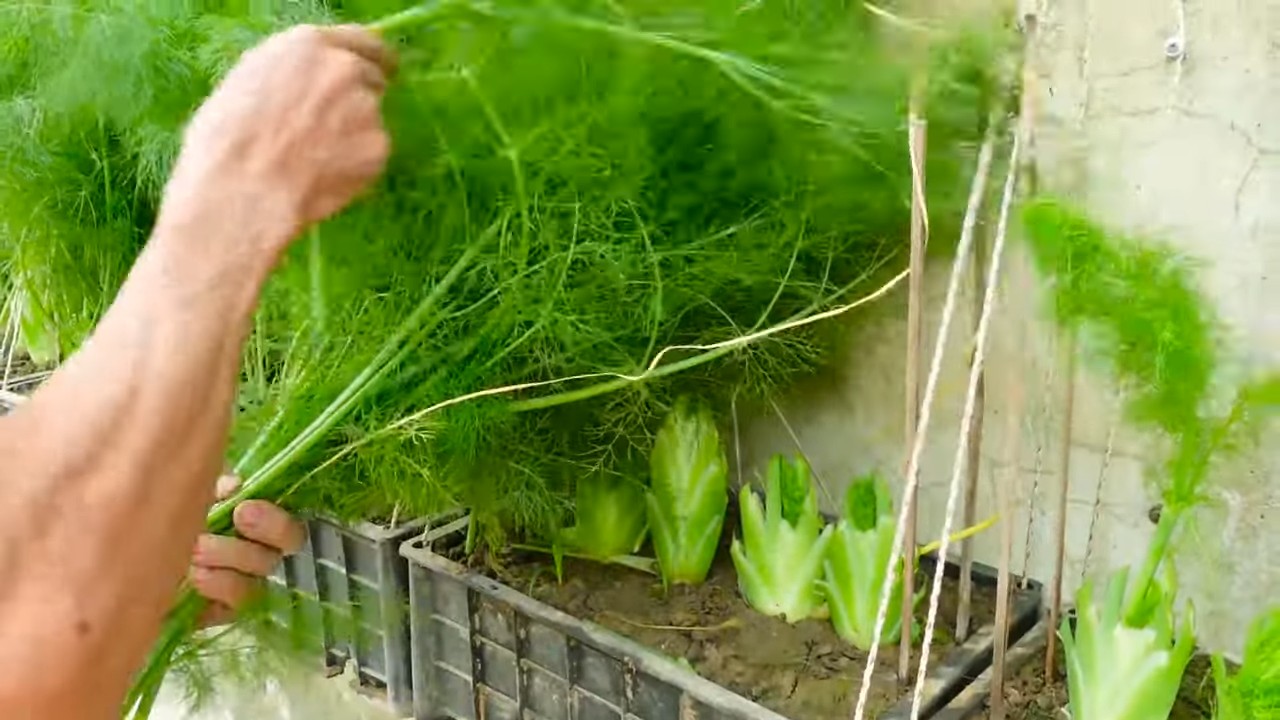
I love fresh dill! And what’s better than having it right in the kitchen, always on hand for my favorite dishes? That’s why today I’m showing you how you can easily create your own little dill kitchen garden. It’s really super easy and a lot of fun!
What you need:
- Dill seeds: Preferably organic quality, so you can be sure no harmful substances are included. You can find them in any garden center or online.
- A pot or container: It should be at least 15 cm deep so the dill roots have enough space. Make sure it has drainage holes so water can run off.
- Potting soil: Preferably special herb soil, which is not too rich in nutrients and ensures good growth.
- Small shovel or spoon: For filling the pot with soil.
- Watering can or spray bottle: For watering the seeds and later the plants.
- A sunny spot: Dill loves the sun! A kitchen windowsill is ideal.
- Optional: Small stones or clay shards for drainage.
Step-by-Step Guide:
1. Preparing the Pot
- Add drainage (optional): If your pot doesn’t have particularly good drainage holes, place a layer of small stones or clay shards at the bottom. This prevents waterlogging, which dill does not like at all.
- Fill the pot with soil: Fill the pot with the potting soil. Leave about 2-3 cm of space at the top.
- Press the soil lightly: Press the soil down lightly, but not too firmly. It should remain loose and airy.
2. Sowing the Dill Seeds
- Distribute the seeds: Distribute the dill seeds evenly over the soil. You can either scatter them broadly or sow them in small rows. I prefer rows because then I can see better where the dill is growing.
- Cover the seeds: Cover the seeds with a thin layer of soil (approx. 0.5 cm). Dill is a light germinator, which means it needs light to germinate. Therefore, the layer of soil must not be too thick.
- Press the soil lightly again: Press the soil down lightly again.
- Water: Water the soil carefully with a watering can or spray bottle. The soil should be well moistened, but not swimming in water.
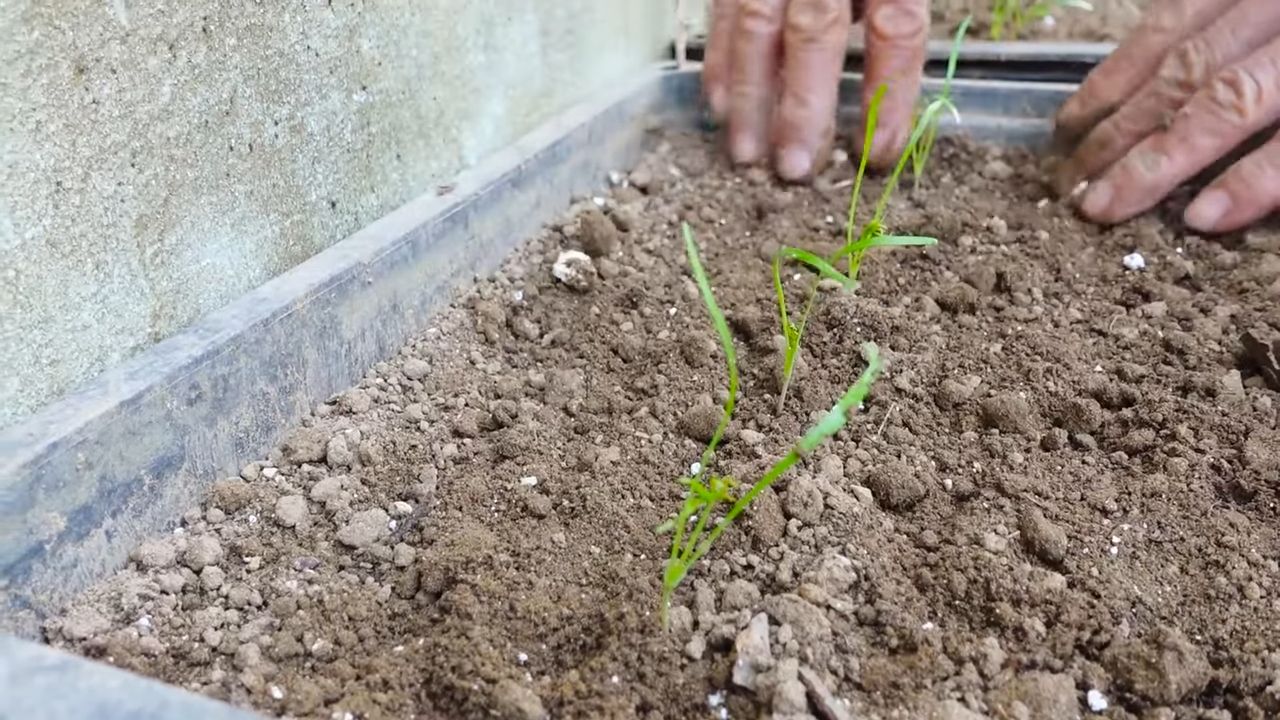
3. Caring for the Dill Kitchen Garden
- Choose a location: Place the pot in a sunny spot. A kitchen windowsill is perfect. Dill needs at least 6 hours of sun a day.
- Control moisture: Keep the soil moist, but not wet. Water regularly, but avoid waterlogging. It’s best to check the moisture with your finger. If the top layer feels dry, it’s time to water.
- Ventilate: Ensure good ventilation. Open the window regularly to prevent mold from forming.
- Fertilize (optional): Dill doesn’t need much fertilizer. If you want, you can fertilize it every few weeks with an organic herb fertilizer. But don’t overdo it, or the dill will grow too quickly and lose its aroma.
- Thin out (optional): If the dill plants are too close together, you can thin them out. This means you remove some plants so the others have more space to grow.
4. Harvesting the Dill
- Harvest time: You can harvest dill as soon as it is about 15 cm high. This is usually the case after 6-8 weeks.
- Harvesting method: Cut the dill stems with scissors or a knife. It’s best to cut them just above the ground so the plant can grow back.
- Harvest regularly: The more often you harvest, the more dill will grow back. So don’t be shy, cut diligently!
- Remove flowers: When dill flowers, it loses its aroma. Therefore, you should remove the flowers as soon as they form.
Additional Tips and Tricks:
- Direct sowing vs. starting indoors: You can either sow dill directly into the pot or start it in small seedling pots. Starting them indoors has the advantage that you can transplant the plants more easily later.
- Different dill varieties: There are different varieties of dill that differ in taste and appearance. Why not try different kinds to find your favorite?
- Dill in winter: You can also grow dill in the kitchen during the winter. However, it may need a little more light then. A plant lamp can help here.
- Pests: Dill is relatively resistant to pests. Occasionally, aphids may appear. You can simply rinse them off with a jet of water or treat them with a mild soap solution.
- Preserving dill: If you have too much dill, you can freeze or dry it. To freeze, chop the dill finely and freeze it in ice cube trays. To dry, hang the dill stems in an airy place.
Common Problems and Solutions:
- Dill does not germinate: Check if the seeds are still viable. You can do a germination test by placing some seeds on a damp paper towel and keeping them in a warm place. If they do not germinate after a few days, they are probably too old. Also, make sure the soil is not too dry or too wet.
- Dill turns yellow: This can have several causes. Either the dill is getting too little light, too much water, or too few nutrients. Check the site conditions and adjust the watering and fertilizing accordingly.
- Dill gets long and thin (leggy): This is a sign that the dill is getting too little light. Move it to a sunnier spot or use a plant lamp.
- Dill flowers too early: This can happen if the dill is under too much stress. Ensure optimal growing conditions and remove the flowers as soon as they form.
I hope this guide helps you create your own dill kitchen garden. It’s a really great feeling to harvest fresh dill directly from your own pot! Happy gardening! And don’t forget to tell me about your successes! I’m excited to hear about your experiences
Conclusion
So, there you have it! Cultivating your own dill, right in your kitchen, is not only achievable but also incredibly rewarding. We’ve walked you through the simple steps to transform a small corner of your home into a fragrant, flavorful source of fresh dill. This isn’t just about saving a few dollars at the grocery store; it’s about connecting with your food, experiencing the joy of nurturing life, and adding a vibrant touch of green to your indoor space.
Why is this DIY trick a must-try? Because it puts the power of fresh, organic herbs directly into your hands. Imagine the convenience of snipping off a few sprigs of dill whenever you need them, whether it’s to enhance your favorite salmon recipe, brighten up a creamy dip, or add a zesty kick to your homemade pickles. The flavor of homegrown dill is simply unmatched, far surpassing the often-wilted and lackluster bunches you find in supermarkets. Plus, you’ll know exactly where your dill came from and how it was grown – no pesticides, no long-distance transportation, just pure, unadulterated goodness.
But the benefits extend beyond just flavor and convenience. Gardening, even on a small scale, is a fantastic stress reliever. The simple act of tending to your plants, watering them, and watching them grow can be incredibly therapeutic. It’s a chance to slow down, connect with nature, and appreciate the simple beauty of life. And let’s not forget the educational aspect – growing dill is a great way to teach children about plants, food, and the importance of sustainability.
Looking for variations? Consider experimenting with different types of dill. ‘Bouquet’ dill is a popular choice for its abundant foliage and strong flavor, while ‘Fernleaf’ dill is known for its compact size and attractive appearance, making it ideal for smaller spaces. You can also try growing dill alongside other herbs that thrive in similar conditions, such as parsley, chives, or cilantro, creating a mini herb garden right in your kitchen. Another fun variation is to use different types of containers. While we suggested a simple pot, you could also use a repurposed container like an old teacup, a mason jar, or even a vertical planter to add a touch of personality to your indoor garden.
Don’t be afraid to experiment and find what works best for you. The beauty of DIY projects is that they’re adaptable and customizable.
We wholeheartedly encourage you to give this DIY trick a try. It’s easier than you might think, and the rewards are well worth the effort. Once you’ve experienced the joy of growing your own dill, you’ll wonder why you didn’t start sooner.
And most importantly, we want to hear about your experience! Share your photos, tips, and stories with us. Let us know what worked well for you, what challenges you encountered, and any creative variations you came up with. Together, we can create a community of indoor gardeners, sharing our knowledge and inspiring others to embrace the joys of homegrown herbs. So go ahead, get your hands dirty, and start growing your own dill today! You’ll be amazed at how much flavor and satisfaction you can cultivate in your own kitchen. Remember, mastering the art of how to grow dill is a journey, not a destination. Enjoy the process!
Frequently Asked Questions (FAQ)
1. How much sunlight does my indoor dill plant need?
Dill thrives in bright sunlight, so aim for at least 6 hours of direct sunlight per day. A south-facing window is ideal. If you don’t have access to enough natural light, consider using a grow light to supplement. Position the grow light a few inches above the plant and keep it on for 12-14 hours per day. Insufficient light can lead to leggy growth and reduced flavor.
2. What type of soil is best for growing dill indoors?
Dill prefers well-draining soil that is rich in organic matter. A good potting mix specifically formulated for herbs is a great choice. You can also create your own mix by combining equal parts of potting soil, compost, and perlite or vermiculite. Avoid using garden soil, as it can be too heavy and may contain pests or diseases.
3. How often should I water my dill plant?
Water your dill plant when the top inch of soil feels dry to the touch. Avoid overwatering, as this can lead to root rot. Ensure that your pot has drainage holes to allow excess water to escape. During the warmer months, you may need to water more frequently than during the cooler months. Check the soil moisture regularly and adjust your watering schedule accordingly.
4. How do I harvest dill from my indoor plant?
You can start harvesting dill leaves once the plant is about 6-8 inches tall. Simply snip off the leaves with scissors or pruning shears. Avoid removing more than one-third of the plant at a time, as this can stunt its growth. For the strongest flavor, harvest dill in the morning after the dew has dried. You can use the fresh dill immediately or store it in the refrigerator for a few days.
5. Can I grow dill from seed indoors?
Yes, growing dill from seed indoors is a relatively easy process. Start by sowing the seeds in a pot filled with well-draining potting mix. Lightly cover the seeds with soil and water gently. Keep the soil moist but not soggy. The seeds should germinate within 7-14 days. Once the seedlings have emerged, thin them out to allow for adequate spacing.
6. My dill plant is turning yellow. What could be the problem?
Yellowing leaves can be a sign of several issues, including overwatering, underwatering, nutrient deficiencies, or pest infestations. Check the soil moisture to ensure that you are not overwatering or underwatering. If the soil is consistently wet, allow it to dry out before watering again. If the soil is dry, water thoroughly. You may also need to fertilize your dill plant with a balanced liquid fertilizer to address any nutrient deficiencies. Inspect the plant for pests, such as aphids or spider mites, and treat accordingly.
7. How do I prevent pests from attacking my indoor dill plant?
Prevention is key when it comes to pests. Regularly inspect your dill plant for any signs of infestation. Keep the area around the plant clean and free of debris. Avoid overwatering, as this can create a favorable environment for pests. If you do notice pests, you can try washing them off with a strong stream of water or using an insecticidal soap.
8. Can I grow dill in a container with other herbs?
Yes, you can grow dill in a container with other herbs that have similar growing requirements, such as parsley, chives, or cilantro. However, be sure to choose a container that is large enough to accommodate all of the plants. Also, keep in mind that dill can grow quite tall, so it may overshadow smaller herbs.
9. How long will my indoor dill plant last?
Dill is an annual herb, which means that it completes its life cycle in one growing season. However, with proper care, you can extend the life of your indoor dill plant for several months. Once the plant starts to flower, it will begin to decline. You can prolong its life by pinching off the flower buds as they appear.
10. Can I dry dill from my indoor plant?
Yes, you can dry dill from your indoor plant. To dry dill, harvest the leaves and tie them into small bundles. Hang the bundles upside down in a cool, dry, and well-ventilated place. Alternatively, you can dry the dill leaves in a dehydrator or in the oven on a low setting. Once the leaves are completely dry, store them in an airtight container.
Leave a Comment