
Grow Chard at Home? Absolutely! Imagine stepping into your backyard and harvesting vibrant, nutritious chard leaves for a delicious salad or a hearty side dish. It’s easier than you think, and I’m here to show you how with some simple DIY tricks and hacks that will transform your garden into a chard-producing paradise.
Chard, with its colorful stalks and crinkled leaves, isn’t just a pretty face in the garden. It boasts a rich history, dating back to ancient Greece and Rome, where it was prized for its medicinal and culinary properties. For centuries, cultures around the world have enjoyed this leafy green, and now, you can too, right from your own backyard!
Why should you learn to grow chard at home? Well, for starters, homegrown chard tastes infinitely better than anything you’ll find at the grocery store. Plus, you’ll know exactly what’s gone into growing it – no harmful pesticides or chemicals. In today’s world, where healthy eating and sustainable living are more important than ever, having access to fresh, homegrown produce is a game-changer. And let’s be honest, there’s something incredibly satisfying about nurturing a plant from seed to table. So, let’s dive into these easy DIY tricks and get your chard garden started!
Growing Vibrant Chard at Home: A Beginner’s Guide
Hey there, fellow gardening enthusiasts! I’m so excited to share my experience with growing chard – it’s one of the easiest and most rewarding veggies you can cultivate at home. Not only is it packed with nutrients, but it also adds a splash of color to your garden with its vibrant stems. Let’s dive in!
Choosing Your Chard Variety
Before we get our hands dirty, let’s talk about chard varieties. There are a few popular options, each with its own unique charm:
* Bright Lights: This is probably the most well-known variety, and for good reason! It boasts a stunning mix of stem colors, including red, yellow, orange, pink, and white. It’s a real showstopper in the garden.
* Fordhook Giant: If you’re looking for a reliable and productive variety, Fordhook Giant is a great choice. It has dark green, heavily crumpled leaves and thick, white stems.
* Lucullus: This variety is known for its mild flavor and tender leaves. It has light green leaves and white stems.
* Ruby Red: As the name suggests, this variety has beautiful, deep red stems and dark green leaves. It’s a visually striking option.
I personally love growing Bright Lights because of the variety of colors, but feel free to experiment and find your favorite!
Getting Started: Planting Chard
Chard is a cool-season crop, which means it thrives in cooler temperatures. You can plant it in early spring or late summer for a fall harvest. Here’s how to get started:
1. Choose the Right Location: Chard needs at least 6 hours of sunlight per day. Make sure to choose a spot in your garden that gets plenty of sun. Also, ensure the soil is well-draining. Chard doesn’t like to sit in soggy soil.
2. Prepare the Soil: Chard prefers rich, well-drained soil with a pH between 6.0 and 7.0. Before planting, amend the soil with compost or other organic matter. This will improve drainage, fertility, and water retention. I usually add a generous amount of compost to my garden beds before planting anything.
3. Starting from Seed (Indoors or Outdoors): You can start chard seeds indoors 4-6 weeks before the last frost or direct sow them in the garden after the last frost.
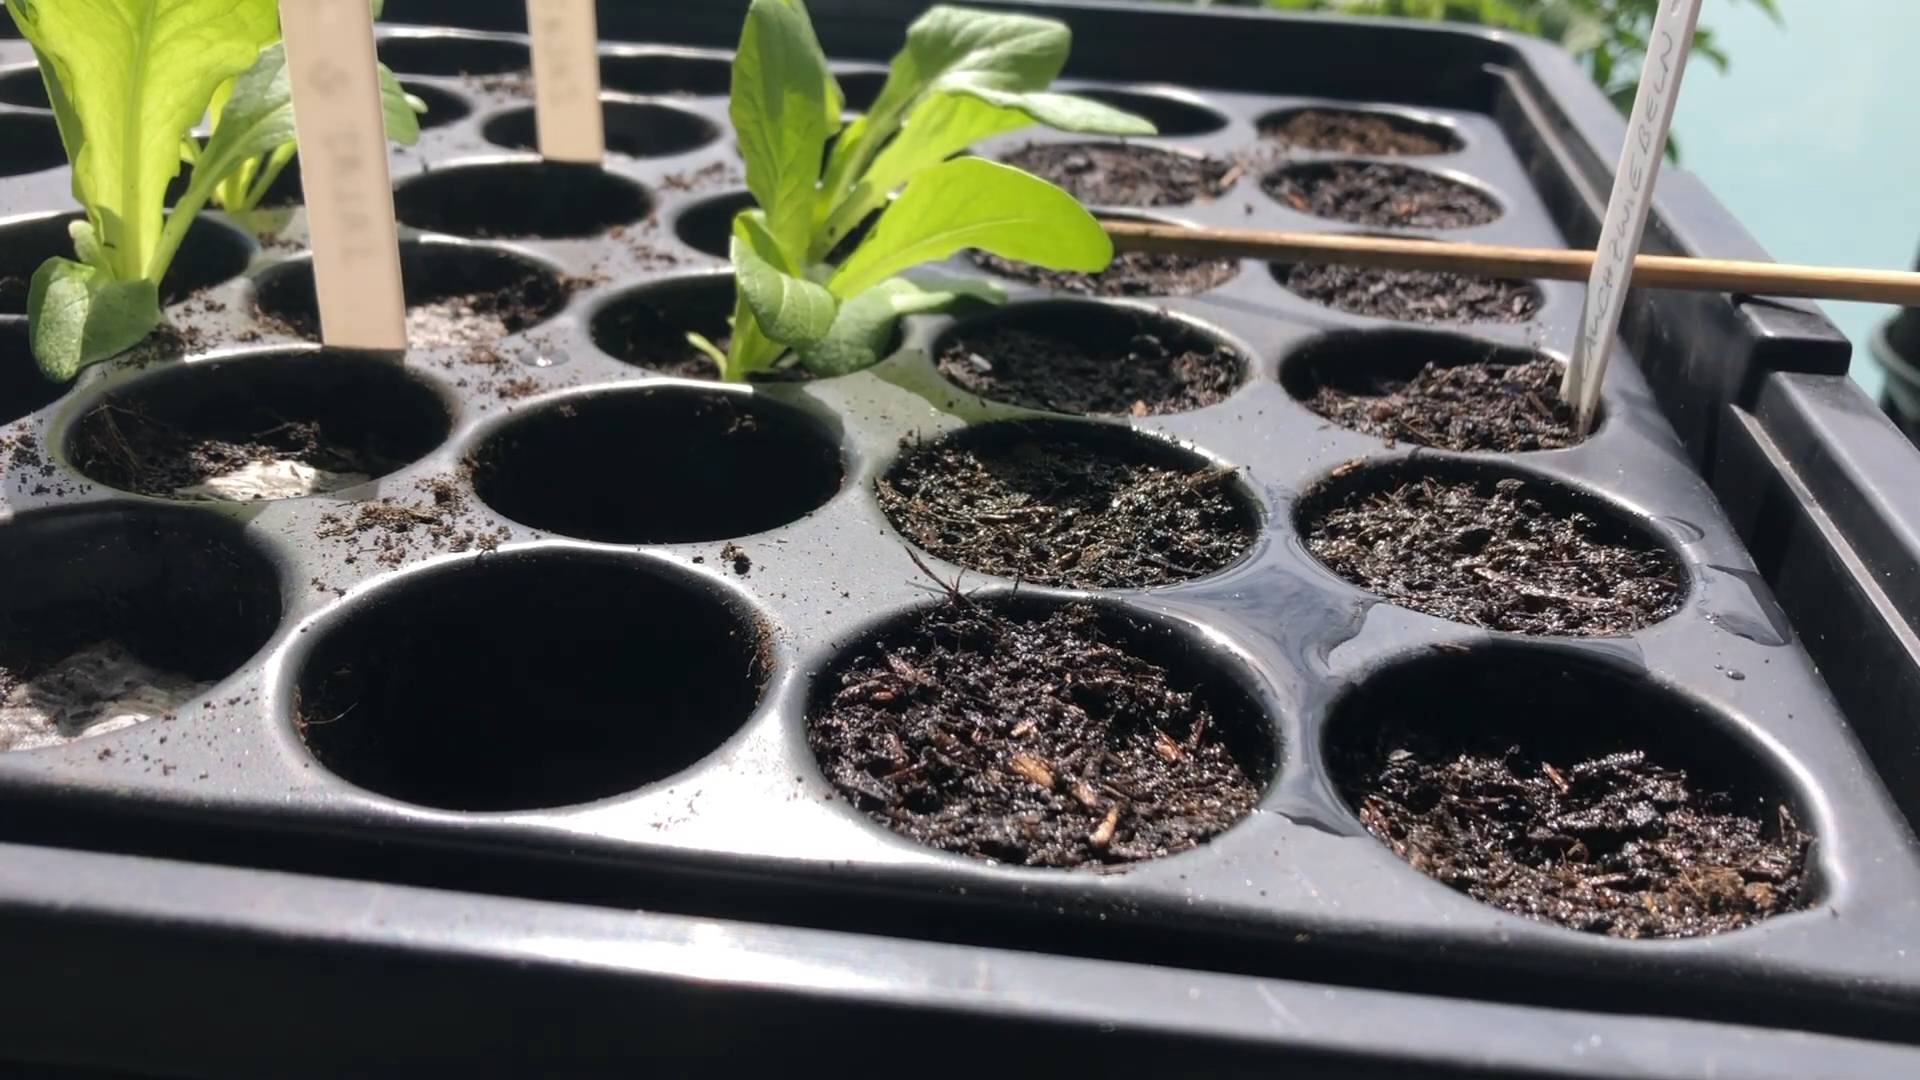
* Starting Indoors: Sow seeds 1/2 inch deep in seed-starting trays or pots filled with seed-starting mix. Keep the soil moist and warm (around 70°F). Once the seedlings have a few true leaves, you can transplant them into the garden.
* Direct Sowing: Sow seeds 1/2 inch deep and 1-2 inches apart in rows. Thin the seedlings to 6-12 inches apart once they are a few inches tall.
4. Transplanting Seedlings: If you started your seeds indoors, harden them off before transplanting them into the garden. This means gradually exposing them to outdoor conditions over a period of a week or two. To transplant, dig a hole slightly larger than the root ball of the seedling. Gently remove the seedling from its container and place it in the hole. Backfill with soil and water thoroughly. Space the seedlings 6-12 inches apart.
5. Watering: Water chard regularly, especially during dry periods. Aim to keep the soil consistently moist but not waterlogged. I usually water deeply once or twice a week, depending on the weather.
6. Mulching: Apply a layer of mulch around the plants to help retain moisture, suppress weeds, and regulate soil temperature. I like to use straw or shredded leaves as mulch.
Caring for Your Chard Plants
Once your chard plants are established, they’re relatively low-maintenance. Here are a few things to keep in mind:
1. Fertilizing: Chard is a heavy feeder, so it benefits from regular fertilization. You can use a balanced fertilizer or side-dress with compost every few weeks. I like to use a liquid seaweed fertilizer for an extra boost.
2. Weeding: Keep the area around your chard plants free of weeds. Weeds compete with chard for nutrients and water. Hand-pulling weeds is usually the best option, as it avoids damaging the chard plants.
3. Pest Control: Chard is generally pest-resistant, but it can be susceptible to aphids, flea beetles, and slugs.
* Aphids: These tiny insects suck sap from the leaves, causing them to become distorted and yellow. You can control aphids by spraying them with a strong stream of water or by using insecticidal soap.
* Flea Beetles: These small, jumping beetles chew tiny holes in the leaves. You can control flea beetles by covering the plants with row covers or by using insecticidal soap.
* Slugs: These slimy pests feed on the leaves, leaving behind large, irregular holes. You can control slugs by hand-picking them off the plants at night or by using slug bait. I’ve found that beer traps work wonders for slugs! Just bury a shallow dish filled with beer in the garden, and the slugs will be attracted to it and drown.
4. Bolting: Bolting is when a plant prematurely flowers and goes to seed. This can happen when chard is exposed to hot weather. To prevent bolting, try to plant chard in a location that gets some afternoon shade. You can also harvest the outer leaves regularly to encourage the plant to produce more leaves. If your chard does bolt, you can still eat the leaves, but they may be a bit more bitter.
Harvesting Your Chard
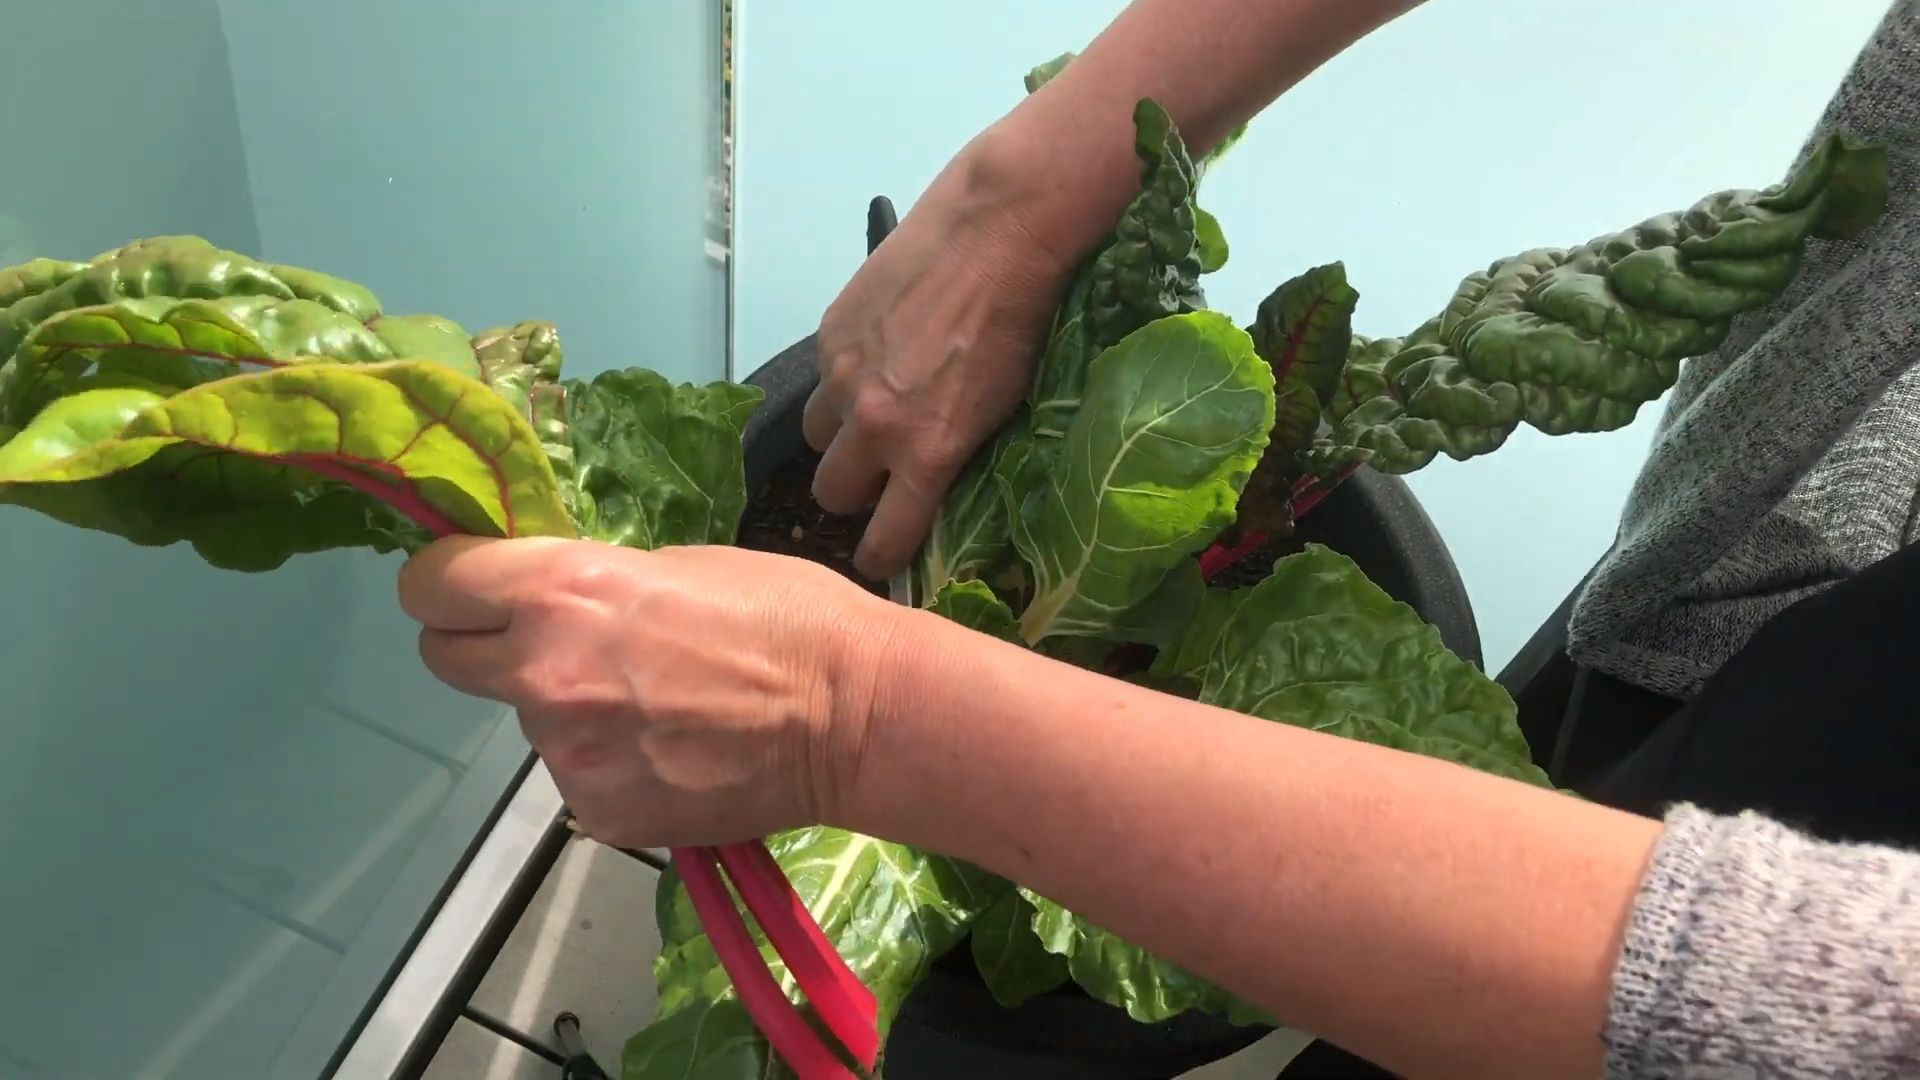
Harvesting chard is easy and rewarding! You can start harvesting the outer leaves when they are about 6 inches long.
1. Harvesting Technique: Use a sharp knife or scissors to cut the leaves off at the base of the plant, about 2 inches above the ground. Be careful not to damage the central bud, as this will allow the plant to continue producing new leaves.
2. Continuous Harvest: Chard is a cut-and-come-again crop, which means you can harvest the outer leaves regularly and the plant will continue to produce new leaves. This allows you to enjoy fresh chard throughout the growing season.
3. Storage: Freshly harvested chard can be stored in the refrigerator for up to a week. Wrap the leaves in a damp paper towel and place them in a plastic bag.
Delicious Ways to Enjoy Your Homegrown Chard
Now for the best part – eating your homegrown chard! Chard is incredibly versatile and can be used in a variety of dishes. Here are a few of my favorite ways to enjoy it:
* Sautéed Chard: Sautéed chard is a simple and delicious side dish. Just sauté the leaves with garlic, olive oil, and a pinch of salt and pepper. You can also add other vegetables, such as onions, mushrooms, or bell peppers.
* Chard in Soups and Stews: Chard adds a boost of nutrients and flavor to soups and stews. Just chop the leaves and add them to the pot during the last few minutes of cooking.
* Chard in Frittatas and Quiches: Chard is a great addition to frittatas and quiches. Just sauté the leaves and add them to the egg mixture.
* Chard in Smoothies: If you’re looking for a healthy way to start your day, try adding chard to your smoothies. It’s a great source of vitamins and minerals.
* Chard Stems: Don’t throw away the stems! They’re just as nutritious and delicious as the leaves. You can sauté them, roast them, or add them to soups and stews. I like to pickle them for a tangy treat.
Troubleshooting Common Chard Problems
Even with the best care, you might encounter a few problems while growing chard. Here are some common issues and how to address them:
* Yellowing Leaves: Yellowing leaves can be a sign of nutrient deficiency, overwatering, or underwatering. Make sure your chard plants are getting enough fertilizer and that the soil is well-draining. Adjust your watering schedule as needed.
* Holes in Leaves: Holes in leaves are usually caused by pests, such as flea beetles or slugs. Inspect your plants regularly and take action to control pests as needed.
* Bolting: As mentioned earlier, bolting can be caused by hot weather. Try to plant chard in a location that gets some afternoon shade and harvest the outer leaves regularly.
* Leaf Spot: Leaf spot is a fungal disease that causes brown or black spots on the leaves. To prevent leaf spot, avoid overhead watering and ensure good air circulation around the plants. If you see signs of leaf spot, remove the affected leaves and spray the plants with a fungicide.
Saving Chard Seeds
If you want to save seeds from your ch
Conclusion
So, there you have it! Growing chard at home is not only achievable, but it’s also a deeply rewarding experience that brings fresh, nutritious greens right to your kitchen. Forget those wilted, overpriced bunches at the grocery store. With a little effort and the tips we’ve shared, you can cultivate vibrant, healthy chard that’s bursting with flavor and packed with vitamins.
Why is this DIY trick a must-try? Because it empowers you to take control of your food source, reduces your carbon footprint, and provides you with the freshest possible ingredients. Imagine the satisfaction of harvesting your own chard and knowing exactly where it came from and how it was grown. Plus, it’s a fantastic way to connect with nature and learn more about the growing process.
But the benefits don’t stop there. Growing your own chard allows for endless culinary possibilities. Use it in salads, soups, stir-fries, or even as a substitute for spinach in your favorite recipes. The vibrant colors of the stems – red, yellow, orange, and white – add a beautiful visual appeal to any dish.
Ready to take your chard game to the next level? Consider these variations:
* **Succession Planting:** Plant new seeds every few weeks to ensure a continuous harvest throughout the growing season.
* **Container Gardening:** If you’re short on space, grow chard in large containers on your patio or balcony.
* **Companion Planting:** Plant chard alongside other vegetables like carrots, onions, and beans to deter pests and improve growth.
* **Different Varieties:** Experiment with different varieties of chard, such as ‘Bright Lights’ for its colorful stems or ‘Lucullus’ for its tender leaves.
We’ve covered the basics, but the real magic happens when you get your hands dirty and start experimenting. Don’t be afraid to try different techniques, adjust your watering schedule, or amend your soil based on your specific growing conditions. The key is to observe your plants, learn from your mistakes, and enjoy the process.
We are confident that you’ll find growing chard at home to be a fulfilling and delicious endeavor. So, grab your seeds, prepare your soil, and get ready to experience the joy of harvesting your own homegrown chard.
Now, we want to hear from you! Have you tried growing chard at home before? What are your favorite tips and tricks? Share your experiences in the comments below. We can all learn from each other and create a thriving community of home gardeners. Let’s grow together!
Frequently Asked Questions (FAQ)
What is chard, and why should I grow it?
Chard, also known as Swiss chard, is a leafy green vegetable related to spinach and beets. It’s incredibly nutritious, packed with vitamins A, C, and K, as well as minerals like magnesium and potassium. Growing your own chard ensures you have access to fresh, organic greens, saves money, and reduces your environmental impact. Plus, it’s a beautiful and versatile vegetable to cook with.
When is the best time to plant chard?
Chard is a cool-season crop, so the best time to plant it is in early spring or late summer. For a spring crop, start seeds indoors 4-6 weeks before the last expected frost. For a fall crop, sow seeds directly into the garden in late summer. In warmer climates, you can grow chard throughout the winter.
What kind of soil does chard need?
Chard prefers well-drained soil that is rich in organic matter. Amend your soil with compost or aged manure before planting to improve its fertility and drainage. A soil pH of 6.0 to 7.0 is ideal.
How much sunlight does chard need?
Chard needs at least 6 hours of sunlight per day. However, in hot climates, it can benefit from some afternoon shade to prevent the leaves from wilting.
How often should I water chard?
Water chard regularly, especially during dry periods. Aim to keep the soil consistently moist but not waterlogged. Mulching around the plants can help retain moisture and suppress weeds.
How do I harvest chard?
You can start harvesting chard leaves when they are about 6 inches long. Harvest the outer leaves first, leaving the inner leaves to continue growing. This cut-and-come-again method allows you to harvest chard continuously throughout the growing season.
What are some common pests and diseases that affect chard?
Common pests that affect chard include aphids, flea beetles, and leaf miners. Diseases include downy mildew and leaf spot. To prevent pests and diseases, practice good garden hygiene, such as removing weeds and debris, and water at the base of the plants to avoid wetting the leaves. You can also use organic pest control methods, such as insecticidal soap or neem oil.
Can I grow chard in containers?
Yes, chard grows well in containers. Choose a large container with good drainage holes and fill it with a high-quality potting mix. Be sure to water and fertilize regularly, as container-grown plants tend to dry out and deplete nutrients more quickly than those grown in the ground.
How do I store harvested chard?
To store harvested chard, wash the leaves thoroughly and pat them dry. Wrap them in a damp paper towel and store them in a plastic bag in the refrigerator. Chard can be stored for up to a week.
Can I eat the stems of chard?
Yes, the stems of chard are edible and delicious! They can be cooked in the same way as the leaves, or they can be sautéed, steamed, or roasted. The stems of some varieties, such as ‘Bright Lights,’ are particularly colorful and add a beautiful visual appeal to dishes.
What are some ways to use chard in cooking?
Chard is a versatile vegetable that can be used in a variety of dishes. It can be sautéed, steamed, boiled, or added to soups, stews, and stir-fries. It can also be used in salads, quiches, and frittatas. Chard pairs well with garlic, onions, lemon, and Parmesan cheese.
How can I encourage more leaf production?
Regular harvesting encourages more leaf production. Also, fertilizing with a balanced organic fertilizer every few weeks can help promote healthy growth and abundant leaves. Make sure the plant is getting enough sunlight and water.
Is chard a perennial or an annual?
Chard is typically grown as an annual, although it is technically a biennial. In warmer climates, it may survive for two years, but its productivity usually declines in the second year.
What are the benefits of companion planting with chard?
Companion planting can help deter pests, improve growth, and enhance the flavor of chard. Good companion plants for chard include carrots, onions, garlic, beans, and nasturtiums.
How do I deal with bolting (premature flowering) in chard?
Bolting can occur when chard is exposed to prolonged periods of hot weather. To prevent bolting, plant chard in a location that receives some afternoon shade, and water regularly to keep the soil cool. If your chard does bolt, you can still harvest the leaves, but they may become bitter.
Leave a Comment