
Grow Arugula Indoors Kitchen: Imagine fresh, peppery arugula, bursting with flavor, just steps away from your cutting board. No more last-minute grocery store runs or settling for wilted greens! For centuries, humans have cultivated food close to home, from ancient Roman window boxes overflowing with herbs to the modern-day victory gardens of wartime. This connection to our food source is deeply ingrained, and now, with a few simple tricks, you can tap into that tradition, even without a sprawling backyard.
I know what you’re thinking: “Indoor gardening? Sounds complicated!” But trust me, it doesn’t have to be. This DIY guide is designed to demystify the process and show you how easy it is to grow arugula indoors kitchen. We’ll cover everything from choosing the right container and soil to providing adequate light and water.
Why is this so important? Because fresh, homegrown arugula is not only delicious but also packed with nutrients. Plus, there’s something incredibly satisfying about nurturing a plant from seed to harvest. In a world where we’re increasingly disconnected from our food, this is a small but powerful way to reconnect and enjoy the fruits (or, in this case, the leaves!) of your labor. So, let’s get started and transform your kitchen into a thriving arugula oasis!
Grow Your Own Arugula Oasis: A Beginner’s Guide to Indoor Gardening
Hey there, fellow plant enthusiast! Ever craved a peppery, fresh arugula salad in the dead of winter? Or maybe you just want a touch of green in your kitchen? Well, you’re in the right place! I’m going to walk you through the surprisingly simple process of growing your own arugula indoors. Trust me, even if you think you have a black thumb, you can do this!
What You’ll Need: The Arugula Arsenal
Before we dive in, let’s gather our supplies. This is a pretty low-cost project, which is always a win!
* **A Container:** Think small! Arugula doesn’t need a ton of space. A pot that’s at least 6 inches deep and wide is perfect. You can use a plastic pot, a terracotta pot, or even a repurposed container like a yogurt tub (just make sure to add drainage holes!).
* **Potting Mix:** Don’t use garden soil! It’s too heavy and compacts easily. Opt for a good quality potting mix that’s designed for containers. I usually go for something that’s well-draining.
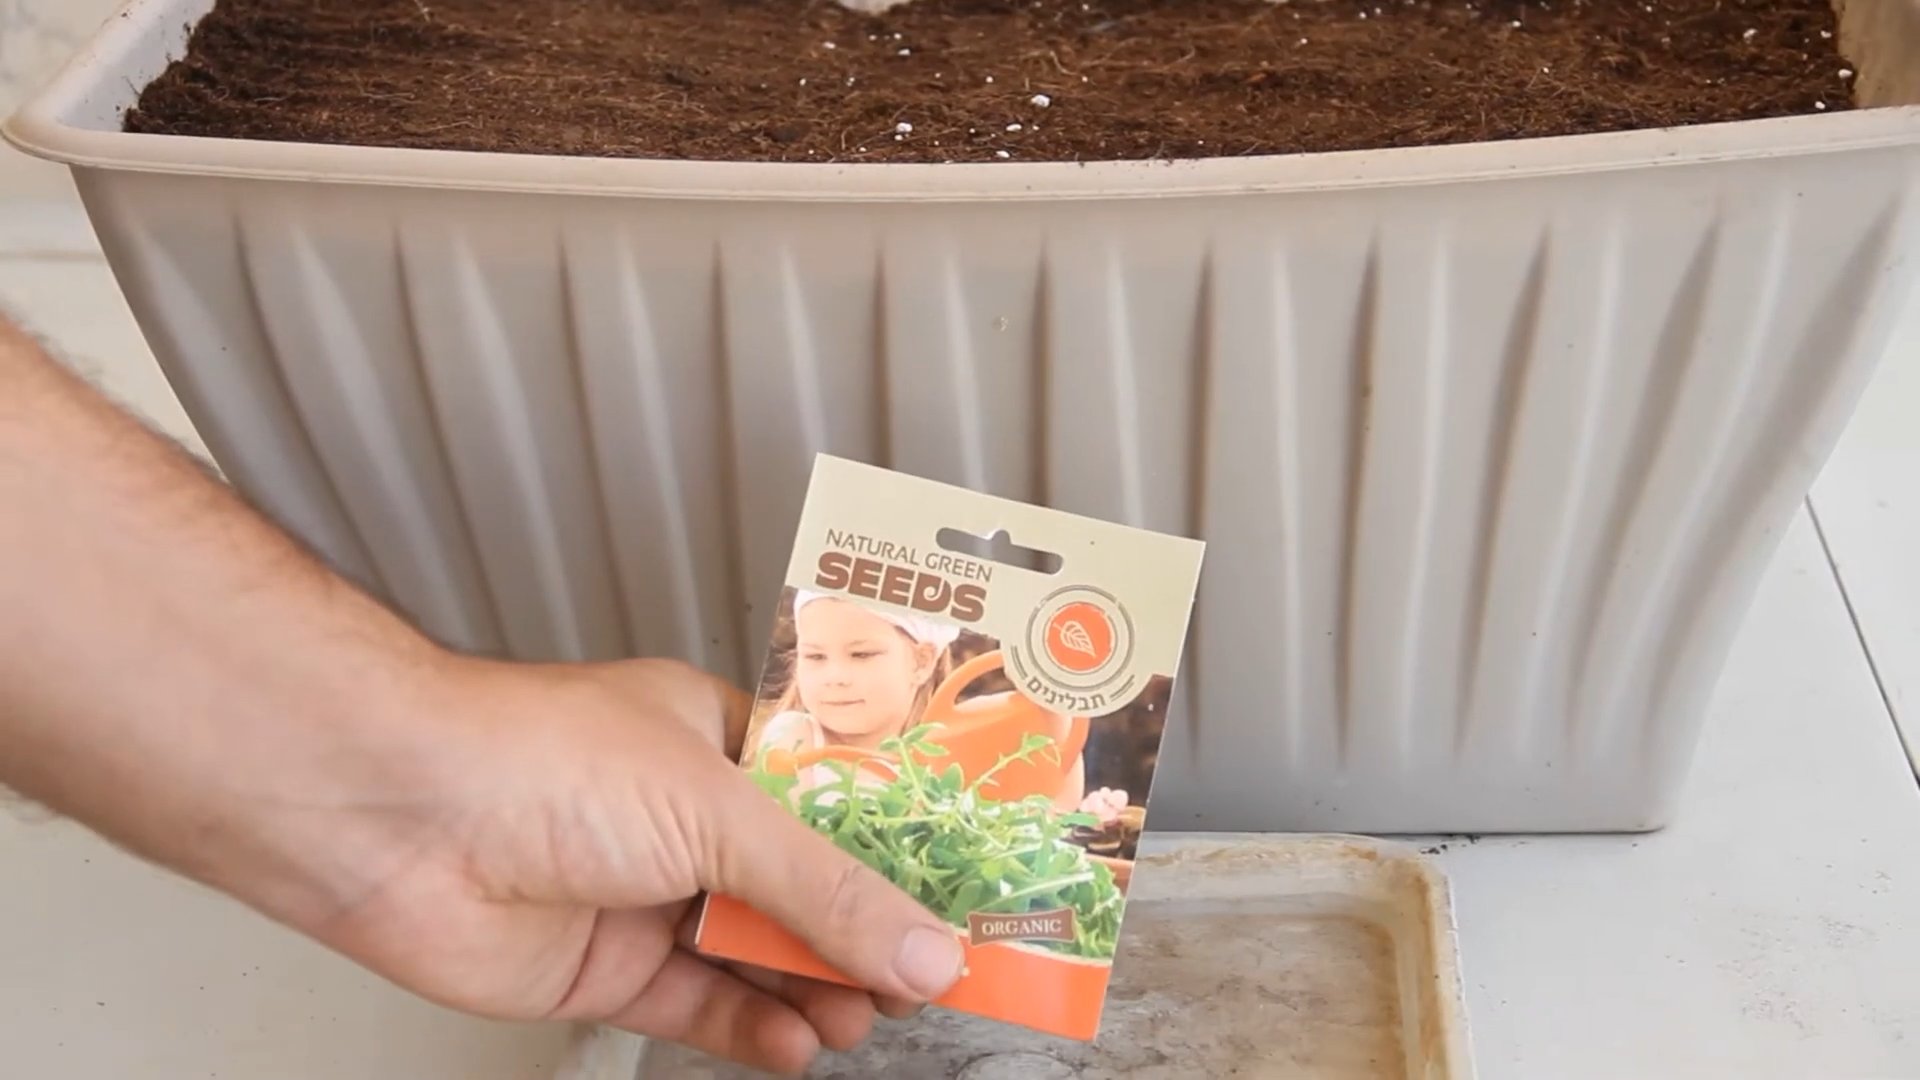
* **Arugula Seeds:** You can find these at most garden centers or online. Look for seeds specifically labeled for arugula (sometimes called “rocket”).
* **Watering Can or Spray Bottle:** Gentle watering is key, especially when the seedlings are young.
* **A Sunny Spot (or Grow Light):** Arugula needs plenty of light to thrive. A south-facing window is ideal. If you don’t have enough natural light, a grow light will do the trick.
* **Optional: Seed Starting Tray:** If you want a head start, you can start your seeds in a seed starting tray before transplanting them to your container.
Planting Your Arugula Seeds: Getting Started
Alright, let’s get our hands dirty! This is the fun part.
1. **Prepare Your Container:** Fill your container with potting mix, leaving about an inch of space at the top. Gently pat down the soil to create a level surface.
2. **Sow the Seeds:** Sprinkle the arugula seeds evenly over the surface of the soil. You don’t need to bury them too deep; about 1/4 inch is perfect. You can either broadcast the seeds (sprinkle them randomly) or sow them in rows. I usually broadcast them for a more natural look.
3. **Cover the Seeds:** Lightly cover the seeds with a thin layer of potting mix.
4. **Water Gently:** Use your watering can or spray bottle to gently moisten the soil. Be careful not to wash away the seeds! The soil should be damp, but not soggy.
5. **Find a Sunny Spot:** Place your container in a sunny spot that gets at least 6 hours of sunlight per day. If you’re using a grow light, position it a few inches above the soil surface.
Caring for Your Arugula: Nurturing Your Greens
Now comes the waiting game! But don’t worry, arugula is a fast grower.
1. **Keep the Soil Moist:** Check the soil moisture daily. The soil should be consistently moist, but not waterlogged. Water when the top inch of soil feels dry to the touch.
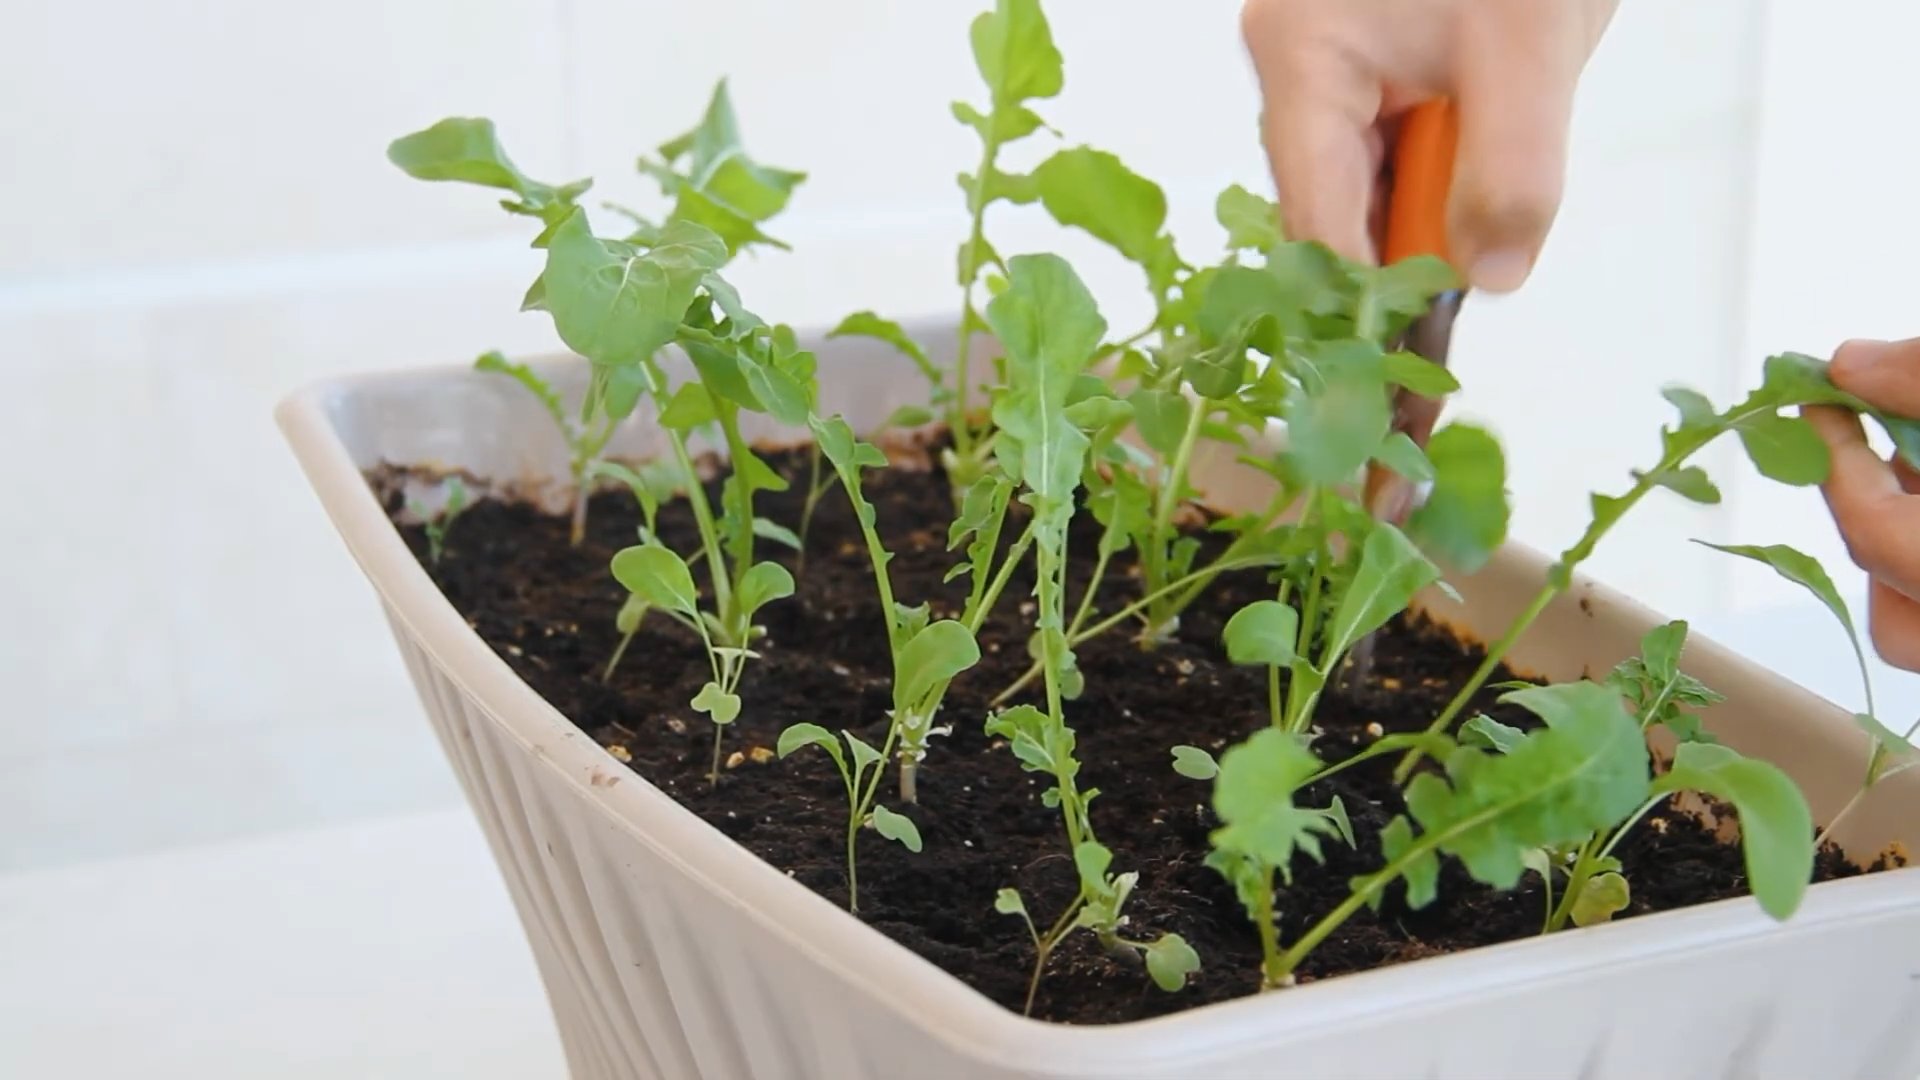
2. **Thin the Seedlings (If Necessary):** Once the seedlings emerge (usually within a week), you may need to thin them out if they’re too crowded. This will give them enough space to grow. Snip off the weaker seedlings at the base, leaving about an inch of space between the remaining plants. I know it feels harsh, but it’s necessary!
3. **Fertilize (Optional):** Arugula doesn’t need a lot of fertilizer, but you can give it a boost with a diluted liquid fertilizer every few weeks. I like to use a balanced organic fertilizer.
4. **Rotate the Container:** If you’re growing your arugula near a window, rotate the container regularly to ensure that all sides of the plant get equal sunlight. This will prevent them from leaning towards the light.
Harvesting Your Arugula: The Delicious Reward
This is the moment you’ve been waiting for!
1. **Harvest When Ready:** You can start harvesting your arugula when the leaves are about 2-3 inches long. This usually takes about 3-4 weeks after planting.
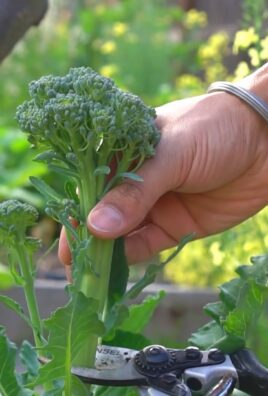
2. **Harvesting Technique:** Use scissors or your fingers to snip off the outer leaves, leaving the inner leaves to continue growing. This is called “cut and come again” harvesting, and it allows you to harvest multiple times from the same plant.
3. **Enjoy Your Harvest:** Wash your arugula leaves thoroughly before eating. You can use them in salads, sandwiches, pizzas, or any other dish that calls for a peppery green.
Troubleshooting: Common Arugula Issues
Even with the best care, you might encounter a few problems. Here’s how to deal with them:
* **Leggy Seedlings:** If your seedlings are tall and spindly, they’re not getting enough light. Move them to a sunnier spot or use a grow light.
* **Yellowing Leaves:** Yellowing leaves can be a sign of overwatering or underwatering. Check the soil moisture and adjust your watering accordingly. It could also be a nutrient deficiency, so try fertilizing.
* **Pests:** Arugula is relatively pest-resistant, but you might occasionally encounter aphids or flea beetles. You can control these pests with insecticidal soap or neem oil. I prefer to use organic solutions whenever possible.
* **Bolting:** Bolting is when the plant starts to flower and the leaves become bitter. This usually happens when the weather gets too hot. To prevent bolting, keep your arugula well-watered and provide some shade during the hottest part of the day. You can also choose bolt-resistant varieties.
Extending Your Harvest: Keeping the Arugula Coming
Want to keep the arugula flowing? Here are a few tips:
* **Succession Planting:** Plant new seeds every few weeks to ensure a continuous harvest.
* **Cool Temperatures:** Arugula prefers cool temperatures, so try to keep your growing area between 60-70°F (15-21°C).
* **Shade in Summer:** Provide some shade during the hottest part of the summer to prevent bolting.
* **Overwintering:** In mild climates, you can overwinter your arugula by protecting it from frost.
Arugula Varieties: Spice Up Your Garden
While standard arugula is delicious, there are other varieties you might want to try:
* **Wild Arugula (Diplotaxis tenuifolia):** This variety has a stronger, more peppery flavor than standard arugula.
* **Wasabi Arugula:** As the name suggests, this variety has a wasabi-like flavor.
* **Italian Arugula:** This variety has a milder flavor than standard arugula.
Beyond the Basics: Advanced Arugula Techniques
Feeling adventurous? Here are a few more advanced techniques you can try:
* **Hydroponic Arugula:** Grow your arugula without soil using a hydroponic system.
* **Microgreens:** Harvest your arugula as microgreens for an even more intense flavor.
* **Seed Saving:** Save your own arugula seeds to plant next year.
Arugula Recipes: From Garden to Table
Now that you have a bounty of fresh arugula, it’s time to get cooking! Here are a few of my favorite arugula recipes:
* **Arugula Salad with Lemon Vinaigrette:** A simple and refreshing salad that highlights the peppery flavor of arugula.
* **Arugula Pesto:** A delicious twist on traditional pesto.
* **Arugula Pizza:** Top your pizza with fresh arugula after baking for a burst of flavor.
* **Arugula and Goat Cheese Tart:** A savory and elegant tart that’s perfect for entertaining.
* **Arugula Smoothie:** Add a handful of arugula to your smoothie for a healthy and flavorful boost.
Growing arugula indoors is a rewarding and delicious experience. With a little bit of care, you can enjoy fresh, peppery greens all year round. So go ahead, give it a try! You might just surprise yourself with your green thumb. Happy gardening!
Conclusion
So, there you have it! Growing arugula indoors is not only achievable, but it’s also a game-changer for anyone who loves fresh, peppery greens at their fingertips. Forget those sad, wilted bags of store-bought arugula – with just a little effort, you can cultivate a vibrant, flavorful supply right in your own kitchen.
Why is this DIY trick a must-try? Because it offers a level of freshness and convenience that simply can’t be matched. Imagine adding a handful of freshly harvested arugula to your salad, sandwich, or pizza, knowing exactly where it came from and that it’s bursting with flavor and nutrients. Plus, it’s incredibly satisfying to nurture something from seed to harvest, especially when it results in delicious, edible greens.
But the benefits don’t stop there. Growing your own arugula indoors is also a sustainable choice. You’re reducing your reliance on commercially grown produce, which often travels long distances and contributes to carbon emissions. You’re also minimizing plastic packaging waste. And, let’s be honest, it’s just plain fun!
Ready to experiment? Consider these variations to personalize your indoor arugula garden:
* Spicy Arugula Blend: Mix arugula seeds with other spicy greens like mustard or cress for a fiery salad mix.
* Succession Planting: Plant new seeds every few weeks to ensure a continuous harvest throughout the year.
* Microgreens: Harvest your arugula at the microgreen stage for a more delicate flavor and texture. Simply harvest after the first true leaves appear.
* Container Gardening: Get creative with your containers! Use repurposed jars, window boxes, or even vertical planters to add a touch of greenery to your space.
* Hydroponics: For a more advanced approach, try growing arugula hydroponically for faster growth and higher yields.
We’re confident that you’ll find growing arugula indoors to be a rewarding and delicious experience. It’s a simple, cost-effective way to enjoy fresh, healthy greens year-round. So, grab some seeds, find a sunny spot, and get growing!
Don’t be afraid to experiment and find what works best for you. The beauty of DIY is that it’s all about learning and adapting. And most importantly, don’t forget to share your experiences! We’d love to hear about your successes, challenges, and creative variations. Tag us in your photos on social media and let us know how your indoor arugula garden is thriving. Happy growing!
FAQ
What are the best conditions for growing arugula indoors?
Arugula thrives in cool temperatures, ideally between 60-70°F (15-21°C). It needs at least 6 hours of direct sunlight per day, so a south-facing window is ideal. If you don’t have enough natural light, consider using a grow light. Well-draining soil is also crucial to prevent root rot. Arugula prefers slightly acidic soil with a pH between 6.0 and 7.0.
How often should I water my indoor arugula?
Water your arugula regularly, keeping the soil consistently moist but not waterlogged. Check the soil moisture by sticking your finger about an inch into the soil. If it feels dry, it’s time to water. Avoid overwatering, as this can lead to fungal diseases. Generally, watering every 2-3 days should be sufficient, but adjust based on your specific environment and container size.
What kind of soil should I use for growing arugula indoors?
A well-draining potting mix is essential for growing arugula indoors. You can use a commercial potting mix or create your own by combining equal parts of peat moss, perlite, and vermiculite. Avoid using garden soil, as it can be too heavy and compact, hindering drainage and potentially introducing pests or diseases.
How long does it take for arugula to grow indoors?
Arugula is a fast-growing green, so you can expect to harvest your first leaves within 3-4 weeks of planting. The exact time will depend on the variety, growing conditions, and your desired leaf size. For microgreens, you can harvest even sooner, typically within 7-14 days.
How do I harvest arugula indoors?
Harvest arugula by snipping off the outer leaves with scissors or a knife, leaving the inner leaves to continue growing. This cut-and-come-again method allows you to harvest multiple times from the same plant. Harvest when the leaves are about 2-3 inches long for the best flavor and texture. Avoid harvesting more than one-third of the plant at a time to ensure continued growth.
What are some common problems when growing arugula indoors, and how can I prevent them?
Some common problems include aphids, fungal diseases, and bolting (premature flowering). To prevent aphids, inspect your plants regularly and wash them off with a strong stream of water if you see any. Ensure good air circulation to prevent fungal diseases. To prevent bolting, keep the temperature cool and provide adequate water. If your arugula starts to bolt, harvest the leaves immediately, as they will become bitter.
Can I grow arugula indoors year-round?
Yes, you can grow arugula indoors year-round, provided you provide the right conditions. Consistent temperature, adequate light, and regular watering are key to success. Succession planting, where you plant new seeds every few weeks, will ensure a continuous harvest throughout the year.
Do I need to fertilize my indoor arugula?
Arugula doesn’t require heavy fertilization, but a light feeding can help promote healthy growth. Use a balanced liquid fertilizer diluted to half strength every 2-3 weeks. Avoid over-fertilizing, as this can lead to leggy growth and a less flavorful harvest.
What varieties of arugula are best for growing indoors?
Most arugula varieties will grow well indoors, but some are particularly well-suited for container gardening. ‘Astro’ and ‘Sylvetta’ are popular choices known for their compact size and robust flavor. Experiment with different varieties to find your favorite.
How do I store harvested arugula?
Store harvested arugula in the refrigerator in a plastic bag or container lined with a paper towel. This will help keep it fresh and crisp for several days. Wash the arugula just before using it to prevent it from becoming soggy.

Leave a Comment