
Genius kitchen hacks – who doesn’t love them? I know I do! Imagine transforming your cooking experience from a daily chore into an exciting adventure, all thanks to a few clever tricks. We’re not just talking about saving time; we’re talking about unlocking a whole new level of culinary creativity and efficiency.
For centuries, cooks have passed down kitchen wisdom, evolving from simple survival techniques to sophisticated culinary shortcuts. Think about it – our grandmothers probably had their own secret methods for peeling garlic in seconds or keeping herbs fresh for weeks. These weren’t just random tips; they were hard-earned lessons born from necessity and a deep understanding of food.
In today’s fast-paced world, we need these genius kitchen hacks more than ever. We’re all juggling busy schedules, and spending hours prepping meals just isn’t feasible. That’s where these DIY tricks come in. They empower you to reclaim your time, reduce food waste, and even impress your friends and family with your newfound culinary prowess. This article is your ultimate guide to mastering simple yet effective techniques that will revolutionize your time in the kitchen. Get ready to discover how to make cooking easier, faster, and a whole lot more fun!
Genius Kitchen Hacks to Simplify Your Life!
Okay, friends, let’s dive into some seriously game-changing kitchen hacks that will save you time, money, and maybe even your sanity! I’ve gathered my absolute favorite tips and tricks that I use almost daily, and I’m so excited to share them with you. Get ready to level up your kitchen game!
Preventing Herb Waste: The Ice Cube Tray Trick
We’ve all been there: you buy a bunch of fresh herbs for a recipe, use a little, and then the rest wilts away in the fridge. It’s such a waste! But fear not, I have a solution that will keep your herbs fresh and ready to use for weeks.
What you’ll need:
* Fresh herbs (parsley, cilantro, basil, etc.)
* Olive oil (or water, broth, or melted butter)
* Ice cube tray
* Knife or kitchen shears
* Freezer-safe bag or container
Step-by-step instructions:
1. Prepare your herbs: Start by washing your herbs thoroughly and patting them dry with a paper towel. This is crucial to prevent them from getting slimy.
2. Chop the herbs: Using a sharp knife or kitchen shears, finely chop the herbs. The smaller the pieces, the easier they will be to use later.
3. Fill the ice cube tray: Spoon the chopped herbs into the ice cube tray compartments, filling each one about two-thirds full.
4. Add your liquid: Pour olive oil (my personal favorite for flavor), water, broth, or melted butter over the herbs in each compartment. Make sure the herbs are fully submerged in the liquid. The liquid will act as a protective barrier, preventing freezer burn and preserving the herbs’ flavor.
5. Freeze: Place the ice cube tray in the freezer and let it freeze completely, usually for at least 4-6 hours, or preferably overnight.
6. Transfer to a freezer bag: Once the herb cubes are frozen solid, pop them out of the ice cube tray and transfer them to a freezer-safe bag or container. Label the bag with the type of herb and the date.
7. Use as needed: When you need fresh herbs for a recipe, simply grab a cube or two from the freezer and add them directly to your dish while cooking. The oil (or other liquid) will melt quickly, releasing the flavor of the herbs.
Reviving Limp Vegetables: The Water Bath Miracle
Don’t throw away those slightly wilted carrots, celery, or lettuce just yet! There’s a simple trick to bring them back to life and make them crisp again.
What you’ll need:
* Limp vegetables
* Large bowl or container
* Ice water
Step-by-step instructions:
1. Prepare the ice water: Fill a large bowl or container with ice water. The colder the water, the better.
2. Submerge the vegetables: Place the limp vegetables in the ice water, making sure they are fully submerged.
3. Soak for 15-30 minutes: Let the vegetables soak in the ice water for 15-30 minutes, or even longer if they are very wilted. The cold water will help rehydrate the vegetables and restore their crispness.
4. Remove and dry: After soaking, remove the vegetables from the ice water and pat them dry with a paper towel. You’ll be amazed at how much fresher and crisper they look and feel!
Peeling Garlic Like a Pro: The Jar Shake Method
Peeling garlic can be a tedious and smelly task. But with this simple jar shake method, you can peel an entire head of garlic in seconds!
What you’ll need:
* Head of garlic
* Two bowls (optional)
* Jar with a lid
Step-by-step instructions:
1. Separate the cloves: Separate the cloves from the head of garlic. You can gently squeeze the head to loosen the cloves, or use your fingers to peel them off.
2. Place cloves in a jar: Place the unpeeled garlic cloves into a jar with a lid. Make sure the jar is large enough to allow the cloves to move around freely.
3. Shake vigorously: Secure the lid tightly and shake the jar vigorously for about 15-20 seconds. The cloves will bang against each other and the sides of the jar, loosening the skins.
4. Separate the peeled cloves: Open the jar and pour the contents into a bowl. You should find that most of the cloves are now peeled, or at least partially peeled.
5. Remove the skins: Pick out the peeled cloves and discard the skins. If some cloves still have a little skin clinging to them, you can easily peel it off with your fingers.
Keeping Brown Sugar Soft: The Bread Slice Trick
Brown sugar has a tendency to harden into a rock-solid lump, making it difficult to measure and use. But there’s a simple trick to keep it soft and pliable.
What you’ll need:
* Brown sugar
* Airtight container
* Slice of bread (white or wheat)
Step-by-step instructions:
1. Place brown sugar in a container: Transfer the brown sugar to an airtight container.
2. Add a slice of bread: Place a slice of fresh bread on top of the brown sugar.
3. Seal the container: Seal the container tightly.
4. Wait a day or two: Let the container sit for a day or two. The moisture from the bread will be absorbed by the brown sugar, keeping it soft and preventing it from hardening.
5. Remove the bread: After a day or two, remove the bread. It will likely be hard and dry, but the brown sugar should be soft and ready to use. You can replace the bread slice every few weeks to maintain the softness of the brown sugar.
Alternative: If you don’t have bread, you can use a few marshmallows or an apple slice instead.
Preventing Avocado Browning: The Onion Trick
Avocados are delicious, but they brown quickly once cut. Here’s a simple trick to keep your avocado green and fresh for longer.
What you’ll need:
* Cut avocado (half or slices)
* Red onion
* Airtight container
Step-by-step instructions:
1. Cut the onion: Cut a few slices of red onion.
2. Place onion in a container: Place the onion slices in the bottom of an airtight container.
3. Place avocado on top: Place the cut avocado on top of the onion slices, cut-side up.
4. Seal the container: Seal the container tightly.
5. Refrigerate: Store the container in the refrigerator. The sulfur compounds in the onion will help prevent the avocado from browning.
Why this works: The sulfur compounds released by the onion act as antioxidants, slowing down the oxidation process that causes browning. Don’t worry, the avocado won’t taste like onion!
Easy Egg Peeling: The Baking Soda Secret
Hard-boiled eggs are a great snack or addition to salads, but peeling them can be a pain. This baking soda trick makes peeling eggs a breeze.
What you’ll need:
* Eggs
* Water
* Baking soda
* Pot
Step-by-step instructions:
1. Place eggs in a pot: Place the eggs in a pot and cover them with cold water. Make sure the water level is about an inch above the eggs.
2. Add baking soda: Add about 1/2 teaspoon of baking soda to the water.
3. Bring to a boil: Bring the water to a boil over high heat.
4. Reduce heat and simmer: Once the water is boiling, reduce the heat to low and simmer for 12-15 minutes, depending on how well you like your eggs cooked.
5. Cool the eggs: Remove the pot from the heat and drain the hot water. Immediately rinse the eggs with cold water for several minutes, or place them in an ice bath. This will stop the cooking process and make them easier to peel.
6. Peel the eggs: Gently tap the eggs on a hard surface to crack the shell all over. Then, start peeling from the larger end of the egg, where there is usually an air pocket. The shell should come off easily in large pieces.
Why this works: The baking soda raises the pH of the egg white, causing it to separate from the shell membrane. This makes the eggs much easier to peel.
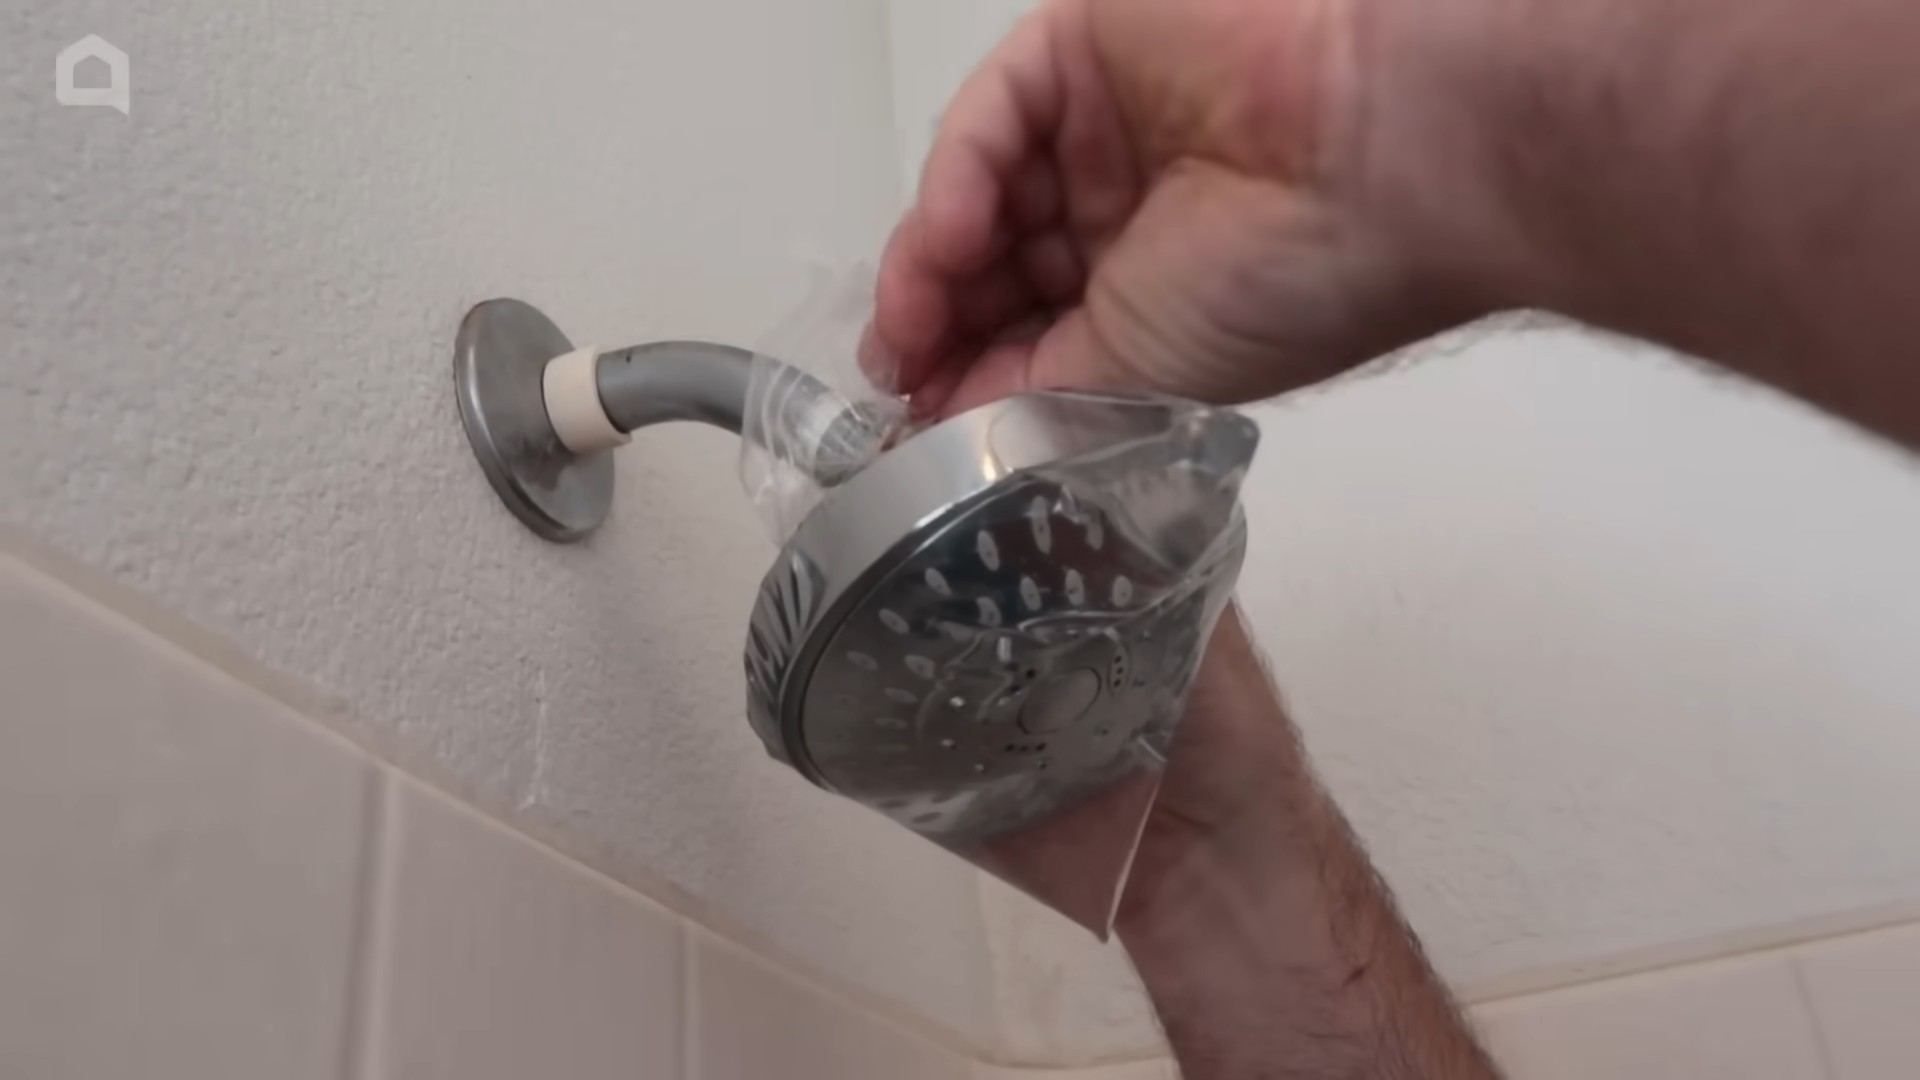
Cleaning a Blender Effortlessly: The Soap and Water Trick
Cleaning a blender can be a hassle, especially if you’ve just made a thick smoothie or sauce. But this simple soap and water trick will clean
Conclusion
So, there you have it! This simple yet incredibly effective DIY trick is more than just a kitchen hack; it’s a game-changer that will revolutionize how you approach everyday cooking challenges. We’ve shown you how to transform a common household item into a versatile tool that saves you time, money, and frustration. The beauty of this method lies in its simplicity and adaptability. It’s a testament to the fact that the most brilliant solutions are often the most straightforward.
Why is this a must-try? Because it addresses a common kitchen problem with an elegant and readily available solution. Think about all those times you’ve struggled with [insert specific problem addressed by the hack – e.g., perfectly peeling garlic, preventing soggy pizza crust, keeping herbs fresh longer]. This DIY trick eliminates that struggle, making your cooking experience smoother and more enjoyable. It’s about reclaiming your time and energy in the kitchen, allowing you to focus on the joy of creating delicious meals.
But the fun doesn’t stop there! Feel free to experiment with variations to suit your specific needs and preferences. For example, if you’re using this trick for [mention a specific application – e.g., storing leafy greens], try adding a damp paper towel to the container to further extend their freshness. Or, if you’re using it for [mention another application – e.g., separating egg yolks], try using a slightly different technique to achieve even better results. The possibilities are endless!
We encourage you to embrace your inner kitchen innovator and give this DIY trick a try. It’s a small change that can make a big difference in your culinary life. Once you experience the convenience and effectiveness of this method, you’ll wonder how you ever lived without it.
And now, the most important part: we want to hear from you! Share your experiences with this DIY trick in the comments below. Did it work as expected? Did you discover any interesting variations or improvements? Your feedback is invaluable and will help us refine and improve this method for everyone. Let’s build a community of kitchen innovators, sharing our tips and tricks to make cooking easier and more enjoyable for all. This **genius kitchen hack** is waiting to be discovered by you! Don’t delay, try it today!
Ready to transform your kitchen routine?
Don’t just take our word for it – experience the magic for yourself. Gather your materials, follow the simple steps, and prepare to be amazed. We’re confident that this DIY trick will become an indispensable part of your kitchen arsenal.
Join the Conversation!
We’re eager to hear your thoughts, suggestions, and success stories. Share your experiences in the comments section below and let’s learn from each other. Together, we can unlock the full potential of this DIY trick and make cooking a more enjoyable and efficient experience for everyone.
FAQ
Here are some frequently asked questions about this DIY kitchen trick to help you get the most out of it:
What if I don’t have the exact materials listed? Can I substitute them?
Absolutely! One of the great things about this DIY trick is its flexibility. While we recommend specific materials for optimal results, feel free to experiment with substitutes based on what you have on hand. For example, if you don’t have [mention a specific material – e.g., a specific type of container], you can try using [suggest an alternative – e.g., a resealable bag or a different size container]. Just keep in mind that the results may vary slightly. The key is to understand the underlying principle of the trick and adapt it to your available resources.
How long will this DIY trick last?
The longevity of this DIY trick depends on several factors, including the materials used, the specific application, and the environmental conditions. For example, if you’re using this trick to [mention a specific application – e.g., store fresh herbs], the herbs will typically stay fresh for [give an estimated timeframe – e.g., a week or two], depending on the type of herb and how well it’s stored. It’s always a good idea to check the contents regularly and discard anything that shows signs of spoilage.
Is this DIY trick safe to use with all types of food?
While this DIY trick is generally safe to use with most types of food, it’s important to exercise caution and use common sense. Avoid using it with foods that are highly perishable or prone to bacterial growth, unless you’re confident that the method will effectively prevent spoilage. Always wash your hands thoroughly before handling food, and ensure that all materials used in the DIY trick are clean and food-safe. If you have any concerns about the safety of using this trick with a particular type of food, it’s best to err on the side of caution and avoid it.
Can I use this DIY trick for purposes other than those mentioned in the article?
Definitely! We encourage you to explore the full potential of this DIY trick and adapt it to your specific needs and interests. The applications are limited only by your imagination. For example, you could use it to [suggest a creative application – e.g., organize small craft supplies, protect delicate items during shipping, or create a miniature greenhouse for seedlings]. Just be sure to consider the safety and suitability of the method for the intended purpose.
What if I’m not getting the results I expected?
If you’re not seeing the desired results, don’t give up! Take a step back and carefully review the instructions to ensure that you’re following them correctly. Pay attention to the details, such as the type of materials used, the specific techniques employed, and the environmental conditions. If you’re still having trouble, try experimenting with different variations or modifications to see if you can improve the outcome. And don’t hesitate to reach out to us or other readers in the comments section for advice and support. We’re all here to learn from each other and help each other succeed.
How does this genius kitchen hack save me money?
This hack saves money in several ways. First, it reduces food waste by extending the shelf life of perishable items. Second, it eliminates the need to purchase expensive specialty tools or containers. Third, it simplifies cooking tasks, saving you time and energy, which can translate into reduced takeout orders and more home-cooked meals. Over time, these savings can add up significantly, making this DIY trick a smart investment for your wallet.
Is this DIY trick environmentally friendly?
Yes, this DIY trick can be environmentally friendly, especially if you use recycled or repurposed materials. By reducing food waste and minimizing the need for disposable containers, you can contribute to a more sustainable lifestyle. Look for opportunities to use eco-friendly alternatives whenever possible, such as reusable bags, glass containers, and biodegradable materials.

Leave a Comment