
Fast Sprouting Long Beans – imagine harvesting armfuls of these delicious, vibrant green beans just weeks after planting! Sounds too good to be true? It’s not! I’m excited to share some simple, yet incredibly effective, DIY tricks that will have your long beans sprouting faster than you ever thought possible.
Long beans, also known as yardlong beans or asparagus beans, have a rich history, particularly in Asian cuisine. They’ve been cultivated for centuries and are prized for their unique flavor and impressive length. But let’s be honest, sometimes getting them to sprout can feel like an eternity! We’ve all been there, patiently waiting, only to be met with empty soil.
That’s where these DIY hacks come in. In today’s busy world, who has time to wait weeks for seeds to germinate? These tricks are perfect for anyone who wants to maximize their garden’s yield and enjoy fresh, homegrown fast sprouting long beans sooner rather than later. Whether you’re a seasoned gardener or just starting out, these easy-to-follow tips will give you the edge you need to achieve a bountiful harvest. Get ready to unlock the secrets to rapid germination and enjoy the satisfaction of growing your own delicious long beans!
DIY: Supercharge Your Long Bean Sprouts!
Hey there, fellow gardening enthusiasts! Are you tired of waiting what feels like forever for your long beans to sprout? I know I was! I love the taste of fresh, homegrown long beans, but sometimes the germination process can be a real drag. That’s why I’ve developed this little DIY hack to significantly speed up the sprouting time. Get ready to harvest those delicious beans sooner than you ever thought possible!
This method focuses on creating the perfect environment for germination: warmth, moisture, and a little bit of scarification to help the seeds break through their tough outer shell. Trust me, it’s easier than it sounds!
What You’ll Need:
* Long bean seeds (obviously!)
* A small, sharp knife or sandpaper
* A clean jar or container
* Warm water (not hot!)
* Paper towels
* A resealable plastic bag or container
* A warm location (like a sunny windowsill or a seedling heat mat)
Phase 1: Scarification – Giving Your Seeds a Head Start
Long bean seeds have a pretty tough outer coating. This is great for protecting them in nature, but it can slow down the germination process. Scarification is simply the process of gently weakening this outer layer to allow water to penetrate more easily.
1. Choose Your Method: You have two main options for scarification: using a knife or sandpaper. I personally prefer sandpaper because it’s a bit safer and less likely to damage the seed.
2. Knife Method (Be Careful!): If you’re using a knife, carefully make a small nick in the seed coat, away from the “eye” (the small indentation where the root will emerge). You just want to scratch the surface, not cut deeply into the seed. Think of it like giving the seed a tiny little “door” to open.
3. Sandpaper Method (My Preferred Choice): If you’re using sandpaper, gently rub the seeds against the sandpaper a few times. Again, you’re just trying to thin the outer layer, not grind the seed to dust! I usually do about 5-10 gentle rubs per seed.
4. Inspect Your Work: After scarifying each seed, take a close look. You should see a slightly lighter colored area where you’ve thinned the seed coat. Don’t worry if you don’t see much, even a little bit helps!
Phase 2: Soaking – Hydration is Key!
Now that we’ve prepped the seeds, it’s time to give them a good soak. This will help them absorb water and further soften the seed coat, encouraging them to sprout.
1. Prepare the Water: Fill your clean jar or container with warm water. The water should be comfortably warm to the touch, not hot. Think lukewarm bathwater.
2. Submerge the Seeds: Gently drop the scarified long bean seeds into the warm water. Make sure they’re all fully submerged.
3. Soak Time: Let the seeds soak in the warm water for 12-24 hours. I usually aim for 24 hours for best results. This gives them plenty of time to absorb moisture.
4. Observe: You might notice that some of the seeds swell up during the soaking process. This is a good sign! It means they’re taking in water and getting ready to sprout.
Phase 3: The Paper Towel Method – Creating a Mini Greenhouse
This is where the magic really happens! The paper towel method creates a humid, warm environment that’s perfect for germination.
1. Prepare the Paper Towels: Take two or three sheets of paper towels and dampen them thoroughly with warm water. You want them to be wet, but not dripping. Squeeze out any excess water.
2. Lay Out the Seeds: Spread the dampened paper towels out on a flat surface. Carefully arrange the soaked long bean seeds on top of the paper towels, leaving a little space between each seed. This will prevent the roots from getting tangled together.
3. Cover the Seeds: Fold the paper towels over the seeds, or place another dampened paper towel on top, so they’re completely covered.
4. Seal the Deal: Carefully transfer the paper towel packet containing the seeds into a resealable plastic bag or container. This will help to maintain the humidity and warmth.
5. Find a Warm Spot: Place the sealed bag or container in a warm location. A sunny windowsill is a good option, but be careful that it doesn’t get too hot, especially in direct sunlight. A seedling heat mat is even better, as it provides consistent warmth. The ideal temperature for long bean germination is around 70-80°F (21-27°C).
6. Monitor and Maintain: Check the paper towels daily to make sure they’re still damp. If they start to dry out, gently mist them with water. Also, keep an eye out for sprouts! You should start to see tiny roots emerging from the seeds within a few days.
7. Be Patient (But Not Too Patient!): While this method speeds up germination, it still takes a little time. Most long bean seeds will sprout within 3-7 days using this method. If you haven’t seen any sprouts after 10 days, it’s likely that the seeds aren’t viable.
Phase 4: Planting Your Sprouted Seeds – From Paper Towel to Garden Bed
Once your long bean seeds have sprouted and have a small root (about 1/2 inch long), it’s time to plant them!
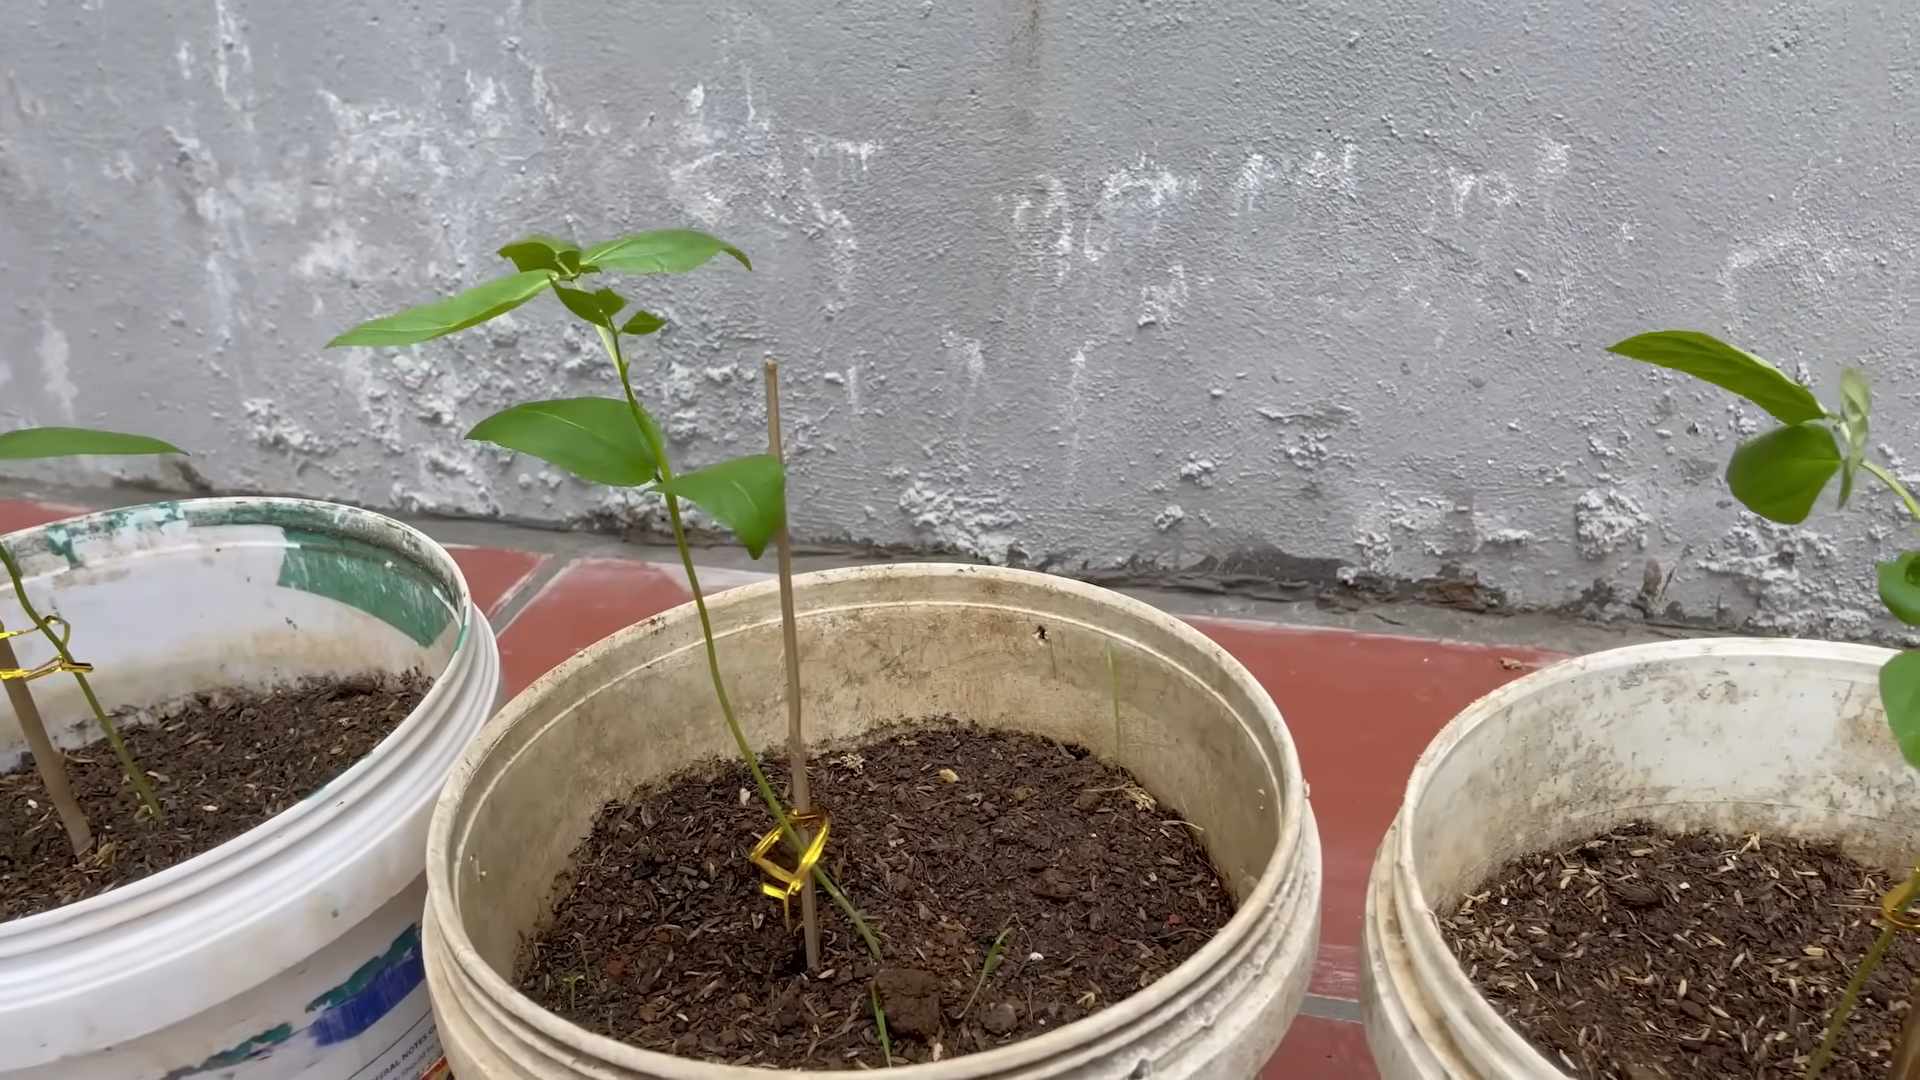
1. Prepare Your Planting Location: Choose a sunny spot in your garden with well-draining soil. Long beans need at least 6-8 hours of sunlight per day. You can also start them in pots if you prefer.
2. Dig Small Holes: Dig small holes in the soil, about 1 inch deep. Space the holes about 4-6 inches apart if you’re planting in rows, or about 12 inches apart if you’re planting in hills.
3. Carefully Plant the Sprouts: Gently remove the sprouted seeds from the paper towels, being careful not to damage the delicate roots. Place each seed in a hole, with the root pointing downwards.
4. Cover and Water: Cover the seeds with soil and gently water them. Keep the soil consistently moist, but not waterlogged, until the seedlings emerge.
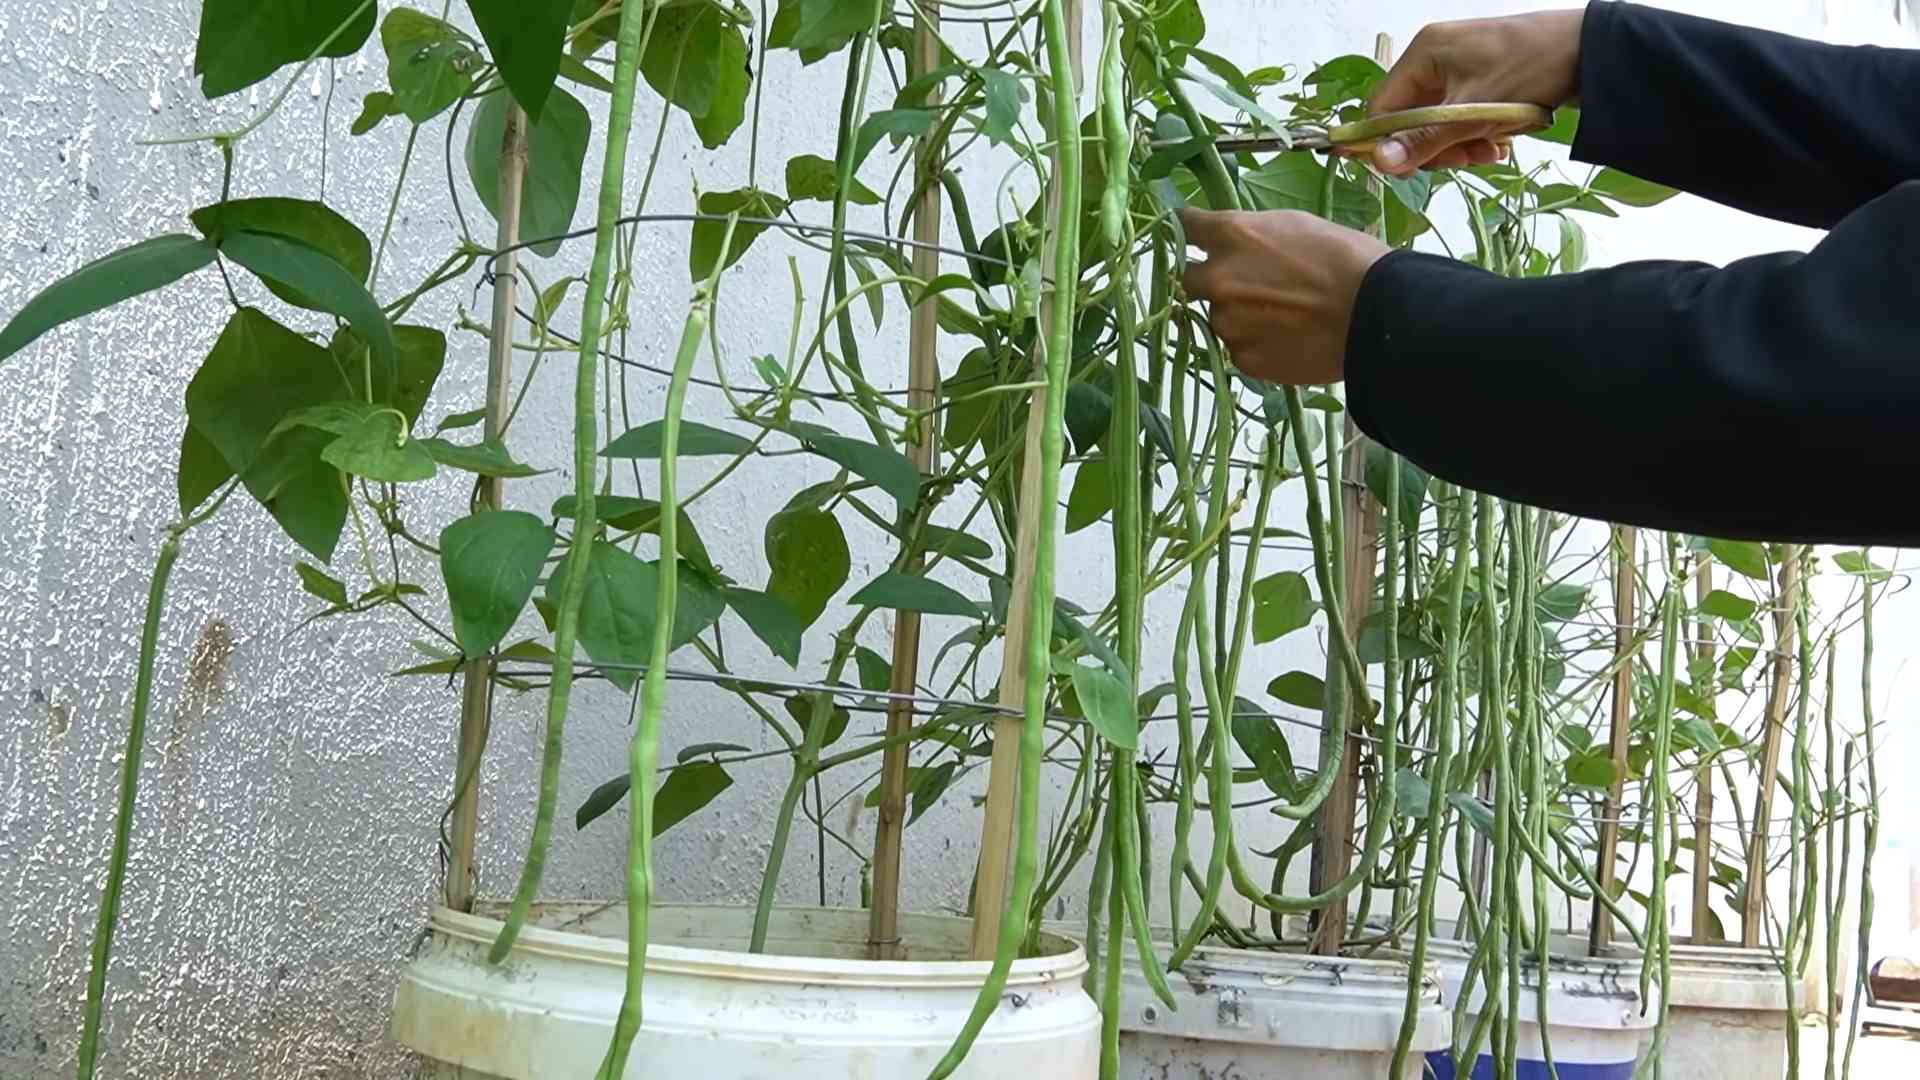
5. Provide Support: Long beans are climbing plants, so they’ll need some kind of support to grow on. You can use a trellis, fence, or even bamboo stakes. Install the support system soon after the seedlings emerge.
6. Watch Them Grow! With proper care, your long bean plants will grow quickly and start producing beans in just a few weeks.
Troubleshooting Tips:
* No Sprouts? If your seeds aren’t sprouting, it could be due to a few reasons:
* Old Seeds: Long bean seeds have a limited shelf life. If your seeds are old, they may not be viable.
* Incorrect Temperature: The temperature may be too cold or too hot. Make sure the seeds are in a warm location.
* Too Much or Too Little Moisture: The paper towels may be too dry or too wet. Make sure they’re damp, but not dripping.
* Poor Scarification: You may not have scarified the seeds enough. Try scarifying a few more seeds and see if that helps.
* Mold Growth: If you see mold growing on the paper towels, it’s usually a sign that there’s too much moisture. Remove the moldy paper towels and replace them with fresh, dampened paper towels. You can also add a drop or two of hydrogen peroxide to the water to help prevent mold growth.
* Roots Getting Tangled: If the roots start to get tangled together, carefully separate them before planting. You can use a small pair of scissors to trim any roots that are too tangled.
Extra Tips for Success:
* Choose High-Quality Seeds: Start with the best possible seeds for the best results. Look for seeds from a reputable supplier.
* Use Filtered Water: Tap water can sometimes contain chlorine or other chemicals that can inhibit germination. Using filtered water can help.
* Don’t Overwater: While it’s important to keep the soil moist, overwatering can lead to root rot. Make sure the soil is well-draining.
* Fertilize Regularly: Long bean plants are heavy feeders, so fertilize them regularly with a balanced fertilizer.
I hope this guide helps you get a jump start on your long bean harvest! Happy gardening!
Conclusion
So, there you have it! This simple, yet incredibly effective, DIY trick for fast sprouting long beans is a game-changer for any gardener, whether you’re a seasoned pro or just starting out. We’ve walked you through the process, highlighting the benefits of accelerated germination and the joy of seeing those little sprouts emerge much faster than traditional methods allow.
Why is this a must-try? Because time is precious! This method significantly reduces the waiting period, allowing you to get your long bean plants into the ground sooner and enjoy a more extended harvest season. Imagine biting into crisp, fresh long beans from your own garden weeks earlier than you thought possible. That’s the power of this technique.
But the beauty of gardening lies in experimentation, so don’t be afraid to get creative! While we’ve focused on long beans, this method can be adapted for other bean varieties as well. Try it with bush beans, pole beans, or even other legumes like peas. You might need to adjust the soaking time slightly depending on the seed size and hardness, so keep a close eye on them.
Consider adding a touch of seaweed extract to the soaking water for an extra boost of nutrients. Seaweed extract is known to promote root development and overall plant health. Another variation is to use a diluted chamomile tea instead of plain water. Chamomile has antifungal properties that can help prevent damping-off, a common problem with seedlings.
Don’t limit yourself to just one sprouting method! You can even combine this technique with other seed starting methods, such as using a heat mat to further accelerate germination. The possibilities are endless!
We are confident that once you try this DIY trick for fast sprouting long beans, you’ll be amazed by the results. It’s a simple, cost-effective way to improve your gardening success and enjoy a bountiful harvest.
Now, it’s your turn! We encourage you to give this method a try and share your experiences with us. Did it work for you? Did you try any variations? What were your results? We’d love to hear your feedback and see your photos. Share your stories in the comments section below, and let’s learn and grow together! Happy gardening!
Frequently Asked Questions (FAQ)
What exactly are long beans, and why should I grow them?
Long beans, also known as yardlong beans, asparagus beans, or Chinese long beans, are a type of legume characterized by their exceptionally long pods, often reaching lengths of 18 inches or more. They are a popular vegetable in Asian cuisine and are known for their crisp texture and slightly sweet flavor. Growing your own long beans offers several advantages:
* **Freshness:** You can harvest them at their peak ripeness, ensuring the best flavor and texture.
* **Cost-effectiveness:** Growing your own vegetables can save you money compared to buying them from the store.
* **Control over pesticides:** You can grow them organically, avoiding harmful chemicals.
* **Satisfaction:** There’s nothing quite like the feeling of harvesting your own homegrown produce.
How long does it typically take for long beans to sprout using traditional methods?
Typically, long beans can take anywhere from 7 to 14 days to sprout using traditional methods, depending on factors such as soil temperature, moisture levels, and seed quality. This DIY trick significantly reduces that timeframe, often resulting in sprouts within 3 to 5 days.
What are the benefits of fast sprouting long beans?
Fast sprouting offers several key advantages:
* **Shorter growing season:** You can get your plants into the ground sooner, extending your harvest season.
* **Improved germination rates:** Soaking the seeds helps to soften the seed coat, making it easier for the seedling to emerge.
* **Reduced risk of seed rot:** By pre-sprouting the seeds, you can avoid the risk of them rotting in the soil due to excessive moisture or cold temperatures.
* **Earlier harvest:** Enjoy fresh long beans from your garden weeks earlier than you would with traditional methods.
What kind of container should I use for soaking and sprouting the long beans?
A clean glass jar, plastic container, or even a resealable plastic bag will work perfectly fine. The key is to ensure that the container is clean to prevent the growth of mold or bacteria. For the paper towel method, a shallow dish or tray is ideal.
How much water should I use for soaking the long beans?
Use enough water to completely cover the seeds. You don’t want them to be swimming in excess water, but they should be fully submerged. Change the water every 12-24 hours to keep it fresh and prevent the growth of bacteria.
How warm should the water be for soaking?
Use lukewarm water, not hot or cold. Lukewarm water helps to soften the seed coat and encourages germination. Avoid using hot water, as it can damage the seeds.
How long should I soak the long beans?
Soak the long beans for 12-24 hours. This allows the seeds to absorb enough moisture to initiate the germination process. Don’t soak them for too long, as they can become waterlogged and rot.
What is the ideal temperature for sprouting long beans?
Long beans prefer warm temperatures for germination. The ideal temperature range is between 70°F and 85°F (21°C and 29°C). You can place the container in a warm spot in your house, such as near a sunny window or on top of a refrigerator.
How do I know when the long beans are ready to be planted?
The long beans are ready to be planted when they have developed a small root, typically about 1/4 to 1/2 inch long. Be careful when handling the sprouted seeds, as the roots are delicate and can be easily damaged.
What kind of soil should I use for planting long beans?
Long beans prefer well-drained soil that is rich in organic matter. You can amend your garden soil with compost or other organic materials to improve its fertility and drainage. A slightly acidic to neutral pH is ideal.
How deep should I plant the sprouted long beans?
Plant the sprouted long beans about 1 inch deep in the soil. Gently cover the seeds with soil and water them thoroughly.
How often should I water the long bean seedlings?
Keep the soil consistently moist, but not waterlogged. Water the seedlings regularly, especially during dry periods. Avoid overwatering, as this can lead to root rot.
Do long beans need support to grow?
Yes, long beans are climbing plants and need support to grow. You can use a trellis, fence, or other structure to provide support for the vines.
Can I use this method for other types of beans?
Yes, this method can be used for other types of beans, such as bush beans, pole beans, and lima beans. However, you may need to adjust the soaking time depending on the seed size and hardness.
What if my long beans don’t sprout after following these steps?
If your long beans don’t sprout, there could be several reasons:
* **Seed quality:** The seeds may be old or damaged.
* **Temperature:** The temperature may be too cold or too hot.
* **Moisture:** The seeds may not have received enough moisture.
* **Overwatering:** The seeds may have been overwatered and rotted.
Try again with fresh seeds and ensure that you are following the steps carefully.
Is there anything else I can add to the water to help with sprouting?
Yes, you can add a small amount of seaweed extract or diluted chamomile tea to the water. Seaweed extract provides nutrients that promote root development, while chamomile tea has antifungal properties that can help prevent damping-off.
How do I prevent damping-off in my long bean seedlings?
Damping-off is a fungal disease that can kill seedlings. To prevent damping-off, use well-drained soil, avoid overwatering, and ensure good air circulation. You can also treat the soil with a fungicide or use a diluted chamomile tea solution.
Can I transplant long bean seedlings that I started indoors?
Yes, you can transplant long bean seedlings that you started indoors. Harden off the seedlings by gradually exposing them to outdoor conditions for a week before transplanting them into the garden.
How do I know when my long beans are ready to harvest?
Long beans are ready to harvest when they are about 12-18 inches long and still tender. Harvest them regularly to encourage continued production.
What are some common pests and diseases that affect long beans?
Common pests that affect long beans include aphids, bean beetles, and spider mites. Common diseases include powdery mildew and bean rust. You can control pests and diseases by using organic gardening practices, such as crop rotation, companion planting, and using insecticidal soap or neem oil.
Leave a Comment