
Everyday home hacks can transform your living space from ordinary to extraordinary, and I’m so excited to share some of my favorite DIY tricks with you! Have you ever looked around your home and thought, “There has to be a better way to do this?” Well, you’re not alone! For centuries, people have been devising clever solutions to make daily life easier and more efficient. From ancient civilizations using natural remedies to modern-day innovators creating smart gadgets, the quest for simplifying our routines is deeply ingrained in human history.
But why are these everyday home hacks so essential today? In our fast-paced world, time is a precious commodity. These DIY tricks not only save you time and money but also empower you to take control of your environment. Imagine spending less time on chores and more time enjoying the things you love. That’s the power of a well-executed home hack! Plus, many of these hacks are eco-friendly, allowing you to reduce waste and live more sustainably. So, let’s dive into some amazing DIY projects that will revolutionize your home and your life!
DIY Home Hack: Transforming Old T-Shirts into Reusable Shopping Bags
Hey there, fellow DIY enthusiasts! I’m super excited to share one of my favorite upcycling projects with you: turning those old, forgotten t-shirts into sturdy and stylish reusable shopping bags. Not only is this a fantastic way to reduce waste and be kinder to the environment, but it’s also a fun and creative project that anyone can tackle. Plus, you’ll end up with unique shopping bags that are way cooler than anything you can buy at the store! Let’s dive in!
What You’ll Need
Before we get started, let’s gather all the necessary supplies. Don’t worry, you probably already have most of these lying around the house:
* An old t-shirt (preferably cotton or a cotton blend – the thicker the fabric, the stronger the bag)
* Sharp scissors
* A ruler or measuring tape
* A marker or fabric chalk
* Sewing machine (optional, but recommended for durability)
* Thread (matching or contrasting color, your choice!)
* Pins (optional, but helpful for securing fabric)
* Iron and ironing board (optional, but recommended for a neater finish)
* Cardboard or a cutting mat (to protect your work surface)
Choosing the Right T-Shirt
The key to a successful t-shirt bag is selecting the right t-shirt. Here’s what I look for:
* Fabric: Cotton or a cotton blend is ideal. Avoid very thin or stretchy fabrics, as they won’t be as durable.
* Size: A larger t-shirt will result in a larger bag. Consider what you’ll primarily use the bag for when choosing the size.
* Design: Think about the design on the t-shirt. Do you want it to be the focal point of the bag? Or would you prefer a more subtle look?
* Condition: While we’re upcycling, avoid t-shirts with large holes or stains in the main body of the shirt. Small imperfections can be worked around, but major damage will compromise the bag’s integrity.
Step-by-Step Instructions
Alright, let’s get down to the nitty-gritty! Follow these steps carefully, and you’ll have your own awesome t-shirt bag in no time.
Section 1: Preparing the T-Shirt
1. Lay it Flat: Start by laying your chosen t-shirt flat on your work surface. Smooth out any wrinkles to ensure accurate cutting.
2. Cut off the Sleeves: Using your sharp scissors, carefully cut off both sleeves. I usually cut along the seam, but you can cut a little further in if you want a wider opening for the bag. Try to make the cuts as straight as possible.
3. Widen the Neckline (Optional): If you want a wider opening for your bag, you can widen the neckline. I usually cut a U-shape, removing the collar. Be careful not to cut too low, or the straps might be too thin.
4. Iron (Optional): If your t-shirt is wrinkled, now’s a good time to iron it. This will make the next steps easier and result in a neater finished product.
Section 2: Creating the Bottom of the Bag
This is where we’ll create the sealed bottom of the bag. You have two options here: sewing or tying. I highly recommend sewing for a more durable bag, but tying is a good option if you don’t have a sewing machine.
Option 1: Sewing the Bottom
1. Turn Inside Out: Turn the t-shirt inside out. This will hide the seam on the inside of the bag.
2. Pin the Bottom Edge: Fold the bottom edge of the t-shirt over about 1/2 inch and pin it in place. This will create a clean hem.
3. Sew a Straight Line: Using your sewing machine, sew a straight line across the bottom edge of the t-shirt, close to the folded edge. Remove the pins as you sew. I usually backstitch at the beginning and end of the seam to secure it.
4. Reinforce the Corners (Optional): For extra durability, you can reinforce the corners of the bag. Sew a small triangle at each corner, perpendicular to the bottom seam.
Option 2: Tying the Bottom (No-Sew Method)
1. Cut Fringes: Cut a fringe along the bottom edge of the t-shirt, about 3-4 inches deep. Make the strips about 1 inch wide.
2. Tie the Fringes: Tie the front and back strips of each fringe together in a knot. Make sure the knots are tight and secure.
3. Double Knot (Recommended): For extra security, tie each knot again. This will help prevent the bag from falling apart.
Section 3: Creating the Straps
Now, let’s create the straps for your bag.
1. Mark the Strap Width: Using your ruler and marker or fabric chalk, mark the desired width of your straps on the front and back of the t-shirt. I usually make them about 2-3 inches wide.
2. Cut the Neckline (If you didn’t already): If you haven’t already, cut the neckline into a U-shape. Be careful not to cut too low.
3. Reinforce the Straps (Optional but Highly Recommended): This is crucial for preventing the straps from stretching or tearing, especially if you plan to carry heavy items. There are a few ways to do this:
* Sewing: Sew along the edges of the straps with a zig-zag stitch to reinforce them. You can also sew a straight line down the center of each strap.
* Fabric Glue: Apply a thin layer of fabric glue along the edges of the straps and let it dry completely. This will add extra strength.
* Iron-on Interfacing: Cut strips of iron-on interfacing to the same width as your straps and iron them onto the inside of the straps. This will provide extra support and prevent stretching.
Section 4: Finishing Touches
Almost there! Now for the final touches to make your bag look polished.
1. Turn Right Side Out: Turn the bag right side out.
2. Trim Any Loose Threads: Use your scissors to trim any loose threads or uneven edges.
3. Decorate (Optional): This is where you can get creative! You can add fabric paint, patches, buttons, or any other embellishments you like.
4. Iron Again (Optional): Give your bag a final ironing to remove any wrinkles and give it a professional look.
Tips and Tricks for a Perfect T-Shirt Bag
Here are a few extra tips and tricks I’ve learned along the way:
* Use a Rotary Cutter: If you have a rotary cutter and cutting mat, it can make cutting the fabric much easier and more precise.
* Practice on Scrap Fabric: If you’re new to sewing, practice on a scrap piece of fabric before working on your t-shirt bag.
* Choose the Right Thread: Use a thread that is appropriate for the fabric you’re using. Cotton thread is a good choice for cotton t-shirts.
* Adjust Your Sewing Machine Settings: Make sure your sewing machine settings are appropriate for the fabric you’re using. A medium stitch length is usually a good choice.
* Don’t Overload the Bag: While these bags are surprisingly strong, they’re not designed to carry extremely heavy items. Be mindful of the weight you’re putting in the bag.
* Wash Your Bag: You can wash your t-shirt bag in the washing machine, but I recommend washing it on a gentle cycle and hanging it to dry.
Different Variations and Customizations
The beauty of this DIY project is that you can customize it to your heart’s content. Here are a few ideas to get you started:
* Add Pockets: Sew pockets onto the inside or outside of the bag for extra storage. You can use fabric scraps or even cut pockets from another old t-shirt.
* Create a Drawstring Closure: Add a drawstring closure to the top of the bag to keep your items secure.
* Make a Tote Bag with Handles: Instead of using the t-shirt straps, sew on separate handles made from webbing or fabric.
* Add a Lining: For a more polished look and extra durability, add a lining to the inside of the bag.
* Use Different Fabrics: Experiment with different fabrics, such as denim, canvas, or even old curtains.
Why I Love This DIY Project
I absolutely love this DIY project because it’s:
* Eco-Friendly: It’s a great way to upcycle old t-shirts and reduce waste.
* Affordable: It costs next to nothing to make,
Conclusion
So, there you have it! This simple, yet incredibly effective, everyday home hack is a game-changer for anyone looking to streamline their routine and save money. We’ve walked you through the process, highlighting just how easy it is to transform ordinary items into extraordinary solutions. Forget expensive gadgets and complicated contraptions; this DIY trick proves that the best solutions are often the simplest.
Why is this a must-try? Because it’s versatile, cost-effective, and empowers you to take control of your home environment. Imagine the satisfaction of knowing you created something useful with your own two hands, reducing waste and saving money in the process. It’s a win-win!
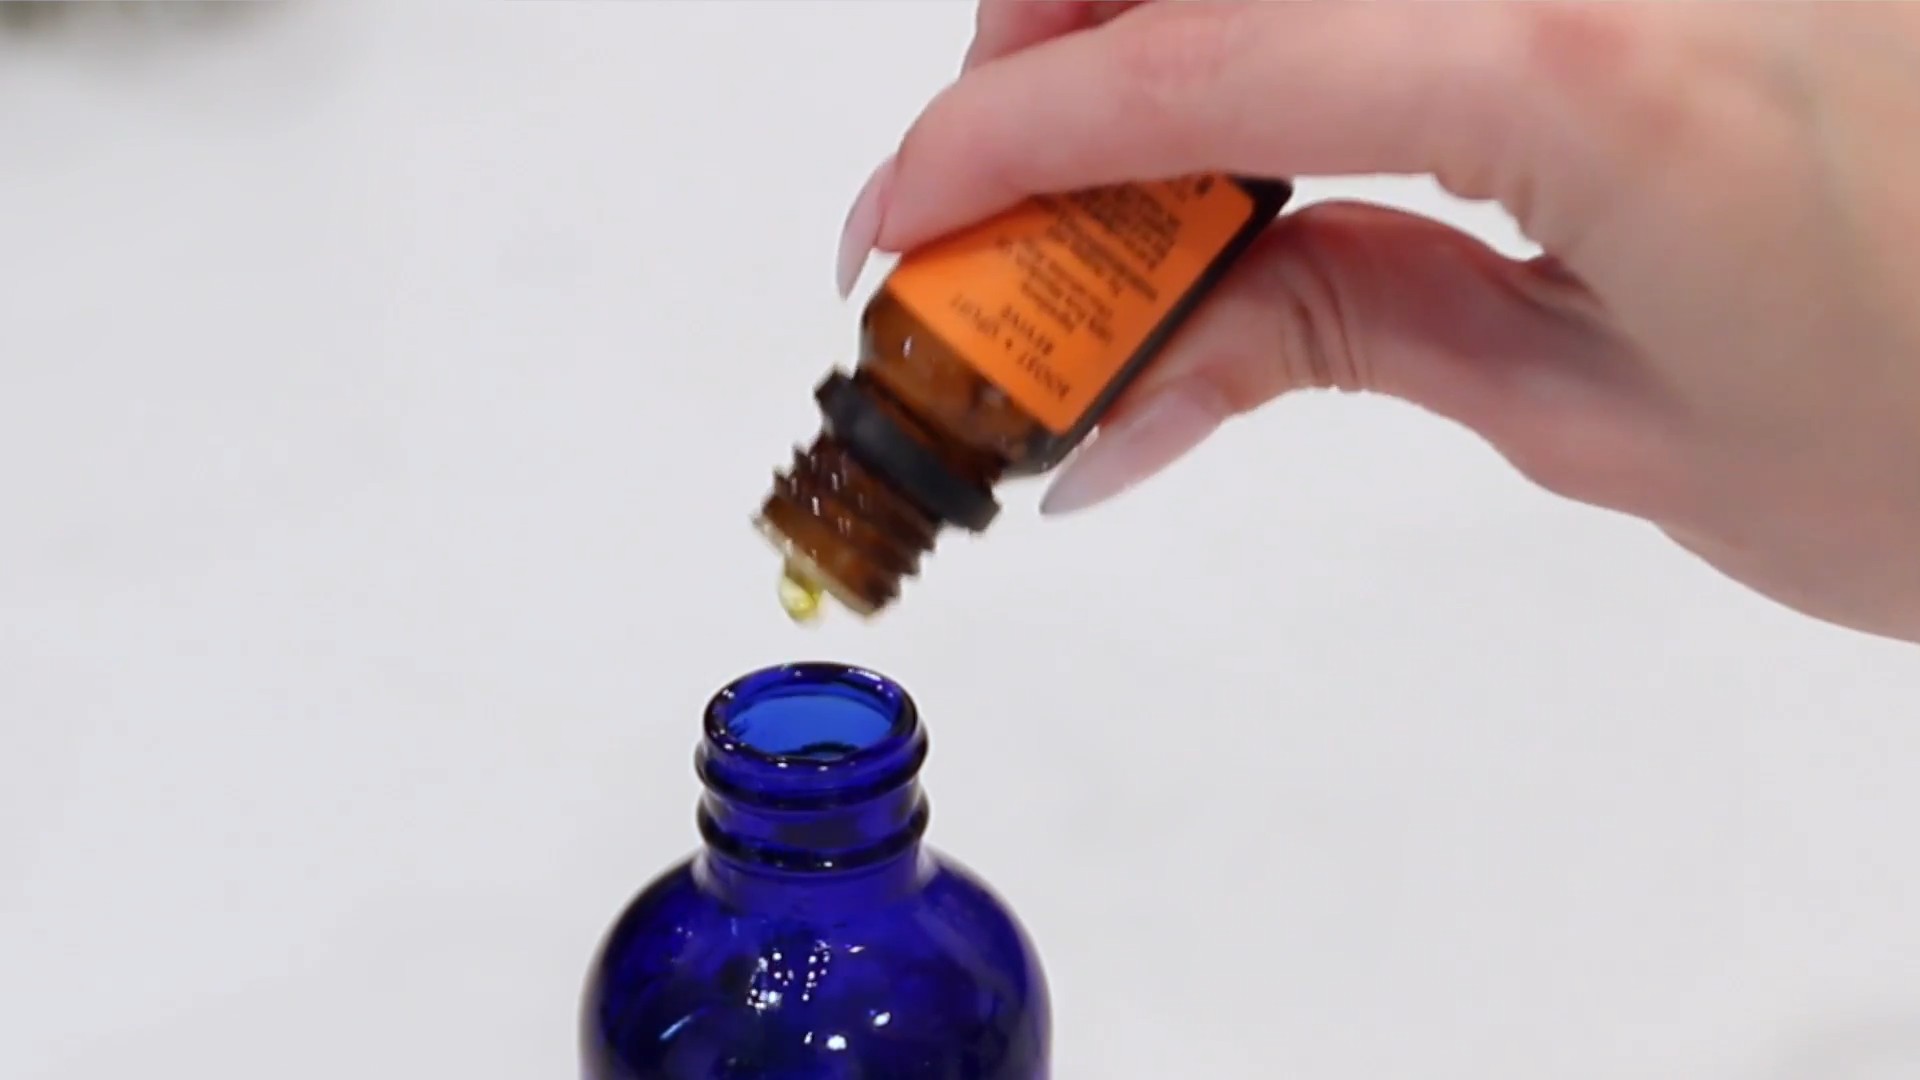
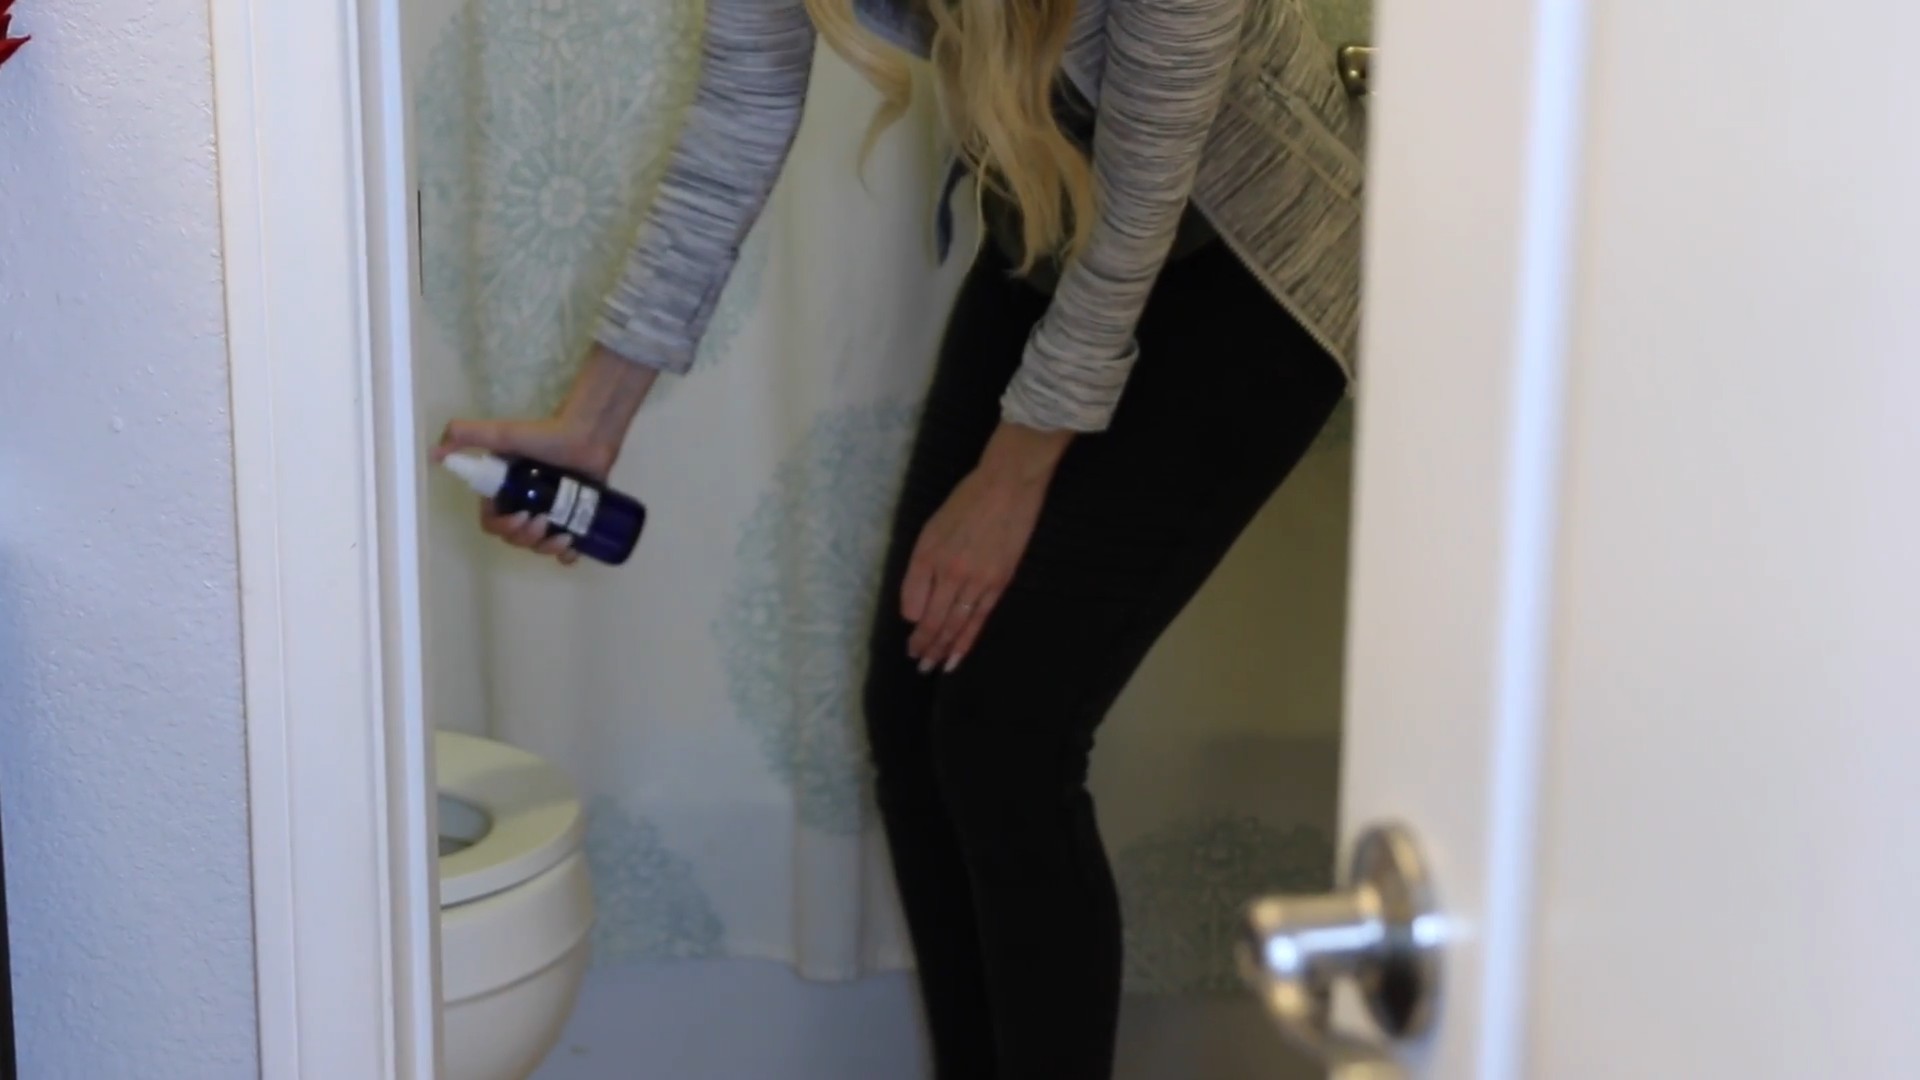
But the fun doesn’t stop there! Feel free to experiment with variations to suit your specific needs and preferences. For example, if you’re using this hack for cleaning, try adding a few drops of your favorite essential oil for a refreshing scent. Or, if you’re using it for storage, consider decorating the container with paint or fabric scraps to match your home décor. The possibilities are endless!
We’ve shown you how to master this everyday home hack, but the real magic happens when you put it into practice. Don’t just take our word for it; give it a try! We’re confident that you’ll be amazed by the results.
And most importantly, we want to hear about your experience! Share your photos, tips, and variations in the comments below. Let’s build a community of DIY enthusiasts who are passionate about making life easier and more sustainable. Your feedback will not only inspire others but also help us refine and improve this hack for everyone. So, grab your supplies, get creative, and let’s transform our homes, one DIY project at a time! We can’t wait to see what you come up with!
Frequently Asked Questions
What exactly is an “everyday home hack,” and why should I bother with it?
An everyday home hack is a simple, often ingenious, trick or technique that utilizes readily available items to solve common household problems or improve daily life. Think of it as a shortcut or a clever workaround that saves you time, money, and effort. You should bother with it because it empowers you to be more resourceful, creative, and self-sufficient. Instead of relying on expensive products or professional services, you can often find a DIY solution that’s just as effective, if not more so. Plus, it’s incredibly satisfying to know you’ve solved a problem with your own ingenuity!
Is this everyday home hack really that easy to do? I’m not very crafty.
Absolutely! We’ve designed this hack to be accessible to everyone, regardless of their crafting skills. The steps are straightforward, the materials are readily available, and the process is relatively quick. You don’t need any special tools or expertise to achieve great results. If you can follow simple instructions, you can master this hack. Don’t be intimidated by the word “DIY”; this is a project that anyone can tackle with confidence.
What if I don’t have all the exact materials listed? Can I substitute anything?
In most cases, yes! One of the great things about everyday home hacks is their adaptability. Feel free to experiment with substitutions based on what you have on hand. For example, if the recipe calls for a specific type of container, you can often use a similar one you already own. If you don’t have a particular cleaning agent, you can try a natural alternative like vinegar or baking soda. The key is to understand the purpose of each material and find a suitable replacement that serves the same function. Just be sure to test your substitutions in an inconspicuous area first to ensure they don’t cause any damage or discoloration.
How long will this everyday home hack last? Is it a permanent solution?
The longevity of this hack depends on how you use it and the materials you use. Some variations may be more durable than others. For example, if you’re using this hack for storage, the lifespan will depend on the quality of the container and how carefully you handle it. If you’re using it for cleaning, the effectiveness may diminish over time as the cleaning solution evaporates or degrades. In general, it’s a good idea to periodically check and refresh your DIY creation to ensure it continues to perform optimally. While it may not be a permanent solution in every case, it’s a cost-effective and convenient way to address common household needs.
I’m worried about safety. Are there any precautions I should take?
Safety is always a top priority when undertaking any DIY project. Before you begin, carefully read all instructions and warnings. Wear appropriate protective gear, such as gloves or eye protection, if necessary. Be mindful of sharp objects or potentially hazardous materials. If you’re working with electricity or flammable substances, take extra precautions to avoid accidents. If you’re unsure about any aspect of the process, consult a professional or seek guidance from a reliable source. And always keep your DIY creations out of reach of children and pets.
Can I adapt this everyday home hack for other uses?
Absolutely! We encourage you to get creative and explore different applications for this hack. The possibilities are truly endless. Think about the specific challenges you face in your home and how this hack could be modified to address them. Perhaps you could use it to organize your closet, create a unique piece of décor, or even solve a problem in your garden. Don’t be afraid to experiment and think outside the box. The best DIY projects are often born from a desire to solve a specific problem in a creative and innovative way.
What if I try this everyday home hack and it doesn’t work for me?
Don’t be discouraged! Not every DIY project is a perfect fit for everyone. If you try this hack and it doesn’t meet your expectations, take a step back and analyze what went wrong. Did you follow the instructions carefully? Did you use the correct materials? Did you encounter any unexpected challenges? Once you’ve identified the problem, you can try again with adjustments or modifications. Alternatively, you can explore other DIY solutions that may be better suited to your needs. The key is to be persistent, adaptable, and willing to learn from your mistakes. And remember, even if a hack doesn’t work perfectly, you’ve still gained valuable experience and knowledge that you can apply to future projects.


Leave a Comment