
DIY Dawn Powerwash Recipe: Unleash the cleaning power you never knew you had! Are you tired of battling stubborn grease and grime with store-bought cleaners that just don’t cut it? I know I was! That’s why I’m so excited to share this game-changing DIY Dawn Powerwash recipe that will revolutionize your cleaning routine.
For generations, resourceful homemakers have been concocting their own cleaning solutions, drawing on the power of simple, readily available ingredients. This tradition of DIY cleaning isn’t just about saving money; it’s about taking control of what we bring into our homes and reducing our reliance on harsh chemicals. This recipe is a modern take on that time-honored practice.
Let’s face it, commercial cleaning products can be expensive and often contain ingredients we can’t even pronounce. But with this simple DIY Dawn Powerwash recipe, you can create a powerful, effective cleaner for a fraction of the cost. Plus, you’ll know exactly what’s in it! This trick is a must-have for anyone looking to save money, reduce waste, and achieve sparkling clean results without the harsh chemicals. Get ready to say goodbye to stubborn stains and hello to a cleaner, greener home!
DIY Dawn Powerwash: Save Money and Clean Like a Pro!
Okay, friends, let’s talk about Dawn Powerwash. It’s amazing, right? Cuts through grease like nobody’s business. But those refills? Ouch! My wallet cries every time. So, I decided to do something about it. I’m going to share my super simple, super effective DIY Dawn Powerwash recipe. Trust me, you’ll be hooked!
What You’ll Need: The Ingredient Rundown
Before we dive in, let’s gather our supplies. Don’t worry, you probably already have most of this stuff lying around!
* **Dawn Dish Soap (Original, Blue):** This is the star of the show! The original blue Dawn is the best for cutting grease. I’ve tried other brands, and honestly, nothing works quite as well.
* **Rubbing Alcohol (Isopropyl Alcohol, 70% or higher):** This helps the mixture dry faster and acts as a disinfectant. I usually grab the 91% because it’s what I have on hand, but 70% works just fine.
* **Water (Distilled or Filtered):** Using distilled or filtered water prevents mineral buildup in your sprayer. Tap water *can* work in a pinch, but I prefer to avoid any potential issues.
* **Spray Bottle:** You’ll need a spray bottle to put your homemade Powerwash in. Reusing an old Dawn Powerwash bottle is ideal (more on that later!), but any sturdy spray bottle will do. Just make sure it’s clean!
* **Measuring Cups and Spoons:** For accurate measuring. I like to be precise, but a little wiggle room is okay.
* **Funnel (Optional, but Recommended):** Makes pouring liquids into the spray bottle much easier and less messy. Trust me, you’ll thank me later.
The Secret Ratios: Getting the Mix Right
Okay, this is where the magic happens! The ratio is key to getting that Powerwash performance we all love. I’ve experimented with different amounts, and this is what I’ve found works best:
* **Dawn Dish Soap:** 1/4 cup (2 ounces)
* **Rubbing Alcohol:** 1/4 cup (2 ounces)
* **Water:** 1 1/2 cups (12 ounces)
Important Note: This recipe is designed to fill a standard Dawn Powerwash bottle. If you’re using a different size bottle, adjust the amounts accordingly, keeping the ratio the same.
Step-by-Step Instructions: Let’s Get Mixing!
Alright, let’s get down to business! Follow these steps, and you’ll have your own DIY Dawn Powerwash in no time.
1. **Prepare Your Spray Bottle:** If you’re reusing an old Dawn Powerwash bottle, rinse it out thoroughly with hot water. Make sure to remove any leftover soap residue. Let it dry completely before moving on. This is crucial to avoid any unwanted mixing with old product.
2. **Measure the Dawn Dish Soap:** Using your measuring cup, carefully measure out 1/4 cup (2 ounces) of Dawn dish soap. Pour it into your clean spray bottle.
3. **Add the Rubbing Alcohol:** Next, measure out 1/4 cup (2 ounces) of rubbing alcohol. Pour it into the spray bottle, on top of the Dawn dish soap.
4. **Pour in the Water:** Now, measure out 1 1/2 cups (12 ounces) of distilled or filtered water. If you’re using a funnel, place it in the opening of the spray bottle. Slowly pour the water into the bottle.
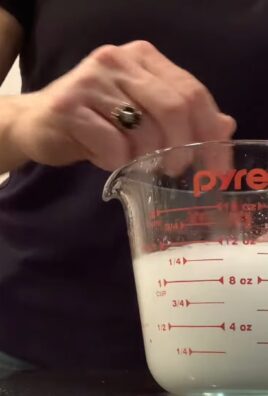
5. **Gently Mix:** Screw the spray nozzle back onto the bottle tightly. Gently swirl the bottle to mix the ingredients. Avoid shaking vigorously, as this can create excessive bubbles. You want everything to combine nicely, but without a ton of foam.
6. **Test and Adjust (If Needed):** Give your homemade Powerwash a test spray in your sink. If it seems too thick, you can add a little more water, a tablespoon at a time, until you reach your desired consistency. If it seems too watery, add a tiny bit more Dawn.
7. **Label Your Bottle:** This is important! Label your bottle clearly as “DIY Dawn Powerwash” so you don’t accidentally mistake it for something else. I like to use a permanent marker and write directly on the bottle.
Using Your DIY Dawn Powerwash: Cleaning Power Unleashed!
Now that you’ve made your own Powerwash, it’s time to put it to work! Here’s how I use mine:
* **Dishes:** Spray directly onto dirty dishes, let it sit for a few minutes to loosen grease and food particles, then scrub and rinse. It works wonders on baked-on messes!
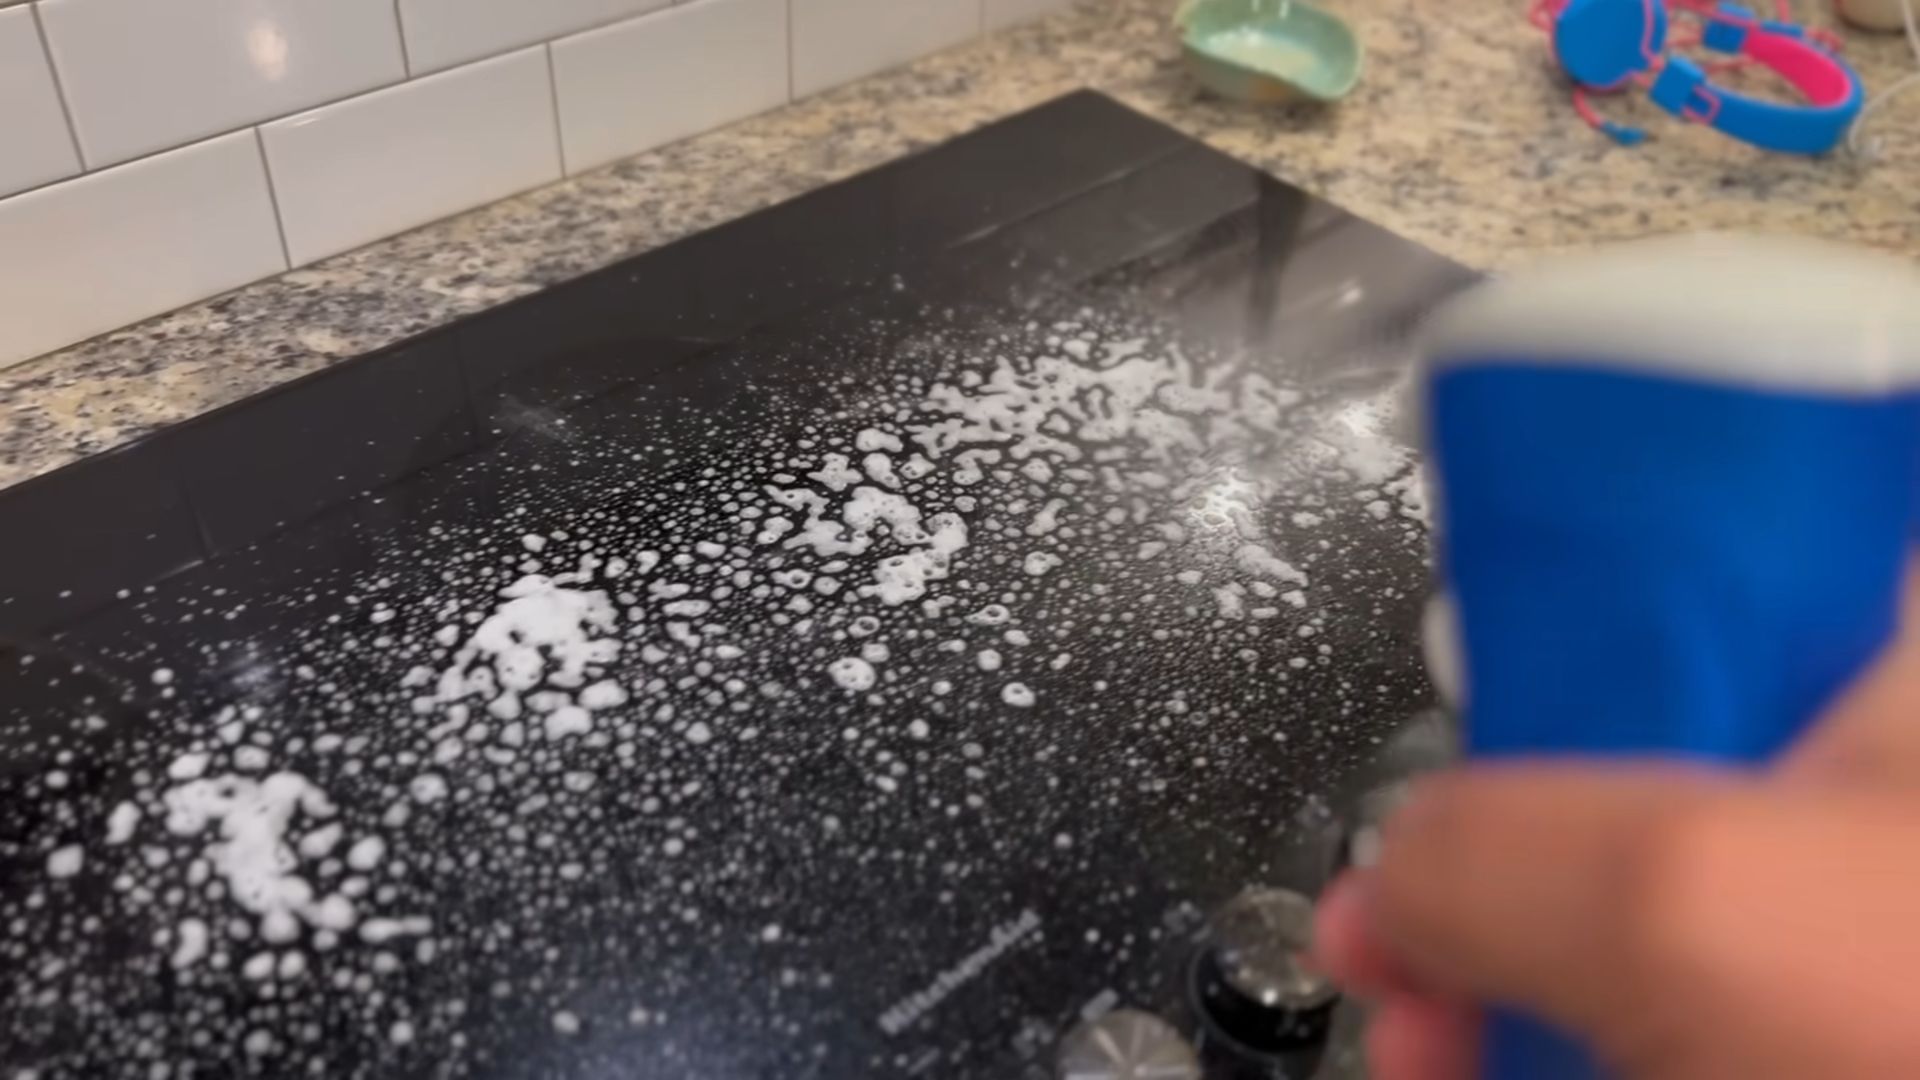
* **Stovetop:** Spray onto your stovetop to cut through grease splatters. Wipe clean with a damp cloth.
* **Sink:** Use it to clean your sink and remove stubborn stains.
* **Bathroom:** I even use it in the bathroom to clean soap scum and grime. Just be sure to test it in an inconspicuous area first to make sure it doesn’t damage the surface.
* **Pre-Treating Laundry Stains:** This is a game-changer! Spray directly onto grease stains on clothing before washing. It helps to lift the stain and prevent it from setting.
Important Safety Tip: Always test your DIY Powerwash on a small, hidden area before using it on a larger surface, especially if you’re unsure about its compatibility.
Troubleshooting: Common Issues and Solutions
Sometimes, things don’t go exactly as planned. Here are a few common issues you might encounter and how to fix them:
* **Too Foamy:** If your Powerwash is too foamy, you probably shook it too vigorously. Let it sit for a while to allow the bubbles to dissipate. Next time, mix it more gently.
* **Not Cleaning Effectively:** If your Powerwash isn’t cleaning as well as you’d like, try adding a little more Dawn dish soap. You might also need to let it sit on the surface for a longer period of time before scrubbing.
* **Clogged Sprayer:** If your sprayer gets clogged, try running hot water through it to clear any blockages. You can also try disassembling the sprayer and cleaning each part individually.
* **Separation:** Over time, you might notice some separation in your Powerwash. This is normal. Just give the bottle a gentle swirl before each use to re-mix the ingredients.
Why This Works: The Science Behind the Suds
So, what makes this DIY Powerwash so effective? It’s all about the ingredients!
* **Dawn Dish Soap:** Dawn is a powerful degreaser. Its surfactants (the molecules that make soap soapy) break down grease and oil, allowing them to be washed away with water.
* **Rubbing Alcohol:** Rubbing alcohol helps to dissolve grease and oil even further. It also helps the mixture to dry faster, preventing streaks and water spots. Plus, it has disinfecting properties!
* **Water:** Water acts as a solvent, helping to dissolve the other ingredients and create a sprayable solution.
Reusing Your Dawn Powerwash Bottle: The Eco-Friendly Option
I’m a big fan of reusing and repurposing whenever possible. Reusing your old Dawn Powerwash bottle is a great way to reduce waste and save money.
* **Why Reuse?** Reusing your bottle is eco-friendly and saves you from having to buy a new spray bottle. Plus, the Dawn Powerwash bottle is designed to work perfectly with the Powerwash formula, so you know it will spray effectively.
* **How to Reuse:** As I mentioned earlier, make sure to rinse out your old bottle thoroughly with hot water before refilling it. This will remove any leftover soap residue and prevent unwanted mixing.
Cost Savings: How Much Will You Save?
Let’s talk numbers! A refill bottle of Dawn Powerwash can cost anywhere from $4 to $6, depending on where you buy it. By making your own, you can save a significant amount of money over time.
* **Estimated Cost Per Batch:** The cost of the ingredients for one batch of DIY Dawn Powerwash is usually less than $1. This means you can save several dollars per refill!
* **Long-Term Savings:** If you use Dawn Powerwash regularly, the savings can really add up. Over a year, you could easily save $20 or more by making your own refills.
Variations and Add-Ins: Customize Your Clean!
Want to add a little something extra to your DIY Powerwash? Here are a few ideas:
* **Essential Oils:** Add a few drops of your favorite essential oil for a pleasant scent. Lemon, lavender, and tea tree oil are all great options.
* **Borax:** Add a tablespoon of borax for extra cleaning power. Borax is a natural mineral that helps to boost the effectiveness of detergents.
* **Vinegar:** Add a tablespoon of white vinegar for extra grease-cutting power. Vinegar is also a natural disinfectant.
Important Note: When adding essential oils
Conclusion
So, there you have it! Ditching the store-bought spray and embracing this DIY Dawn Powerwash Recipe is more than just a cost-effective move; it’s a step towards a cleaner home, a greener planet, and a more empowered you. We鈥檝e walked you through the simple steps, highlighted the incredible versatility, and even offered some exciting variations to tailor this cleaning powerhouse to your specific needs.
Why is this a must-try? Because it works! You’re getting the same cleaning power, if not better, than the commercial version, without the hefty price tag and the nagging guilt of contributing to plastic waste. Think about it: fewer trips to the store, less plastic ending up in landfills, and more money in your pocket. Plus, you have complete control over the ingredients, ensuring a formula that’s gentle on your surfaces and safe for your family and pets (when used as directed, of course!).
But the benefits don’t stop there. This DIY approach encourages experimentation and customization. Feeling adventurous? Add a few drops of your favorite essential oil for a refreshing scent boost. Dealing with stubborn grease? Increase the concentration of Dawn dish soap for extra cleaning muscle. The possibilities are endless!
We’ve given you the tools, the knowledge, and the inspiration. Now, it’s your turn to take the plunge. Gather your ingredients, mix up a batch of this amazing DIY Dawn Powerwash, and experience the difference for yourself. We are confident that you will be amazed by the cleaning power and the money you save.
Don’t just take our word for it, though. The real magic happens when you put this recipe to the test in your own home. Tackle those grimy stovetops, sparkling up your shower doors, or degrease your outdoor grill. We encourage you to share your experiences, your variations, and your before-and-after photos in the comments below. Let’s build a community of DIY cleaning enthusiasts and inspire others to embrace a more sustainable and cost-effective way of keeping their homes sparkling clean. Your tips and tricks could be exactly what someone else needs to conquer their cleaning challenges. So, go ahead, give it a try, and let us know what you think! We can’t wait to hear your success stories!
Frequently Asked Questions (FAQ)
What kind of Dawn dish soap should I use for this DIY Powerwash recipe?
We recommend using the original blue Dawn dish soap for the best results. It’s known for its grease-cutting power and effectiveness in cleaning various surfaces. While other Dawn varieties might work, the original formula is the most tried-and-true option for this DIY project. Avoid using Dawn Ultra, as it is more concentrated and may require adjustments to the recipe to prevent excessive suds.
Can I use a different type of dish soap instead of Dawn?
While Dawn is the preferred choice due to its superior grease-cutting abilities, you can experiment with other dish soaps. However, be aware that the results may vary. Some dish soaps may not be as effective at cleaning, and others might produce excessive suds. If you choose to use a different dish soap, start with a smaller amount and adjust the recipe as needed to achieve the desired cleaning power and suds level.
Is this DIY Powerwash safe to use on all surfaces?
Generally, this DIY Powerwash is safe for most non-porous surfaces, including countertops, stovetops, sinks, shower doors, and appliances. However, it’s always a good idea to test it on an inconspicuous area first, especially on delicate or painted surfaces. Avoid using it on wood furniture or other surfaces that could be damaged by water or soap. Always rinse the surface thoroughly after cleaning to remove any soap residue.
How long does the DIY Powerwash solution last?
The DIY Powerwash solution should last for several weeks or even months when stored in a clean, airtight spray bottle. However, it’s best to use it within a reasonable timeframe to ensure its effectiveness. If you notice any changes in color, odor, or consistency, it’s best to discard the solution and make a fresh batch.
Can I add essential oils to the DIY Powerwash for fragrance?
Yes, you can add a few drops of your favorite essential oils to the DIY Powerwash for a pleasant fragrance. Lemon, lavender, tea tree, and eucalyptus are popular choices for cleaning solutions. However, be sure to use essential oils that are safe for cleaning and avoid using too much, as some essential oils can be irritating to the skin or respiratory system. Start with just a few drops and adjust the amount to your preference.
Will this DIY Powerwash recipe create too many suds?
The amount of suds produced by this DIY Powerwash recipe will depend on the type of dish soap you use and the amount of water in your solution. If you find that it’s creating too many suds, you can reduce the amount of dish soap in the recipe or add more water to dilute the solution. Using distilled water can also help reduce suds.
Can I use this DIY Powerwash to clean my car?
While you can technically use this DIY Powerwash to clean your car, it’s not specifically designed for automotive cleaning. Car washes typically use specialized soaps that are formulated to be gentle on car paint and protect the finish. Using this DIY Powerwash on your car could potentially strip away wax or damage the paint over time. If you choose to use it, be sure to rinse the car thoroughly and apply a coat of wax afterward.
Is this DIY Powerwash safe for septic systems?
The safety of this DIY Powerwash for septic systems depends on the amount of solution you use and the overall health of your septic system. Small amounts of dish soap are generally considered safe for septic systems, but excessive amounts can disrupt the balance of bacteria that break down waste. If you have a septic system, it’s best to use this DIY Powerwash sparingly and avoid pouring large amounts of it down the drain.
Can I use this DIY Powerwash to clean my oven?
Yes, this DIY Powerwash can be used to clean your oven, but it may require some extra effort for baked-on grease and grime. Spray the solution inside the oven, let it sit for a few minutes to loosen the dirt, and then scrub with a sponge or brush. For stubborn stains, you may need to repeat the process or use a more abrasive cleaning tool. Be sure to rinse the oven thoroughly with water to remove any soap residue.
How does this DIY Powerwash compare to store-bought versions in terms of cost?
This DIY Powerwash is significantly more cost-effective than store-bought versions. The ingredients are inexpensive and readily available, and you can make a large batch of solution for a fraction of the price of a single bottle of commercial Powerwash. Plus, you can reuse the spray bottle, which further reduces waste and saves money. Over time, the savings can really add up!
Leave a Comment