
Dish Soap Cleaning Tips: Who knew that the humble bottle of dish soap hiding under your sink held the key to a sparkling clean home, inside and out? I’m not talking just about washing dishes; we’re diving deep into the surprisingly versatile world of dish soap and uncovering some incredible DIY cleaning tricks you probably haven’t heard of!
For generations, dish soap has been a staple in kitchens worldwide, primarily used for its degreasing power. But its cleaning prowess extends far beyond the sink. Think about it – our grandmothers likely used diluted dish soap for everything from washing windows to spot-cleaning carpets. It’s a testament to its effectiveness and gentle nature.
In today’s world, we’re constantly bombarded with specialized cleaning products, each promising miraculous results. But what if I told you that you could simplify your cleaning routine, save money, and reduce your environmental impact all with one simple product? That’s where these dish soap cleaning tips come in! From reviving your grimy grill to banishing fruit flies, these hacks will transform the way you think about cleaning. Plus, many of us are looking for more natural and less harsh cleaning solutions, and dish soap often fits the bill perfectly. So, grab your favorite bottle of dish soap, and let’s get cleaning!
DIY Miracle Cleaner: Unleash the Power of Dish Soap!
Hey there, fellow DIY enthusiasts! I’m so excited to share one of my absolute favorite cleaning hacks with you – a super versatile, all-purpose cleaner you can whip up using… you guessed it… dish soap! Forget those expensive, chemical-laden cleaners from the store. This homemade version is not only incredibly effective but also gentle on your wallet and the environment.
This isn’t just about mixing soap and water, though. We’re going to create a powerful cleaning solution that can tackle everything from greasy stovetops to grimy bathroom tiles. Trust me, once you try this, you’ll be hooked!
What Makes This Cleaner So Awesome?
Before we dive into the recipe, let’s talk about why this DIY cleaner is such a game-changer:
* Effective Cleaning: Dish soap is designed to cut through grease and grime, making it perfect for cleaning kitchens and bathrooms.
* Gentle on Surfaces: Unlike harsh chemicals, this cleaner is safe for most surfaces, including countertops, tiles, and even some fabrics (always test in an inconspicuous area first!).
* Budget-Friendly: Dish soap is inexpensive and readily available, making this a super affordable cleaning solution.
* Environmentally Friendly: By making your own cleaner, you’re reducing your reliance on single-use plastic bottles and harsh chemicals that can harm the environment.
* Customizable: You can easily customize this cleaner with essential oils for added cleaning power and a pleasant scent.
Gather Your Supplies
Okay, let’s get started! Here’s what you’ll need to create your own miracle cleaner:
* Dish Soap: I prefer using a concentrated dish soap for maximum cleaning power. Any brand will do, but I find that those designed for grease-cutting work best.
* White Vinegar: Vinegar is a natural disinfectant and deodorizer. It helps to break down grime and leave surfaces sparkling clean.
* Water: Distilled water is ideal, but tap water works just fine.
* Baking Soda (Optional): Baking soda is a mild abrasive that can help to scrub away stubborn stains.
* Essential Oils (Optional): Essential oils like lemon, tea tree, or eucalyptus can add a pleasant scent and boost the cleaning power of your solution.
* Spray Bottle: A clean, empty spray bottle is essential for dispensing your cleaner.
* Measuring Cups and Spoons: For accurate measurements.
* Funnel (Optional): Makes pouring liquids into the spray bottle easier.
The Basic Dish Soap Cleaner Recipe
This is the foundation of our miracle cleaner. It’s simple, effective, and perfect for everyday cleaning.
Ingredients:
* 1/4 cup Dish Soap
* 1/2 cup White Vinegar
* 2 cups Water
Instructions:
1. Combine Ingredients: In a measuring cup or bowl, combine the dish soap, white vinegar, and water.
2. Mix Gently: Stir the mixture gently to combine. Avoid creating excessive bubbles.
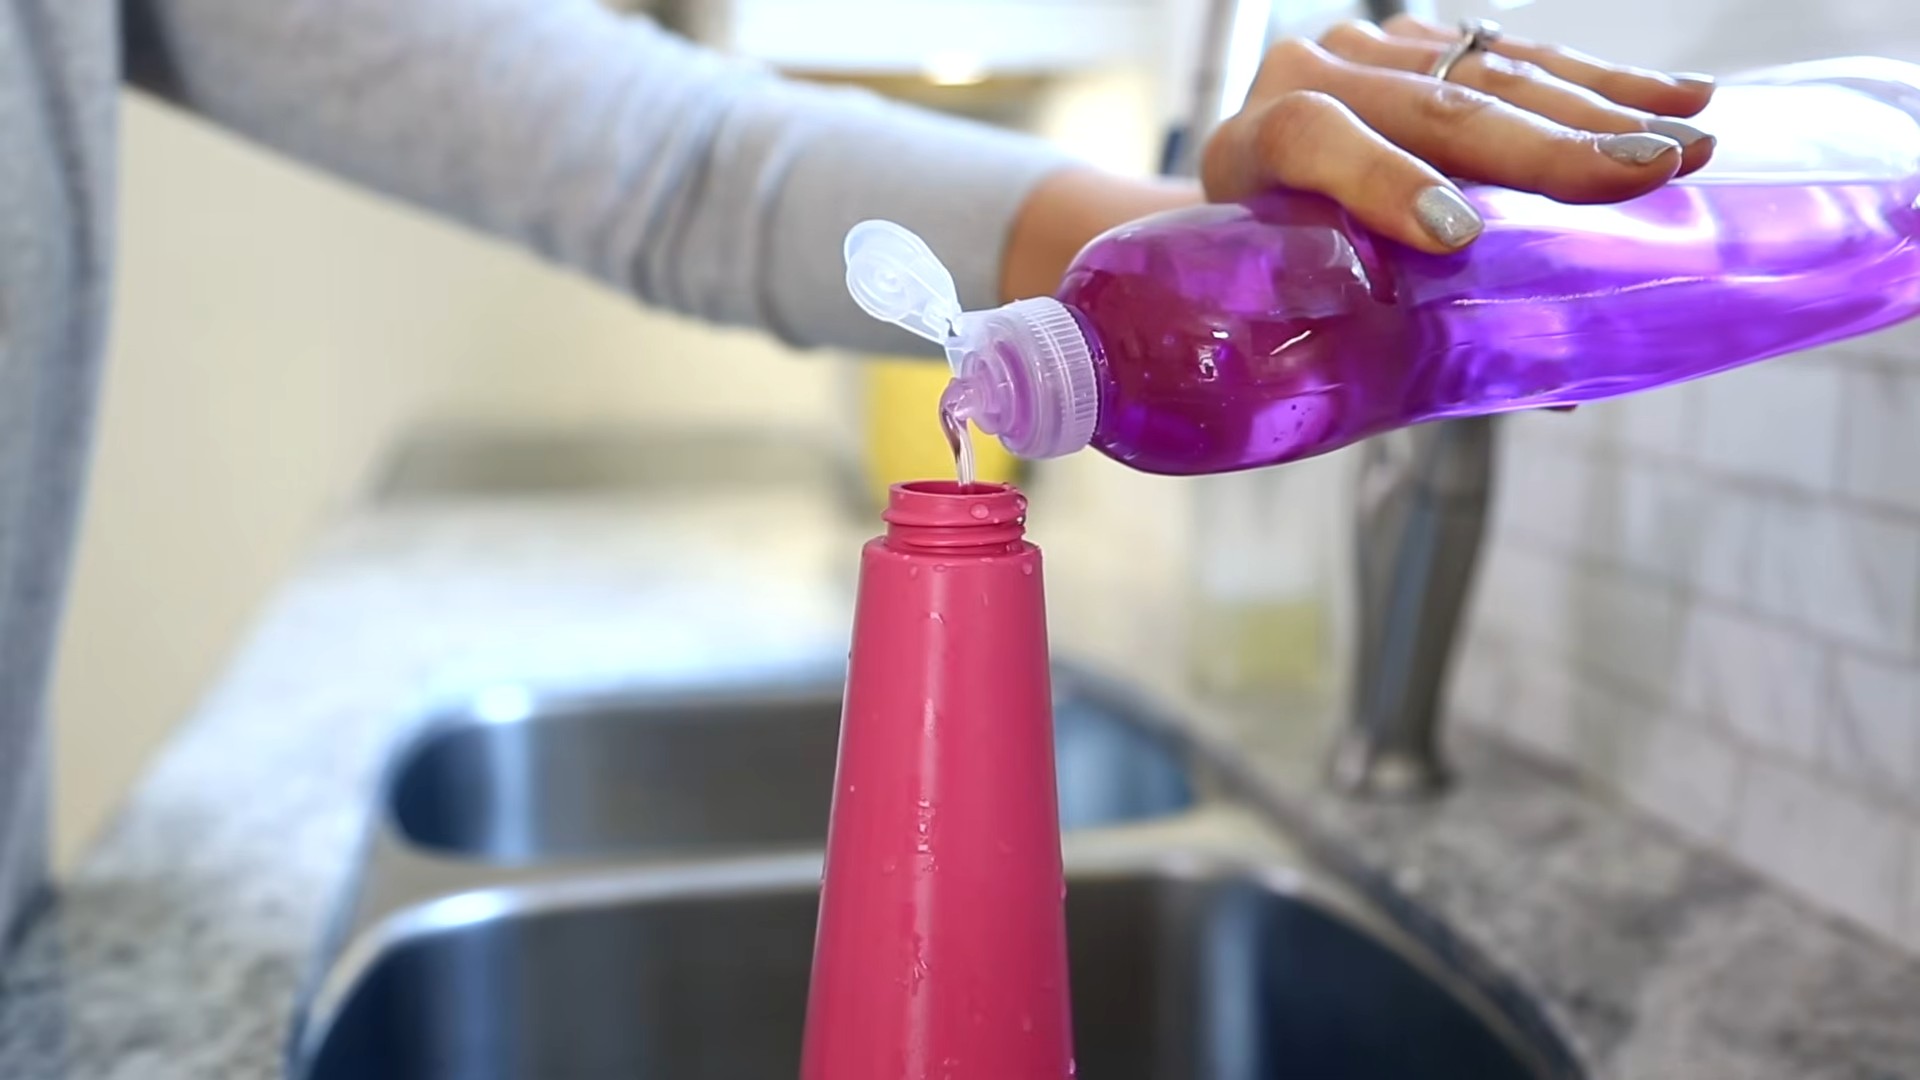
3. Pour into Spray Bottle: Using a funnel (if desired), pour the mixture into your clean spray bottle.
4. Label Your Bottle: Label the bottle with the name of the cleaner and the date you made it. This will help you keep track of your homemade cleaning supplies.
Supercharging Your Cleaner: Baking Soda Boost
For tougher cleaning jobs, adding baking soda can give your cleaner an extra boost.
Ingredients:
* 1/4 cup Dish Soap
* 1/2 cup White Vinegar
* 1 tablespoon Baking Soda
* 2 cups Water
Instructions:
1. Combine Vinegar and Baking Soda: In a measuring cup or bowl, slowly add the baking soda to the white vinegar. Be prepared for it to fizz!
2. Add Dish Soap and Water: Once the fizzing subsides, add the dish soap and water.
3. Mix Gently: Stir the mixture gently to combine.
4. Pour into Spray Bottle: Using a funnel (if desired), pour the mixture into your clean spray bottle.
5. Label Your Bottle: Label the bottle clearly, indicating that it contains baking soda.
Important Note: Because baking soda can settle at the bottom of the bottle, you’ll need to shake this cleaner well before each use.
Adding Aromatherapy and Extra Cleaning Power: Essential Oil Infusion
Want to add a pleasant scent and boost the cleaning power of your cleaner? Essential oils are the way to go!
Ingredients:
* Basic Dish Soap Cleaner Recipe (from above)
* 10-20 drops Essential Oil (Lemon, Tea Tree, Eucalyptus, Lavender, or a blend)
Instructions:
1. Prepare Basic Cleaner: Follow the instructions for the basic dish soap cleaner recipe.
2. Add Essential Oils: Add 10-20 drops of your chosen essential oil(s) to the spray bottle.
3. Shake Well: Shake the bottle well to distribute the essential oils evenly.
4. Label Your Bottle: Label the bottle with the name of the cleaner and the essential oil(s) you used.
Essential Oil Recommendations:
* Lemon: A natural degreaser and disinfectant with a bright, uplifting scent.
* Tea Tree: A powerful antibacterial and antifungal oil, perfect for cleaning bathrooms.
* Eucalyptus: A refreshing scent with antiseptic properties, great for cleaning kitchens and bathrooms.
* Lavender: A calming scent with antibacterial properties, ideal for general cleaning.
Cleaning with Your DIY Miracle Cleaner: Tips and Tricks
Now that you’ve made your cleaner, let’s talk about how to use it effectively:
1. Test in an Inconspicuous Area: Before using the cleaner on a large surface, test it in a small, hidden area to ensure it doesn’t damage or discolor the material.
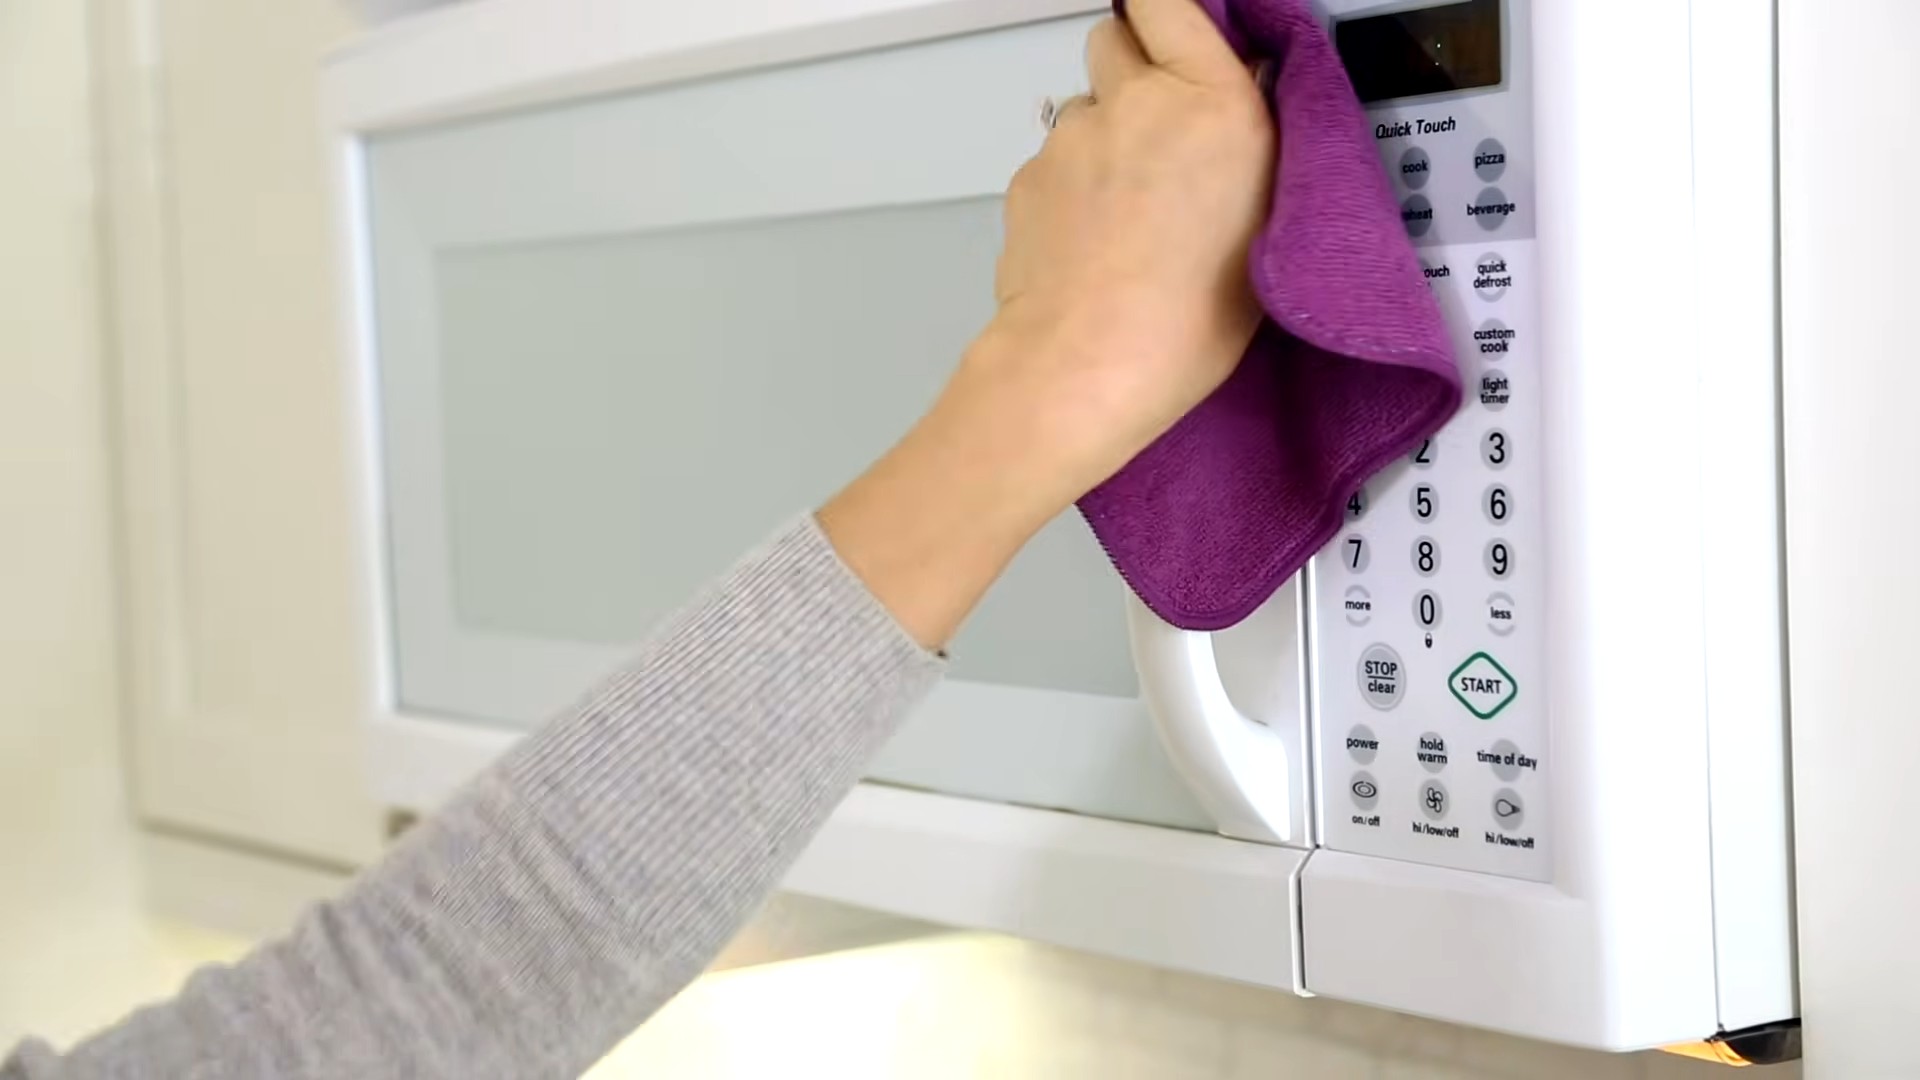
2. Spray and Wipe: Spray the cleaner onto the surface you want to clean and let it sit for a few minutes to allow the soap and vinegar to work their magic. Then, wipe the surface clean with a damp cloth or sponge.
3. For Stubborn Stains: For tough stains, spray the cleaner onto the surface and let it sit for a longer period of time (up to 30 minutes). You can also use a scrub brush or sponge to scrub away the stain.
4. Rinse if Necessary: If you’re cleaning a surface that comes into contact with food, rinse it with clean water after wiping it down with the cleaner.
5. Dry the Surface: After cleaning, dry the surface with a clean cloth to prevent water spots.
Where to Use Your DIY Miracle Cleaner
This cleaner is incredibly versatile and can be used in a variety of places around your home:
* Kitchen: Clean countertops, stovetops, sinks, appliances, and floors.
* Bathroom: Clean toilets, sinks, showers, tubs, and tiles.
* Floors: Mop hard floors like tile, linoleum, and hardwood (use sparingly on hardwood and always test in an inconspicuous area first).
* Windows and Mirrors: Clean windows and mirrors for a streak-free shine.
* Furniture: Spot clean upholstery and carpets (always test in an inconspicuous area first).
Troubleshooting and FAQs
* Why is my cleaner cloudy? This is usually due to the dish soap reacting with the vinegar. It’s perfectly normal and doesn’t affect the cleaning power of the solution.
* Can I use this cleaner on granite or marble? Vinegar can etch granite and marble, so it’s best to avoid using this cleaner on these surfaces. Instead, use a cleaner specifically designed for stone surfaces.
* How long does this cleaner last? This cleaner will last for several months if stored in a cool, dark place.
* My cleaner smells too much like vinegar. Add more essential oils to mask the vinegar scent.
* Can I use this cleaner to wash dishes? While you *could*, it’s not recommended. This cleaner is designed for surface cleaning, not for washing dishes. Use a dedicated dish soap for washing dishes.
* The baking soda is clogging my spray bottle. Make sure the baking soda is fully dissolved before pouring the mixture into the spray bottle. You can also use a spray bottle with a wider nozzle.
Safety Precautions
While this cleaner is generally safe, it’s important to take a few precautions:
* Keep out of reach of children and pets.
* Avoid contact with eyes. If contact occurs, rinse thoroughly with water.
* Do not ingest. If ingested, seek medical attention immediately.
* Always test in an inconspicuous area before using on a large surface.
Final Thoughts
I hope you’re as excited as I am about this DIY miracle cleaner! It’s a simple, effective, and affordable way to keep
Conclusion
So, there you have it! Transforming your ordinary dish soap into a powerhouse cleaning solution is not just a clever hack; it’s a game-changer for your home. We’ve explored how simple adjustments to your everyday dish soap routine can unlock a world of cleaning possibilities, saving you money, reducing your reliance on harsh chemicals, and making your cleaning tasks significantly more efficient.
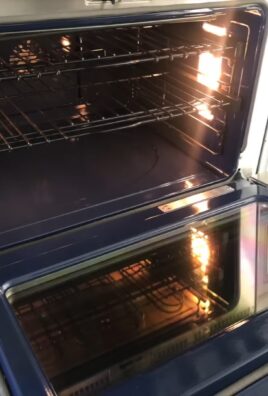
Why is this DIY trick a must-try? Because it’s incredibly versatile. From degreasing your oven to tackling stubborn stains on your clothes, dish soap, when used strategically, can handle a surprising range of cleaning challenges. It’s also cost-effective. Instead of buying a multitude of specialized cleaning products, you can leverage the cleaning power of something you already have in your kitchen. And perhaps most importantly, it’s a step towards a more eco-friendly cleaning routine. By diluting and customizing your dish soap, you can minimize the amount of harsh chemicals you’re introducing into your home and the environment.
But the real beauty of this DIY approach lies in its adaptability. Feel free to experiment with different essential oils to add a pleasant fragrance to your cleaning solutions. Lavender, lemon, and tea tree oil are all excellent choices, known for their antibacterial and antifungal properties. For tougher cleaning jobs, consider adding a tablespoon of baking soda to your dish soap mixture for extra scrubbing power. If you’re dealing with hard water stains, a splash of white vinegar can work wonders. Remember to always test your DIY cleaning solutions on a small, inconspicuous area first to ensure they don’t damage the surface.
Don’t be afraid to get creative and tailor these tips to your specific needs and preferences. The possibilities are endless!
We wholeheartedly encourage you to try these dish soap cleaning tips and discover the magic for yourself. We’re confident that you’ll be amazed by the results. Once you’ve given them a whirl, we’d love to hear about your experience. Share your successes, your variations, and any other clever cleaning hacks you’ve discovered in the comments below. Let’s build a community of savvy cleaners who are passionate about making their homes sparkling clean without breaking the bank or harming the environment. Your insights could be incredibly valuable to others who are just starting their DIY cleaning journey. So, go ahead, give it a try, and let us know what you think! We can’t wait to hear from you.
Frequently Asked Questions (FAQs)
1. Is it safe to use dish soap on all surfaces?
While dish soap is generally safe for most surfaces, it’s always best to test it on a small, inconspicuous area first, especially on delicate materials like wood, painted surfaces, or natural stone. Some dish soaps can be too harsh for certain finishes and may cause discoloration or damage. Avoid using dish soap on porous surfaces like unsealed grout, as it can be difficult to rinse completely and may leave a residue. When in doubt, consult the manufacturer’s instructions for the surface you’re cleaning.
2. Can I use any type of dish soap for these cleaning tips?
While most dish soaps will work, it’s generally recommended to use a clear, unscented dish soap for cleaning purposes. This is because scented dish soaps can sometimes leave a residue or transfer their fragrance to the surfaces you’re cleaning. Clear dish soaps are also less likely to contain dyes or other additives that could potentially stain or damage certain materials. However, if you prefer a scented dish soap, you can always add a few drops of your favorite essential oil to your cleaning solution.
3. How do I dilute dish soap properly for cleaning?
The ideal dilution ratio for dish soap will depend on the specific cleaning task. For general cleaning, a good starting point is to mix 1-2 tablespoons of dish soap with a gallon of warm water. For tougher cleaning jobs, you can increase the concentration of dish soap, but be careful not to use too much, as this can make it difficult to rinse completely. When making a spray cleaner, a ratio of 1 teaspoon of dish soap to 16 ounces of water is usually sufficient. Always start with a diluted solution and increase the concentration as needed.
4. Can I use dish soap to clean my car?
While dish soap can be used to wash your car in a pinch, it’s not the ideal choice. Dish soap is designed to cut through grease and oil, which means it can also strip away the wax and protective coatings on your car’s paint. Over time, this can lead to fading, oxidation, and other damage. If you do use dish soap to wash your car, be sure to use a very diluted solution and rinse thoroughly. It’s also a good idea to reapply wax to your car after washing it with dish soap. For best results, use a car-specific wash that is formulated to protect your car’s paint.
5. How do I remove dish soap residue from surfaces?
If you’ve used too much dish soap or haven’t rinsed thoroughly, you may notice a soapy residue on the surfaces you’ve cleaned. To remove this residue, simply wipe the surface with a clean, damp cloth. You may need to repeat this process several times to remove all of the soap. For stubborn residue, you can try adding a small amount of white vinegar to the water. Vinegar is a natural cleaning agent that can help to dissolve soap scum and other residues.
6. Can I mix dish soap with other cleaning products?
It’s generally not recommended to mix dish soap with other cleaning products, especially those containing bleach or ammonia. Mixing these chemicals can create dangerous fumes that can be harmful to your health. Always use cleaning products separately and follow the manufacturer’s instructions carefully. If you’re unsure whether it’s safe to mix two cleaning products, it’s always best to err on the side of caution and avoid mixing them.
7. Is dish soap effective for killing bacteria and viruses?
While dish soap can help to remove dirt and grime from surfaces, it’s not a disinfectant. Dish soap works by lifting dirt and grease away from surfaces, allowing them to be rinsed away with water. To kill bacteria and viruses, you’ll need to use a disinfectant cleaner that is specifically formulated for that purpose. Look for products that contain ingredients like bleach, hydrogen peroxide, or quaternary ammonium compounds.
8. How can I make my own all-purpose cleaner with dish soap?
Creating an all-purpose cleaner with dish soap is simple. Combine 1 teaspoon of clear dish soap, 1/4 cup of white vinegar, and 2 cups of water in a spray bottle. Shake well to mix. You can also add a few drops of your favorite essential oil for fragrance. This cleaner is effective for cleaning a variety of surfaces, including countertops, sinks, and appliances. Always test on an inconspicuous area first.
9. What are some other creative uses for dish soap around the house?
Beyond the cleaning tips mentioned earlier, dish soap can be used for a variety of other purposes around the house. It can be used to unclog drains, remove stains from clothing, clean makeup brushes, and even make bubbles for kids. Its gentle yet effective cleaning power makes it a versatile tool for tackling a wide range of household tasks.
10. How do I store my DIY dish soap cleaning solutions?
Store your DIY dish soap cleaning solutions in labeled spray bottles or containers. Keep them out of reach of children and pets. It’s also a good idea to store them in a cool, dark place to prevent the ingredients from degrading. Most DIY cleaning solutions will last for several months, but it’s always best to make a fresh batch if you notice any changes in color, odor, or consistency.

Leave a Comment