
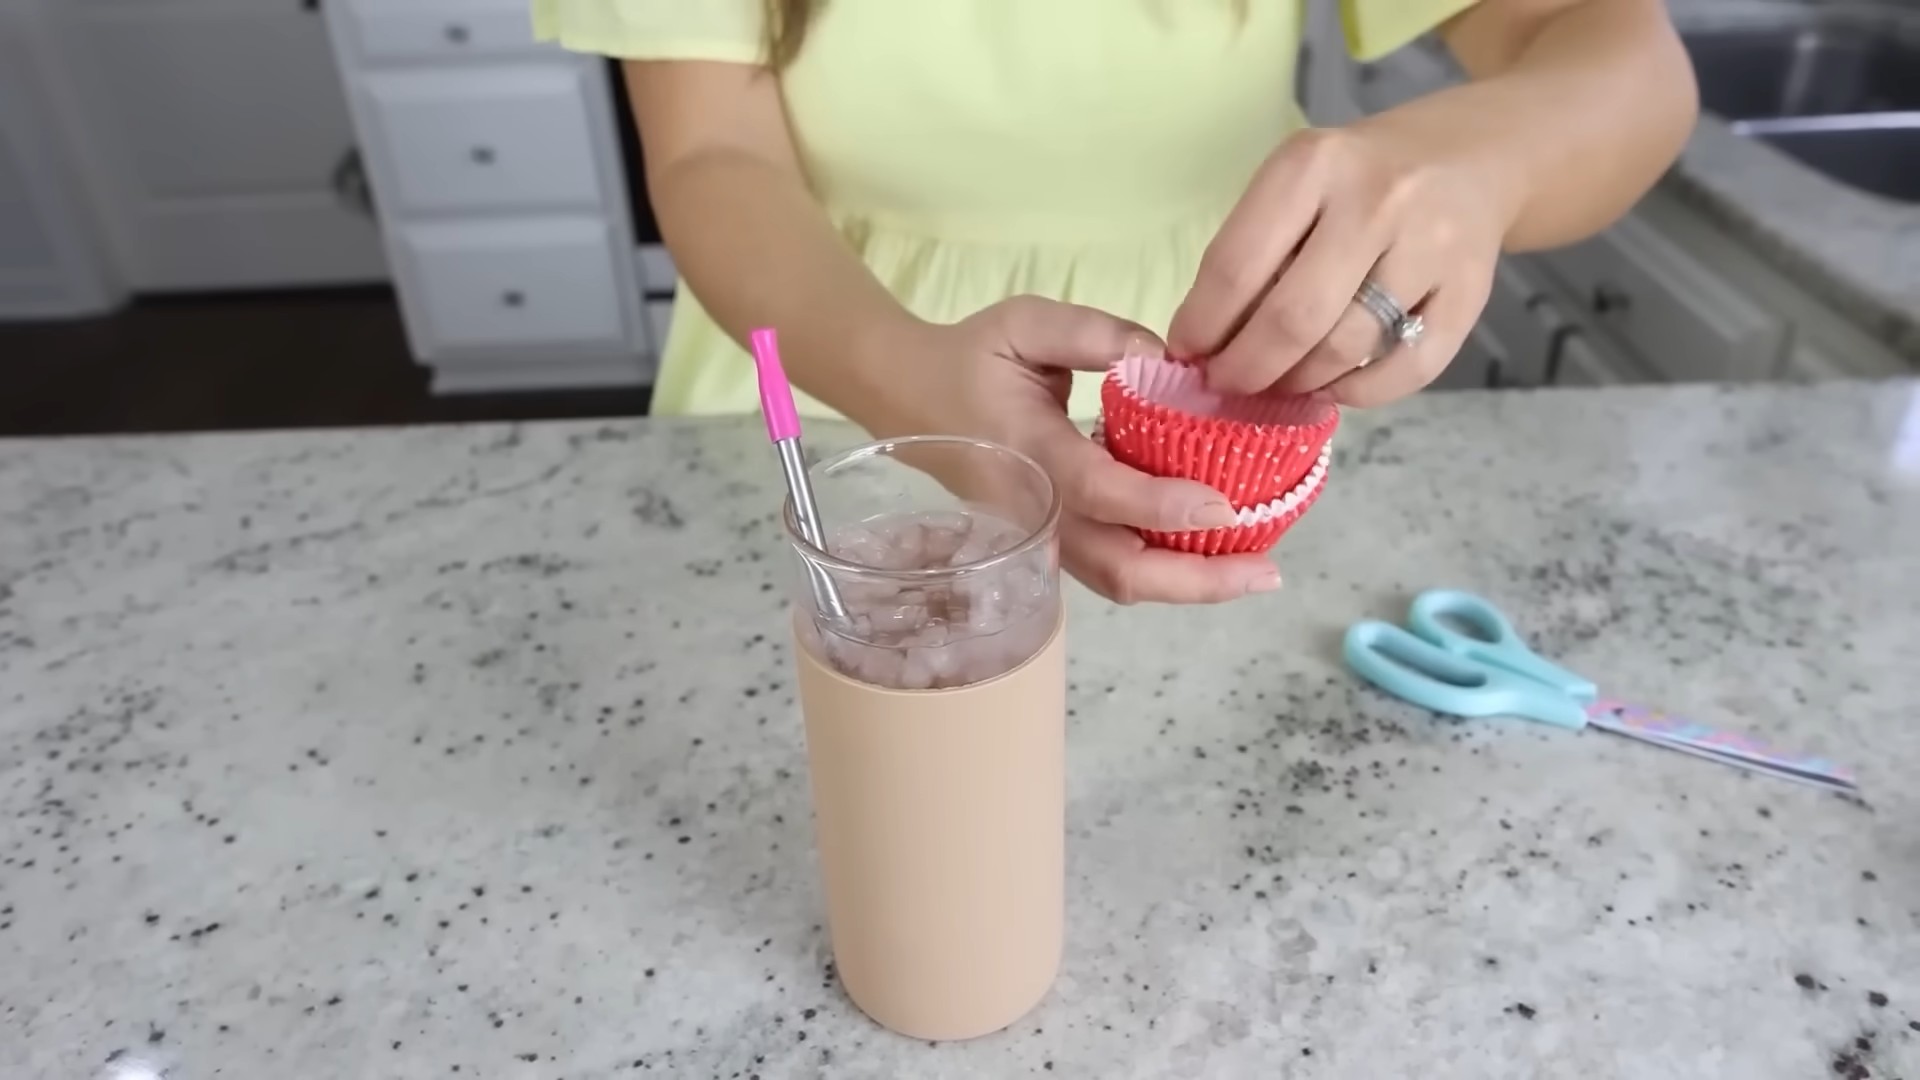
Cupcake Liner Crafts: Who knew those humble little paper cups could be transformed into so much more than just baking vessels? I’m always amazed by the sheer creativity people unleash with everyday items, and cupcake liners are no exception! From adorable decorations to surprisingly elegant accessories, the possibilities are truly endless.
While the modern cupcake liner is a relatively recent invention, the idea of using molds for baking dates back centuries. Ancient civilizations used everything from leaves to shells to shape their breads and cakes. Today, we have these convenient, readily available liners, and it’s time we explored their potential beyond the oven!
Let’s face it, we all crave a little bit of DIY magic in our lives. Whether you’re looking for a budget-friendly way to decorate for a party, searching for a unique handmade gift, or simply wanting to unleash your inner artist, cupcake liner crafts offer a fantastic solution. This article is packed with easy-to-follow tutorials and inspiring ideas that will have you seeing those colorful paper cups in a whole new light. Get ready to transform your craft supplies and add a touch of whimsy to your world!
Upcycling Cupcake Liners: From Baking to Beautiful Decorations!
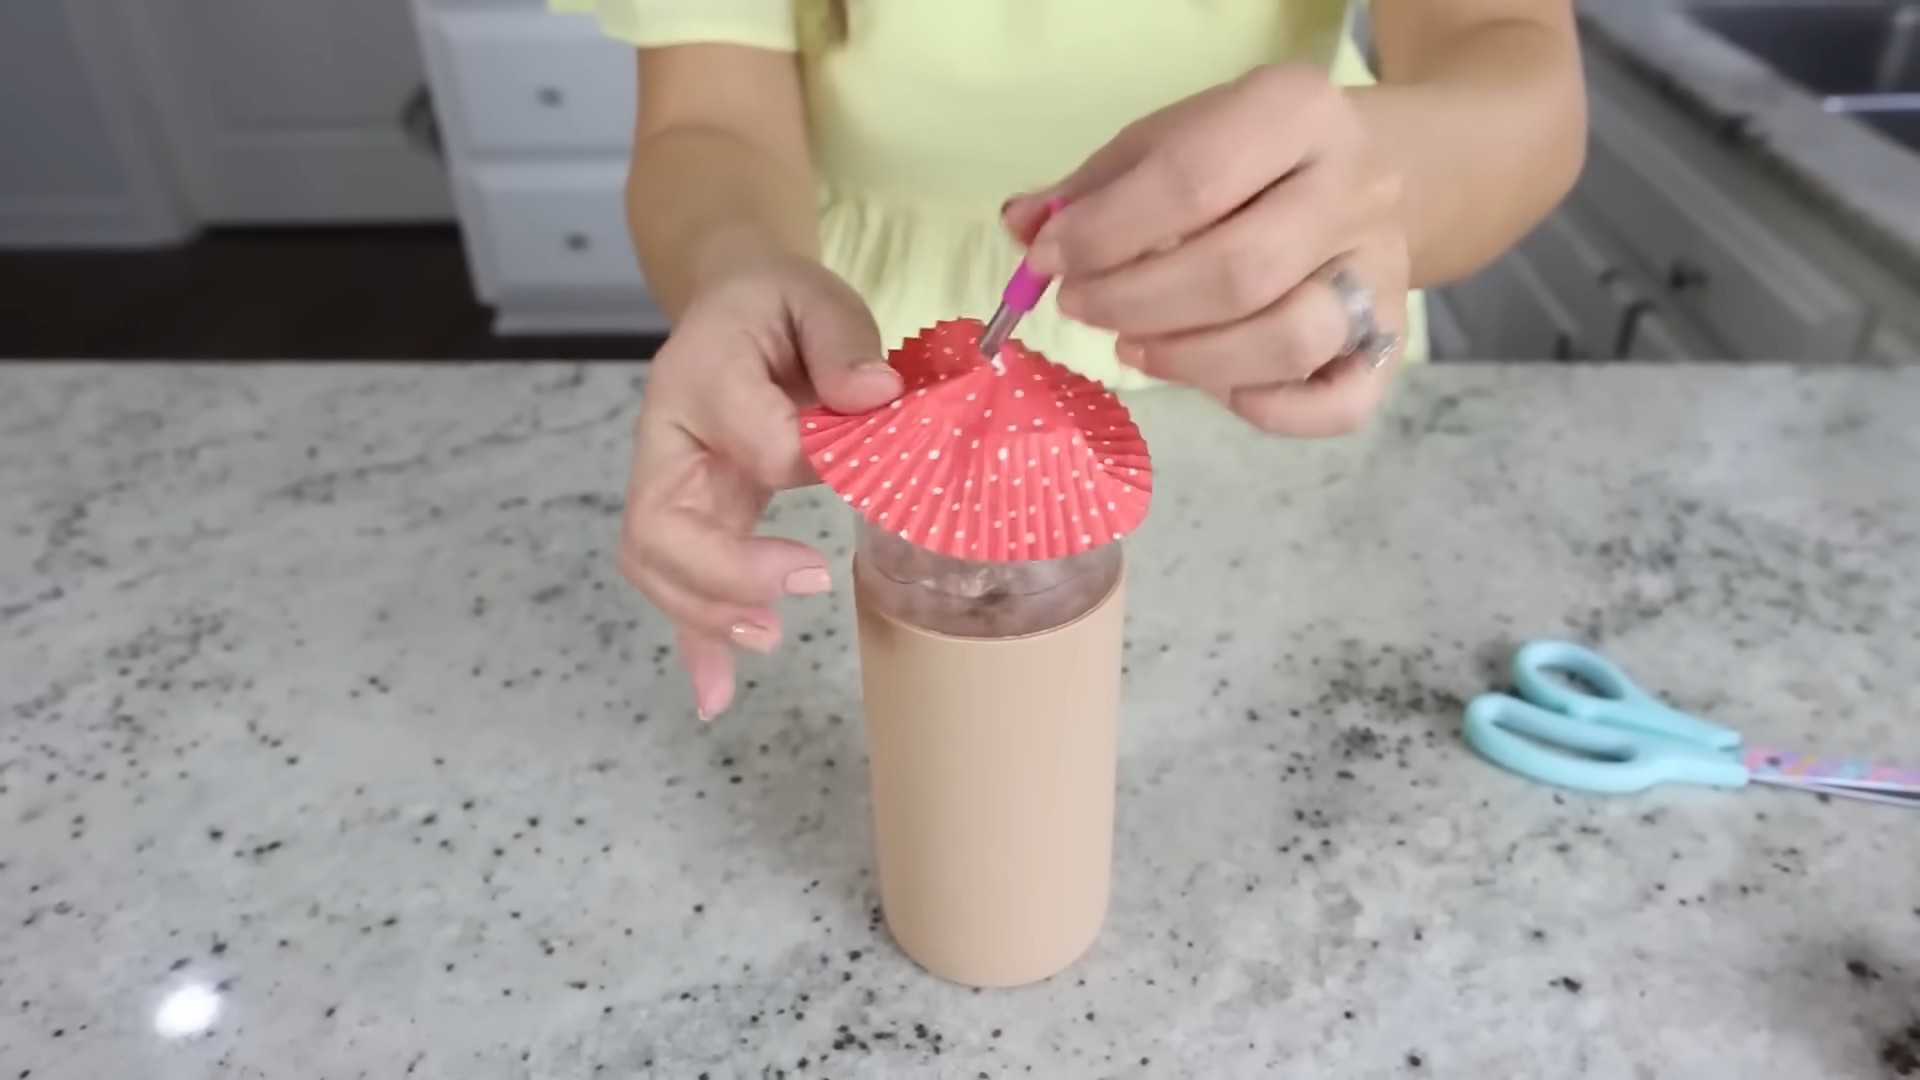
Hey there, fellow crafters! I’m so excited to share one of my favorite DIY hacks with you 鈥?transforming humble cupcake liners into stunning decorations. Seriously, who knew those little paper cups could be so versatile? This project is perfect for anyone looking to add a touch of whimsy to their home, party, or even wardrobe, all while being super budget-friendly and eco-conscious. Let’s dive in!
Materials You’ll Need
Before we get started, let’s gather our supplies. The beauty of this project is that you probably already have most of these things lying around!
* Cupcake liners (paper or foil, any size or color 鈥?get creative!)
* Scissors
* Glue (hot glue gun, craft glue, or even a glue stick will work)
* Ruler
* Pencil
* Optional: Beads, glitter, sequins, paint, markers, wire, string, buttons, felt scraps, small pom-poms
Basic Techniques: Mastering the Cupcake Liner Rose
The foundation of many cupcake liner crafts is the “rose.” Once you master this simple technique, you can adapt it to create all sorts of amazing things.
Step-by-Step Rose Creation
1. Flatten the Liner: Take a cupcake liner and flatten it out as much as possible. Don’t worry about getting it perfectly flat; a few creases will add character.
2. Fold in Half: Fold the flattened liner in half. Crease the fold firmly.
3. Fold in Half Again: Fold the half-circle in half again, creating a quarter-circle shape.
4. Round the Edge: Using your scissors, round off the open edge of the quarter-circle. This will create the petal shape. You can experiment with different curves for different petal styles. A deeper curve will give you a more open, ruffled rose.
5. Unfold and Cut: Unfold the liner. You should now have a circle with a petal-like edge. Now, make a cut from the center of the circle to one of the petal edges.
6. Overlap and Glue: Overlap the cut edges of the circle to create a cone shape. The amount you overlap will determine how tight or loose the rose is. For a tight bud, overlap a lot. For a more open rose, overlap just a little. Apply glue to the overlapping area and hold until it sets.
7. Repeat and Combine: Repeat steps 1-6 to create several more roses. The number of roses you need will depend on the size and complexity of your project.
Project 1: Cupcake Liner Garland
This garland is perfect for adding a festive touch to any room or party. It’s easy to customize with different colors and sizes of cupcake liners.
Step-by-Step Garland Creation
1. Prepare Your Roses: Create a bunch of cupcake liner roses using the technique described above. I recommend making a variety of sizes and colors for a more interesting garland. Aim for at least 20-30 roses, depending on how long you want your garland to be.
2. Choose Your String: Select a string, ribbon, or twine to hang your garland. I like to use baker’s twine for a rustic look, but you can use anything that suits your style.
3. Attach the Roses: Using your hot glue gun or craft glue, attach the roses to the string. Space them evenly along the string, leaving a little bit of string at each end for hanging. You can overlap the roses slightly for a fuller look.
4. Add Embellishments (Optional): If you want to add some extra sparkle, glue beads, sequins, or glitter to the roses. You can also add small pom-poms or felt leaves for a more whimsical touch.
5. Hang and Enjoy: Once the glue is dry, hang your garland and enjoy! It’s perfect for decorating a mantel, doorway, or party table.
Project 2: Cupcake Liner Flower Wall Art
This project is a bit more involved, but the results are stunning. You’ll create a beautiful flower wall art piece using a variety of cupcake liner flowers.
Step-by-Step Flower Wall Art Creation
1. Prepare Your Base: Choose a canvas, piece of cardboard, or wooden board to use as your base. The size of your base will depend on how large you want your wall art to be. I recommend starting with a 12×12 inch canvas.
2. Create a Variety of Flowers: This is where you can really get creative! Use different sizes, colors, and folding techniques to create a variety of cupcake liner flowers. Here are a few ideas:
* Layered Flowers: Create several roses of different sizes and layer them on top of each other, gluing them together in the center.
* Fringed Flowers: Instead of rounding the edge of the quarter-circle, cut small fringes along the edge. This will create a more textured flower.
* Pointed Petal Flowers: Instead of rounding the edge, cut a pointed shape. This will create a flower with sharper, more angular petals.
* Flat Flowers: Don’t fold the liner at all! Simply flatten it and cut out petal shapes around the edge. These are great for adding a different texture to your wall art.
3. Arrange Your Flowers: Before you start gluing, arrange your flowers on the base to see how you like the layout. Experiment with different arrangements until you find one that you’re happy with. Consider the color balance and the overall composition.
4. Glue the Flowers: Once you’re happy with the arrangement, start gluing the flowers to the base. Use a generous amount of glue to ensure that they are securely attached.
5. Fill in the Gaps: Once the larger flowers are in place, fill in any gaps with smaller flowers, beads, sequins, or other embellishments. This will create a fuller, more textured look.
6. Add a Hanger: If you’re using a canvas, it probably already has a hanger. If you’re using a piece of cardboard or wooden board, you’ll need to add one. You can use a piece of string, wire, or ribbon.
7. Hang and Admire: Once the glue is dry, hang your flower wall art and admire your creation!
Project 3: Cupcake Liner Earrings
Yes, you read that right! You can even make earrings out of cupcake liners. This project is a bit more delicate, but the results are super cute and unique.
Step-by-Step Earring Creation
1. Prepare Your Roses: Create two small cupcake liner roses using the technique described above. Use smaller cupcake liners for this project. I recommend using paper liners, as they are lighter and easier to work with.
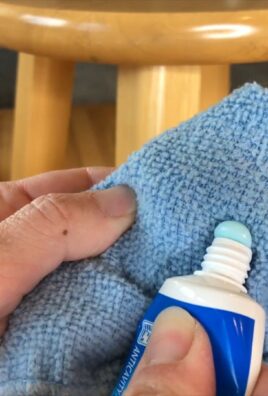
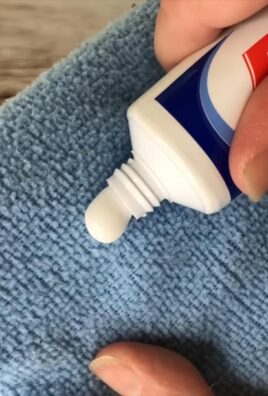
2. Reinforce the Roses: To make the roses more durable, apply a thin layer of clear nail polish or Mod Podge to the petals. This will help to stiffen them and prevent them from tearing. Let them dry completely.
3. Attach Earring Hooks: Using a hot glue gun or strong craft glue, attach earring hooks to the back of the roses. Make sure the hooks are securely attached.
4. Add Embellishments (Optional): If you want to add some extra sparkle, glue small beads or sequins to the roses.
5. Let Dry Completely: Allow the glue to dry completely before wearing your earrings.
6. Wear and Enjoy: Now you have a pair of unique and stylish earrings made from cupcake liners! Be prepared for compliments!
Project 4: Cupcake Liner Christmas Ornaments
Get festive with these adorable Christmas ornaments! They’re a fun and easy way to add a handmade touch to your holiday decor.
Step-by-Step Ornament Creation
1. Choose Your Colors: Select cupcake liners in festive colors like red, green, gold, and silver. You can also use patterned liners for a more unique look.
2. Create Your Shapes: You can create a variety of shapes using cupcake liners. Here are a few ideas:
* Stars: Flatten a cupcake liner and fold it in half, then in half again. Cut out a star shape from the folded liner. Unfold it to reveal a star ornament.
* Snowflakes: Flatten a cupcake liner and fold it in half, then in half again, and then in half again. Cut out various shapes along the edges of the folded liner to create a snowflake pattern. Unfold it to reveal a snowflake ornament.
* Christmas Trees: Cut a cupcake liner into a triangle shape. Layer several triangles of different sizes on top of each other, gluing them together to create a Christmas tree ornament.
3. Add Embellishments: Glue glitter, beads, sequins, or small pom-poms to your ornaments to add some extra sparkle.
4. Attach a Hanger: Use a piece of string, ribbon,
Conclusion
So, there you have it! Transforming simple cupcake liners into stunning and unique crafts is not only incredibly easy but also surprisingly versatile. We’ve explored just a few of the countless possibilities, from elegant paper flowers that brighten any room to whimsical garlands that add a touch of festive charm. The beauty of these **cupcake liner crafts** lies in their accessibility 鈥?readily available materials, minimal tools, and endless opportunities for personalization.
Why is this DIY trick a must-try? Because it’s a fantastic way to unleash your creativity, reduce waste by repurposing everyday items, and create beautiful, personalized decorations without breaking the bank. It’s a win-win-win! Plus, it’s a fantastic activity to do with kids, fostering their imagination and fine motor skills while creating lasting memories.
Looking for variations? Consider using different sizes and colors of cupcake liners to create more intricate designs. Experiment with layering liners to add depth and dimension to your flowers. For garlands, try incorporating beads, sequins, or glitter for extra sparkle. You can even use patterned or metallic cupcake liners for a more sophisticated look. Don’t be afraid to think outside the box! Instead of traditional flowers, try creating cupcake liner animals, snowflakes, or even miniature hot air balloons. The possibilities are truly endless.
For a more rustic feel, try using unbleached or brown kraft paper cupcake liners. These create a lovely, natural aesthetic that’s perfect for farmhouse-style decor. You can also distress the edges of the liners by gently tearing or crumpling them for a more aged look.
If you’re feeling ambitious, try creating a large-scale cupcake liner art piece. Attach hundreds of liners to a canvas or piece of plywood to create a stunning textured wall hanging. This is a great way to make a bold statement in any room.
We’re confident that once you try these cupcake liner crafts, you’ll be hooked. The satisfaction of transforming something so simple into something so beautiful is truly rewarding. So, gather your supplies, unleash your inner artist, and get crafting!
We can’t wait to see what you create! Share your cupcake liner masterpieces with us on social media using #CupcakeLinerCreations. We’ll be featuring our favorite projects on our page. Let’s inspire each other with our creativity and show the world the amazing things you can do with a simple cupcake liner. Don’t forget to tag us in your posts and tell us about your experience. What was your favorite craft to make? What challenges did you encounter? What tips and tricks did you discover along the way? Your feedback is invaluable and helps us to continue providing you with the best DIY content. Happy crafting!
FAQ
What kind of cupcake liners work best for these crafts?
The beauty of cupcake liner crafts is their versatility! You can use almost any type of cupcake liner, but some work better for certain projects. Paper liners are the most common and easiest to work with, especially for beginners. They come in a wide variety of colors, patterns, and sizes, offering endless creative possibilities. Foil liners are more durable and can add a touch of shine to your projects, but they can be a bit more difficult to fold and shape. Silicone liners are reusable and heat-resistant, making them ideal for crafts that involve heat, such as melting wax or creating molds. However, they may not be suitable for all projects due to their flexibility. Ultimately, the best type of cupcake liner depends on the specific craft you’re making and your personal preferences. Experiment with different types to see what works best for you!
How do I prevent the cupcake liners from tearing when I’m folding them?
Tearing can be a common issue, especially with thinner paper liners. Here are a few tips to prevent tearing:
* Use gentle pressure: Avoid pressing too hard when folding or shaping the liners. Use a light touch and take your time.
* Work on a soft surface: Folding on a soft surface, like a towel or a piece of felt, can help cushion the liners and prevent them from tearing.
* Moisten the liners slightly: Lightly misting the liners with water can make them more pliable and less likely to tear. Be careful not to over-wet them, as this can cause them to fall apart.
* Use thicker liners: If you’re consistently having trouble with tearing, try using thicker paper liners or foil liners.
* Practice: Like any craft, practice makes perfect! The more you work with cupcake liners, the better you’ll become at handling them without tearing them.
What kind of glue is best for cupcake liner crafts?
The best type of glue depends on the specific project and the materials you’re using. For most paper-based crafts, a standard craft glue or glue stick will work well. Hot glue is a good option for projects that require a strong, instant bond, but be careful when using it, especially with children. For projects that involve attaching cupcake liners to other materials, such as wood or fabric, you may need to use a stronger adhesive, such as a multi-purpose glue or fabric glue. Experiment with different types of glue to see what works best for your project.
Are these crafts suitable for children?
Yes, many cupcake liner crafts are perfect for children! They’re a fun and easy way to encourage creativity and develop fine motor skills. However, it’s important to supervise children closely, especially when using scissors, glue, or other potentially hazardous materials. Choose age-appropriate projects and provide clear instructions. With a little guidance, children can create beautiful and unique cupcake liner crafts that they’ll be proud of.
How can I store my finished cupcake liner crafts?
The best way to store your finished cupcake liner crafts depends on the specific project. Delicate items, such as paper flowers, should be stored in a box or container to protect them from dust and damage. Garlands can be hung on a wall or stored in a plastic bag. Larger items, such as wall hangings, can be wrapped in bubble wrap or stored in a closet. Avoid storing your crafts in direct sunlight or in areas with high humidity, as this can cause them to fade or warp.
Can I sell my cupcake liner crafts?
Absolutely! If you enjoy making cupcake liner crafts, you can definitely sell them. There are many online platforms, such as Etsy, where you can sell handmade crafts. You can also sell your crafts at local craft fairs or markets. Be sure to price your items fairly, taking into account the cost of materials and your time. With a little effort, you can turn your hobby into a profitable business.
How do I clean cupcake liner crafts?
Cleaning cupcake liner crafts can be tricky, as they are often delicate and easily damaged. The best approach is to dust them gently with a soft brush or cloth. Avoid using water or cleaning solutions, as these can cause the liners to disintegrate. For more stubborn dirt or stains, you can try using a slightly damp cloth, but be sure to test it on an inconspicuous area first.
Where can I find inspiration for more cupcake liner crafts?
The internet is a treasure trove of inspiration for cupcake liner crafts! Search online for tutorials, ideas, and inspiration. Websites like Pinterest, YouTube, and craft blogs are great resources. You can also find inspiration in books, magazines, and even in nature. Pay attention to colors, shapes, and patterns that you find appealing, and try incorporating them into your own cupcake liner creations. Don’t be afraid to experiment and try new things!

Leave a Comment