
Cleaning tips can feel like a chore, I know! But what if I told you that tackling those household tasks could actually be鈥?dare I say鈥?enjoyable? For generations, our grandmothers and their grandmothers before them have passed down secret cleaning hacks, often born out of necessity and a desire to keep their homes sparkling with minimal effort. Think about it 鈥?before the age of fancy detergents and specialized gadgets, resourcefulness was key.
These time-tested methods, often using simple ingredients found right in your pantry, are not only effective but also incredibly budget-friendly and eco-conscious. In today’s busy world, who has time to spend hours scrubbing and polishing? That’s where these DIY cleaning tricks come in.
This article is your ultimate guide to reclaiming your weekends and achieving a spotless home with minimal fuss. We’ll delve into a treasure trove of cleaning tips and DIY solutions that will transform chore time from a dreaded obligation into a satisfying accomplishment. Get ready to discover the power of vinegar, baking soda, and a little elbow grease 鈥?your sparkling clean home awaits!
DIY Natural Cleaning Power: Transforming Citrus Peels into All-Purpose Cleaner
Hey everyone! I’m so excited to share one of my favorite DIY cleaning hacks with you 鈥?turning leftover citrus peels into a powerful and eco-friendly all-purpose cleaner. Not only is this a fantastic way to reduce waste, but it also saves you money and avoids harsh chemicals found in many commercial cleaners. Plus, your house will smell amazing!
What You’ll Need:
* Citrus peels (orange, lemon, grapefruit, lime 鈥?a mix is great!)
* White vinegar
* A large glass jar with a lid
* A spray bottle
* Water (filtered is best, but tap works too)
* Optional: Essential oils (lavender, tea tree, eucalyptus 鈥?for added scent and antibacterial properties)
* Optional: Funnel
Why This Works:
Citrus peels contain d-limonene, a natural solvent and degreaser. White vinegar is a natural disinfectant and helps to break down grime. Together, they create a potent cleaning solution that’s safe for most surfaces.
Step-by-Step Instructions:
1. Gather Your Citrus Peels: This is the easiest part! Whenever you eat an orange, lemon, lime, or grapefruit, save the peels. I usually keep a container in my freezer to store them until I have enough to make a batch of cleaner. Freezing prevents them from molding.
2. Prepare the Jar: Make sure your glass jar is clean and dry. A large mason jar works perfectly.
3. Pack the Jar with Peels: Fill the jar with citrus peels, packing them in tightly. The more peels you use, the stronger your cleaner will be. Don’t worry about cutting them into smaller pieces; just stuff them in there!
4. Cover with Vinegar: Pour white vinegar over the citrus peels until they are completely submerged. Make sure there are no peels sticking out above the vinegar, as this can lead to mold growth.
5. Seal and Steep: Secure the lid tightly on the jar and store it in a cool, dark place for at least two weeks. The longer it steeps, the more potent the cleaner will become. I usually let mine steep for 3-4 weeks for maximum effectiveness. During this time, the vinegar will extract the oils and cleaning properties from the peels. You’ll notice the vinegar will change color, becoming a vibrant yellow or orange.
6. Strain the Mixture: After the steeping period, it’s time to strain the mixture. Place a fine-mesh sieve or cheesecloth-lined funnel over a clean bowl or jar. Pour the vinegar and peel mixture through the sieve, catching the liquid in the bowl. Discard the used citrus peels (or compost them!).
7. Dilute the Concentrate: This is where you customize your cleaner. The strained vinegar is now a concentrated citrus cleaner. To use it, you’ll need to dilute it with water. I usually use a 1:1 ratio of concentrate to water (e.g., 1 cup of concentrate to 1 cup of water). However, you can adjust the ratio depending on your cleaning needs. For tougher jobs, you can use a stronger concentration.
8. Add Essential Oils (Optional): If you want to add extra scent or antibacterial properties, now’s the time to add a few drops of your favorite essential oils. Lavender, tea tree, eucalyptus, and lemon are all great choices. Start with 5-10 drops per cup of diluted cleaner and adjust to your preference.
9. Pour into a Spray Bottle: Using a funnel, pour the diluted cleaner into a clean spray bottle. Label the bottle clearly so you know what’s inside.
10. Start Cleaning! Your DIY citrus peel cleaner is now ready to use!
Where to Use Your Citrus Cleaner:
This all-purpose cleaner is safe for most surfaces, but it’s always a good idea to test it in an inconspicuous area first, especially on delicate materials like wood or marble.
Here are some of my favorite uses:
* Kitchen Counters and Sinks: This cleaner works wonders on grease and grime in the kitchen.
* Bathroom Surfaces: Clean your bathroom counters, sinks, and even the toilet (but avoid using it on natural stone surfaces like marble).
* Glass and Mirrors: Dilute the cleaner with extra water for streak-free cleaning on glass and mirrors.
* Floors: Add a small amount of the cleaner to your mop bucket for a refreshing and effective floor cleaner (again, avoid using it on natural stone).
* Appliances: Wipe down the exterior of your appliances with this cleaner to remove fingerprints and smudges.
Tips and Tricks for the Best Results:
* Use a Variety of Citrus Peels: A mix of orange, lemon, lime, and grapefruit peels will create a more complex and effective cleaner.
* Don’t Use Moldy Peels: If any of your citrus peels show signs of mold, discard them.
* Steep for Longer for a Stronger Cleaner: The longer you steep the peels in vinegar, the more potent the cleaner will be.
* Adjust the Dilution Ratio: Experiment with different dilution ratios to find what works best for your cleaning needs.
* Add Essential Oils for Extra Benefits: Essential oils can add extra scent and antibacterial properties to your cleaner.
* Store in a Cool, Dark Place: Store your cleaner in a cool, dark place to preserve its effectiveness.
* Test Before Using on Delicate Surfaces: Always test the cleaner in an inconspicuous area before using it on delicate surfaces.
* Consider the Vinegar Smell: The vinegar smell will dissipate quickly, but if you’re sensitive to it, add more essential oils or open a window while cleaning.
Troubleshooting:
* Cleaner is Too Weak: If your cleaner isn’t strong enough, try steeping the peels for a longer period of time or using a higher concentration of concentrate to water.
* Cleaner Leaves Streaks: If your cleaner is leaving streaks, try diluting it with more water.
* Cleaner Smells Too Much Like Vinegar: If the vinegar smell is too strong, add more essential oils.
* Cleaner is Cloudy: A cloudy cleaner is perfectly normal and doesn’t affect its effectiveness.
Safety Precautions:
* Keep Out of Reach of Children and Pets: Although this cleaner is made with natural ingredients, it’s still important to keep it out of reach of children and pets.
* Avoid Contact with Eyes: Avoid contact with eyes. If contact occurs, rinse thoroughly with water.
* Do Not Ingest: Do not ingest the cleaner.
* Test on an Inconspicuous Area First: Always test the cleaner in an inconspicuous area before using it on delicate surfaces.
Environmental Benefits:
* Reduces Waste: This DIY cleaner helps to reduce waste by utilizing citrus peels that would otherwise be thrown away.
* Avoids Harsh Chemicals: This cleaner is made with natural ingredients and avoids the harsh chemicals found in many commercial cleaners.
* Eco-Friendly: This cleaner is an eco-friendly alternative to commercial cleaners.
Variations and Add-ins:
* Herbs: Add fresh herbs like rosemary, thyme, or mint to the jar along with the citrus peels for added scent and antibacterial properties.
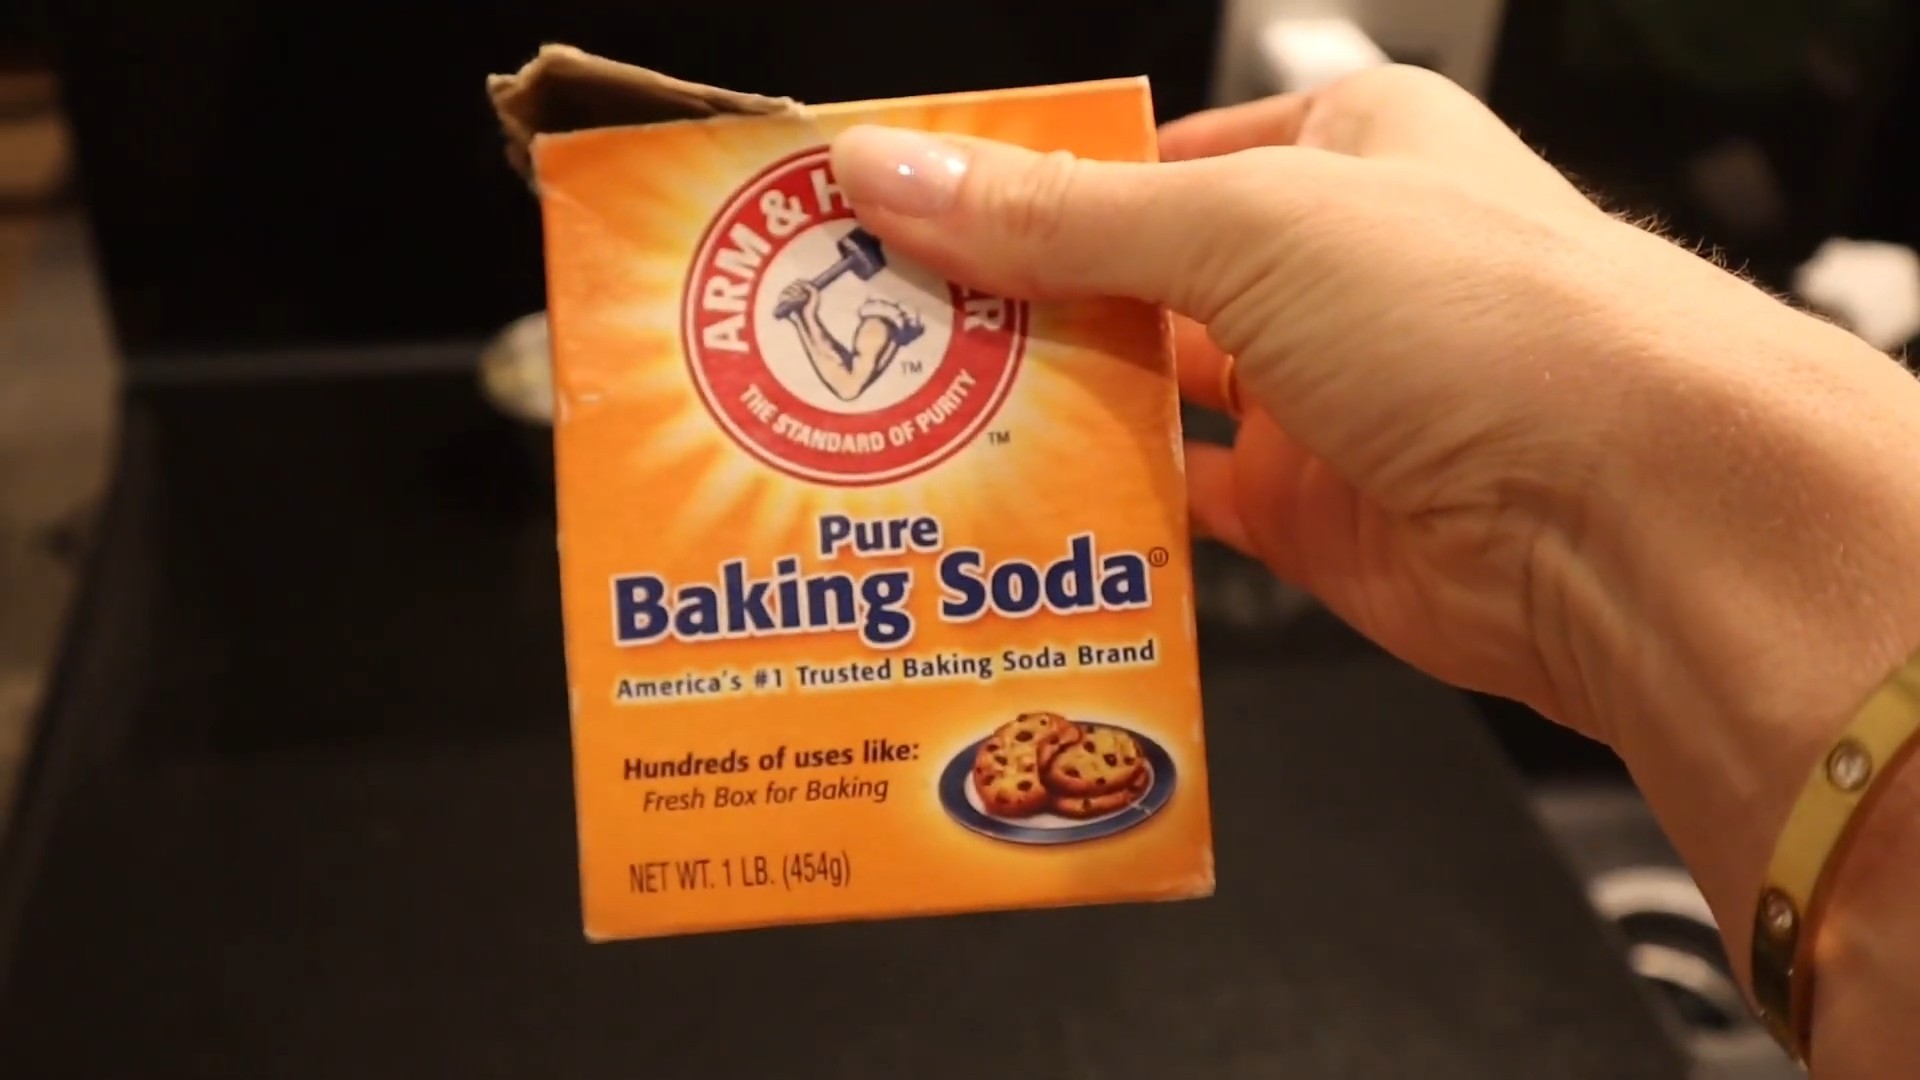
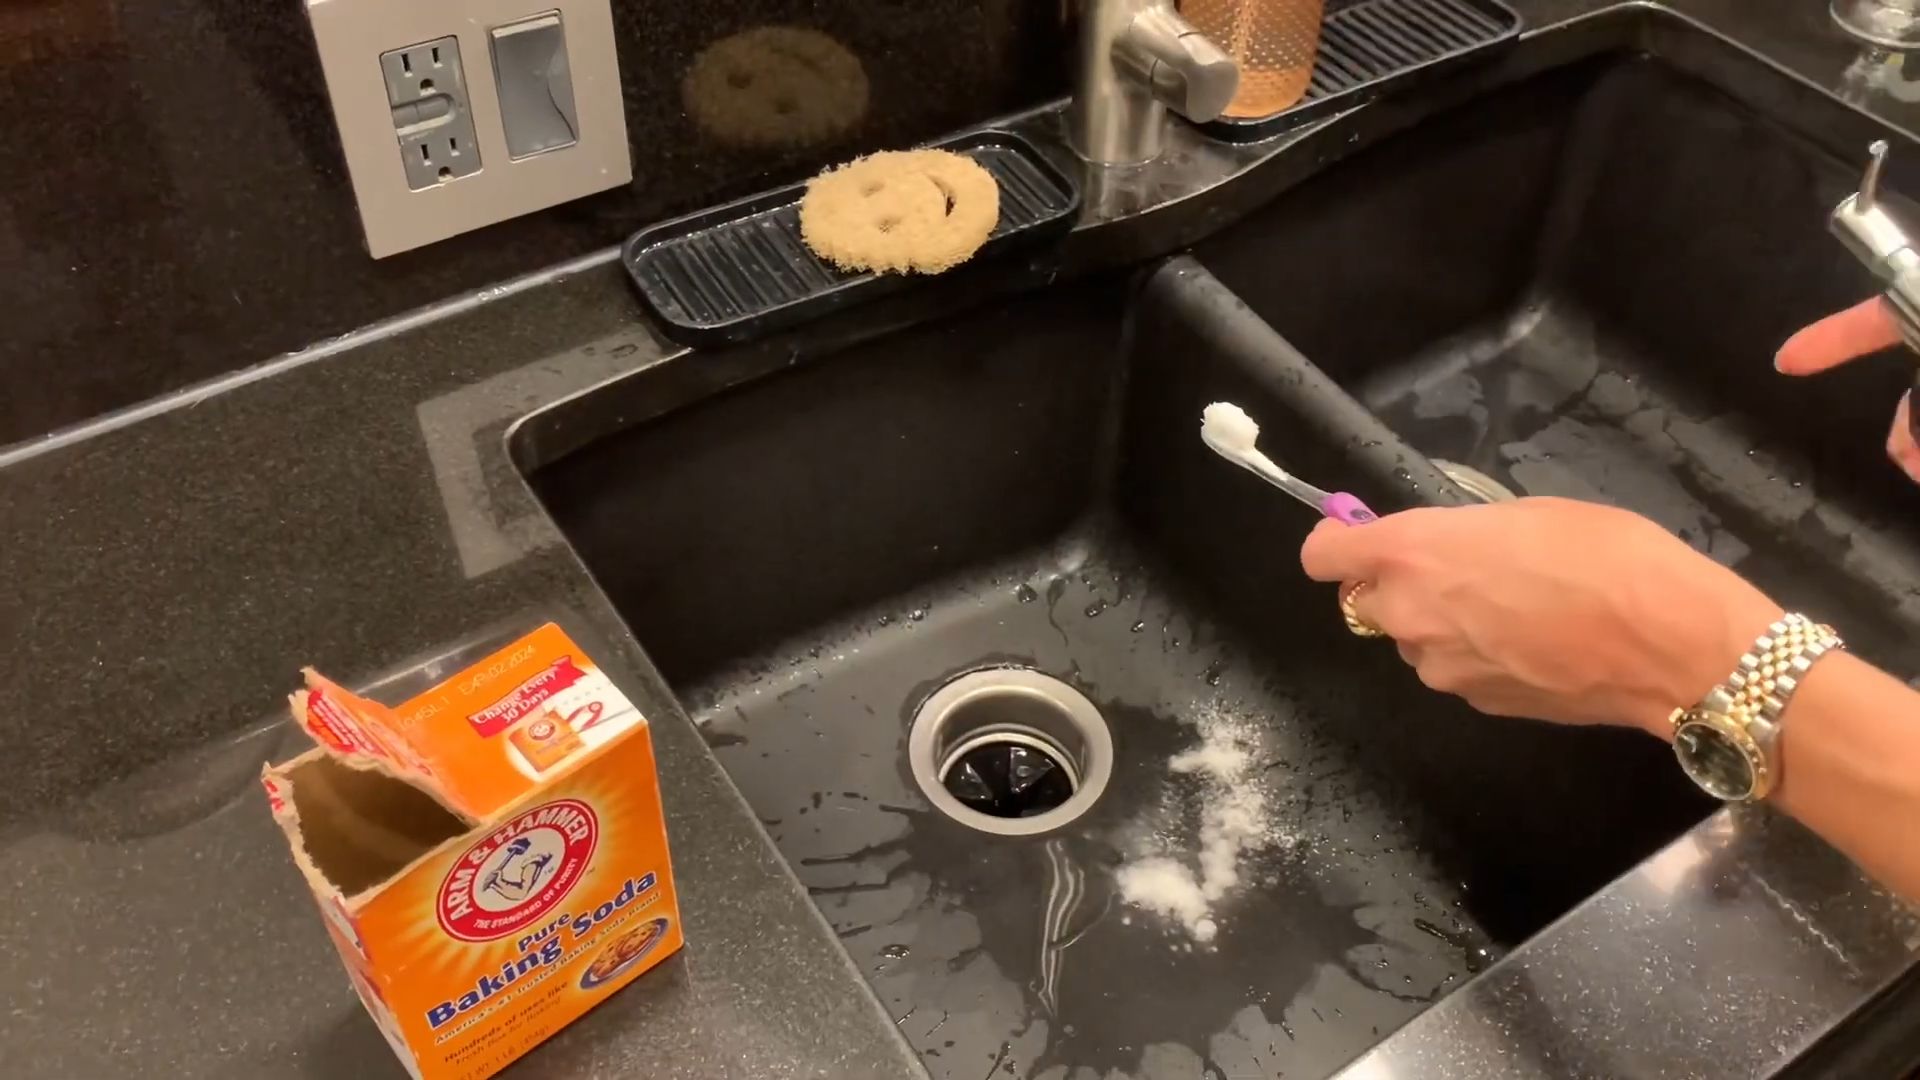
* Baking Soda: For extra cleaning power, add a tablespoon of baking soda to the spray bottle before using the cleaner. Baking soda is a natural abrasive that can help to scrub away stubborn stains.
* Castile Soap: A squirt of castile soap can boost the cleaning power and create a slightly sudsy solution.
Making a Larger Batch:
If you find yourself using this cleaner frequently, you can easily make a larger batch. Simply use a larger jar and increase the amount of citrus peels and vinegar accordingly. Remember to maintain the same ratio of peels to vinegar.
Storing Your Cleaner:
Store your DIY citrus peel cleaner in a cool, dark place. It should last for several months. If you notice any changes in color or smell, discard the cleaner.
My Personal Experience:
I’ve been using this DIY citrus peel cleaner for years, and I absolutely love it! It’s so easy to make, it’s effective, and it smells amazing. I feel good knowing that I’m using a natural and eco-friendly cleaner in my home. Plus, it’s a great way to reduce waste and save money. I highly recommend giving it a try!
Final Thoughts:
This DIY citrus peel cleaner is a simple, effective, and eco-friendly way to clean your home. It’s a great way to reduce waste, save money, and avoid harsh chemicals. So, next time you eat an orange or lemon, don’t throw away the peels 鈥?turn them into a powerful cleaning solution! Happy cleaning!
Conclusion
So, there you have it! This simple yet incredibly effective DIY cleaning trick is a game-changer for anyone looking to streamline their chore time and achieve a sparkling clean home without breaking the bank or relying on harsh chemicals. We’ve shown you how easy it is to create a powerful cleaning solution using ingredients you likely already have in your pantry.
Why is this a must-try? Because it’s not just about saving money; it’s about creating a healthier living environment. Commercial cleaners often contain volatile organic compounds (VOCs) that can irritate your lungs and trigger allergies. This DIY alternative allows you to control exactly what goes into your cleaning products, ensuring a safer and more pleasant experience. Plus, the satisfaction of creating something yourself that works so well is truly rewarding.
But the beauty of this DIY cleaning trick lies in its versatility. Feel free to experiment with different essential oils to customize the scent and add extra cleaning power. Lavender and tea tree oil are excellent choices for their antibacterial properties, while lemon and orange oil can provide a refreshing and uplifting aroma. You can also adjust the ratios of ingredients to suit your specific cleaning needs. For tougher stains, try adding a bit more vinegar or baking soda. For delicate surfaces, dilute the solution further with water.
Consider these variations to personalize your cleaning experience:
* For a streak-free window cleaner: Combine equal parts white vinegar and water in a spray bottle. Add a few drops of your favorite essential oil for a pleasant scent.
* For a natural all-purpose cleaner: Mix 1/2 cup white vinegar, 1/4 cup baking soda, and 1 gallon of hot water. Use this solution to clean countertops, floors, and other surfaces.
* For a homemade disinfectant: Combine 1 cup of water, 1/4 cup white vinegar, and 10-15 drops of tea tree oil. This solution is perfect for disinfecting surfaces in the bathroom and kitchen.
We are confident that once you try this DIY cleaning trick, you’ll be amazed by the results. It’s a simple, affordable, and effective way to keep your home clean and healthy. So, ditch the expensive store-bought cleaners and give this a try. You won’t regret it!
Now, we want to hear from you! Have you tried this DIY cleaning trick? What variations did you use? What were your results? Share your experiences and tips in the comments below. Let’s build a community of DIY cleaning enthusiasts and help each other create cleaner, healthier homes. We are excited to see how this DIY cleaning trick transforms your chore time!
Frequently Asked Questions (FAQs)
What exactly makes this DIY cleaning trick so effective?
The effectiveness of this DIY cleaning trick stems from the synergistic properties of its ingredients. Vinegar, for example, is a natural disinfectant and degreaser, thanks to its acetic acid content. It’s excellent at cutting through grease, removing hard water stains, and killing bacteria. Baking soda, on the other hand, is a mild abrasive and deodorizer. It helps to scrub away dirt and grime without scratching surfaces, and it neutralizes odors effectively. When combined, these two ingredients create a powerful cleaning solution that can tackle a wide range of household cleaning tasks. The addition of essential oils not only provides a pleasant scent but can also contribute to the cleaning power, depending on the oil used. For instance, tea tree oil is known for its antibacterial and antifungal properties.
Is this DIY cleaning solution safe to use on all surfaces?
While this DIY cleaning solution is generally safe for most surfaces, it’s always a good idea to test it on an inconspicuous area first, especially on delicate or sensitive materials. Avoid using vinegar on natural stone surfaces like marble or granite, as it can etch and damage them. Similarly, be cautious when using baking soda on polished surfaces, as its abrasive nature could potentially cause scratches. For wooden surfaces, dilute the solution further with water and avoid prolonged contact. Always wipe the surface dry after cleaning to prevent water damage. When in doubt, consult the manufacturer’s instructions for the specific surface you’re cleaning.
How long does this DIY cleaning solution last?
The shelf life of this DIY cleaning solution depends on the ingredients used and how it’s stored. A solution made with just vinegar and water can last indefinitely, as vinegar is a natural preservative. However, if you add baking soda or essential oils, the solution may become less effective over time. It’s best to use the solution within a few weeks for optimal results. Store the solution in a cool, dark place in a tightly sealed container to prevent evaporation and contamination. If you notice any changes in color, odor, or consistency, discard the solution and make a fresh batch.
Can I use different types of vinegar for this DIY cleaning trick?
While white vinegar is the most commonly recommended type of vinegar for cleaning, you can also use other types of vinegar, such as apple cider vinegar or cleaning vinegar. Apple cider vinegar has a slightly milder scent than white vinegar and may be preferred by those who are sensitive to strong odors. Cleaning vinegar is a stronger concentration of acetic acid than regular white vinegar (usually around 6% vs. 5%), making it even more effective at cleaning and disinfecting. However, be sure to dilute cleaning vinegar appropriately before using it on surfaces. Avoid using balsamic vinegar or red wine vinegar, as they can stain surfaces.
What are some other uses for this DIY cleaning solution?
Besides being an effective all-purpose cleaner, this DIY solution can be used for a variety of other cleaning tasks around the house. It can be used to clean bathroom fixtures, remove soap scum from shower doors, deodorize garbage disposals, clean microwave ovens, and even remove stains from clothing. To clean a microwave, simply heat a cup of the solution in the microwave for a few minutes to loosen grime, then wipe clean. To deodorize a garbage disposal, pour the solution down the drain and let it sit for a few minutes before running the disposal. For stain removal, pre-treat the stain with the solution before washing the garment. The possibilities are endless!
Is this DIY cleaning trick environmentally friendly?
Yes, this DIY cleaning trick is much more environmentally friendly than using commercial cleaning products. By making your own cleaning solution, you’re reducing your reliance on products that often contain harsh chemicals and contribute to pollution. The ingredients used in this DIY solution are biodegradable and non-toxic, making them safer for the environment. Additionally, you’re reducing plastic waste by reusing spray bottles and containers instead of constantly buying new ones. By choosing this DIY option, you’re making a conscious effort to reduce your environmental footprint and create a more sustainable home.

Leave a Comment