
Clean Shower Tub Easily: Your Guide to a Sparkling Clean Sanctuary
Let’s face it, cleaning the shower tub is rarely anyone’s favorite chore. It’s often a grimy, time-consuming task that leaves you feeling exhausted rather than refreshed. But what if I told you there are simple, effective, and DIY ways to clean your shower tub easily, transforming this dreaded chore into a quick and satisfying experience? This article is your passport to a sparkling clean shower, without resorting to harsh chemicals or spending a fortune on expensive cleaning products.
The desire for a clean and hygienic home is as old as civilization itself. Throughout history, people have devised ingenious methods to maintain cleanliness, often using readily available natural ingredients. From ancient Roman bathhouses to modern-day bathrooms, the pursuit of a sparkling clean shower tub remains a constant. This article taps into that timeless desire, offering you practical, time-tested, and environmentally friendly methods to achieve that pristine shine.
Why is learning how to clean your shower tub easily so important? A clean shower not only enhances the aesthetic appeal of your bathroom but also contributes to a healthier living environment. Mold and mildew thrive in damp, unclean spaces, potentially leading to respiratory problems and allergies. By mastering these simple clean shower tub easily techniques, you’re not just cleaning your shower; you’re investing in your well-being and creating a more pleasant and hygienic space for yourself and your family.
So, ditch the harsh chemicals and expensive cleaning solutions! Get ready to discover the secrets to a sparkling clean shower tub, effortlessly and naturally. Let’s dive in!
Clean Your Shower Tub Like a Pro: A DIY Guide
Let’s face it, cleaning the shower tub is nobody’s favorite chore. But with the right approach, it doesn’t have to be a dreaded weekend task. This guide will walk you through my foolproof method for achieving a sparkling clean shower tub, even if it’s currently sporting a layer of grime that could rival a prehistoric fossil.
Phase 1: Preparation is Key
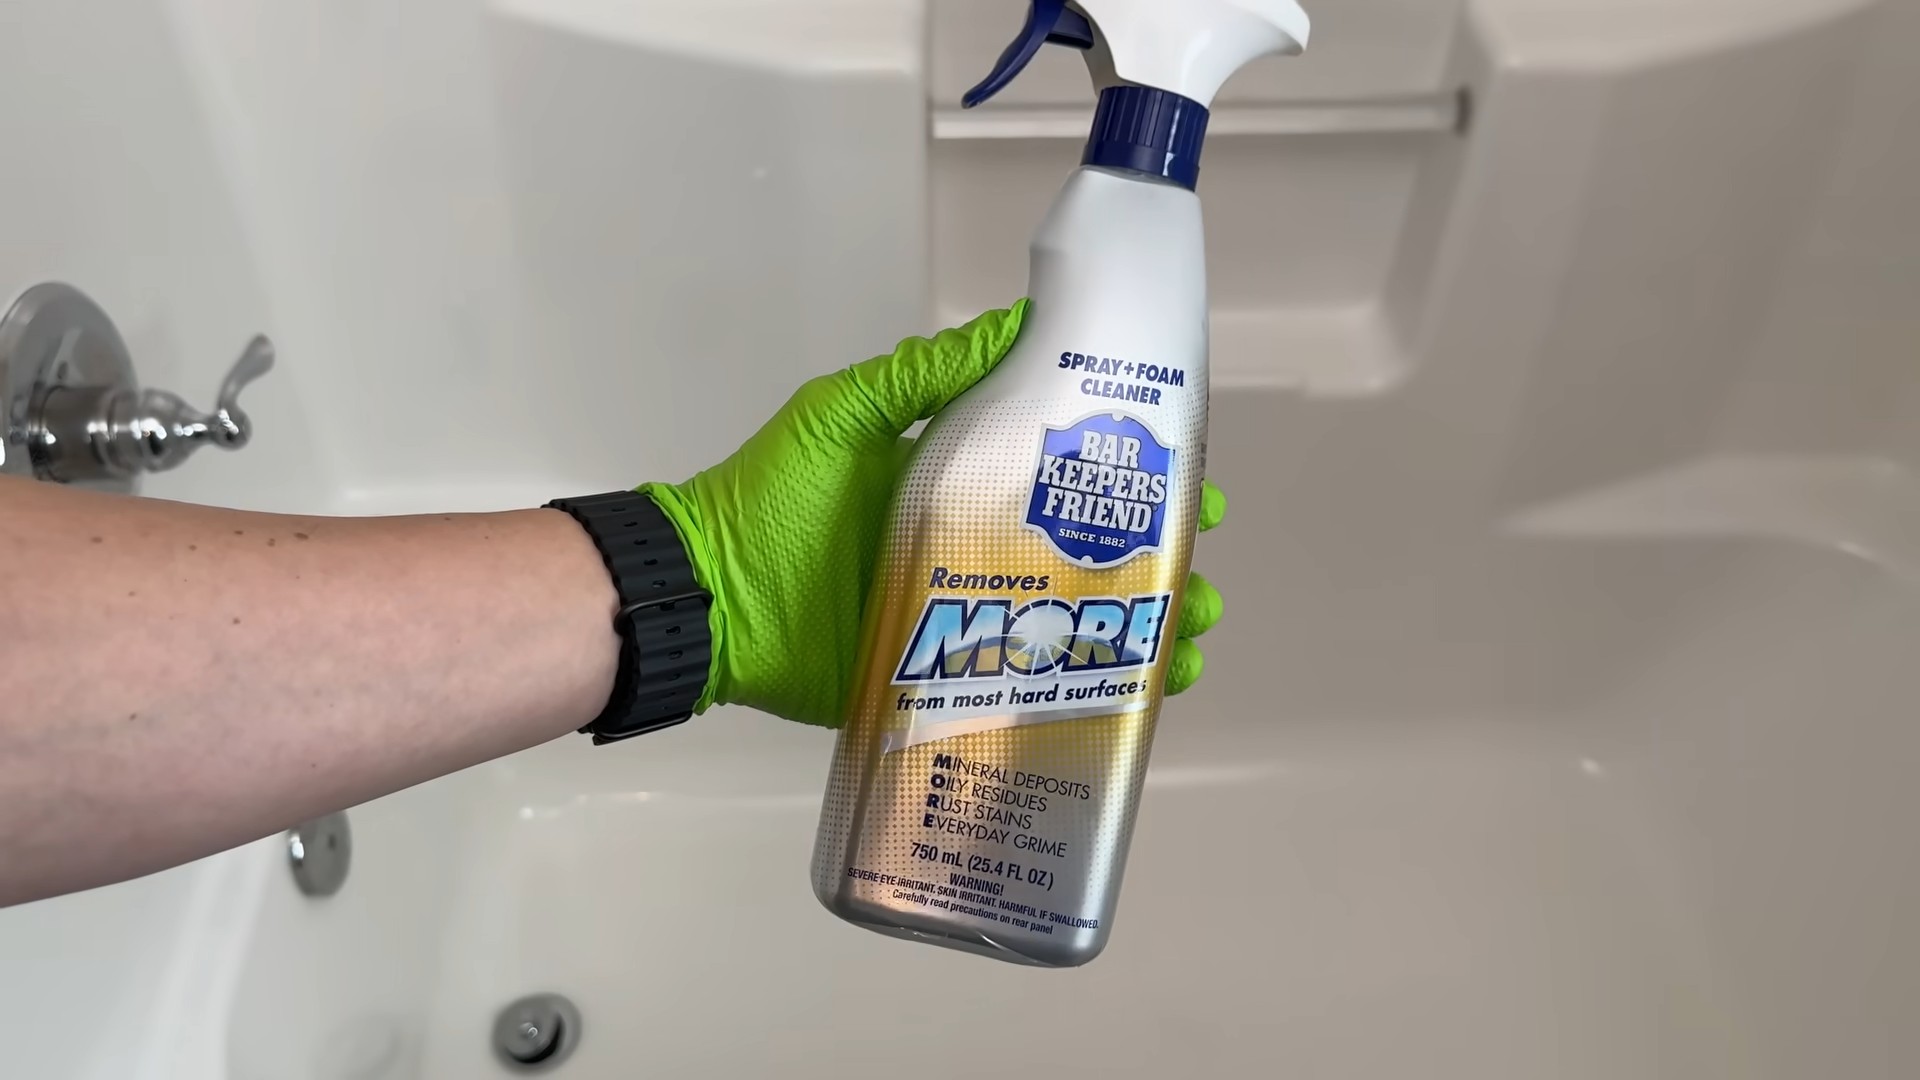
- Gather your supplies: You’ll need a good quality all-purpose cleaner (I prefer one with bleach for extra disinfecting power), a scrub brush (a stiff-bristled one works best for stubborn stains), a soft cloth or sponge for rinsing, rubber gloves (protect those hands!), a spray bottle (optional, but helpful), and a squeegee (for a streak-free finish).
- Clear the area: Remove any items from your shower tub, such as shampoo bottles, soap dishes, and bath mats. This gives you ample space to work and prevents accidental damage to your belongings.
- Pre-soak (optional but highly recommended): For really grimy tubs, a pre-soak is a game-changer. Fill the tub with hot water and add about a cup of your all-purpose cleaner. Let it sit for at least 30 minutes, or even longer if the build-up is significant. This will loosen the grime and make scrubbing much easier.
Phase 2: The Scrub-Down
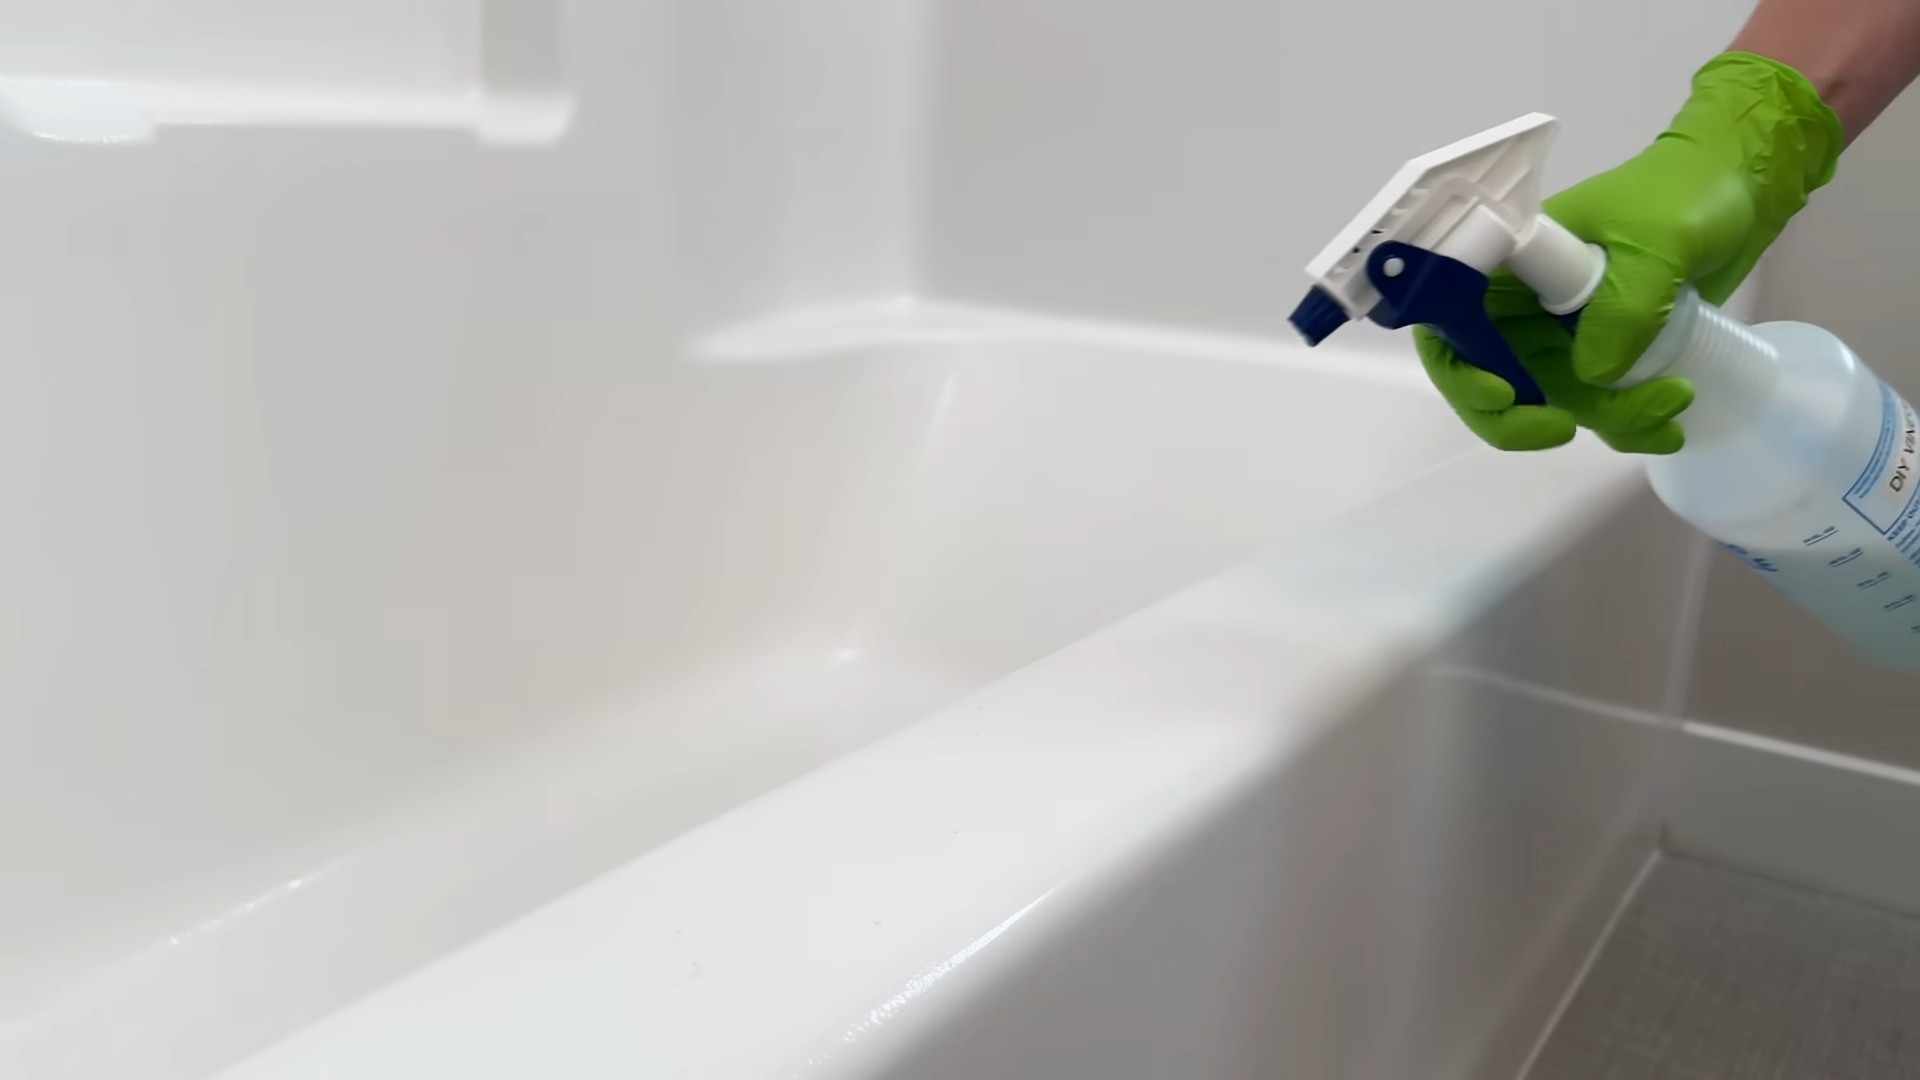
- Apply the cleaner: Once the pre-soak is complete (or if you skipped it), liberally spray or pour your all-purpose cleaner onto all surfaces of the shower tub. Pay extra attention to areas with heavy soap scum or mildew build-up. I like to focus on the grout lines first, as they tend to accumulate the most dirt.
- Let it sit: Allow the cleaner to dwell for about 5-10 minutes. This gives the cleaning agents time to break down the grime and make the scrubbing process more effective. Don’t let it dry completely though!
- Scrub-a-dub-dub: Now for the fun part (said no one ever, but it’s surprisingly satisfying!). Using your scrub brush, vigorously scrub all surfaces of the tub. Pay close attention to the grout lines, corners, and any other hard-to-reach areas. For really stubborn stains, you might need to apply more cleaner and scrub a little harder. Don’t be afraid to put some elbow grease into it!
- Rinse thoroughly: Once you’ve scrubbed everything, thoroughly rinse the entire tub with warm water. Use your sponge or cloth to wipe away any remaining cleaner residue. A handheld showerhead is ideal for this step, but a bucket and cup will work in a pinch.
Phase 3: The Finishing Touches
- Squeegee magic: This is where the squeegee comes in handy. After rinsing, use the squeegee to wipe down the entire surface of the tub. This will remove any remaining water droplets and prevent water spots from forming. Overlapping strokes are key for a streak-free finish. Believe me, this makes a huge difference in the final shine.
- Dry and admire: Use a clean, dry cloth to wipe down any areas the squeegee missed. Then, stand back and admire your sparkling clean shower tub! You’ve earned it.
Phase 4: Maintenance Tips for a Sparkling Tub
- Regular cleaning: The key to keeping your shower tub clean is regular maintenance. Try to wipe down the surfaces after each shower to prevent soap scum and mildew from building up. This takes only a few minutes and saves you a lot of scrubbing later.
- Ventilation: Good ventilation is crucial for preventing mildew growth. Make sure your bathroom has adequate ventilation, either through a window or an exhaust fan. Leave the bathroom door open after showering to allow air to circulate.
- Baking soda paste: For stubborn stains that resist your regular cleaner, try making a paste of baking soda and water. Apply it to the affected areas, let it sit for a few minutes, and then scrub it away. Baking soda is a natural cleaning agent that’s gentle yet effective.
- White vinegar: Another natural cleaning solution is white vinegar. You can use it to clean your showerhead, remove hard water stains, and even disinfect the tub. Simply fill a spray bottle with white vinegar and spray it onto the surfaces. Let it sit for a few minutes, then scrub and rinse.
- Consider a shower caddy: A shower caddy keeps your shampoo and soap bottles organized and off the tub’s surface, reducing the likelihood of soap scum build-up.
Pro Tip:
For extra shine, consider using a glass cleaner on the tub’s surface after you’ve cleaned it. Just make sure to test it on a small, inconspicuous area first to ensure it doesn’t damage the finish.
Important Note:
Always follow the manufacturer’s instructions for any cleaning products you use. If you have any concerns about cleaning your specific type of shower tub, consult the manufacturer’s instructions or a professional cleaner.
Conclusion
So there you have it! A sparkling clean shower tub, achieved without harsh chemicals or back-breaking scrubbing. This DIY cleaning method for a clean shower tub is a must-try for several reasons. First, it’s incredibly effective. The combination of baking soda’s abrasive power and vinegar’s acidity cuts through soap scum, grime, and mildew like magic, leaving your shower gleaming. Second, it’s incredibly affordable. You likely already have these ingredients in your pantry, making this a budget-friendly solution to a common household chore. Third, and perhaps most importantly, it’s a safer alternative to commercial cleaners. By avoiding harsh chemicals, you protect your family’s health and the environment. This simple, natural approach to cleaning is a game-changer for anyone looking for a more sustainable and effective way to maintain a clean and hygienic bathroom. This DIY clean shower tub method truly delivers on its promise of effortless cleaning.
Beyond the basic recipe, there are several ways to customize this cleaning solution to suit your specific needs. For particularly stubborn stains, you can let the paste sit for a longer period, even overnight. For a more powerful cleaning action, consider adding a few drops of tea tree oil or lemon essential oil to the paste. These natural oils not only enhance the cleaning power but also leave your shower smelling fresh and invigorating. If you prefer a spray-on solution, you can mix equal parts white vinegar and water in a spray bottle and apply it directly to the shower walls and tub before scrubbing. Remember to always test any new cleaning solution in an inconspicuous area first to ensure it doesn’t damage the surface of your shower. Experiment with different ratios of baking soda and vinegar to find what works best for you and your shower’s specific needs. For those with exceptionally hard water, adding a pre-soak with warm water and a little dish soap before applying the paste can help loosen up mineral deposits.
We strongly encourage you to try this DIY clean shower tub method and experience the difference for yourself. Share your results with us! We’d love to hear about your successes (and any modifications you’ve made) in the comments section below. Let’s build a community of clean shower enthusiasts who are committed to natural, effective, and affordable cleaning solutions. Don’t hesitate to share this article with your friends and family – help spread the word about this simple yet powerful cleaning trick! You’ll be amazed at how easy it is to maintain a sparkling clean shower tub without resorting to harsh chemicals. Say goodbye to scrubbing and hello to a brilliantly clean shower, effortlessly!
Frequently Asked Questions
How often should I use this DIY clean shower tub method?
The frequency of cleaning will depend on your individual needs and how often you use your shower. For most people, a weekly cleaning is sufficient to maintain a clean and hygienic shower. However, if you have a large family or tend to get a lot of soap scum buildup, you may need to clean more frequently. For those with less frequent use, a bi-weekly or even monthly cleaning might suffice. The key is to catch any soap scum or mildew buildup before it becomes deeply embedded.
What if I have a fiberglass shower? Will this damage it?
This DIY clean shower tub method is generally safe for fiberglass showers, but it’s always best to test a small, inconspicuous area first. The baking soda and vinegar are relatively gentle, but excessive scrubbing or prolonged contact could potentially dull the finish over time. Avoid using abrasive scrubbing tools, and rinse thoroughly after cleaning.
Can I use this method on other surfaces in my bathroom?
While this method is excellent for shower tubs, it can also be used on other surfaces in your bathroom, such as tiled walls and shower doors. However, always test a small area first to ensure it doesn’t damage the surface. Avoid using this method on delicate surfaces like marble or granite.
What if the paste doesn’t remove all the stains?
For particularly stubborn stains, you may need to repeat the process or let the paste sit for a longer period, even overnight. You can also try adding a few drops of tea tree oil or lemon essential oil to the paste to enhance its cleaning power. For extremely persistent stains, you may need to consider a more powerful cleaning solution, but this DIY method should handle most common soap scum and mildew.
Are there any safety precautions I should take?
Always wear gloves when handling baking soda and vinegar, as prolonged contact can dry out your skin. Ensure proper ventilation in your bathroom while cleaning, as the vinegar can have a strong odor. Keep the cleaning solution out of reach of children and pets. If you experience any skin irritation, rinse the affected area thoroughly with water and discontinue use. Remember to always test any new cleaning solution in an inconspicuous area first to ensure it doesn’t damage the surface.
What if I don’t have white vinegar?
While white vinegar is the preferred choice due to its acidity, you can substitute it with apple cider vinegar. However, keep in mind that apple cider vinegar may leave a slightly different scent. The effectiveness of the cleaning solution might also be slightly reduced.
Can I use this method on a shower with a textured surface?
Yes, this method works well on textured shower surfaces. However, you may need to pay extra attention to cleaning the crevices and textured areas to ensure thorough cleaning. A soft-bristled brush or sponge can be helpful for reaching these areas. Make sure to rinse thoroughly to remove all residue.
What should I do after cleaning my shower tub?
After cleaning, rinse the shower tub thoroughly with clean water to remove all traces of the baking soda and vinegar paste. Then, dry the surface with a clean towel or allow it to air dry. Regular cleaning with this method will help prevent future buildup and keep your shower sparkling clean. Consider leaving the shower door slightly ajar after showering to allow for proper ventilation and prevent mildew growth.

Leave a Comment