
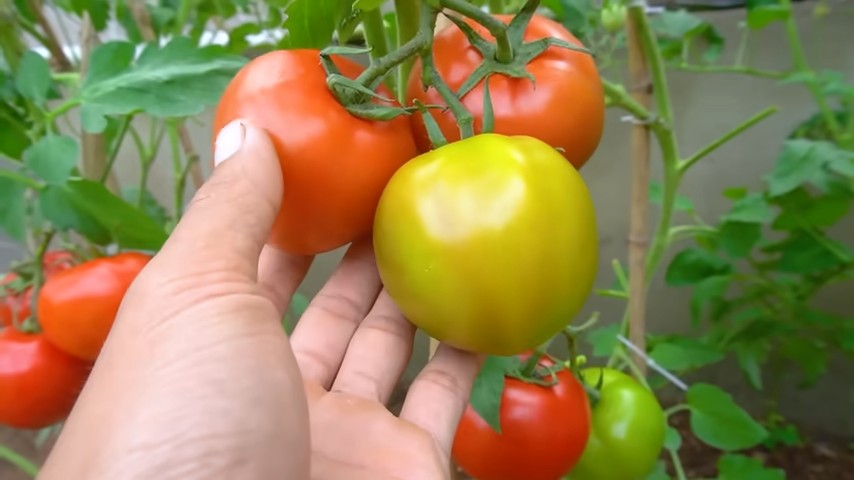
Beginner tomato gardening solutions are often simpler than you think! Have you ever dreamed of biting into a juicy, sun-ripened tomato, bursting with flavor, fresh from your own backyard? I know I have! But the thought of battling pests, diseases, and mysterious plant ailments can be daunting, especially when you’re just starting out.
Growing tomatoes has been a cherished tradition for centuries, with roots tracing back to South America. Indigenous cultures cultivated these vibrant fruits long before they made their way to Europe and eventually became a staple in gardens worldwide. Today, the joy of nurturing a tomato plant from a tiny seedling to a bountiful harvest remains a deeply satisfying experience.
That’s why I’ve put together this guide packed with easy-to-implement DIY tricks and hacks specifically designed for beginner tomato gardeners. Forget complicated techniques and expensive equipment! We’ll explore simple, effective solutions to common problems, ensuring you can enjoy a thriving tomato patch without the stress. From clever watering strategies to natural pest control methods, these tips will empower you to grow delicious tomatoes, even if you’ve never gardened before. So, let’s dive in and unlock the secrets to successful beginner tomato gardening solutions!
DIY Tomato Trellis: From Seedling to Success!
Hey there, fellow gardening enthusiasts! I’m so excited to share my favorite DIY tomato trellis project with you. Growing tomatoes can be incredibly rewarding, but those sprawling vines need some serious support. Store-bought trellises can be expensive and sometimes not quite the right size. So, I’ve developed a simple, sturdy, and cost-effective trellis that you can build yourself. This trellis is perfect for determinate and indeterminate tomato varieties, providing ample support for a bountiful harvest. Let’s get started!
Materials You’ll Need
Before we dive into the construction, let’s gather our supplies. This project is relatively inexpensive, especially if you have some of these materials lying around.
* Wooden Stakes: I recommend using 6-8 foot long wooden stakes. Cedar or redwood are great choices because they’re naturally rot-resistant, but pressure-treated pine works well too. You’ll need at least three stakes per trellis, depending on the length of your row.
* Reinforcing Mesh (Concrete Reinforcement Wire): This is the key to our sturdy trellis! You can find it at most home improvement stores. Look for a mesh with 6-inch squares. The width should be at least 5 feet.
* Wire Cutters: Essential for cutting the reinforcing mesh to the desired size.
* Gloves: Protect your hands from splinters and sharp edges.
* Zip Ties (Heavy Duty): These will secure the mesh to the stakes. I prefer heavy-duty ones for extra strength.
* Hammer or Mallet: For driving the stakes into the ground.
* Measuring Tape: To ensure accurate cuts and spacing.
* Optional: Level: To ensure the stakes are perfectly vertical.
* Optional: Wood Stain or Paint: To protect the stakes and give your trellis a more polished look.
Planning Your Trellis
Before you start building, it’s important to plan the layout of your trellis. Consider the following:
* Tomato Variety: Determinate tomatoes are bush-type and don’t grow as tall as indeterminate varieties. Indeterminate tomatoes will keep growing and producing fruit until frost, so they need taller and stronger support.
* Spacing: Space your tomato plants according to the recommendations for your specific variety. This will ensure they have enough room to grow and get adequate sunlight. I usually space mine about 2-3 feet apart.
* Row Length: Determine the length of your tomato row. This will help you calculate how much reinforcing mesh and how many stakes you’ll need.
* Sunlight: Make sure your trellis is positioned in a location that receives at least 6-8 hours of sunlight per day.
Building the Tomato Trellis: Step-by-Step
Okay, let’s get our hands dirty! Here’s how to build your own tomato trellis:
1. Prepare the Stakes: If you’re using untreated wood, consider staining or painting the stakes to protect them from the elements. This will extend the life of your trellis. Let the stakes dry completely before proceeding.
2. Mark Stake Locations: Using your measuring tape, mark the locations for your stakes along your tomato row. I usually place stakes every 4-6 feet. The closer the stakes, the sturdier the trellis will be.
3. Drive the Stakes into the Ground: Using your hammer or mallet, drive the stakes into the ground. Make sure they are deep enough to provide adequate support. I aim for at least 1-2 feet of the stake to be buried in the ground. Use a level to ensure the stakes are vertical. This is important for the stability of the trellis.
4. Measure and Cut the Reinforcing Mesh: Measure the distance between the stakes. You’ll want the reinforcing mesh to extend slightly beyond the stakes on each end. Using your wire cutters, carefully cut the reinforcing mesh to the desired length. Be careful, the cut edges can be sharp!
5. Attach the Reinforcing Mesh to the Stakes: This is where the zip ties come in handy! Starting at one end of the trellis, attach the reinforcing mesh to the stakes using zip ties. Thread the zip ties through the mesh and around the stake, then tighten them securely. I usually use at least two zip ties per stake. Make sure the mesh is taut and secure.
6. Repeat for All Stakes: Continue attaching the reinforcing mesh to the stakes along the entire length of the row. Make sure the mesh is evenly spaced and securely fastened.
7. Trim Excess Zip Tie Ends: Once all the zip ties are in place, trim off the excess ends with your wire cutters. This will give your trellis a cleaner look and prevent you from accidentally snagging yourself on the sharp ends.
8. Reinforce if Needed: For taller or heavier tomato varieties, you may want to add additional support. You can do this by adding more stakes or using horizontal supports made from wood or metal.
Planting Your Tomatoes
Now that your trellis is built, it’s time to plant your tomatoes!
1. Prepare the Soil: Before planting, make sure the soil is well-drained and amended with compost or other organic matter. Tomatoes are heavy feeders and need nutrient-rich soil to thrive.
2. Dig Planting Holes: Dig planting holes that are slightly larger than the root ball of your tomato plants. Space the holes according to the recommendations for your specific variety.
3. Plant the Tomatoes: Carefully remove the tomato plants from their containers and gently loosen the root ball. Place the plants in the planting holes and backfill with soil. Water thoroughly.
4. Mulch: Apply a layer of mulch around the base of the tomato plants. This will help to retain moisture, suppress weeds, and regulate soil temperature. I like to use straw or wood chips.
Training Your Tomatoes
As your tomato plants grow, you’ll need to train them to climb the trellis.
1. Initial Training: When the tomato plants are young, gently guide the main stem through the openings in the reinforcing mesh. You can use plant clips or soft twine to secure the stem to the trellis.
2. Ongoing Training: As the plants grow taller, continue to guide the main stem and any side shoots (suckers) through the mesh. Remove any suckers that grow below the first set of leaves. These suckers will not produce fruit and will only drain energy from the plant.
3. Pruning: Depending on the variety of tomato, you may need to prune the plants to improve air circulation and prevent disease. Consult a gardening guide for specific pruning recommendations.
Maintaining Your Trellis
A little maintenance will keep your trellis strong and your tomatoes happy.
1. Watering: Water your tomato plants regularly, especially during hot, dry weather. Aim for deep, infrequent watering rather than shallow, frequent watering.
2. Fertilizing: Fertilize your tomato plants every few weeks with a balanced fertilizer. Follow the instructions on the fertilizer package.
3. Pest and Disease Control: Monitor your tomato plants regularly for pests and diseases. Take action promptly if you notice any problems. There are many organic and conventional pest and disease control options available.
4. Check Zip Ties: Periodically check the zip ties to make sure they are still secure. Replace any that are broken or worn.
5. Winter Storage: If you live in an area with harsh winters, you may want to disassemble the trellis and store the stakes and reinforcing mesh indoors. This will help to protect them from the elements and extend their lifespan.
Alternative Trellis Designs
While I love this reinforcing mesh trellis, there are other options you can explore:
* String Trellis: This is a simple and inexpensive option that involves running strings vertically from a horizontal support to the ground. You then train the tomato plants to climb the strings.
* Florida Weave: This method uses stakes and twine to create a woven support system for the tomato plants.
* Tomato Cages: While not technically a trellis, tomato cages can provide support for smaller, determinate tomato varieties. However, they are often not strong enough for larger, indeterminate varieties.
Troubleshooting
Sometimes things don’t go exactly as planned. Here are a few common issues and how to address them:
* Trellis is leaning: If your trellis is leaning, it may not be strong enough to support the weight of the tomato plants. Add more stakes or reinforce the existing stakes.
* Zip ties are breaking: If the zip ties are breaking, you may be using zip ties that are not strong enough. Use heavy-duty zip ties.
* Tomato plants are falling off the trellis: If the tomato plants are falling off the trellis, you may not be training them properly. Make sure to guide the main stem and side shoots through the mesh and secure them with plant clips or twine.
Enjoy Your Harvest!
With a little effort and this DIY trellis, you’ll be enjoying a bountiful harvest of delicious, homegrown tomatoes in no time! There’s nothing
Conclusion
So, there you have it! Mastering beginner tomato gardening doesn’t have to be a daunting task. By implementing these simple yet effective DIY tricks, you’re setting yourself up for a bountiful harvest of delicious, homegrown tomatoes. We’ve covered everything from creating your own nutrient-rich soil amendments to crafting clever supports that will keep your plants thriving.
Why is this a must-try? Because it empowers you to take control of your tomato gardening journey. You’re not just passively following instructions; you’re actively participating in creating the ideal environment for your plants to flourish. This hands-on approach not only saves you money but also deepens your connection with nature and the food you grow. Plus, there’s nothing quite like the satisfaction of biting into a juicy tomato that you nurtured from seed to table using your own ingenuity.
But don’t stop there! Feel free to experiment and adapt these techniques to suit your specific needs and resources. For example, instead of using eggshells for calcium, you could try bone meal or even crushed oyster shells. If you don’t have access to coffee grounds, consider using other nitrogen-rich materials like grass clippings (ensure they are herbicide-free). For tomato supports, get creative with repurposed materials like old ladders, branches, or even sturdy tomato cages.
Remember, gardening is a journey of learning and discovery. Don’t be afraid to make mistakes – they’re valuable lessons in disguise. The most important thing is to get started and enjoy the process.
We’re confident that these beginner tomato gardening solutions will transform your gardening experience. Now, it’s your turn to put them to the test! We encourage you to try these DIY tricks in your own garden and share your results with us. Let us know what worked well, what challenges you faced, and any modifications you made along the way. Your feedback will not only help us improve these techniques but also inspire other gardeners to embark on their own tomato-growing adventures. Share your photos, tips, and stories in the comments section below – we can’t wait to see what you create! Happy gardening!
Frequently Asked Questions (FAQ)
Q: I’m a complete beginner. Is tomato gardening really that easy?
A: Absolutely! While it might seem intimidating at first, tomato gardening is surprisingly accessible, even for beginners. The key is to start small, focus on the basics, and be patient. Choose a sunny location, use well-draining soil, and provide consistent watering. These DIY tricks are designed to simplify the process and give you a head start. Don’t be afraid to experiment and learn as you go. Remember, even experienced gardeners face challenges, so don’t get discouraged by occasional setbacks. The reward of fresh, homegrown tomatoes is well worth the effort.
Q: What are the best tomato varieties for beginners?
A: For beginners, determinate tomato varieties are often a good choice. These varieties grow to a specific size and produce their fruit all at once, making them easier to manage. Some popular determinate varieties include Roma, Celebrity, and Better Bush. Indeterminate varieties, on the other hand, continue to grow and produce fruit throughout the season. While they can yield more tomatoes, they require more pruning and support. If you’re feeling adventurous, try a cherry tomato variety like Sweet 100 or Sun Gold – they’re known for their sweetness and ease of growth.
Q: How often should I water my tomato plants?
A: Watering frequency depends on several factors, including the weather, soil type, and plant size. As a general rule, water deeply and less frequently, rather than shallowly and often. Aim to keep the soil consistently moist but not waterlogged. Check the soil moisture by sticking your finger about an inch deep. If the soil feels dry, it’s time to water. During hot, dry weather, you may need to water daily. In cooler, wetter weather, you may only need to water every few days. Using mulch around your plants can help retain moisture and reduce the need for frequent watering.
Q: How do I know when my tomatoes are ripe?
A: The color of the tomato is the most obvious indicator of ripeness. Tomatoes typically turn from green to red, yellow, or orange, depending on the variety. However, color alone isn’t always the best indicator. Gently squeeze the tomato – it should feel slightly soft to the touch but not mushy. Ripe tomatoes will also have a distinct aroma. If you’re unsure, it’s better to err on the side of caution and let the tomato ripen a bit longer on the vine.
Q: What are some common tomato plant problems and how can I prevent them?
A: Some common tomato plant problems include blossom end rot, early blight, and pests like aphids and tomato hornworms. Blossom end rot is caused by a calcium deficiency and can be prevented by ensuring consistent watering and adding calcium to the soil. Early blight is a fungal disease that can be prevented by providing good air circulation and avoiding overhead watering. Pests can be controlled by handpicking them off the plants, using insecticidal soap, or introducing beneficial insects like ladybugs. Regularly inspect your plants for signs of problems and take action promptly to prevent them from spreading.
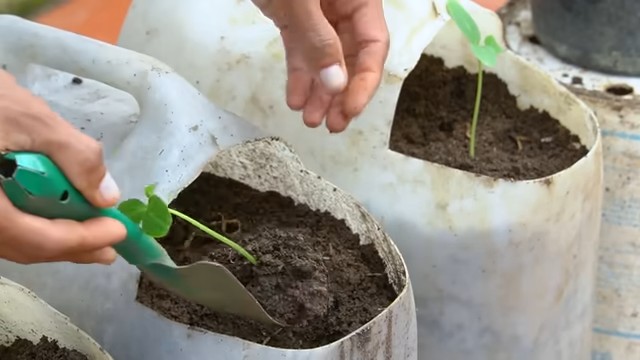
Q: Can I grow tomatoes in containers?
A: Yes, you can definitely grow tomatoes in containers! Choose a large container (at least 20 gallons) with drainage holes. Use a high-quality potting mix and provide adequate support for the plants. Container-grown tomatoes may require more frequent watering and fertilization than those grown in the ground. Dwarf or bush varieties are particularly well-suited for container gardening.
Q: What about fertilizing my tomato plants?
A: Tomatoes are heavy feeders and benefit from regular fertilization. Start by amending the soil with compost or other organic matter before planting. Once the plants start to flower, fertilize them every 2-3 weeks with a balanced fertilizer or a tomato-specific fertilizer. Follow the instructions on the fertilizer package carefully. Avoid over-fertilizing, as this can lead to excessive foliage growth and reduced fruit production.
Q: How can I protect my tomato plants from pests?
A: There are several ways to protect your tomato plants from pests. Companion planting with herbs like basil, marigolds, and rosemary can help deter pests. Regularly inspect your plants for signs of pests and remove them by hand. Use insecticidal soap or neem oil to control aphids, whiteflies, and other soft-bodied insects. Cover your plants with row covers to protect them from larger pests like tomato hornworms and squash bugs.
Q: What if I don’t have a lot of sunlight in my garden?
A: Tomatoes need at least 6-8 hours of sunlight per day to thrive. If you don’t have a lot of sunlight in your garden, you can try growing tomatoes in containers that can be moved to sunnier locations. You can also supplement natural sunlight with grow lights. Choose tomato varieties that are more tolerant of partial shade, such as Early Girl or Roma.
Q: How do I save seeds from my tomato plants for next year?
A: Saving seeds from your tomato plants is a great way to preserve your favorite varieties and save money. Choose ripe, healthy tomatoes from disease-free plants. Squeeze the seeds and pulp into a jar and add a little water. Let the mixture ferment for 3-4 days, stirring occasionally. This process will help remove the gelatinous coating from the seeds. Rinse the seeds thoroughly and spread them out on a paper towel to dry. Once the seeds are completely dry, store them in an airtight container in a cool, dark place.
Leave a Comment