
Bathroom cleaning vinegar soap: Sounds like a science experiment, right? Well, it’s actually your secret weapon to a sparkling clean bathroom, and I’m here to show you how to make it yourself! Forget those harsh chemicals and expensive store-bought cleaners. We’re diving into the world of DIY cleaning, where simple ingredients create powerful results.
For generations, resourceful homemakers have relied on the power of vinegar and soap to tackle tough cleaning tasks. Think about it – before the age of mass-produced cleaning products, natural ingredients were the go-to solution. This tradition isn’t just about saving money; it’s about creating a healthier home environment free from potentially harmful chemicals.
Let’s face it, cleaning the bathroom is nobody’s favorite chore. Grime, soap scum, and hard water stains can feel like an endless battle. That’s where this bathroom cleaning vinegar soap trick comes in. It’s not only incredibly effective at cutting through the toughest messes, but it’s also gentle on surfaces and safe for your family and pets. Plus, the satisfaction of creating your own cleaning solution is surprisingly rewarding! So, are you ready to ditch the chemicals and embrace a natural, effective way to keep your bathroom sparkling? Let’s get started!
DIY Bathroom Cleaning Vinegar Soap: Sparkling Clean the Natural Way!
Hey there, fellow DIY enthusiasts! I’m so excited to share this amazing recipe with you for a homemade bathroom cleaning vinegar soap. Forget those harsh chemicals and expensive store-bought cleaners. This recipe is not only incredibly effective at tackling soap scum, mildew, and hard water stains, but it’s also gentle on the environment and your wallet. Plus, you probably already have most of the ingredients in your pantry!
This project is perfect for anyone looking to reduce their chemical exposure, save money, and create a truly sparkling clean bathroom. Let’s get started!
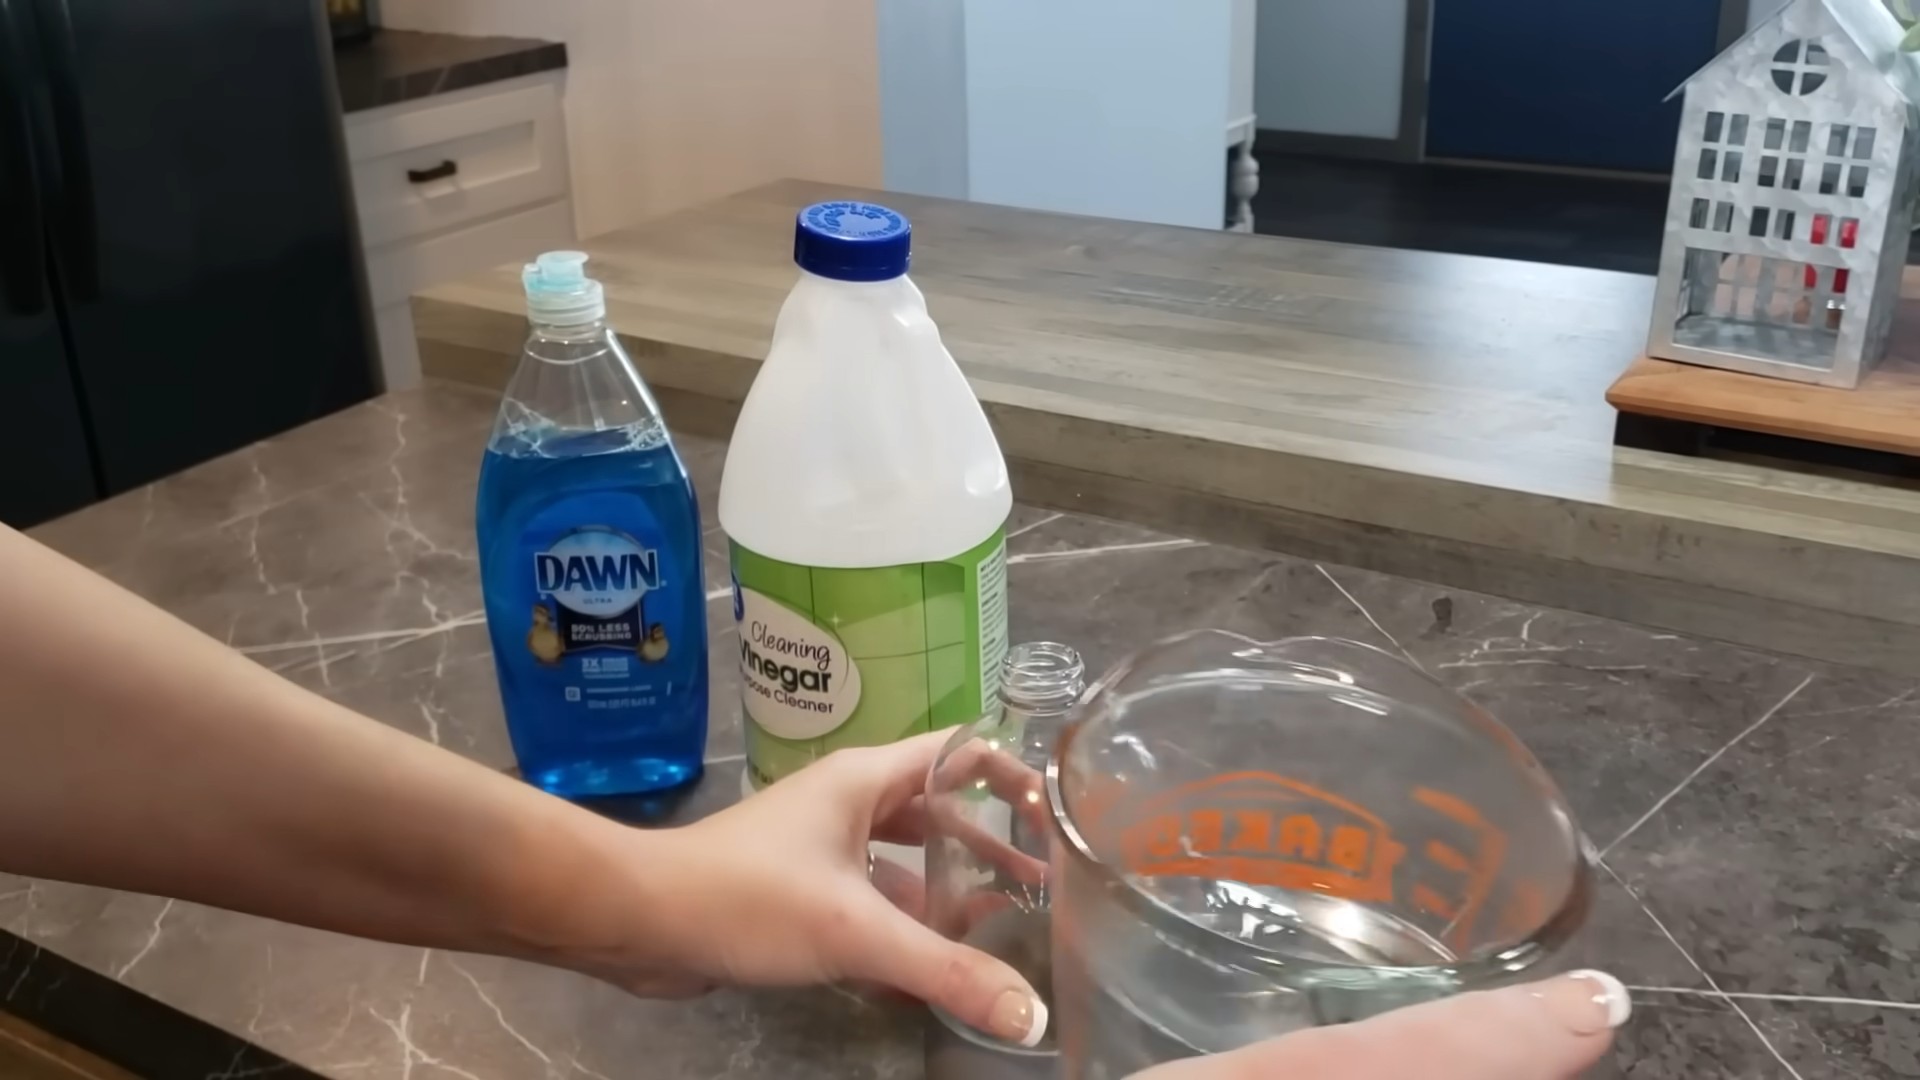
What You’ll Need: The Ingredients & Supplies
Before we dive into the process, let’s gather everything we need. This will make the whole experience smoother and more enjoyable. Trust me, being prepared is half the battle!
* **White Distilled Vinegar:** This is our star ingredient! Vinegar’s acidity is a natural powerhouse for dissolving soap scum, mildew, and hard water deposits.
* **Liquid Castile Soap:** Castile soap is a gentle, plant-based soap that’s perfect for cleaning. I prefer unscented so I can customize the scent later, but you can use your favorite scented variety.
* **Essential Oils (Optional):** This is where you can get creative! Essential oils not only add a pleasant scent but also offer additional cleaning and disinfecting properties. Some of my favorites for the bathroom are tea tree (antifungal), eucalyptus (antiseptic), lavender (relaxing), and lemon (degreasing).
* **Baking Soda (Optional):** For extra scrubbing power, especially on stubborn stains.
* **Spray Bottle:** A sturdy spray bottle is essential for applying the cleaner. Make sure it’s clean and has a good spray nozzle.
* **Measuring Cups and Spoons:** For accurate measurements.
* **Funnel (Optional):** Makes pouring liquids into the spray bottle much easier and less messy.
* **Gloves (Optional):** If you have sensitive skin, gloves are a good idea when working with vinegar.
* **Cleaning Cloths or Sponges:** For wiping down surfaces.
* **Scrub Brush (Optional):** For tackling tough stains and grout.
Step-by-Step Instructions: Making Your Vinegar Soap
Okay, let’s get down to business! Follow these steps carefully, and you’ll have a batch of amazing bathroom cleaning vinegar soap in no time.
1. **Prepare Your Spray Bottle:** Make sure your spray bottle is clean and dry. This will prevent any unwanted contamination of your cleaner.
2. **Pour in the Vinegar:** Using your measuring cup (and funnel, if you have one), pour 1 cup of white distilled vinegar into the spray bottle.
3. **Add the Castile Soap:** Next, add 1/2 cup of liquid castile soap to the spray bottle.
Important Note: Add the castile soap slowly to avoid excessive foaming. If you notice a lot of bubbles forming, let the mixture settle for a few seconds before adding more soap.
4. **Incorporate Essential Oils (Optional):** If you’re using essential oils, now’s the time to add them. I usually add about 10-20 drops of my chosen essential oils. You can use a single oil or a blend of several. For example, you could try 10 drops of tea tree and 10 drops of lemon.
5. **Add Baking Soda (Optional):** If you want to add baking soda for extra scrubbing power, add 1 tablespoon. Be prepared for some fizzing when you add the baking soda to the vinegar. Add it slowly and carefully to avoid overflow.
6. **Top it Off with Water:** Fill the rest of the spray bottle with water, leaving a little space at the top.
7. **Shake Gently:** Close the spray bottle tightly and shake it gently to combine all the ingredients. Avoid shaking too vigorously, as this can create excessive foam.
8. **Label Your Bottle:** Don’t forget to label your spray bottle with the name of the cleaner and the date you made it. This will help you keep track of what’s inside and when it was made.
Using Your DIY Vinegar Soap: Cleaning Your Bathroom
Now that you’ve made your vinegar soap, it’s time to put it to work! Here’s how to use it to clean your bathroom:
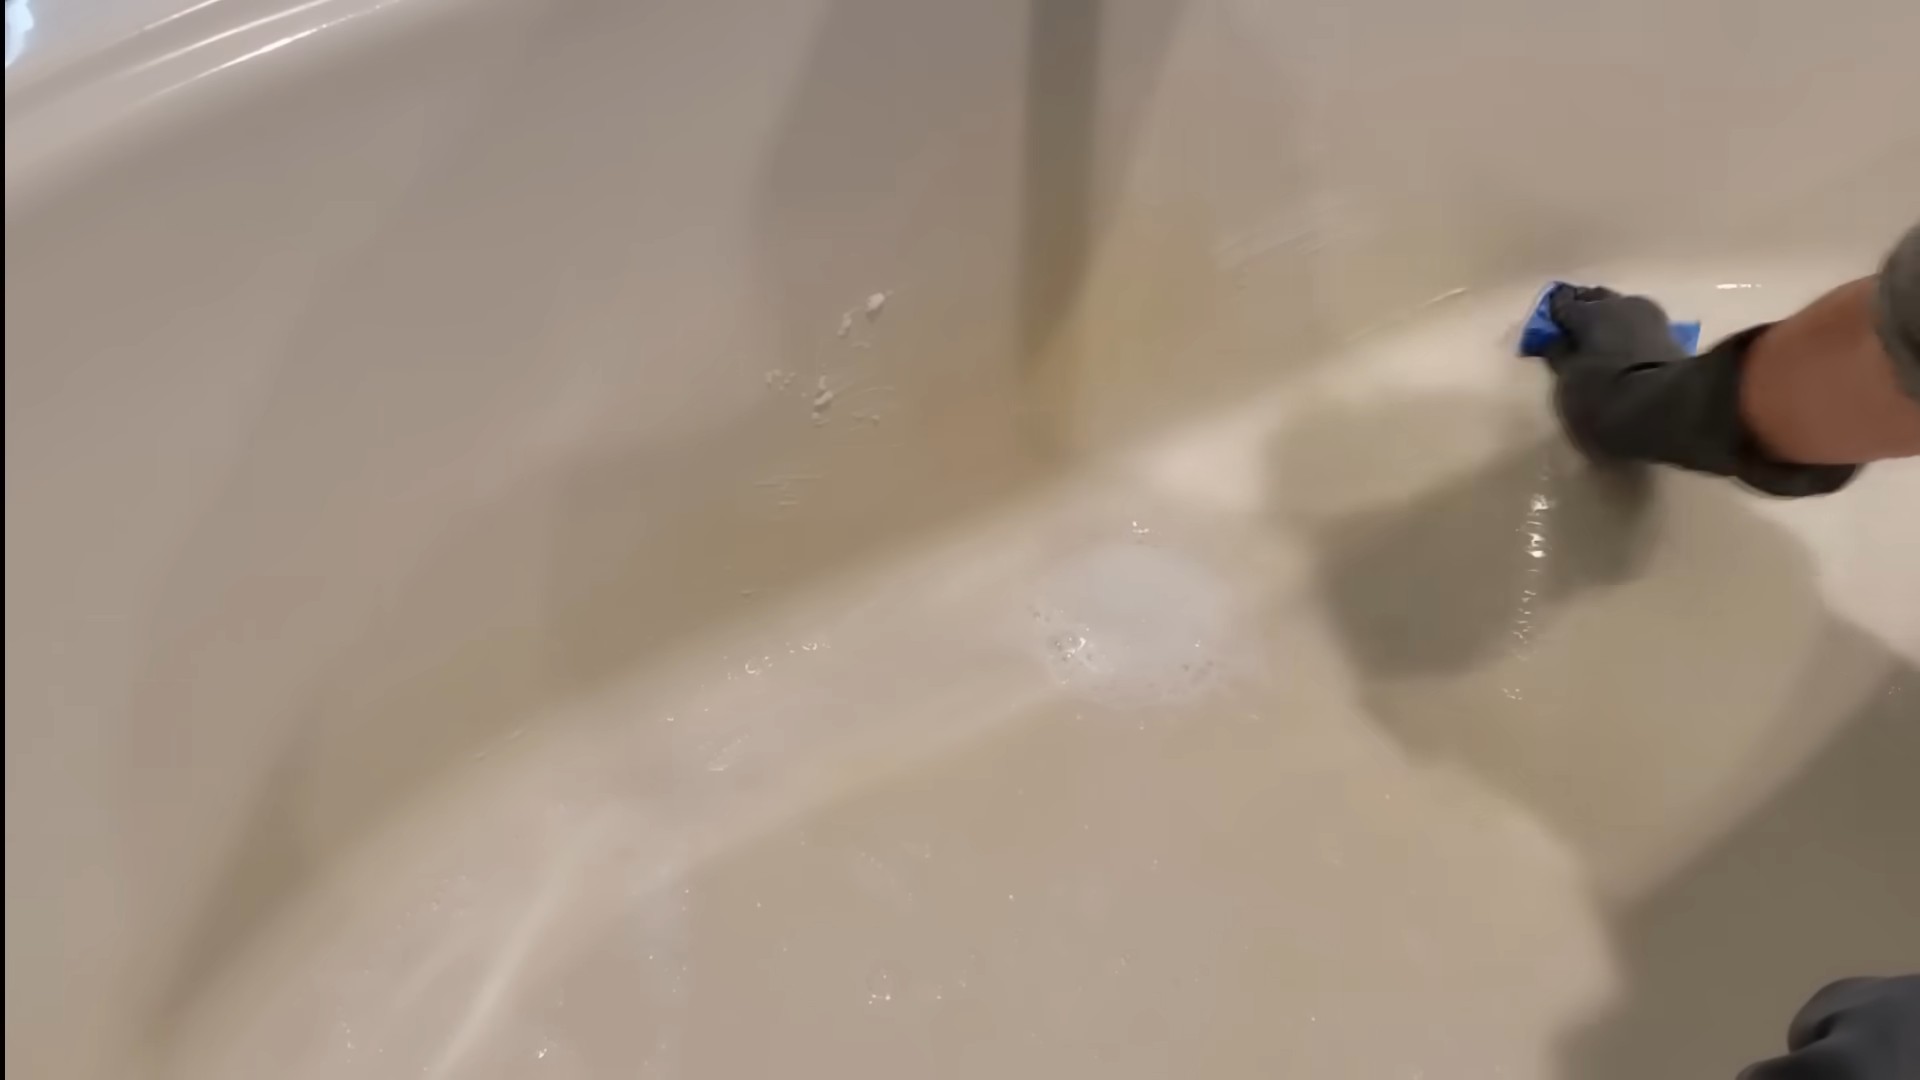
1. **Spray the Surface:** Spray the vinegar soap liberally onto the surface you want to clean. This could be your shower walls, bathtub, sink, toilet, or countertops.
2. **Let it Sit:** Allow the cleaner to sit on the surface for a few minutes (5-10 minutes is usually sufficient) to allow the vinegar to break down soap scum and mildew. For tougher stains, you can let it sit for longer.
3. **Scrub (If Necessary):** If you’re dealing with stubborn stains or buildup, use a scrub brush or sponge to scrub the surface.
4. **Rinse Thoroughly:** Rinse the surface thoroughly with water to remove any remaining cleaner and loosened dirt.
5. **Wipe Dry:** Wipe the surface dry with a clean cloth or towel.
Tackling Specific Bathroom Areas: Tips and Tricks
Here are some specific tips for using your vinegar soap in different areas of your bathroom:
* **Shower and Tub:** This cleaner is fantastic for removing soap scum and mildew from shower walls, doors, and tubs. Pay special attention to grout lines, as they tend to accumulate dirt and grime.
* **Sink and Countertops:** Use this cleaner to wipe down your sink and countertops. It’s effective at removing water spots, toothpaste splatters, and other everyday messes.
* **Toilet:** Spray the cleaner inside and outside the toilet bowl. Let it sit for a few minutes, then scrub with a toilet brush and flush. Wipe down the exterior of the toilet with a clean cloth.
* **Mirrors and Glass:** This cleaner can also be used to clean mirrors and glass surfaces. Spray it on, then wipe with a clean, lint-free cloth for a streak-free shine.
* **Showerhead:** To clean a showerhead clogged with mineral deposits, fill a plastic bag with vinegar soap and secure it around the showerhead with a rubber band. Let it soak for several hours or overnight, then remove the bag and run the shower to flush out any remaining debris.
Troubleshooting and Tips for Success
* **Vinegar Smell:** Some people are sensitive to the smell of vinegar. If you find the scent too strong, you can add more essential oils or open a window to ventilate the bathroom while you’re cleaning. The vinegar smell will dissipate quickly.
* **Soap Scum Buildup:** For heavy soap scum buildup, you may need to repeat the cleaning process or use a more abrasive scrub brush.
* **Hard Water Stains:** Vinegar is excellent at removing hard water stains. For particularly stubborn stains, you can try making a paste of baking soda and vinegar and applying it to the stain. Let it sit for a few minutes, then scrub and rinse.
* **Adjusting the Recipe:** Feel free to adjust the recipe to suit your preferences. You can experiment with different essential oil blends or add more or less baking soda depending on your cleaning needs.
* **Storage:** Store your vinegar soap in a cool, dark place. It should last for several months.
Why This Recipe Works: The Science Behind the Clean
Let’s take a quick look at why this DIY cleaner is so effective:
* **Vinegar’s Acidity:** The acetic acid in vinegar is a natural disinfectant and degreaser. It breaks down soap scum, mildew, and hard water deposits.
* **Castile Soap’s Cleaning Power:** Castile soap is a gentle yet effective cleanser that helps to lift dirt and grime from surfaces.
* **Essential Oils’ Added Benefits:** Essential oils not only add a pleasant scent but also offer additional cleaning and disinfecting properties. Tea tree oil, for example, is a powerful antifungal agent.
* **Baking Soda’s Abrasiveness:** Baking soda is a mild abrasive that helps to scrub away stubborn stains and buildup.
Safety Precautions
While this DIY cleaner is generally safe, it’s always a good idea to take a few precautions:
* **Avoid Contact with Eyes:** Avoid getting the cleaner in your eyes. If contact occurs, rinse thoroughly with water.
* **Test on a Small Area:** Before using the cleaner on a large surface, test it on a small, inconspicuous area to make sure it doesn’t damage the finish.
* **Keep Out of Reach of Children and Pets:** As with all cleaning products, keep this cleaner out of reach of children and pets.
* **Don’t Mix with Bleach:** Never mix vinegar with bleach, as this can create toxic fumes.
I hope you enjoy making and using this DIY bathroom cleaning vinegar soap! It’s a simple, effective, and eco-friendly way to keep your bathroom sparkling clean. Happy cleaning!
Conclusion
So, there you have it! Creating your own bathroom cleaning vinegar soap is not just a cost-effective alternative to store-bought cleaners; it’s a powerful, eco-friendly, and surprisingly simple way to keep your bathroom sparkling. We’ve walked you through the process, highlighting the benefits of using natural ingredients and avoiding harsh chemicals that can be detrimental to your health and the environment.
But why is this DIY trick a must-try? Beyond the savings and eco-consciousness, it’s about control. You control the ingredients, ensuring you’re not exposing yourself or your family to potentially harmful substances. You can tailor the scent to your liking, creating a truly personalized cleaning experience. And let’s be honest, there’s a certain satisfaction that comes from creating something yourself, knowing you’re contributing to a cleaner home and a healthier planet.
Think of the possibilities! Want a more invigorating scent? Add a few drops of eucalyptus or peppermint essential oil. Prefer a citrusy boost? Lemon or orange essential oils are excellent choices. You can even experiment with different types of vinegar, such as apple cider vinegar, for its added antibacterial properties. For a more abrasive scrub, consider adding a small amount of baking soda to your soap mixture. Just be mindful of the surfaces you’re cleaning, as baking soda can scratch delicate materials.
This bathroom cleaning vinegar soap is incredibly versatile. Use it on your shower tiles, sink, toilet, and even your bathroom mirrors (diluted with water, of course!). It’s effective at removing soap scum, hard water stains, and mildew, leaving your bathroom fresh and clean.
We understand that trying something new can be a little daunting, but we promise this DIY project is worth the effort. It’s a small change that can make a big difference in your home and your well-being.
We wholeheartedly encourage you to give this bathroom cleaning vinegar soap recipe a try. Once you experience the effectiveness and the satisfaction of creating your own cleaner, we’re confident you’ll be hooked.
But don’t just take our word for it! We want to hear about your experience. Did you try a different essential oil blend? Did you find a particularly effective way to use the soap? Share your tips, tricks, and feedback in the comments below. Let’s create a community of DIY cleaning enthusiasts and help each other create healthier, happier homes. We can’t wait to hear your success stories!
Frequently Asked Questions (FAQ)
Q: What kind of vinegar should I use for my bathroom cleaning vinegar soap?
A: White distilled vinegar is generally recommended for cleaning due to its high acidity and lack of color, which minimizes the risk of staining. However, you can experiment with other types of vinegar, such as apple cider vinegar, which has added antibacterial properties. Just be aware that apple cider vinegar has a darker color and a stronger scent, which may affect the final product. Avoid using balsamic vinegar, as its sugar content can leave a sticky residue.
Q: Can I use any type of soap for this recipe?
A: It’s best to use a natural, unscented liquid soap, such as castile soap. Castile soap is gentle, effective, and readily available. Avoid using soaps that contain harsh chemicals, dyes, or fragrances, as these can counteract the benefits of using natural ingredients. Dish soap can also be used in a pinch, but be sure to rinse thoroughly to remove any residue.
Q: How do I store my homemade bathroom cleaning vinegar soap?
A: Store your soap in an airtight container in a cool, dark place. A glass jar or a plastic bottle with a secure lid works well. Be sure to label the container clearly so you don’t accidentally mistake it for something else. The soap should last for several months if stored properly.
Q: Is this bathroom cleaning vinegar soap safe to use on all surfaces?
A: While vinegar is generally safe for most surfaces, it’s best to test it in an inconspicuous area first, especially on delicate materials like marble, granite, or natural stone. Vinegar can etch or dull these surfaces over time. Avoid using vinegar on waxed wood, as it can strip the wax. For mirrors and glass, dilute the soap with water to prevent streaking.
Q: How do I adjust the scent of my bathroom cleaning vinegar soap?
A: Essential oils are a great way to customize the scent of your soap. Start with a few drops and add more until you achieve your desired fragrance. Popular choices for bathroom cleaning include eucalyptus, peppermint, tea tree, lemon, and orange. Be sure to use pure essential oils, not fragrance oils, for the best results. You can also experiment with different blends to create your own unique scent.
Q: My bathroom cleaning vinegar soap smells too strongly of vinegar. How can I fix this?
A: The vinegar scent will dissipate over time, especially as the soap dries. Adding essential oils can also help to mask the vinegar smell. If the scent is still too strong, you can try diluting the soap with water before using it.
Q: Can I add baking soda to my bathroom cleaning vinegar soap?
A: Yes, you can add a small amount of baking soda to your soap for extra scrubbing power. However, be mindful of the surfaces you’re cleaning, as baking soda can scratch delicate materials. It’s best to use baking soda sparingly and to test it in an inconspicuous area first. Also, be aware that mixing vinegar and baking soda creates a fizzing reaction, so add the baking soda slowly and carefully.
Q: How often should I use this bathroom cleaning vinegar soap?
A: The frequency of use will depend on your individual needs and the condition of your bathroom. For regular cleaning, you can use the soap once or twice a week. For tougher stains or mildew, you may need to use it more frequently.
Q: Is this bathroom cleaning vinegar soap safe for septic systems?
A: Yes, vinegar and castile soap are generally considered safe for septic systems. They are both biodegradable and do not contain harsh chemicals that can harm the beneficial bacteria in your septic tank. However, it’s always a good idea to use cleaning products sparingly, regardless of whether they are natural or not.
Q: Can I use this bathroom cleaning vinegar soap to clean my toilet?
A: Absolutely! This soap is effective at cleaning and disinfecting toilets. Simply apply the soap to the toilet bowl, let it sit for a few minutes, and then scrub with a toilet brush. Flush the toilet to rinse. You can also add a few drops of tea tree essential oil for extra disinfecting power.
Leave a Comment