
Best Chili Recipe Ever: Craving a bowl of hearty, soul-satisfying chili that will have everyone begging for seconds? Forget those bland, store-bought versions! I’m about to share a chili recipe so good, it’ll become your new go-to for cozy nights, game days, and potlucks.
Chili, in its essence, is more than just a dish; it’s a culinary hug. Its roots trace back to the American Southwest, where resourceful cooks combined readily available ingredients like chiles, beans, and meat to create a flavorful and filling meal. Over time, countless variations have emerged, each reflecting regional preferences and family traditions. But the core appeal remains the same: a comforting, communal dish that brings people together.
Why do you need this best chili recipe ever? Because life’s too short for mediocre chili! This recipe is designed to be easy to follow, even for beginner cooks, and it’s packed with flavor that will tantalize your taste buds. Plus, it’s incredibly versatile – you can adjust the spice level to your liking, add your favorite toppings, and even make it vegetarian or vegan. So, ditch the canned stuff and get ready to experience chili perfection. I promise, this will be the best chili you’ve ever made!
Das beste Chili Rezept aller Zeiten – DIY!
Hey Leute, ich bin so aufgeregt, euch endlich mein absolutes Lieblings-Chili-Rezept zu verraten! Ich habe es über die Jahre perfektioniert und es ist immer ein Hit, egal ob beim Super Bowl, einem gemütlichen Abend mit Freunden oder einfach nur, wenn ich Lust auf etwas Herzhaftes habe. Es ist super einfach zuzubereiten und lässt sich wunderbar an eure persönlichen Vorlieben anpassen. Also, krempelt die Ärmel hoch, denn wir legen los!
Was du brauchst: Die Zutatenliste
Bevor wir anfangen, hier eine Liste aller Zutaten, die du für dieses Chili-Meisterwerk benötigst. Keine Sorge, die meisten davon hast du wahrscheinlich schon zu Hause!
* Fleisch: 1 kg Rinderhackfleisch (oder eine Mischung aus Rind und Schwein, wenn du es etwas reichhaltiger magst)
* Zwiebeln: 2 große Zwiebeln, gewürfelt
* Knoblauch: 4-5 Knoblauchzehen, gehackt
* Paprika: 1 rote Paprika, 1 grüne Paprika, gewürfelt
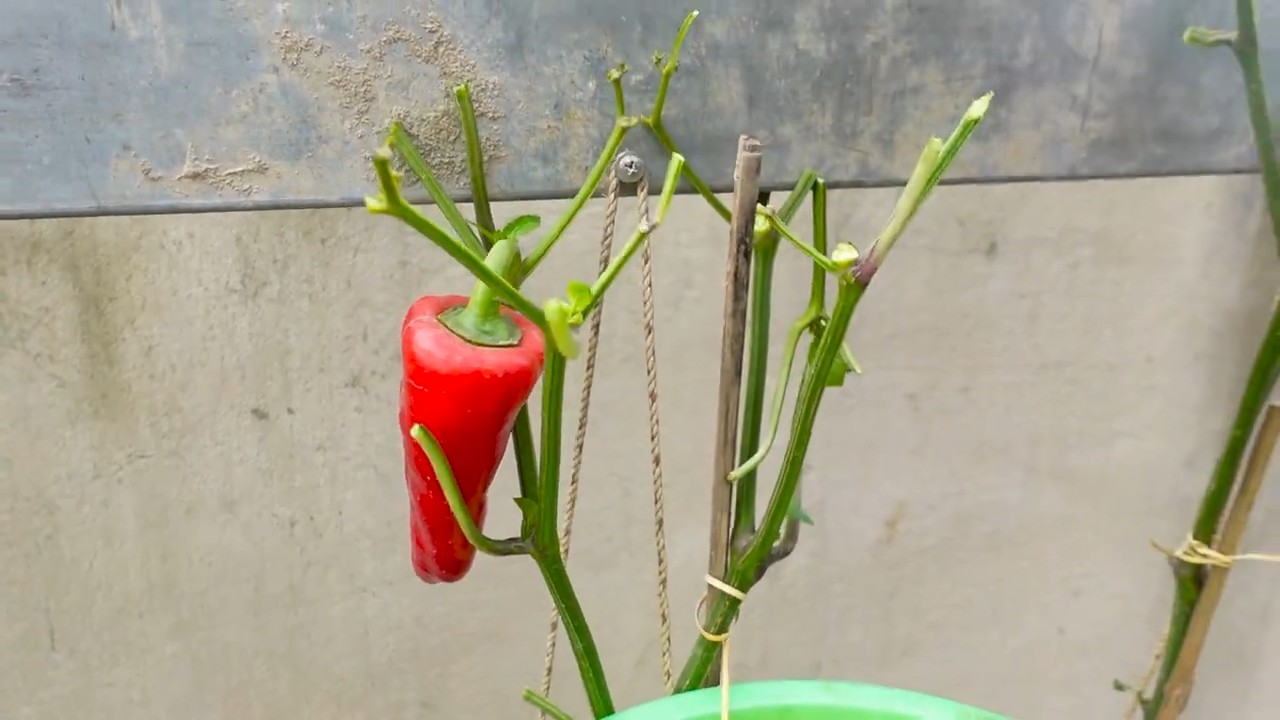
* Chilischoten: 1-2 Jalapeños (oder andere Chilis deiner Wahl), entkernt und fein gehackt (je nach gewünschtem Schärfegrad)
* Tomaten: 1 Dose (800g) gehackte Tomaten, 1 Dose (400g) passierte Tomaten, 2 EL Tomatenmark
* Bohnen: 1 Dose (400g) Kidneybohnen, 1 Dose (400g) schwarze Bohnen, abgetropft und gespült
* Brühe: 500 ml Rinderbrühe
* Gewürze: 2 EL Chilipulver, 1 EL Kreuzkümmel, 1 TL geräuchertes Paprikapulver, 1 TL Oregano, 1/2 TL Cayennepfeffer (optional), Salz und Pfeffer nach Geschmack
* Öl: 2 EL Olivenöl (oder ein anderes Pflanzenöl)
* Toppings (optional): Geriebener Käse, saure Sahne, gehackte Frühlingszwiebeln, Koriander, Avocado, Tortilla-Chips
Schritt für Schritt zum Chili-Glück: Die Zubereitung
Jetzt kommt der spaßige Teil: Das Kochen! Keine Angst, es ist wirklich kinderleicht. Folge einfach diesen Schritten und du wirst im Handumdrehen ein köstliches Chili zaubern.
1. Fleisch anbraten: Erhitze das Olivenöl in einem großen Topf oder Dutch Oven bei mittlerer Hitze. Gib das Hackfleisch hinzu und brate es an, bis es braun und krümelig ist. Achte darauf, es während des Bratens mit einem Kochlöffel zu zerdrücken. Gieße überschüssiges Fett ab.
2. Gemüse andünsten: Füge die gewürfelten Zwiebeln und den gehackten Knoblauch zum Topf hinzu und dünste sie an, bis sie weich und glasig sind (ca. 5-7 Minuten). Gib dann die gewürfelten Paprika und die gehackten Chilischoten hinzu und dünste sie weitere 3-5 Minuten mit.
3. Tomaten und Gewürze hinzufügen: Gib das Tomatenmark hinzu und röste es kurz (ca. 1 Minute) mit, um die Aromen zu entfalten. Füge dann die gehackten Tomaten, die passierten Tomaten, die Rinderbrühe, das Chilipulver, den Kreuzkümmel, das geräucherte Paprikapulver, den Oregano und den Cayennepfeffer (falls verwendet) hinzu. Verrühre alles gut und bringe die Mischung zum Kochen.
4. Köcheln lassen: Reduziere die Hitze auf niedrig, decke den Topf ab und lasse das Chili mindestens 1 Stunde köcheln. Je länger es köchelt, desto besser entwickeln sich die Aromen! Rühre es gelegentlich um, damit nichts anbrennt. Wenn du Zeit hast, kannst du es auch 2-3 Stunden köcheln lassen.
5. Bohnen hinzufügen: Gib die Kidneybohnen und die schwarzen Bohnen hinzu und lasse das Chili weitere 15-20 Minuten köcheln, damit die Bohnen warm werden und die Aromen sich verbinden.
6. Abschmecken und servieren: Schmecke das Chili mit Salz und Pfeffer ab. Füge bei Bedarf noch mehr Chilipulver oder Cayennepfeffer hinzu, um den Schärfegrad anzupassen. Serviere das Chili heiß mit deinen Lieblings-Toppings wie geriebenem Käse, saurer Sahne, gehackten Frühlingszwiebeln, Koriander, Avocado und Tortilla-Chips.
Variationen und Tipps: So wird dein Chili noch besser!
Das Schöne an Chili ist, dass es so vielseitig ist! Hier sind ein paar Ideen, wie du das Rezept an deine Vorlieben anpassen kannst:
* Vegetarisches Chili: Ersetze das Hackfleisch durch gewürfelten Tofu, Sojagranulat oder mehr Bohnen. Du kannst auch zusätzliches Gemüse wie Mais, Zucchini oder Süßkartoffeln hinzufügen.
* Hähnchen-Chili: Verwende anstelle von Rinderhackfleisch gewürfeltes Hähnchenbrustfilet oder Hähnchenschenkel ohne Knochen und Haut.
* Schärfegrad anpassen: Wenn du es schärfer magst, füge mehr Jalapeños oder andere Chilis hinzu. Du kannst auch Chilipulver mit höherem Schärfegrad verwenden. Wenn du es milder magst, entferne die Kerne und Membranen der Chilischoten, da diese den Großteil der Schärfe enthalten.
* Slow Cooker Chili: Du kannst dieses Rezept auch im Slow Cooker zubereiten. Brate das Fleisch und das Gemüse wie oben beschrieben an und gib dann alle Zutaten in den Slow Cooker. Koche es 6-8 Stunden auf niedriger Stufe oder 3-4 Stunden auf hoher Stufe.
* Chili einfrieren: Chili lässt sich wunderbar einfrieren. Lasse es vollständig abkühlen und fülle es dann in Gefrierbeutel oder -behälter. Es hält sich im Gefrierschrank bis zu 3 Monate.
Die Geheimzutat: Geduld!
Ich weiß, es ist schwer, aber das Geheimnis eines wirklich guten Chilis ist Geduld. Je länger es köchelt, desto besser entwickeln sich die Aromen und desto zarter wird das Fleisch. Also, nimm dir Zeit, lass es langsam köcheln und genieße den Duft, der dein Haus erfüllt!
Warum dieses Chili so besonders ist: Meine persönliche Note
Was dieses Chili für mich so besonders macht, ist die Kombination aus den verschiedenen Gewürzen und der langen Kochzeit. Das geräucherte Paprikapulver verleiht ihm eine tolle Tiefe und das Cayennepfeffer sorgt für den extra Kick. Aber das Wichtigste ist, dass es mit Liebe zubereitet wird!
Ich hoffe, du probierst dieses Rezept aus und bist genauso begeistert davon wie ich. Lass mich wissen, wie es dir geschmeckt hat und welche Variationen du ausprobiert hast! Viel Spaß beim Kochen!

Conclusion
So, there you have it – the secret to unlocking chili nirvana! This isn’t just another recipe; it’s a journey into flavor, a testament to the power of simple ingredients transformed into something truly extraordinary. We’ve explored the nuances of building a robust base, the importance of layering spices, and the magic that happens when you let everything simmer to perfection. But the real game-changer, the element that elevates this chili from good to legendary, is our DIY trick: the homemade chili paste.
Why is this a must-try? Because it gives you unparalleled control over the flavor profile. Store-bought chili powders can be inconsistent, often containing fillers and lacking the vibrant freshness that truly makes chili sing. By crafting your own paste, you’re not just adding spice; you’re adding depth, complexity, and a personalized touch that will have everyone begging for your secret.
Think of the possibilities! Want a smoky chili? Add a chipotle pepper or two to your paste. Craving more heat? Throw in a habanero (use with caution!). Prefer a sweeter chili? A touch of brown sugar or molasses in the paste will do the trick. The beauty of this DIY approach is its adaptability. You can tailor it to your exact preferences, creating a chili that is uniquely yours.
And don’t stop there! Consider these variations to further customize your chili experience:
* Vegetarian Delight: Swap the ground beef for lentils, black beans, or a combination of both. Add diced sweet potatoes or butternut squash for extra heartiness and sweetness.
* White Chicken Chili: Use shredded chicken instead of beef and replace the tomatoes with chicken broth. Add white beans, corn, and green chilies for a Southwestern twist.
* Chili Verde: Use pork shoulder instead of beef and incorporate tomatillos, poblano peppers, and cilantro for a vibrant, tangy chili.
* Toppings Galore: Don’t forget the toppings! Sour cream, shredded cheese, chopped onions, cilantro, avocado, and a squeeze of lime are all fantastic additions.
This Best Chili Recipe Ever is more than just a set of instructions; it’s an invitation to experiment, to create, and to share. It’s about bringing people together around a warm, comforting bowl of deliciousness. It’s about making memories and creating traditions.
So, what are you waiting for? Gather your ingredients, fire up your stove, and prepare to embark on a chili-making adventure. We’re confident that this recipe, especially with the homemade chili paste, will become a staple in your kitchen.
We can’t wait to hear about your chili creations! Please, try this DIY trick and share your experiences, variations, and photos in the comments below. Let us know what spices you used, what toppings you added, and what your family and friends thought. Your feedback is invaluable and helps us continue to refine and improve our recipes. Happy cooking!
Frequently Asked Questions (FAQ)
What if I don’t have all the spices listed for the chili paste?
Don’t worry! The beauty of making your own chili paste is that you can adapt it to what you have on hand. While the listed spices create a complex and balanced flavor, you can certainly substitute or omit certain ingredients. If you’re missing cumin, for example, you could use a touch of smoked paprika for a similar smoky depth. If you don’t have ancho chili powder, you can use regular chili powder, but be aware that it might not have the same fruity undertones. The key is to experiment and find what works best for your taste. Just remember to start with small amounts and adjust as needed.
Can I make the chili paste ahead of time?
Absolutely! In fact, we highly recommend it. Making the chili paste a day or two in advance allows the flavors to meld and deepen, resulting in an even more flavorful chili. Simply store the paste in an airtight container in the refrigerator for up to a week. You can also freeze the paste for longer storage. Just thaw it completely before using.
How spicy is this chili?
The spiciness of this chili is moderate, but it’s easily adjustable to your preference. The recipe calls for a specific amount of chili powder and cayenne pepper, which provides a pleasant warmth without being overwhelming. If you prefer a milder chili, simply reduce or omit the cayenne pepper. If you like it hot, add more cayenne pepper or include a finely chopped jalapeño or habanero pepper (with seeds removed for less heat) to the chili while it’s simmering. Remember to taste as you go and adjust the spice level accordingly.
Can I use canned tomatoes instead of fresh?
Yes, you can. While fresh tomatoes offer the best flavor, canned diced tomatoes are a perfectly acceptable substitute. Use a 28-ounce can of diced tomatoes, undrained. If you’re using canned tomatoes, you may want to add a teaspoon of sugar to balance the acidity.
What’s the best way to thicken the chili if it’s too thin?
There are several ways to thicken chili. One option is to simmer it uncovered for a longer period of time, allowing some of the liquid to evaporate. Another option is to add a tablespoon or two of cornstarch or flour mixed with a little cold water to create a slurry. Stir the slurry into the chili and simmer for a few minutes until it thickens. You can also mash some of the beans in the chili to release their starch and thicken the sauce.
What kind of beans are best for chili?
The choice of beans is largely a matter of personal preference. Kidney beans, pinto beans, and black beans are all popular choices for chili. You can use a single type of bean or a combination of different beans. If you’re using dried beans, be sure to soak them overnight before cooking. Canned beans are a convenient option, but be sure to rinse them well before adding them to the chili.
Can I make this chili in a slow cooker?
Yes, you can easily adapt this recipe for a slow cooker. Brown the ground beef in a skillet before adding it to the slow cooker. Then, add all the remaining ingredients, including the chili paste. Cook on low for 6-8 hours or on high for 3-4 hours.
What are some good side dishes to serve with chili?
Chili is a hearty and satisfying meal on its own, but it’s even better when paired with complementary side dishes. Cornbread, biscuits, or crusty bread are all excellent choices for soaking up the delicious chili sauce. A simple green salad provides a refreshing contrast to the richness of the chili. You can also serve chili with toppings like sour cream, shredded cheese, chopped onions, and cilantro.
How long does chili last in the refrigerator?
Chili will keep in the refrigerator for 3-4 days. Be sure to store it in an airtight container. Reheat the chili thoroughly before serving.
Can I freeze chili?
Yes, chili freezes very well. Allow the chili to cool completely before transferring it to freezer-safe containers or bags. Be sure to leave some headspace in the containers to allow for expansion during freezing. Chili can be frozen for up to 2-3 months. Thaw the chili in the refrigerator overnight before reheating.

Leave a Comment