
Growing grapevines from grapes might sound like a fairytale, but trust me, it’s a surprisingly achievable DIY project that can transform your garden! Have you ever looked at a plump, juicy grape and wondered if you could cultivate an entire vine from it? I know I have! For centuries, grapevines have held a special place in cultures around the world, symbolizing abundance, celebration, and even transformation. From ancient Roman vineyards to the sun-drenched slopes of Napa Valley, the grapevine’s story is intertwined with human history.
But why should you bother trying to grow your own grapevines from grapes? Well, for starters, it’s incredibly rewarding to nurture a plant from its humble beginnings. Plus, imagine the bragging rights when you can say you grew your own grapes! More practically, it’s a cost-effective way to expand your garden and enjoy fresh, homegrown fruit. This DIY trick is perfect for anyone looking to add a touch of elegance and deliciousness to their backyard. So, let’s dive in and unlock the secrets to successfully growing grapevines from grapes, turning your green thumb dreams into a fruitful reality!
Growing Grapevines from Grapes: A DIY Guide
Hello wine lovers! Have you ever wondered if you could grow your own grapevines from the grapes you love to eat? The answer is yes! While it’s a bit tricky and requires patience, it’s an incredibly rewarding project. I’ll show you how it’s done.
What You Need:
Before we start, here is a list of the things you’ll need:
- Grapes: Choose table grapes with seeds that look ripe and healthy. Organic grapes are often a good choice as they are less likely to have been treated with germination inhibitors.
- Small pots or seed trays: These should have holes for drainage.
- Seed starting mix: A light, well-draining soil is ideal.
- Moisture-retaining substrate: Vermiculite or perlite helps to retain moisture.
- Plastic wrap or a clear plastic bag: To create a humid environment.
- Spray bottle: For moistening the soil.
- Patience: The most important thing!
Step-by-Step Guide:
Here is a detailed guide on how to grow grapevines from grapes:
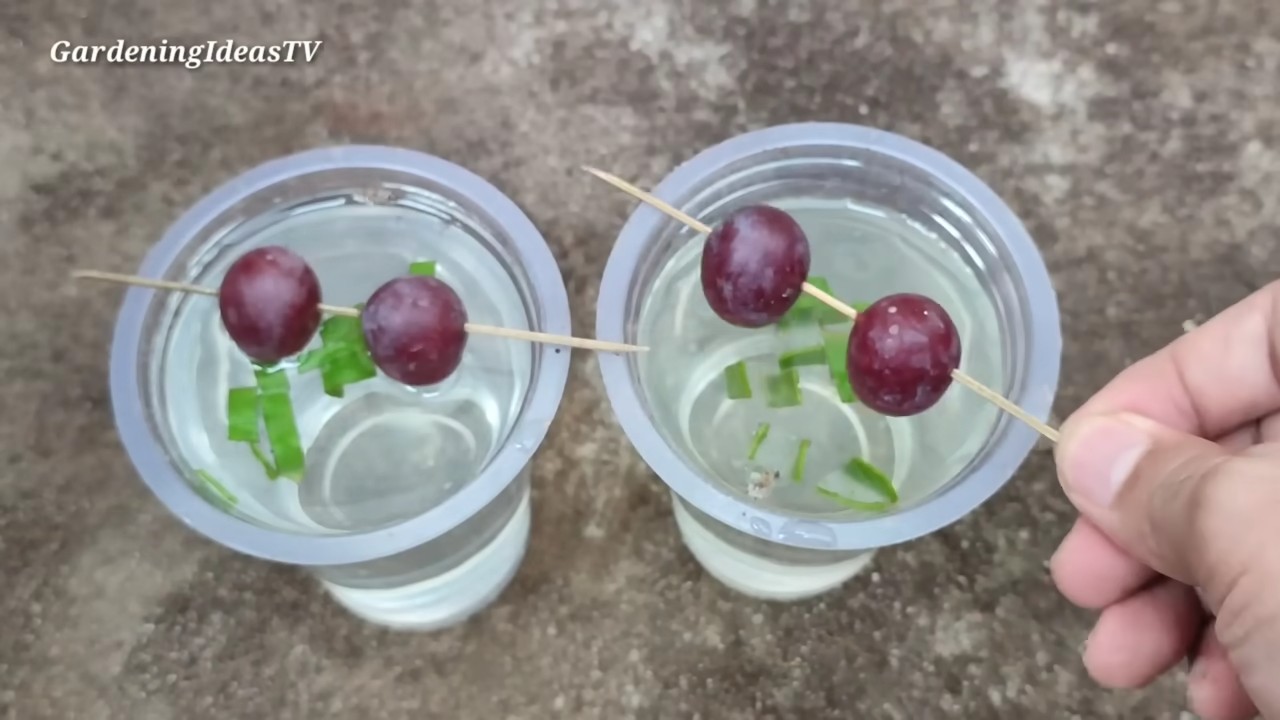
1. Preparing the Grapes:
- Select the grapes: Pick the most beautiful, plumpest grapes from your bunch. Make sure they show no signs of mold or damage. The seeds inside the grapes should be well-developed.
- Extract the seeds: Carefully cut the grapes open and remove the seeds. Try to damage the seeds as little as possible.
- Clean the seeds: Rinse the seeds under running water to remove any fruit pulp. This is important to prevent mold.
- Dry the seeds: Place the seeds on a paper towel and let them dry for a few days in a cool, dry place. Make sure they are not exposed to direct sunlight.
2. Stratification (Cold Treatment):
Stratification is an important step to encourage the seeds to germinate. It simulates the winter conditions that the seeds would experience in nature.
- Preparation: Place the dried seeds in a small, sealable plastic bag.
- Add moisture: Lightly dampen a paper towel and place it in the bag with the seeds. The towel should be damp, but not wet.
- Cold treatment: Seal the bag and place it in the refrigerator for 60-90 days. The temperature should be between 1°C and 5°C (34°F and 41°F).
- Check: Regularly check the seeds for mold. If you spot any mold, remove the affected seeds and change the paper towel.
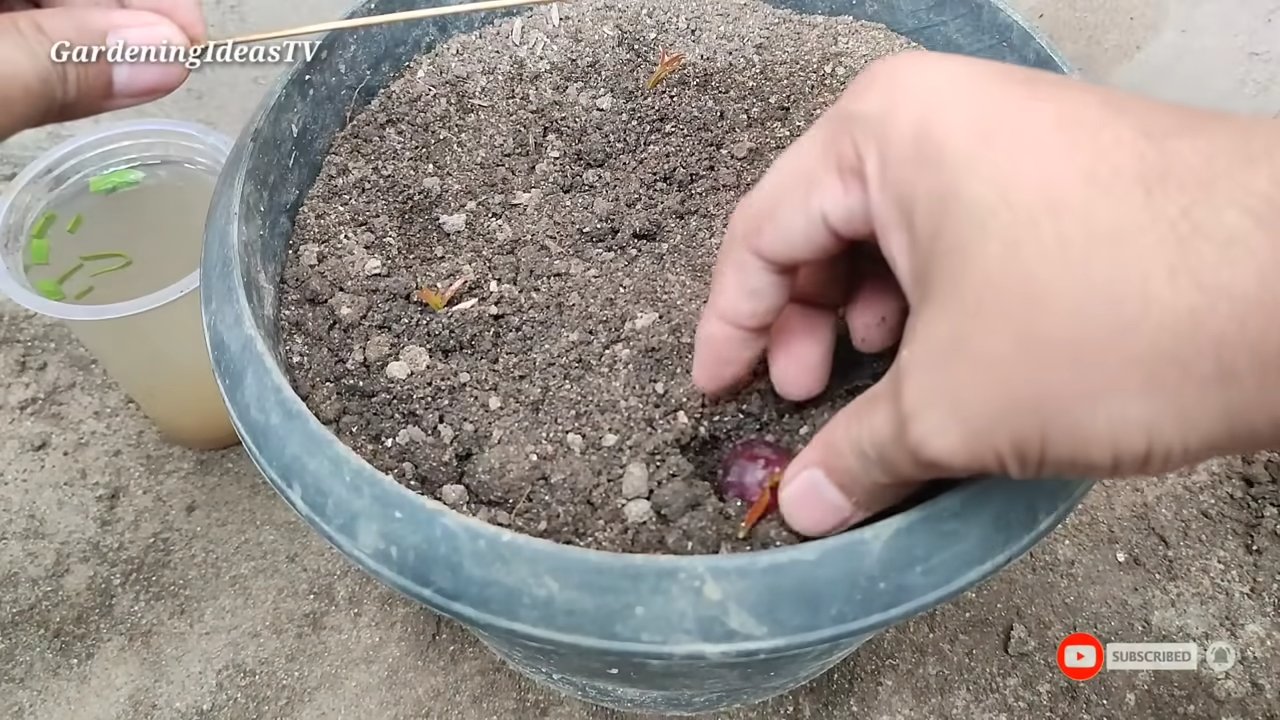
3. Sowing the Seeds:
After stratification, the seeds are ready for sowing.
- Prepare the pots: Fill your pots or seed trays with seed starting mix. Mix the soil with some vermiculite or perlite to improve drainage.
- Sow the seeds: Make small holes in the soil, about 1-2 cm (0.5-1 inch) deep. Place one seed in each hole.
- Cover: Cover the seeds with soil and press down lightly.
- Water: Gently moisten the soil with a spray bottle. The soil should be damp, but not drenched.
- Retain moisture: Cover the pots with plastic wrap or a clear plastic bag to create a humid environment. Make sure the wrap does not touch the soil. You can poke small holes in the wrap to improve ventilation.
4. Caring for the Seedlings:
After sowing, it’s important to care for the seedlings properly.
- Location: Place the pots in a warm, bright place, but not in direct sunlight.
- Watering: Keep the soil moist, but not drenched. Regularly spray the soil with a spray bottle.
- Ventilation: Ventilate the pots regularly by briefly removing the plastic wrap. This helps prevent mold.
- Patience: Germination can take several weeks or even months. Be patient and don’t give up!
5. Transplanting the Seedlings:
Once the seedlings are large enough (about 5-10 cm or 2-4 inches tall), they can be transplanted into larger pots.
- Preparation: Fill larger pots with a mix of seed starting mix and garden soil.
- Transplanting: Carefully dig the seedlings out of the small pots and transplant them into the larger ones. Be careful not to damage the roots.
- Watering: Water the seedlings thoroughly after transplanting.
- Care: Place the pots in a sunny location and water them regularly.
More Tips and Tricks:
- Patience is key: The germination of grape seeds can vary greatly. Some seeds germinate quickly, others take longer. Don’t give up if you don’t see immediate results.
- Quality of the grapes: The quality of the grapes from which you get the seeds plays an important role. Choose healthy, ripe grapes.
- Soil quality: Grapevines prefer well-draining soil. Make sure the soil in your pots is not too heavy.
- Watering: Overwatering can lead to root rot. Make sure the soil is moist, but not drenched.
- Fertilizing: Once the seedlings are a bit larger, you can feed them with a mild fertilizer.
- Location: Grapevines need a lot of sun. Place the pots in a sunny location as soon as the seedlings are strong enough.
- Support: As the vines grow, they will need support to hold onto. You can give them a small stake or a trellis.
- Grafting: The vines grown from seed often do not bear the same fruit as the parent plant. To ensure you get the desired grape variety, you can graft the vine onto a proven rootstock. However, this is a more advanced topic.
Common Problems and Solutions:
Pests: Grapevines can be attacked by various pests. Check the plants regularly and treat them with a suitable insecticide if necessary.
No germination: If the seeds don’t germinate, there could be several reasons. The seeds may not have been ripe enough, the stratification may have been insufficient, or the soil may be too dry or too wet. Review your steps and try again.
Mold growth: Mold can occur if the environment is too humid. Ventilate the pots regularly and remove any affected seeds.
Root rot: Root rot is caused by overwatering. Make sure the soil is well-draining and do not water too much.
Conclusion
So, there you have it! Growing grapevines from grapes might seem like a daunting task at first, but with a little patience and the right approach, you can cultivate your own thriving vineyard right in your backyard. This DIY trick isn’t just about saving money; it’s about connecting with nature, understanding the life cycle of a plant, and experiencing the immense satisfaction of nurturing something from its very beginning. It’s a journey of discovery, and the reward is a bountiful harvest of delicious grapes for years to come.
Why is this a must-try? Because it empowers you to take control of your food source, reduces your reliance on commercial agriculture, and allows you to select specific grape varieties that perfectly suit your taste and climate. Imagine the joy of serving homemade wine or fresh grape juice made from grapes you personally nurtured from seed!
But don’t stop there! Experiment with different grape varieties to discover which ones thrive best in your region. Try different soil compositions to see how they affect the flavor and yield of your grapes. Consider grafting your newly grown grapevines onto more established rootstock for increased disease resistance and vigor. The possibilities are endless!
And remember, success in gardening often comes from learning and adapting. Don’t be discouraged if your first attempt isn’t perfect. Every failure is a learning opportunity. Keep experimenting, keep researching, and keep nurturing your grapevines.
We wholeheartedly encourage you to try this DIY trick and embark on your own grape-growing adventure. We’re confident that you’ll find it to be a rewarding and enriching experience. Once you’ve given it a try, we’d love to hear about your results! Share your experiences, tips, and photos in the comments below. Let’s build a community of grape-growing enthusiasts and learn from each other. Let’s all learn how to grow grapevines from grapes! Your insights could help others succeed and inspire even more people to embrace the joy of homegrown grapes. So, grab some grapes, get your hands dirty, and start growing! Happy gardening!
Frequently Asked Questions (FAQ)
Q: What type of grapes are best for growing grapevines from grapes?
A: While you can technically try growing grapevines from any type of grape, seedless grapes are obviously not an option. Grapes with larger, well-developed seeds tend to have a higher germination rate. Varieties like Concord, Thompson Seedless (if you can find some with viable seeds, though rare), and some wine grape varieties are often good choices. However, keep in mind that the resulting grapevine may not produce fruit identical to the parent grape due to genetic variation. It’s always best to research grape varieties that are known to thrive in your specific climate and growing conditions. Local nurseries or agricultural extension offices can provide valuable recommendations.
Q: How long does it take to grow grapevines from grapes?
A: Growing grapevines from grapes is a relatively slow process. It can take several months for the seeds to germinate and develop into seedlings. After that, it can take another year or two for the grapevine to become established enough to produce fruit. Be patient and consistent with your care, and you’ll eventually be rewarded with a bountiful harvest. Remember that the first year or two might be focused on root development, so don’t be discouraged if you don’t see grapes right away.
Q: What kind of soil is best for growing grapevines from grapes?
A: Grapevines generally prefer well-draining soil that is rich in organic matter. A slightly acidic to neutral pH (around 6.0 to 7.0) is ideal. Before planting, amend your soil with compost, aged manure, or other organic materials to improve drainage and fertility. Avoid heavy clay soils that retain too much water, as this can lead to root rot. If you have clay soil, consider planting your grapevines in raised beds or containers.
Q: How much sunlight do grapevines need?
A: Grapevines need at least 6-8 hours of direct sunlight per day to thrive. Choose a planting location that receives plenty of sunlight throughout the growing season. Insufficient sunlight can lead to poor fruit production and increased susceptibility to diseases.
Q: How often should I water my grapevines?
A: Water your grapevines regularly, especially during dry periods. Young grapevines need more frequent watering than established vines. Water deeply and thoroughly, allowing the soil to dry out slightly between waterings. Avoid overwatering, as this can lead to root rot. A good rule of thumb is to water when the top inch of soil feels dry to the touch.
Q: Do I need to fertilize my grapevines?
A: Grapevines benefit from regular fertilization, especially during the growing season. Use a balanced fertilizer specifically formulated for fruit trees or grapevines. Follow the instructions on the fertilizer label carefully. Avoid over-fertilizing, as this can damage the vines. A soil test can help you determine the specific nutrient needs of your soil.
Q: How do I prune my grapevines?
A: Pruning is essential for maintaining the health and productivity of your grapevines. Prune your grapevines annually during the dormant season (late winter or early spring). Remove any dead, damaged, or diseased wood. Also, prune to shape the vine and promote airflow. There are different pruning methods depending on the grape variety and training system. Research the best pruning method for your specific grapevines.
Q: What are some common pests and diseases that affect grapevines?
A: Grapevines can be susceptible to various pests and diseases, including aphids, spider mites, Japanese beetles, powdery mildew, downy mildew, and black rot. Monitor your grapevines regularly for signs of pests or diseases. Take appropriate measures to control pests and diseases, such as using insecticidal soap, horticultural oil, or fungicides. Choose disease-resistant grape varieties to minimize the risk of disease problems.
Q: Can I grow grapevines in containers?
A: Yes, you can grow grapevines in containers, but you’ll need to choose a large container (at least 15-20 gallons) to accommodate the root system. Use a well-draining potting mix and provide regular watering and fertilization. Container-grown grapevines may require more frequent pruning than those grown in the ground. Choose a grape variety that is well-suited for container growing.
Q: What if my grapevines don’t produce fruit?
A: There are several reasons why your grapevines might not be producing fruit. Insufficient sunlight, improper pruning, lack of pollination, nutrient deficiencies, and pest or disease problems can all contribute to poor fruit production. Make sure your grapevines are getting enough sunlight, are properly pruned, and are protected from pests and diseases. Consider adding fertilizer to address any nutrient deficiencies. If pollination is an issue, you may need to hand-pollinate the flowers.


Leave a Comment