
Growing Watermelons in Containers might sound like a summer dream reserved for those with sprawling gardens, but I’m here to tell you it’s absolutely achievable, even if your “garden” is a sunny balcony or a small patio! Forget the image of endless vines taking over your yard; we’re about to unlock the secrets to cultivating juicy, delicious watermelons in the most unexpected of places.
Watermelons have a rich history, dating back thousands of years to Africa, where they were prized for their hydrating properties in arid climates. Over time, different cultures have adapted and cherished this fruit, and now, we’re taking that tradition to new heights (literally!) by growing them in containers.
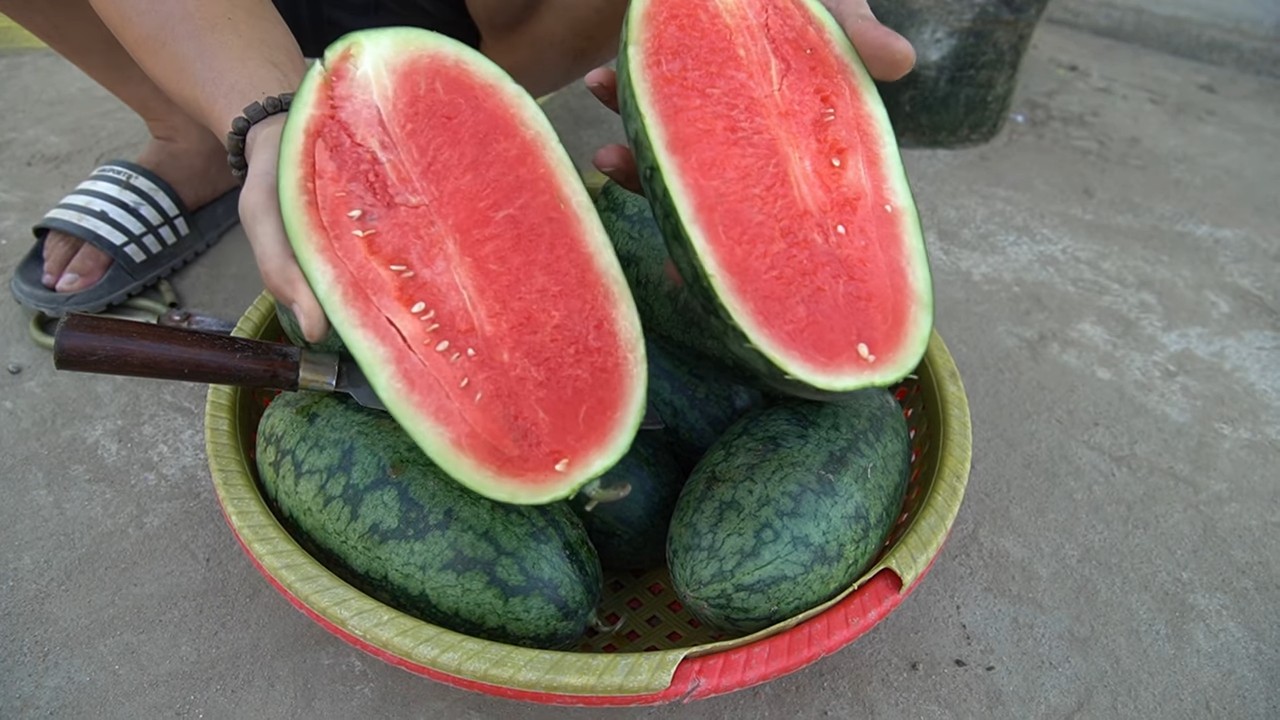
Why should you try this DIY trick? Well, for starters, it’s incredibly rewarding to nurture a watermelon from seed to table, especially when space is limited. Plus, growing watermelons in containers allows you to control the growing environment, protecting your precious fruits from pests and diseases. Imagine the satisfaction of biting into a homegrown watermelon, knowing you nurtured it from a tiny seed, all within the confines of your own little space. This guide will provide you with all the essential tips and tricks to successfully grow watermelons in containers, ensuring a bountiful harvest and a summer filled with sweet, refreshing treats. Let’s get started!
Wassermelonen im Topf ziehen: So klappt’s!
Ich liebe Wassermelonen! Und was gibt es Besseres, als sie selbst anzubauen? Aber nicht jeder hat einen riesigen Garten. Keine Sorge, denn ich zeige dir, wie du Wassermelonen auch erfolgreich in Töpfen ziehen kannst. Es ist einfacher, als du denkst, und mit ein paar Tricks und Kniffen wirst du bald deine eigenen, saftigen Melonen ernten.
Die richtige Vorbereitung ist alles
Bevor wir loslegen, müssen wir sicherstellen, dass wir alles haben, was wir brauchen. Hier ist eine Liste der wichtigsten Dinge:
* Samen: Wähle eine geeignete Sorte. Kleinere Sorten wie ‘Sugar Baby’, ‘Bush Sugar Baby’ oder ‘Golden Midget’ sind ideal für den Anbau im Topf. Sie brauchen weniger Platz und reifen schneller.
* Topf: Ein großer Topf ist entscheidend! Mindestens 50 Liter Fassungsvermögen sollte er haben, besser noch 75 Liter oder mehr. Je größer der Topf, desto besser kann sich die Wassermelone entwickeln. Achte darauf, dass der Topf Drainagelöcher hat, damit überschüssiges Wasser ablaufen kann.
* Erde: Verwende eine hochwertige, gut durchlässige Blumenerde. Du kannst auch eine Mischung aus Blumenerde, Kompost und etwas Sand selbst herstellen. Das sorgt für eine gute Nährstoffversorgung und Drainage.
* Dünger: Wassermelonen sind Starkzehrer. Du brauchst einen Dünger, der reich an Kalium und Phosphor ist, um die Fruchtbildung zu fördern. Ein spezieller Tomatendünger ist eine gute Wahl.
* Rankhilfe: Auch wenn es sich um eine Buschart handelt, kann eine Rankhilfe helfen, die Pflanze zu stützen und die Früchte vom Boden fernzuhalten. Das beugt Fäulnis vor.
* Sonnenplatz: Wassermelonen lieben die Sonne! Wähle einen Standort, an dem die Pflanze mindestens 6-8 Stunden Sonne pro Tag bekommt.
* Gießkanne oder Schlauch: Regelmäßiges Gießen ist wichtig, besonders während der Fruchtbildung.
* Mulch: Mulch hilft, die Feuchtigkeit im Boden zu halten und Unkraut zu unterdrücken. Stroh oder Holzhackschnitzel sind gut geeignet.
Aussaat und Anzucht
Jetzt geht’s ans Eingemachte! Wir beginnen mit der Aussaat der Samen.
1. Samen vorbereiten: Um die Keimung zu beschleunigen, kannst du die Samen vor der Aussaat für 24 Stunden in lauwarmem Wasser einweichen.
2. Aussaat: Fülle kleine Anzuchttöpfe mit Anzuchterde. Lege in jeden Topf 2-3 Samen, etwa 2-3 cm tief. Bedecke die Samen mit Erde und gieße sie vorsichtig an.
3. Standort: Stelle die Anzuchttöpfe an einen warmen, hellen Ort. Eine Temperatur von 20-25°C ist ideal für die Keimung.
4. Feuchtigkeit: Halte die Erde feucht, aber nicht nass. Du kannst die Töpfe mit einer Plastikfolie abdecken, um die Luftfeuchtigkeit zu erhöhen. Lüfte die Folie aber regelmäßig, um Schimmelbildung zu vermeiden.
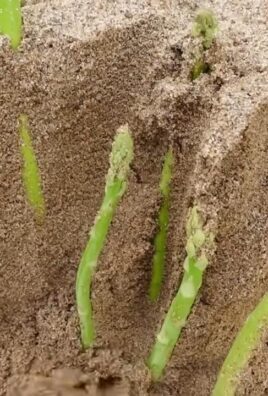
5. Keimung: Die Samen keimen in der Regel innerhalb von 7-14 Tagen. Sobald die Keimlinge erscheinen, entferne die Plastikfolie.
6. Pikieren: Wenn die Keimlinge 2-3 echte Blätter haben, kannst du sie pikieren. Das bedeutet, dass du die stärksten Pflanzen in größere Töpfe umpflanzt. Wähle pro Topf die kräftigste Pflanze aus und entferne die anderen.
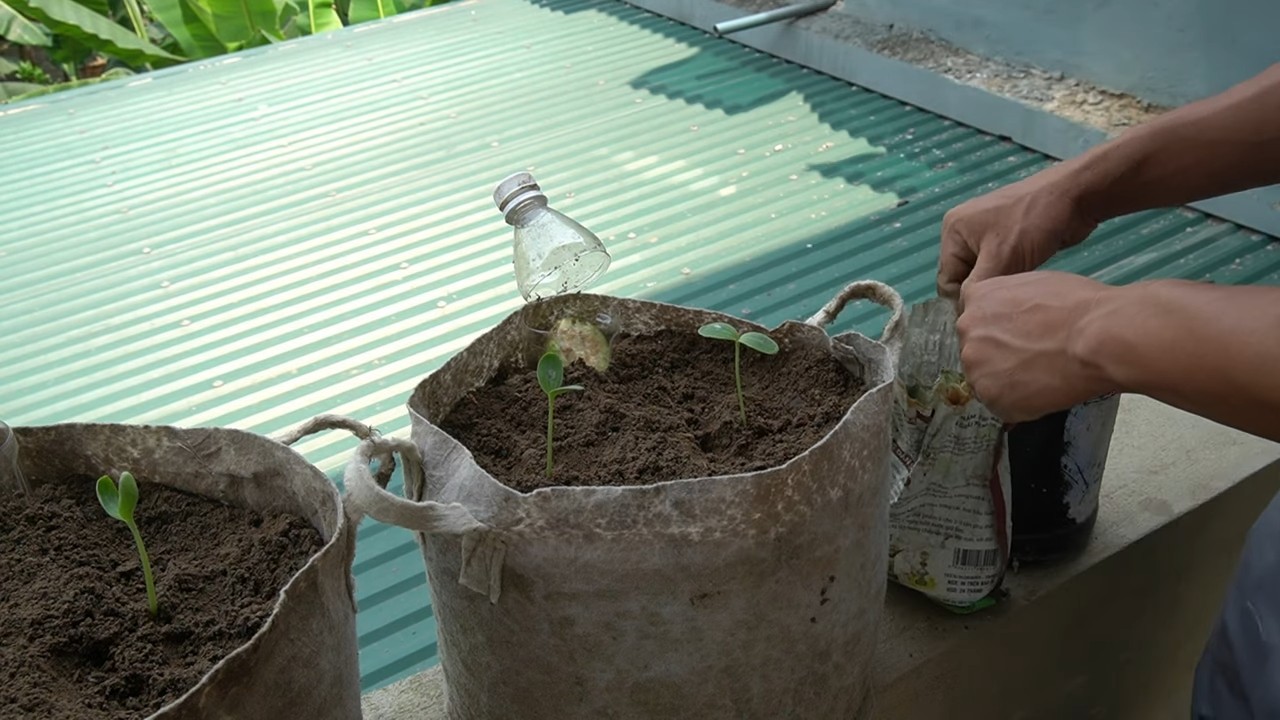
Umpflanzen in den Topf
Sobald die Jungpflanzen kräftig genug sind, können sie in den großen Topf umgepflanzt werden.
1. Topf vorbereiten: Fülle den großen Topf mit der vorbereiteten Erde. Lasse oben etwa 5-10 cm Platz.
2. Umpflanzen: Grabe ein Loch in die Erde, das groß genug ist, um den Wurzelballen der Jungpflanze aufzunehmen. Nimm die Jungpflanze vorsichtig aus dem Anzuchttopf und setze sie in das Loch. Achte darauf, dass der Wurzelballen nicht beschädigt wird.
3. Auffüllen: Fülle das Loch mit Erde auf und drücke sie leicht an.
4. Angießen: Gieße die Pflanze gründlich an.
5. Rankhilfe anbringen: Wenn du eine Rankhilfe verwendest, bringe sie jetzt an. Leite die Triebe der Pflanze vorsichtig an der Rankhilfe entlang.
Pflege der Wassermelone im Topf
Die richtige Pflege ist entscheidend für eine erfolgreiche Ernte.
1. Gießen: Wassermelonen brauchen viel Wasser, besonders während der Fruchtbildung. Gieße die Pflanze regelmäßig, am besten morgens oder abends. Vermeide es, die Blätter zu gießen, um Pilzkrankheiten vorzubeugen. Die Erde sollte immer leicht feucht sein, aber nicht nass.
2. Düngen: Dünge die Pflanze regelmäßig mit einem kalium- und phosphorreichen Dünger. Beginne etwa 2 Wochen nach dem Umpflanzen und dünge dann alle 2-3 Wochen. Befolge die Anweisungen auf der Düngerpackung.
3. Ausgeizen: Entferne regelmäßig Seitentriebe, die aus den Blattachseln wachsen. Das fördert die Bildung von Früchten am Haupttrieb.
4. Bestäubung: Wassermelonen sind auf Bestäubung angewiesen, um Früchte zu bilden. Wenn du keine Bienen oder andere Bestäuber in deinem Garten hast, kannst du die Blüten auch von Hand bestäuben. Nimm dazu einen Pinsel und übertrage den Pollen von den männlichen auf die weiblichen Blüten. Männliche Blüten haben einen dünnen Stiel, während weibliche Blüten einen kleinen Fruchtansatz unterhalb der Blüte haben.
5. Fruchtansatz: Wenn sich Früchte bilden, kannst du die Anzahl der Früchte pro Pflanze begrenzen, um größere und schmackhaftere Melonen zu erhalten. Entferne dazu einige der kleineren Früchte.
6. Schutz vor Schädlingen und Krankheiten: Achte auf Schädlinge wie Blattläuse oder Spinnmilben. Bei Bedarf kannst du biologische Schädlingsbekämpfungsmittel einsetzen. Auch Pilzkrankheiten können auftreten, besonders bei feuchtem Wetter. Sorge für eine gute Belüftung und vermeide es, die Blätter zu gießen.
Erntezeit
Die Erntezeit ist der aufregendste Teil! Aber wie erkennst du, wann die Wassermelone reif ist?
1. Klopftest: Klopfe leicht auf die Melone. Eine reife Melone klingt hohl.
2. Stiel: Der Stiel, der die Melone mit der Pflanze verbindet, sollte trocken und braun sein.
3. Auflagefläche: Die Stelle, an der die Melone auf dem Boden aufliegt, sollte gelblich verfärbt sein.
4. Drucktest: Drücke leicht auf die Schale. Eine reife Melone gibt leicht nach.
Wenn du dir unsicher bist, kannst du auch eine kleine Probe nehmen. Schneide ein kleines Stück aus der Melone und probiere es. Wenn sie süß und saftig ist, ist sie reif!
Schneide die Melone vorsichtig vom Stiel ab und genieße deine selbst angebaute Wassermelone!
Zusätzliche Tipps für den Erfolg
* Sortenwahl: Wie bereits erwähnt, sind kleinere Sorten besser geeignet für den Anbau im Topf. Achte auf Sorten, die speziell für den Anbau in Containern gezüchtet wurden.
* Bodenverbesserung: Mische dem Boden etwas Hornspäne oder Kompost unter, um die Nährstoffversorgung zu verbessern.
* Mulchen: Mulchen hilft, die Feuchtigkeit im Boden zu halten und Unkraut zu unterdrücken.
* Sonnenschutz: An sehr heißen Tagen kann es sinnvoll sein, die Melonen vor direkter Sonneneinstrahlung zu schützen, um Sonnenbrand zu vermeiden.
* Drehen: Drehe die Melonen regelmäßig, damit sie gleichmäßig reifen.
* Geduld: Wassermelonen brauchen Zeit, um zu reifen. Sei ged
Conclusion
So, there you have it! Growing watermelons in containers might seem like a daunting task at first, but with the right knowledge and a little bit of dedication, you can absolutely enjoy the sweet taste of homegrown watermelon even if you’re short on space. This DIY trick is a must-try for several reasons. First and foremost, it opens up the possibility of enjoying fresh, organic watermelons to apartment dwellers, balcony gardeners, and anyone with limited yard space. Imagine stepping outside your door and harvesting a juicy, sun-ripened watermelon – the satisfaction is unparalleled!
Beyond the space-saving aspect, container gardening allows for greater control over the growing environment. You can carefully select the soil mix, ensuring it’s perfectly suited to your watermelon’s needs. You can also easily move the container to chase the sun or protect it from harsh weather conditions. This level of control can lead to healthier plants and more abundant harvests.
But the benefits don’t stop there. Growing your own watermelons is a fantastic way to connect with nature, learn about the growing process, and reduce your reliance on store-bought produce. Plus, it’s a fun and rewarding activity for the whole family!
Don’t be afraid to experiment with different watermelon varieties. While smaller, bush-type watermelons are generally recommended for containers, you can try your hand at growing larger varieties if you have a sufficiently large container and a sturdy trellis. Consider trying ‘Sugar Baby’ for its compact size and early maturity, or ‘Bush Sugar Baby’ for an even more compact option. For a unique twist, explore yellow or orange-fleshed watermelons like ‘Golden Midget’ or ‘OrangeGlo’.
Another variation to consider is companion planting. Planting herbs like basil or marigolds alongside your watermelon can help deter pests and attract beneficial insects. Flowers like nasturtiums can also add a splash of color and attract pollinators.
Remember to provide your watermelon plants with plenty of sunlight, water, and nutrients. Regular fertilization is crucial for healthy growth and fruit production. And don’t forget to hand-pollinate the female flowers if you’re not seeing enough bee activity.
We strongly encourage you to give this DIY trick a try. It’s a rewarding experience that will allow you to enjoy the delicious taste of homegrown watermelons, no matter where you live. Once you’ve harvested your first watermelon, be sure to share your experience with us! We’d love to hear about your successes, challenges, and any tips you’ve learned along the way. Share your photos and stories on social media using #ContainerWatermelon or leave a comment below. Let’s build a community of container watermelon growers and inspire others to give it a try! Growing watermelons in containers is easier than you think.
Frequently Asked Questions (FAQ)
What is the best size container for growing watermelons?
The ideal container size for growing watermelons is at least 20 gallons, but larger is always better. A 25-30 gallon container will provide ample space for the roots to develop and support the growth of a healthy plant. Make sure the container has drainage holes to prevent waterlogging. If you are planning on growing a larger variety of watermelon, you may need an even larger container, possibly even a half wine barrel.
What type of soil should I use for growing watermelons in containers?
Use a well-draining potting mix that is rich in organic matter. Avoid using garden soil, as it can become compacted in containers and restrict root growth. A good potting mix will retain moisture while still allowing for adequate drainage. You can also amend the potting mix with compost or other organic materials to improve its fertility. A slightly acidic pH of around 6.0 to 6.8 is ideal for watermelons.
How much sunlight do watermelons need?
Watermelons need at least 6-8 hours of direct sunlight per day to thrive. Choose a location for your container that receives plenty of sunlight throughout the day. If you live in a particularly hot climate, you may need to provide some afternoon shade to prevent the plants from overheating. If you don’t have enough natural sunlight, you can supplement with grow lights.
How often should I water my watermelon plants in containers?
Water watermelon plants deeply and regularly, especially during hot, dry weather. The soil should be kept consistently moist, but not waterlogged. Check the soil moisture level regularly by sticking your finger into the soil. If the top inch or two feels dry, it’s time to water. Water in the morning to allow the foliage to dry before nightfall, which can help prevent fungal diseases.
How often should I fertilize my watermelon plants?
Watermelons are heavy feeders and require regular fertilization. Start fertilizing your plants about two weeks after transplanting them into the container. Use a balanced fertilizer (e.g., 10-10-10) every two to three weeks. Once the plants start to flower, switch to a fertilizer that is higher in phosphorus and potassium to promote fruit development. You can also use organic fertilizers like compost tea or fish emulsion.
How do I pollinate watermelon flowers in containers?
Watermelons have separate male and female flowers. The female flowers have a small, immature watermelon at the base of the flower. If you’re not seeing enough bee activity, you may need to hand-pollinate the flowers. To do this, use a small paintbrush to collect pollen from the male flowers and transfer it to the stigma of the female flowers. The best time to hand-pollinate is in the morning.
How do I know when my watermelon is ripe?
There are several signs that indicate a watermelon is ripe. The tendril closest to the fruit will turn brown and dry. The spot where the watermelon rests on the ground (the belly spot) will turn from white to yellow. And the watermelon will sound hollow when you thump it. It takes roughly 80-90 days from planting to harvest, depending on the variety.
What are some common pests and diseases that affect watermelons?
Common pests that affect watermelons include aphids, squash bugs, and vine borers. Common diseases include powdery mildew, fusarium wilt, and anthracnose. To prevent pests and diseases, practice good sanitation, provide adequate air circulation, and avoid overwatering. You can also use organic pest control methods like insecticidal soap or neem oil.
Can I grow more than one watermelon plant in a container?
It’s generally best to grow only one watermelon plant per container, especially if you’re growing a larger variety. Overcrowding can lead to reduced fruit size and increased susceptibility to pests and diseases. If you’re growing a smaller, bush-type watermelon, you may be able to get away with growing two plants in a very large container, but be sure to provide them with plenty of space and nutrients.
How do I support the weight of the watermelon as it grows?
As the watermelon grows, it can become quite heavy and may need support to prevent the vine from breaking. You can use a sling made from netting or fabric to support the fruit. Tie the sling to a trellis or other support structure. This will help distribute the weight of the watermelon and prevent it from falling off the vine.


Leave a Comment