
Floor Cleaning Hacks That Will Transform Your Home
I love a sparkling clean home, but let’s be honest, floor cleaning can be a real chore! That’s why I’m so excited to share some amazing floor cleaning hacks with you today – DIY tricks that will save you time, money, and effort. Forget about harsh chemicals and endless scrubbing; these simple solutions will leave your floors gleaming without breaking the bank or your back.
For centuries, people have sought innovative ways to keep their homes clean. From ancient civilizations using natural materials like sand and water to the modern era’s plethora of cleaning products, the quest for sparkling floors has been a constant. But often, the most effective methods are the simplest, and that’s where these floor cleaning hacks come in.
Why You Need These Hacks
In today’s busy world, we all crave efficiency. These floor cleaning hacks are designed to help you achieve that. Whether you’re dealing with stubborn stains, sticky spills, or just general grime, these DIY solutions offer a practical and effective alternative to expensive commercial cleaners. You’ll not only save money but also contribute to a healthier home environment by reducing exposure to harsh chemicals. Plus, there’s a real sense of satisfaction in knowing you’ve tackled a household chore with ingenuity and resourcefulness. So, let’s dive in and discover the secrets to effortlessly clean floors!
My Ultimate Guide to Sparkling Floors: DIY Cleaning Hacks
I’ve always loved the feeling of walking on freshly cleaned floors. It’s amazing how much a clean floor can brighten up a room! But let’s be honest, professional cleaning services can be expensive. That’s why I’ve developed my own arsenal of DIY floor cleaning hacks, and I’m excited to share them with you. These tips work wonders, saving you money and leaving your floors gleaming.
Gathering Your Supplies: The Essential Arsenal
- Microfiber cloths: These are my absolute go-to. They’re super absorbent and gentle on all floor types.
- Bucket: A sturdy bucket is essential for mixing your cleaning solutions.
- Mop: Choose a mop appropriate for your floor type. String mops are great for general cleaning, while sponge mops are better for delicate surfaces.
- Vacuum cleaner: This is crucial for removing loose dirt and debris before you start mopping. A good vacuum with various attachments is ideal.
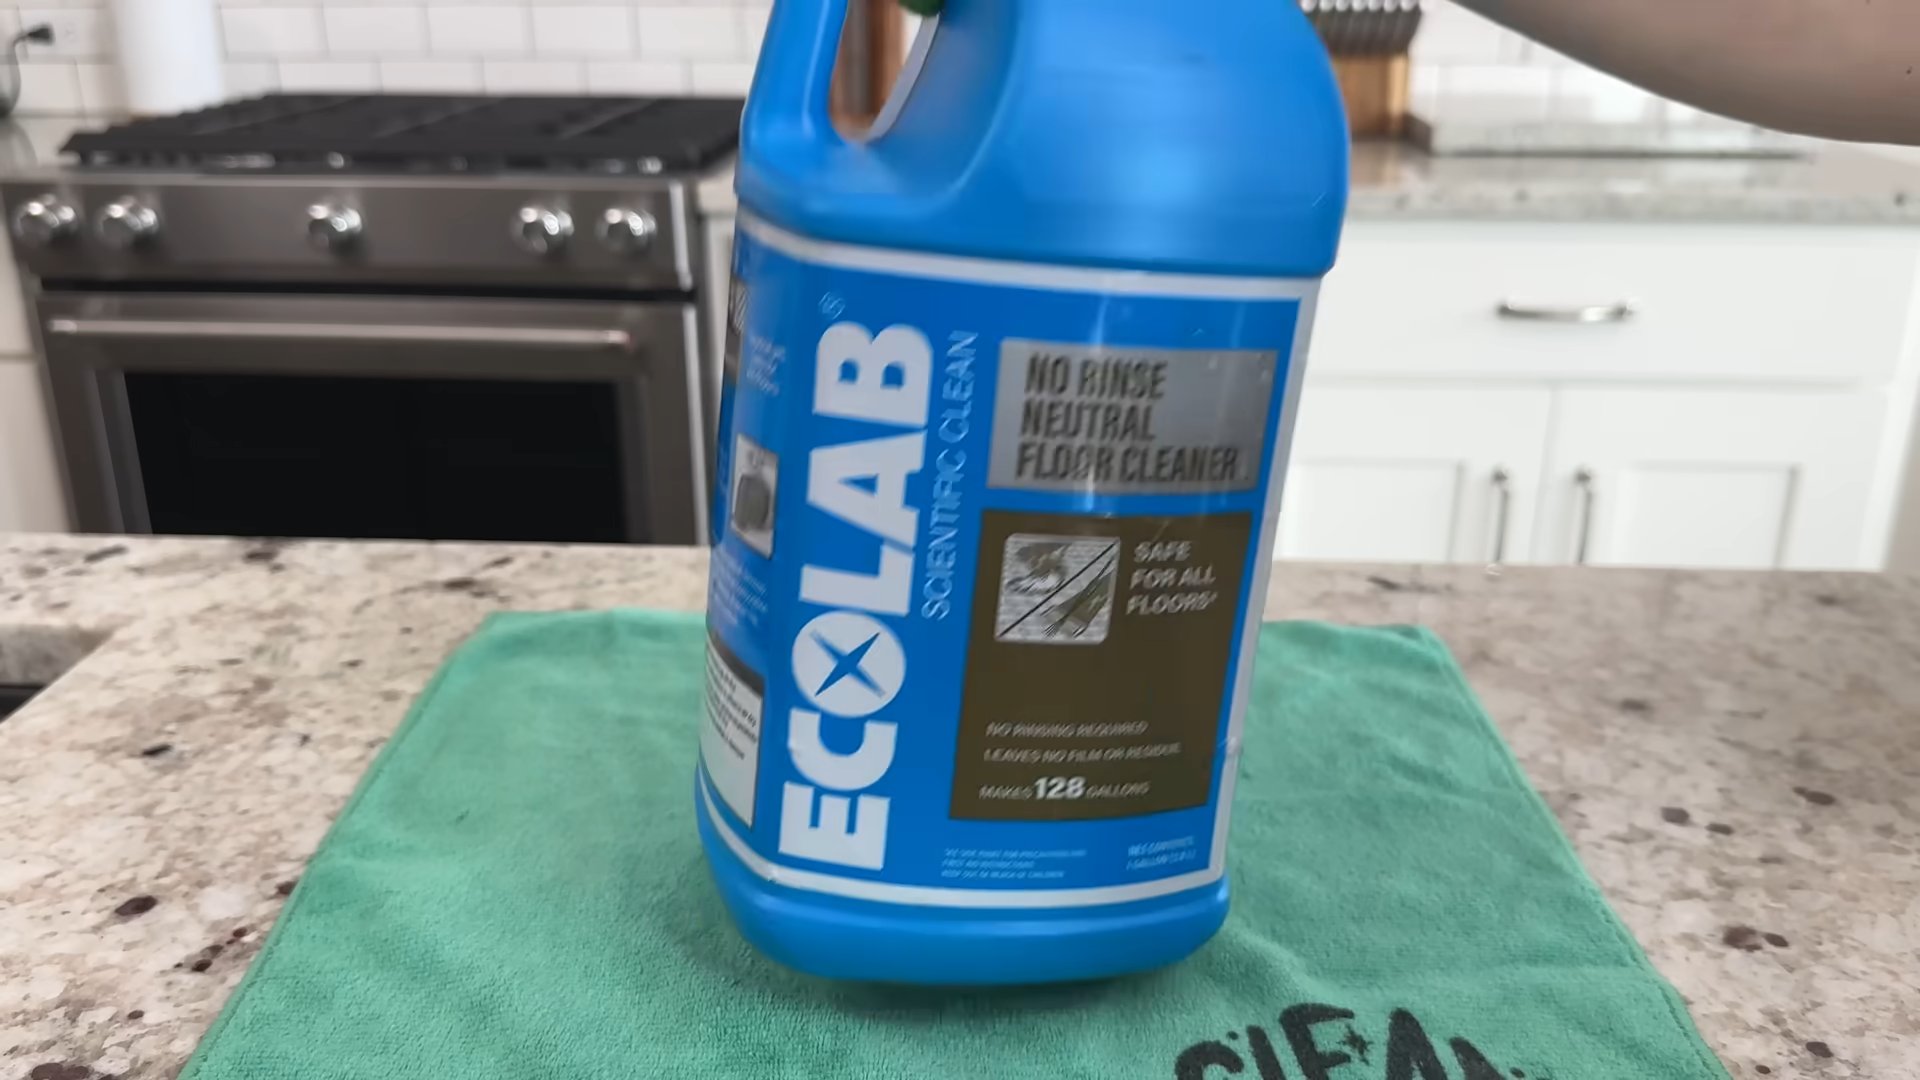
- Cleaning solutions (see below for recipes): I’ll be sharing my favorite homemade floor cleaners, tailored to different floor types.
- Rubber gloves: Protect your hands from harsh chemicals (even homemade ones can be a little strong!).
- Optional: A scrub brush for stubborn stains, a squeegee for faster drying (especially on tile), and a clean towel for polishing.
Prepping Your Floors: The Foundation for Success
- Clear the area: Remove any furniture, rugs, or obstacles from the floor. This allows for thorough cleaning and prevents accidents.
- Vacuum or sweep: This is the most important step. Thoroughly vacuum or sweep the entire floor to remove all loose dirt, dust, hair, and debris. Failing to do this will just spread the dirt around as you mop.
- Spot treat stains: Before you begin mopping, address any stubborn stains. For example, I use a paste of baking soda and water for grease stains, letting it sit for a few minutes before gently scrubbing.
DIY Cleaning Solutions: Tailored for Your Floor Type
The key to sparkling floors is using the right cleaning solution for your floor type. Here are some of my favorite homemade recipes:
For Hardwood Floors:
- Mix 1/2 cup white vinegar with 1 gallon of warm water. Vinegar is a natural disinfectant and cleaner.
- Important: Always test your cleaning solution on an inconspicuous area first to ensure it doesn’t damage the finish.
- Dip your mop into the solution, wring it out thoroughly (you want it damp, not soaking wet), and mop in the direction of the wood grain.
- Rinse the mop frequently in clean water and wring it out well between each pass.
- Allow the floor to air dry completely. Avoid using excessive water, as this can damage the wood.
For Tile Floors:
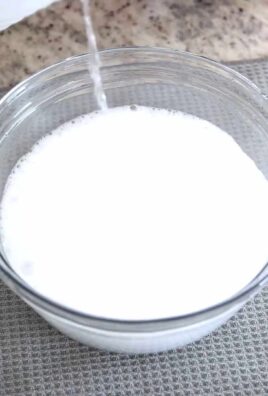
- Combine 1/4 cup baking soda, 1/4 cup white vinegar, and 1 gallon of warm water. Baking soda helps to lift grime, while vinegar disinfects.
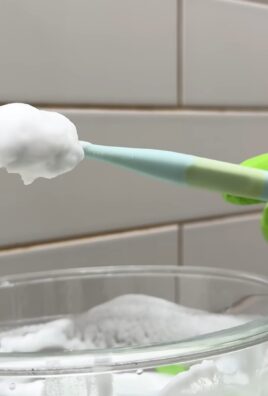
- For grout cleaning, you can make a paste of baking soda and water, apply it to the grout lines, let it sit for 15-20 minutes, then scrub with a brush.
- Dip your mop into the solution, wring it out well, and mop the floor. Rinse the mop frequently.
- For faster drying, use a squeegee to remove excess water.
For Laminate Floors:
- Use a simple solution of 1/4 cup mild dish soap (avoid harsh chemicals) and 1 gallon of warm water.
- Dip your mop into the solution, wring it out thoroughly, and mop the floor. Avoid getting the floor too wet.
- Rinse the mop frequently in clean water.
- Dry the floor immediately with a clean, dry cloth or towel to prevent water damage.
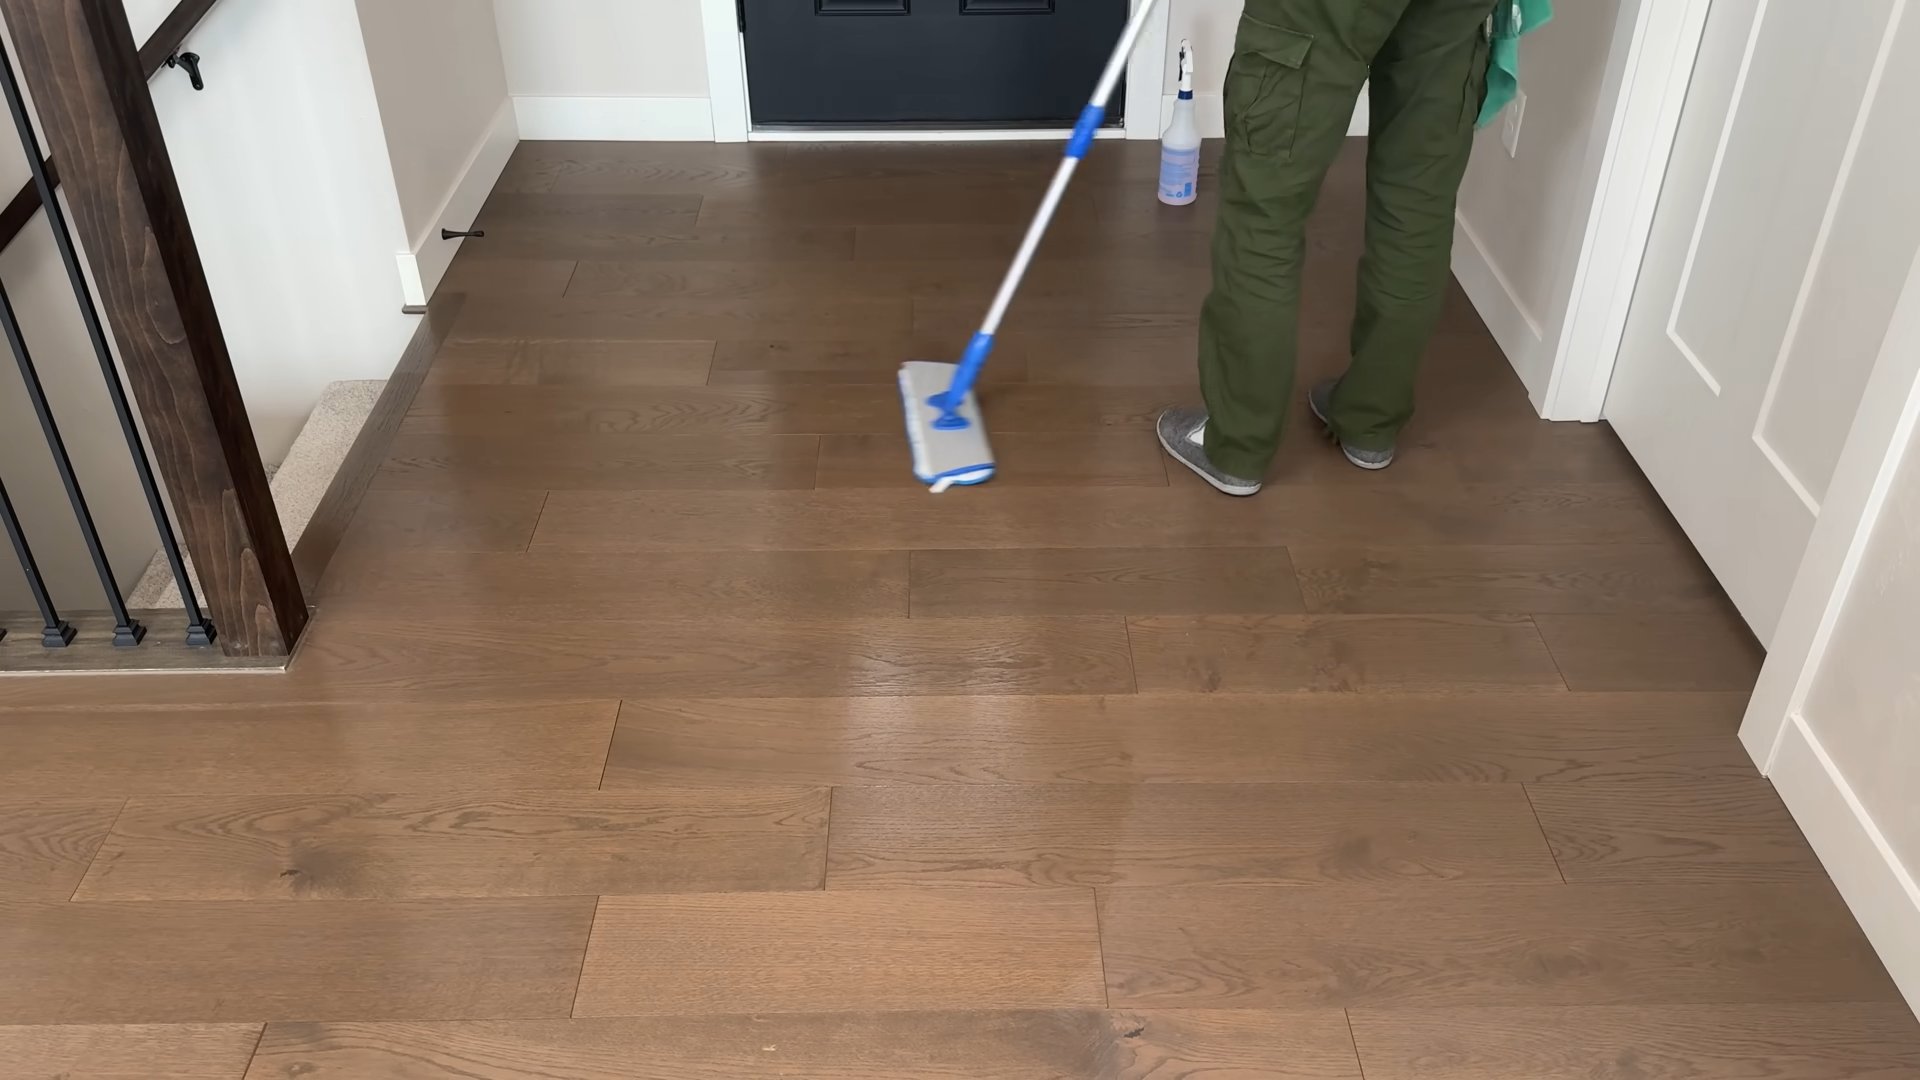
The Mopping Process: Achieving a Streak-Free Shine
- Work in sections: Don’t try to mop the entire floor at once. Work in smaller, manageable sections to ensure thorough cleaning and prevent the solution from drying before you can rinse.
- Overlap your strokes: Overlapping your strokes ensures that you cover the entire floor and prevent streaks.
- Rinse your mop frequently: This is crucial to prevent spreading dirt and grime. Rinse your mop in clean water and wring it out thoroughly between each section.
- Change your water: Change the cleaning solution in your bucket as it gets dirty. Dirty water will just spread dirt around.
- Let the floor dry: Allow the floor to air dry completely. You can use a fan to speed up the process, but avoid walking on the floor until it’s completely dry.
Dealing with Stubborn Stains and Spots: Advanced Techniques
Sometimes, even with the best cleaning solutions, you might encounter stubborn stains. Here’s how to tackle them:
Grease Stains:
- Apply a paste of baking soda and water to the stain.
- Let it sit for 15-20 minutes to absorb the grease.
- Gently scrub the area with a soft-bristled brush.
- Wipe clean with a damp cloth.
Ink Stains:
- Dab (don’t rub!) the stain with rubbing alcohol.
- Blot the area with a clean cloth to absorb the ink.
- Repeat as needed.
Scuff Marks:
- Try a magic eraser. These work wonders on scuff marks on many floor types (always test in an inconspicuous area first!).
- For tougher scuffs, you might need a slightly abrasive cleaner, but always test it first.
Remember, prevention is key! Regular cleaning will prevent stains from setting in and make future cleaning much easier. By following these tips, you’ll have sparkling floors that will make your home feel fresh and inviting.
Conclusion
So there you have it! Our comprehensive guide to amazing floor cleaning hacks. We’ve explored a range of simple, effective, and often surprisingly inexpensive methods to tackle even the toughest dirt and grime. From sparkling hardwood floors to brilliantly clean tiles, these DIY tricks offer a powerful alternative to expensive commercial products, saving you money and reducing your environmental impact. The best part? Many of these hacks utilize ingredients you likely already have in your pantry or cleaning cupboard, making them incredibly convenient and accessible.
This DIY approach to floor cleaning is a must-try for several reasons. Firstly, it empowers you to take control of your cleaning routine, allowing you to customize your methods to suit your specific floor type and cleaning needs. Secondly, it’s significantly more budget-friendly than relying solely on store-bought cleaners. And finally, by using natural ingredients, you’re contributing to a healthier home environment for you and your family, reducing exposure to harsh chemicals. The satisfaction of achieving a sparkling clean floor using simple, natural methods is truly rewarding.
Don’t be afraid to experiment! The beauty of these floor cleaning hacks lies in their adaptability. Feel free to adjust the ratios of ingredients to suit your preferences or the specific level of dirt you’re dealing with. For example, if you have particularly stubborn stains, you might increase the concentration of baking soda or vinegar in your cleaning solution. Similarly, you can experiment with different essential oils to add a pleasant scent to your cleaning routine. Lavender, lemon, and tea tree oil are all excellent choices.
For those with sensitive skin or allergies, these natural cleaning solutions offer a gentler alternative to harsh chemicals found in many commercial products. Remember to always test any new cleaning solution on a small, inconspicuous area of your floor first to ensure it doesn’t damage the surface. This precaution is especially important for delicate materials like hardwood or polished stone.
We encourage you to try these floor cleaning hacks and share your experiences with us! Let us know which methods worked best for you, what variations you experimented with, and any tips or tricks you discovered along the way. Your feedback will help others discover the joy and effectiveness of natural, DIY floor cleaning. Join the conversation and help us build a community of eco-conscious, clean-home enthusiasts!
Remember to always prioritize safety. Wear appropriate protective gear, such as gloves, when handling cleaning solutions, and ensure proper ventilation in your home. With a little effort and these simple techniques, you can achieve a sparkling clean floor that you’ll be proud of.
Frequently Asked Questions
What types of floors are these hacks suitable for?
Many of these hacks are suitable for a variety of floor types, including hardwood, tile, laminate, and linoleum. However, it’s crucial to always test any cleaning solution on a small, inconspicuous area first to ensure it doesn’t damage the surface. Some solutions, like those involving vinegar, might not be suitable for all types of stone flooring. Always check the manufacturer’s recommendations for your specific flooring material.
How often should I use these floor cleaning hacks?
The frequency of cleaning will depend on your lifestyle and the level of foot traffic in your home. For high-traffic areas, you might need to clean more frequently, perhaps once a week or even more often. For less trafficked areas, a bi-weekly or monthly cleaning might suffice. Regular sweeping or vacuuming will help to prevent dirt buildup and extend the time between deeper cleanings.
Are these hacks safe for pets and children?
Most of the ingredients used in these hacks are generally considered safe for pets and children, provided they are used as directed and the area is allowed to dry completely before allowing pets or children back into the area. However, it’s always best to keep cleaning solutions out of reach of children and pets. If you have concerns about specific ingredients, consult your veterinarian or pediatrician.
Can I use these hacks on heavily soiled floors?
For heavily soiled floors, you may need to pre-treat stubborn stains before applying the cleaning solution. A stiff-bristled brush can be helpful for scrubbing away ingrained dirt. You may also need to repeat the cleaning process or use a stronger concentration of the cleaning solution. For extremely stubborn stains, you may need to consider professional cleaning services.
What if I don’t have all the ingredients listed?
Don’t worry if you don’t have all the ingredients listed for a particular hack. Many of the recipes are adaptable, and you can often substitute ingredients or omit them altogether without significantly affecting the results. For example, if you don’t have essential oils, you can simply skip that step. The core cleaning power of the solutions usually comes from the baking soda, vinegar, or other primary ingredients.
What should I do if I accidentally damage my floor?
If you accidentally damage your floor using one of these cleaning methods, immediately stop using the solution and contact a professional floor cleaning service or the manufacturer of your flooring for advice. It’s always best to err on the side of caution and seek professional help if you’re unsure how to proceed.
Are these floor cleaning hacks environmentally friendly?
Yes, these hacks are generally more environmentally friendly than many commercial cleaning products because they utilize natural ingredients and avoid harsh chemicals. By reducing your reliance on commercially produced cleaners, you’re contributing to a smaller carbon footprint and reducing the amount of harmful chemicals released into the environment.
Leave a Comment