
Grow Celery at Home: A Beginner’s Guide to Crunchy, Homegrown Goodness
Have you ever dreamt of biting into a crisp, juicy stalk of celery, knowing you grew it yourself, right there in your backyard? Well, dream no more! This article is your passport to the satisfying world of growing celery at home. It’s easier than you think, and the reward – that fresh, vibrant flavor – is well worth the effort.
For centuries, celery has held a place in culinary traditions across the globe. From ancient Roman times, where it was prized more for its medicinal properties than its taste, to its modern-day use as a healthy snack and key ingredient in countless dishes, celery’s journey is fascinating. But accessing truly fresh, flavorful celery can be a challenge. Supermarkets often prioritize shelf life over taste, leaving us with sometimes limp and bland stalks.
That’s where growing celery at home comes in. This DIY guide will walk you through the simple steps, from selecting the right seeds to harvesting your own delicious crop. You’ll learn how to overcome common challenges and ensure a bountiful harvest, no matter your gardening experience. Why bother? Because nothing beats the taste of homegrown produce, and the satisfaction of nurturing a plant from seed to table is incredibly rewarding. Plus, you’ll be reducing your carbon footprint by sourcing your food locally and sustainably. This is your chance to experience the joy of growing celery at home and enjoy the freshest, most flavorful celery you’ve ever tasted!
Growing Celery from Scraps: A Step-by-Step Guide
I love celery, and I hate buying it constantly! So, I decided to try growing my own. It’s surprisingly easy, and you can do it from scraps you’d normally throw away. Here’s how I did it, and how you can too!
Phase 1: Preparing Your Celery Scrap
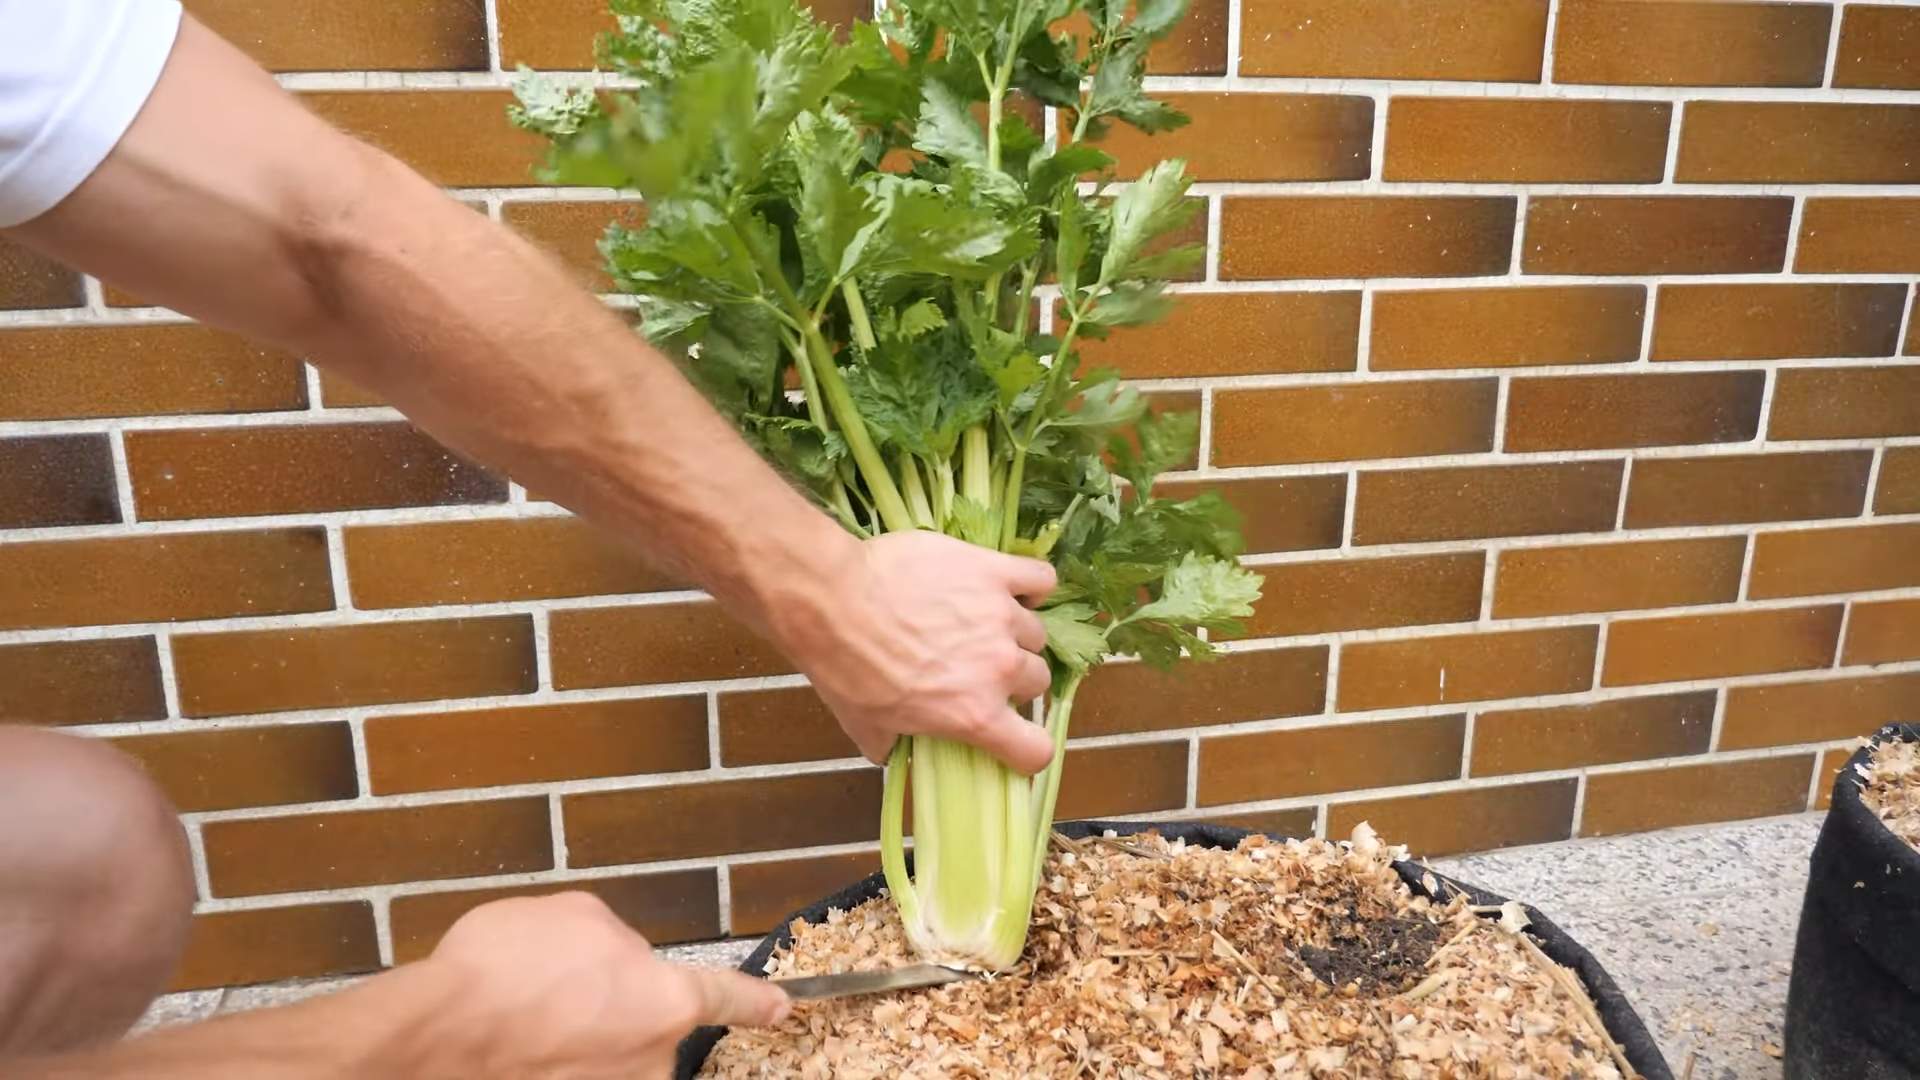
- Choose the right celery: Select a bunch of celery with firm, healthy stalks. Avoid any that are wilting or showing signs of rot.
- Cut the base: About an inch or two of the base of the celery stalk, including the root end, is what you need. Make a clean cut, ensuring you get a good portion of the root system.
- Remove the outer leaves: Gently remove any wilted or damaged outer leaves. You want to leave the inner, healthy leaves intact. These will help the plant grow.
- Rinse thoroughly: Wash the celery base under cool running water to remove any dirt or debris. This helps prevent rot and disease.
Phase 2: Setting Up Your Growing Environment
- Choose a container: You can use almost any container, as long as it has drainage holes. A shallow dish, a small pot, or even a repurposed jar will work. Make sure it’s at least 4 inches deep.
- Select your growing medium: I prefer to use a well-draining potting mix. Avoid using garden soil directly, as it can be too heavy and compact for celery. A mix specifically designed for herbs or vegetables is ideal.
- Fill the container: Fill your chosen container with the potting mix, leaving about half an inch of space from the top.
- Moisten the soil: Gently water the potting mix until it’s evenly moist but not soggy. You want the soil to be damp, not waterlogged.
Phase 3: Planting and Caring for Your Celery
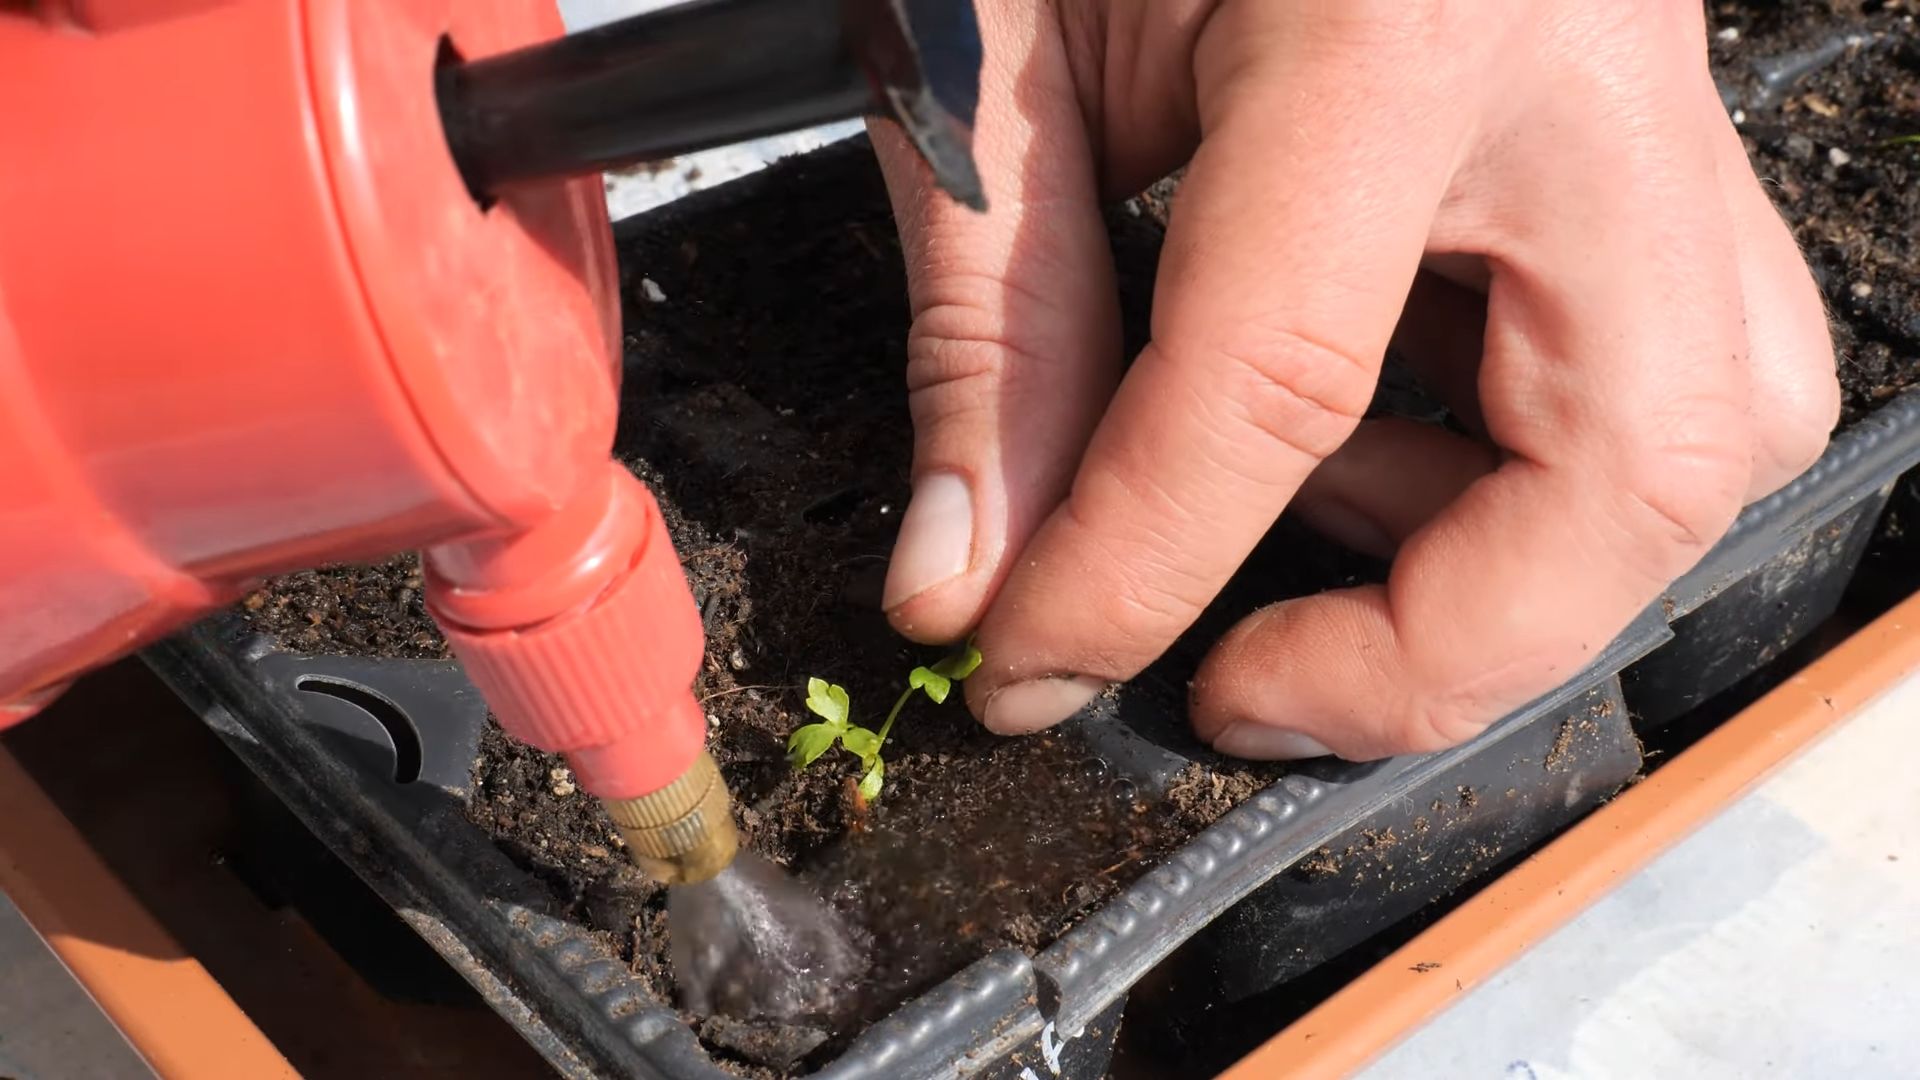
- Planting the celery base: Place the prepared celery base into the moistened potting mix, ensuring the root end is firmly seated. The base should be mostly submerged, with only the top leaves showing above the soil.
- Water regularly: Keep the soil consistently moist but not waterlogged. Check the soil daily, and water when the top inch feels dry. Overwatering can lead to root rot.
- Provide adequate sunlight: Place your container in a location that receives at least 6 hours of sunlight per day. A sunny windowsill is perfect. If you don’t have enough natural light, consider using a grow light.
- Maintain optimal temperature: Celery thrives in temperatures between 60-75°F (15-24°C). Avoid placing it in areas with extreme temperature fluctuations or drafts.
- Fertilize occasionally: After a few weeks, you can start fertilizing your celery with a diluted liquid fertilizer. Follow the instructions on the fertilizer packaging carefully, as over-fertilizing can harm your plant.
- Monitor for pests and diseases: Regularly inspect your celery for any signs of pests or diseases. If you notice any problems, take appropriate action, such as removing affected leaves or treating with an organic pesticide.
- Thinning (optional): If multiple stalks start to grow from the base, you may need to thin them out. This allows for better air circulation and prevents overcrowding. Gently remove the smaller, weaker stalks.
- Harvesting: You can start harvesting your celery after about 8-10 weeks, depending on the variety and growing conditions. Harvest individual stalks as needed, cutting them close to the base. The plant will continue to produce new stalks for several weeks.
Phase 4: Troubleshooting Common Issues
Wilting Leaves:
Wilting leaves are often a sign of underwatering or insufficient sunlight. Check the soil moisture and adjust your watering schedule accordingly. Also, ensure your celery is receiving adequate sunlight.
Yellowing Leaves:
Yellowing leaves can indicate overwatering, nutrient deficiencies, or pest infestations. Check the soil moisture and adjust your watering schedule. Consider using a balanced fertilizer to provide essential nutrients. Inspect the plant for pests and treat accordingly.
Slow Growth:
Slow growth can be caused by insufficient sunlight, low temperatures, or nutrient deficiencies. Ensure your celery is receiving enough sunlight and is in a suitable temperature range. Fertilize your plant regularly to provide essential nutrients.
Root Rot:
Root rot is a serious problem that can kill your celery plant. It’s often caused by overwatering or poorly draining soil. Ensure your container has adequate drainage holes and avoid overwatering. If root rot is suspected, it’s best to start over with a new celery base and fresh potting mix.
Important Note:
Remember, patience is key! Growing celery takes time, and the results might not be as uniform as store-bought celery. But the satisfaction of harvesting your own homegrown celery is well worth the effort. Enjoy your fresh, delicious, homegrown celery!
Conclusion
So there you have it! Growing your own celery at home isn’t just a fun project; it’s a rewarding experience that yields incredibly fresh, flavorful celery stalks superior to anything you’ll find in the grocery store. This simple DIY trick transforms a humble celery base into a thriving plant, proving that even the most novice gardener can achieve success. The satisfaction of harvesting your own crisp, vibrant celery is unparalleled, and the cost savings add up over time. This method is a testament to the power of simple, sustainable gardening, bringing the freshness of the farm directly to your kitchen. Forget the limp, sometimes tasteless celery from the supermarket; embrace the vibrant, flavorful celery you can grow yourself! This DIY method is a must-try for anyone who appreciates fresh, high-quality produce and the joy of nurturing life from a simple beginning.
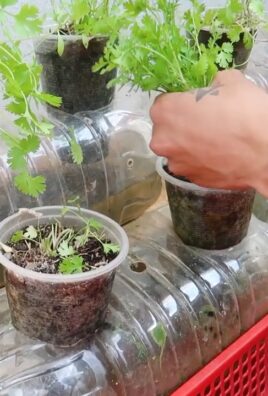
Beyond the basic method, there are several exciting variations you can explore to personalize your celery-growing journey. Experiment with different types of celery – some varieties are known for their particularly robust flavor or thicker stalks. Consider using different containers – a larger pot might yield more stalks, while smaller containers are perfect for windowsill gardening. You can also try different growing mediums, such as a well-draining soil mix enriched with compost for optimal results. For those with limited space, vertical gardening techniques could be explored, maximizing your yield in a smaller footprint. Don’t be afraid to get creative and adapt the method to suit your specific needs and environment. The possibilities are endless!
We strongly encourage you to try this simple and effective DIY method for growing celery at home. Share your experience with us! Post pictures of your thriving celery plants on social media using the hashtag #GrowCeleryAtHome and tag us. We’d love to see your success stories and learn from your experiences. Let’s build a community of home gardeners who are passionate about growing their own fresh, flavorful produce. Your feedback, tips, and photos will inspire others to embark on their own celery-growing adventures. Remember, even small successes in gardening can bring immense satisfaction and a deeper connection to the food we consume. So, grab a celery base, follow our simple steps, and get ready to experience the joy of harvesting your own homegrown celery!
Frequently Asked Questions
What type of celery is best for this method?
While most celery types will work, choosing a variety known for its robust growth and flavor is recommended. Look for descriptions that highlight strong stalks and good flavor. Your local nursery or seed supplier can offer guidance on the best varieties for your climate.
How much sunlight does my celery need?
Celery thrives in partial shade to full sun. Aim for at least six hours of sunlight per day. If you’re growing celery indoors, a sunny windowsill is ideal. However, be mindful of intense midday sun, which can scorch the leaves. Adjust the plant’s position as needed to ensure it receives adequate sunlight without being subjected to harsh, direct rays.
What should I do if my celery leaves start to yellow?
Yellowing leaves can indicate several issues, including overwatering, underwatering, or nutrient deficiencies. Check the soil moisture level. If it’s too dry, water thoroughly. If it’s too wet, allow the soil to dry out slightly before watering again. Consider adding a balanced liquid fertilizer to address potential nutrient deficiencies. Ensure proper drainage to prevent root rot.
How long does it take to grow celery from a base?
Depending on the growing conditions and the variety of celery, it typically takes 6 to 8 weeks to harvest the first stalks. You can start harvesting outer stalks earlier, leaving the inner stalks to continue growing. Consistent watering and adequate sunlight will contribute to faster growth.
Can I grow celery in a hydroponic system?
Yes, celery can be successfully grown hydroponically. Hydroponic systems offer precise control over nutrient delivery and water levels, potentially leading to faster growth and higher yields. However, it requires a bit more specialized equipment and knowledge compared to growing in soil.
What if my celery base doesn’t sprout?
If your celery base doesn’t sprout after a few weeks, it might be due to several factors. Ensure the base is fresh and firm. Check the soil moisture level – it should be consistently moist but not waterlogged. Make sure the base is receiving adequate sunlight. If you’ve tried these steps and still haven’t seen any growth, try a new, fresh celery base.
Can I use this method to grow celery year-round?
While this method works well in warmer months, you can extend the growing season by using a greenhouse or growing indoors under grow lights during colder months. This allows you to enjoy fresh, homegrown celery throughout the year. Adjust your watering and lighting schedules accordingly to accommodate the changes in seasons and indoor conditions.
What are the benefits of growing my own celery?
Growing your own celery offers several advantages. You’ll enjoy incredibly fresh, flavorful celery, free from pesticides and other chemicals often found in commercially grown produce. It’s a cost-effective way to enjoy this healthy vegetable, and the satisfaction of nurturing a plant from a simple base to a thriving harvest is incredibly rewarding. It’s also a great way to connect with nature and learn about sustainable gardening practices.

Leave a Comment