
Sweet Potato Terrace Garden: Grow Your Own Delicious Harvest
Sweet Potato Terrace Garden – isn’t that a delightful image? Imagine vibrant green vines cascading down your terrace, eventually yielding a bountiful harvest of sweet, earthy potatoes, all grown by your own two hands! This article is your guide to achieving just that, transforming your outdoor space into a thriving sweet potato patch, no matter how limited your gardening area might be.
For centuries, sweet potatoes have held a significant place in various cultures, providing a staple food source and a symbol of sustenance. From their origins in Central and South America to their global spread, these versatile tubers have nourished generations. But you don’t need acres of farmland to enjoy the fruits – or rather, the roots – of your labor. A Sweet Potato Terrace Garden offers a perfect solution for apartment dwellers, homeowners with limited space, or anyone who wants to experience the joy of homegrown produce without a large yard.
Why bother with a DIY sweet potato terrace garden? Because there’s nothing quite like the taste of a freshly harvested sweet potato, bursting with flavor and grown with love. Plus, it’s incredibly rewarding! This method allows you to maximize your space, creating a beautiful and productive garden even on a small terrace. You’ll learn simple, effective techniques to ensure a healthy and abundant harvest, saving money on grocery bills and connecting you more deeply with nature. This guide will walk you through everything from selecting the right sweet potato slips to harvesting your delicious crop, making your Sweet Potato Terrace Garden a reality.
Building Your Own Sweet Potato Terrace Garden
I love sweet potatoes, and I also love the challenge of a good DIY project. So, combining my love for delicious spuds with my passion for creating things myself, I decided to build a terrace garden specifically for growing my own sweet potatoes. This guide will walk you through the entire process, from gathering materials to harvesting your delicious crop. Let’s get started!
Phase 1: Planning and Material Gathering
- Choose your location: Select a sunny spot on your terrace that receives at least 6-8 hours of direct sunlight daily. Consider the proximity to a water source for easy watering.
- Determine the size of your garden: This depends on the space you have available and the number of sweet potato plants you want to grow. Remember, sweet potatoes need space to spread their vines.
- Gather your materials: You’ll need the following:
- Large, sturdy containers (at least 12 inches deep and wide; I used repurposed plastic storage bins, but you can use wooden planters, or even large fabric grow bags). The deeper, the better for sweet potato growth.
- High-quality potting mix: Sweet potatoes need well-draining soil. Avoid using garden soil directly, as it can be too heavy and compact.
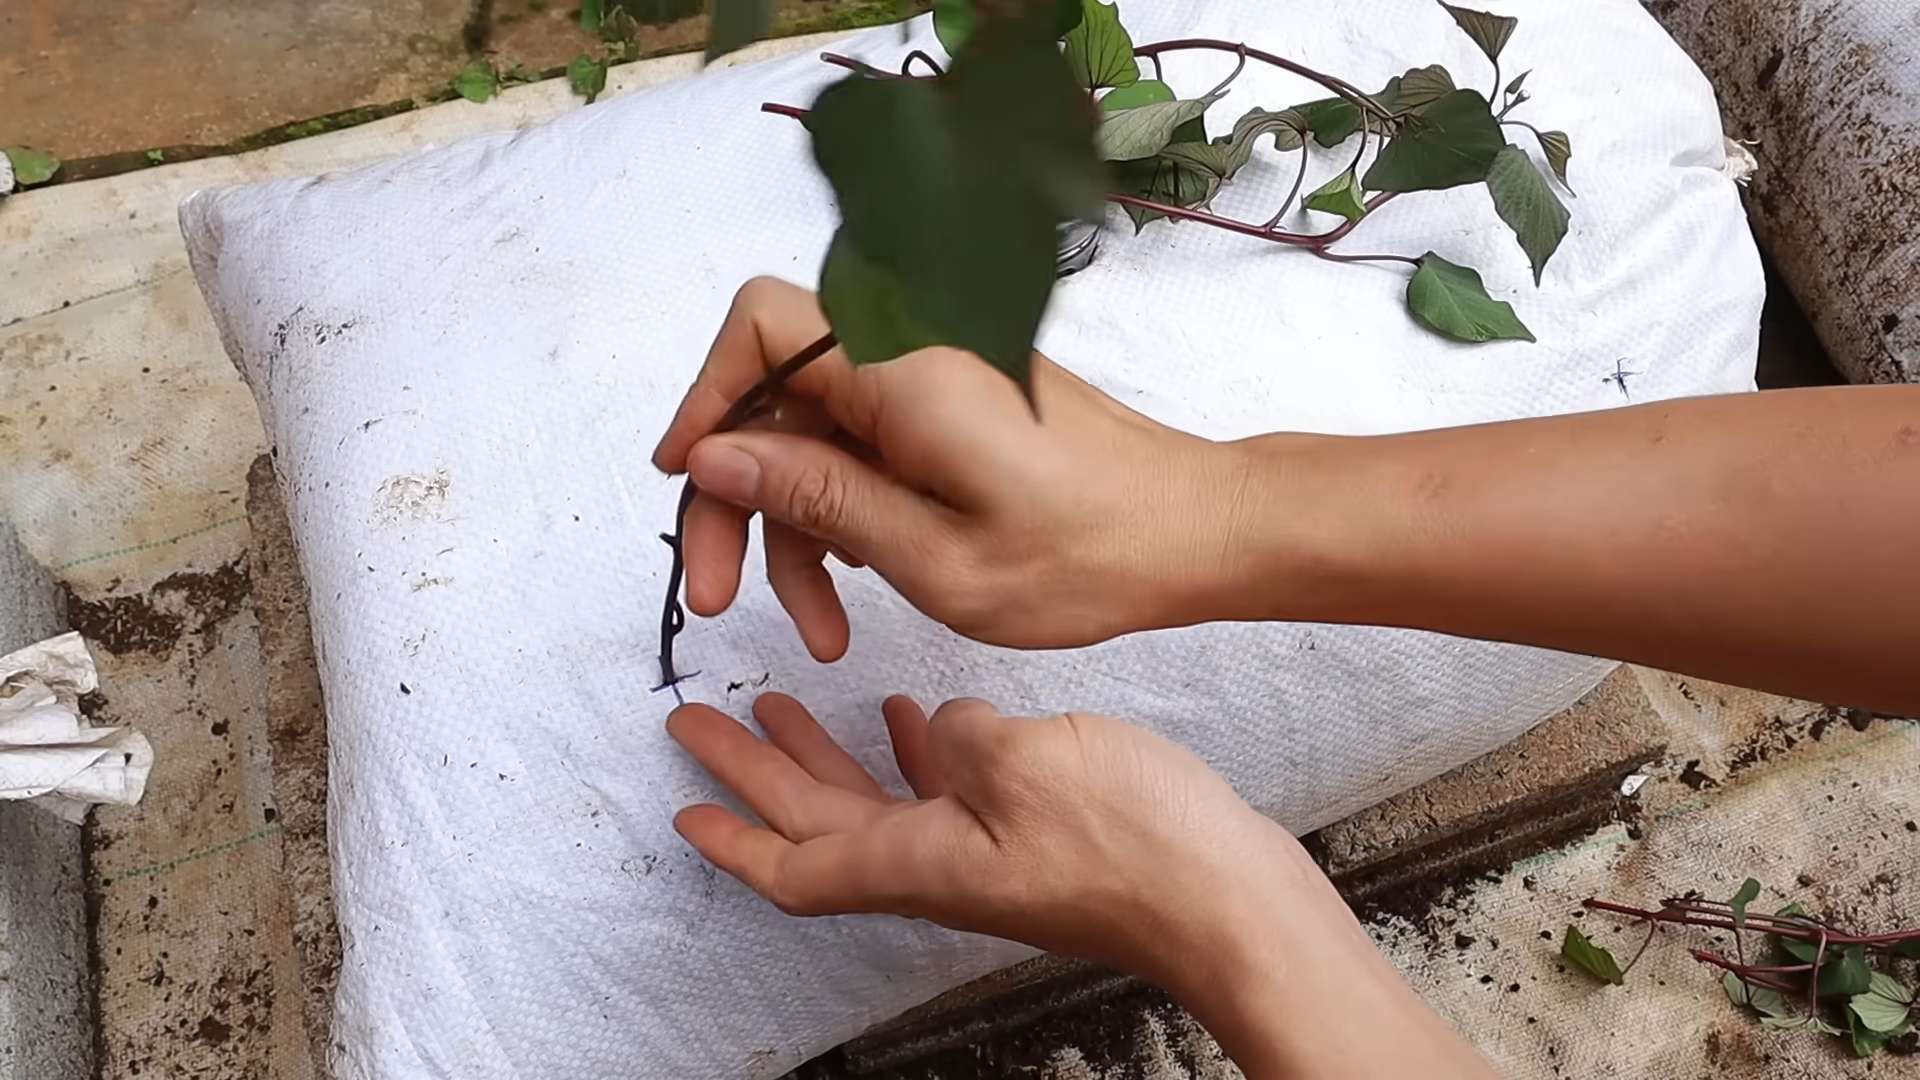
- Sweet potato slips (these are cuttings from mature sweet potatoes that have sprouted “eyes”). You can buy these online or from a local nursery. Alternatively, you can try sprouting your own from organic sweet potatoes.
- Gardening gloves
- Watering can or hose
- Optional: Trellis or stakes for supporting the vines (sweet potato vines can get quite long!)
- Optional: Fertilizer (a balanced, slow-release fertilizer is ideal)
Phase 2: Preparing the Containers and Planting
- Clean your containers: If using repurposed containers, thoroughly clean them with soap and water to remove any residue. Allow them to dry completely.
- Add drainage holes: Ensure your containers have adequate drainage holes to prevent waterlogging. If your containers don’t have them, drill several holes in the bottom.
- Fill the containers: Fill your containers with the potting mix, leaving about 2 inches of space from the top. Gently water the soil to settle it.
- Plant the slips: Plant your sweet potato slips about 4-6 inches apart, burying them about 2-3 inches deep. Make sure the “eyes” (the small buds) are facing upwards.
- Water gently: After planting, water the soil gently but thoroughly. Avoid overwatering, which can lead to root rot.
- Optional: Add fertilizer: If using fertilizer, follow the package instructions for application. A slow-release fertilizer will provide nutrients throughout the growing season.
- Optional: Install trellis or stakes: If you’re using a trellis or stakes, install them now to provide support for the growing vines.
Phase 3: Ongoing Care and Maintenance
- Watering: Water regularly, keeping the soil consistently moist but not soggy. The frequency of watering will depend on the weather and the type of container you’re using. Check the soil moisture regularly by sticking your finger a couple of inches into the soil. If it feels dry, it’s time to water.
- Weeding: Regularly remove any weeds that may compete with your sweet potato plants for nutrients and water.
- Fertilizing: If you’re not using a slow-release fertilizer, you may need to fertilize your plants every 2-4 weeks with a balanced liquid fertilizer. Follow the package instructions carefully.
- Pest and disease control: Regularly inspect your plants for pests and diseases. Address any issues promptly using appropriate organic pest control methods if necessary. Early detection is key.
- Vine management: As the vines grow, gently guide them along the trellis or stakes. This will prevent them from sprawling uncontrollably and improve air circulation, reducing the risk of disease.
- Mulching: Applying a layer of mulch around the base of the plants can help retain moisture, suppress weeds, and regulate soil temperature.
Phase 4: Harvesting Your Sweet Potatoes
- Harvest time: Sweet potatoes are typically ready for harvest 3-4 months after planting, depending on the variety and growing conditions. The leaves will start to yellow and die back as the plants mature.
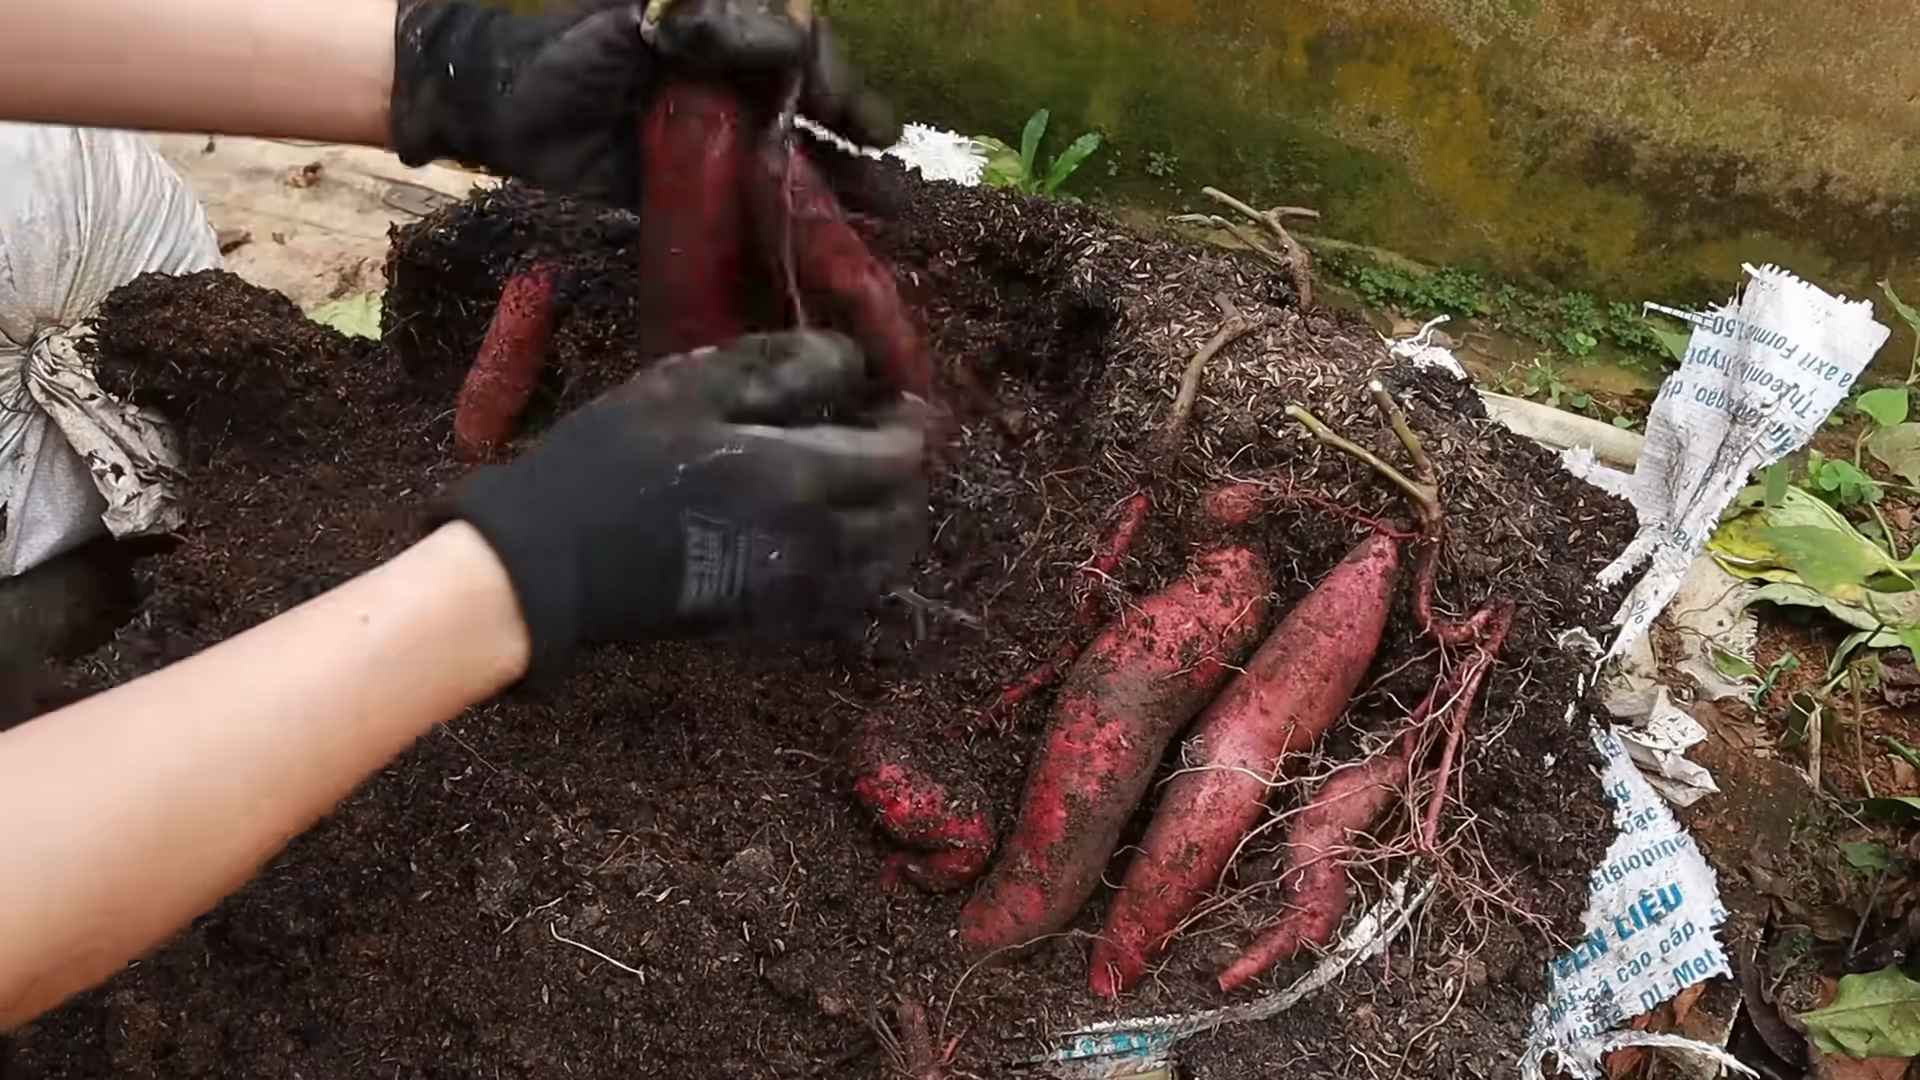
- Harvesting: Carefully lift the plants from the containers, being careful not to damage the sweet potatoes. You can gently loosen the soil around the plants to make it easier to remove them.
- Cleaning and curing: Gently brush off any excess soil from the sweet potatoes. Allow them to cure in a cool, dry, and well-ventilated area for 7-10 days. This will improve their flavor and storage life. During curing, avoid stacking them too high to prevent rot.
- Storage: After curing, store your sweet potatoes in a cool, dark, and dry place. They should keep for several months.
Important Note:
Remember to always check your local climate and adjust your watering and fertilizing schedule accordingly. Sweet potatoes thrive in warm weather, so protect them from frost if necessary.
Troubleshooting:
If you encounter any problems, such as yellowing leaves or stunted growth, consult a gardening resource or your local nursery for advice. Early intervention can often prevent serious issues.
Conclusion
So there you have it – your guide to creating a thriving sweet potato terrace garden! This DIY trick isn’t just about growing your own delicious sweet potatoes; it’s about embracing a sustainable and rewarding gardening experience. The beauty of this method lies in its simplicity and adaptability. You don’t need acres of land or specialized equipment; a sunny terrace and a few readily available materials are all you need to embark on this fulfilling journey. This sweet potato terrace garden method offers a unique blend of convenience, space-saving design, and the immense satisfaction of harvesting your own homegrown produce. It’s a perfect solution for apartment dwellers, balcony gardeners, or anyone with limited space who dreams of cultivating their own sweet potatoes.
Beyond the core method, the possibilities for variation are endless. Experiment with different varieties of sweet potatoes to discover your favorites. Consider adding companion plants like basil or marigolds to deter pests and enhance the overall health of your garden. If your terrace receives intense afternoon sun, you might want to provide some shade during the hottest part of the day to prevent the soil from drying out too quickly. For those with even more limited space, explore vertical gardening techniques within your terrace setup, maximizing every inch of available area. The key is to adapt the method to your specific environment and preferences, making it your own unique sweet potato growing haven.
We strongly encourage you to try this DIY sweet potato terrace garden method. It’s a project that offers significant rewards with minimal effort. The taste of a freshly harvested sweet potato, knowing it grew under your care, is an unparalleled experience. Share your journey with us! Post pictures of your thriving terrace garden on social media using #SweetPotatoTerraceGarden and tag us. We’d love to see your progress, hear about your successes, and learn from your experiences. Let’s build a community of sweet potato enthusiasts, sharing tips, tricks, and the joy of homegrown goodness.
Remember, gardening is a learning process. Don’t be discouraged if you encounter challenges along the way. Embrace the learning curve, adapt your techniques, and celebrate your successes. With a little patience and care, you’ll be enjoying the fruits – or rather, the sweet potatoes – of your labor in no time. So, grab your supplies, get your hands dirty, and embark on this rewarding adventure. Your taste buds (and your terrace) will thank you!
Frequently Asked Questions
What type of soil is best for a sweet potato terrace garden?
Well-draining soil is crucial for sweet potatoes. They don’t tolerate soggy conditions. A mix of potting soil, compost, and perlite or vermiculite will create the ideal airy and fertile environment. Avoid heavy clay soils which retain too much water.
How much sunlight do sweet potatoes need?
Sweet potatoes are sun-worshippers! They need at least 6-8 hours of direct sunlight per day to thrive. Choose a sunny spot on your terrace that receives ample sunlight throughout the day. If your terrace is partially shaded, you may need to supplement with grow lights.
When is the best time to plant sweet potatoes?
The best time to plant sweet potatoes depends on your climate. Generally, wait until after the last frost and the soil has warmed up to at least 60-70°F (15-21°C). In warmer climates, you can plant earlier. Check your local frost dates for the most accurate planting time.
How often should I water my sweet potato terrace garden?
Water regularly, keeping the soil consistently moist but not waterlogged. The frequency will depend on your climate and weather conditions. Check the soil moisture regularly by sticking your finger a couple of inches into the soil. Water when the top inch feels dry. Avoid overhead watering, which can lead to fungal diseases.
What are some common pests and diseases that affect sweet potatoes?
Sweet potatoes can be susceptible to various pests and diseases, including sweet potato weevils, aphids, and fungal diseases like leaf blight. Regularly inspect your plants for signs of infestation or disease. Use organic pest control methods like neem oil or insecticidal soap to address pest problems. Good air circulation and avoiding overhead watering can help prevent fungal diseases.
How long does it take for sweet potatoes to mature?
The time it takes for sweet potatoes to mature depends on the variety and growing conditions, but generally, it takes around 100-120 days from planting to harvest. Check the seed packet or plant tag for specific maturity information for your chosen variety.
Can I grow sweet potatoes from slips or from seed?
While you can technically grow sweet potatoes from seed, it’s much more common and easier to grow them from slips (small sprouts that grow from the sweet potato itself). Slips are readily available from nurseries or garden centers in the spring.
What do I do with my harvested sweet potatoes?
Once harvested, cure your sweet potatoes in a warm, dry, and well-ventilated area for 7-10 days. This allows the skin to harden and improves their storage life. After curing, store your sweet potatoes in a cool, dark, and dry place for several months.
Can I use containers other than the ones suggested?
Absolutely! The key is to ensure the containers are large enough (at least 12 inches deep) to accommodate the sweet potato vines and developing tubers, have drainage holes to prevent waterlogging, and are made of a material that won’t crack or break easily under the weight of the soil and plants.
What if my sweet potatoes don’t produce many tubers?
Several factors can affect sweet potato yield, including insufficient sunlight, poor soil drainage, improper watering, or pest infestations. Review the growing conditions and address any potential issues. Consider adding compost or other organic matter to improve soil fertility for next year’s planting.
Leave a Comment