
Abundant Tomato Harvest: Your Guide to a Bumper Crop
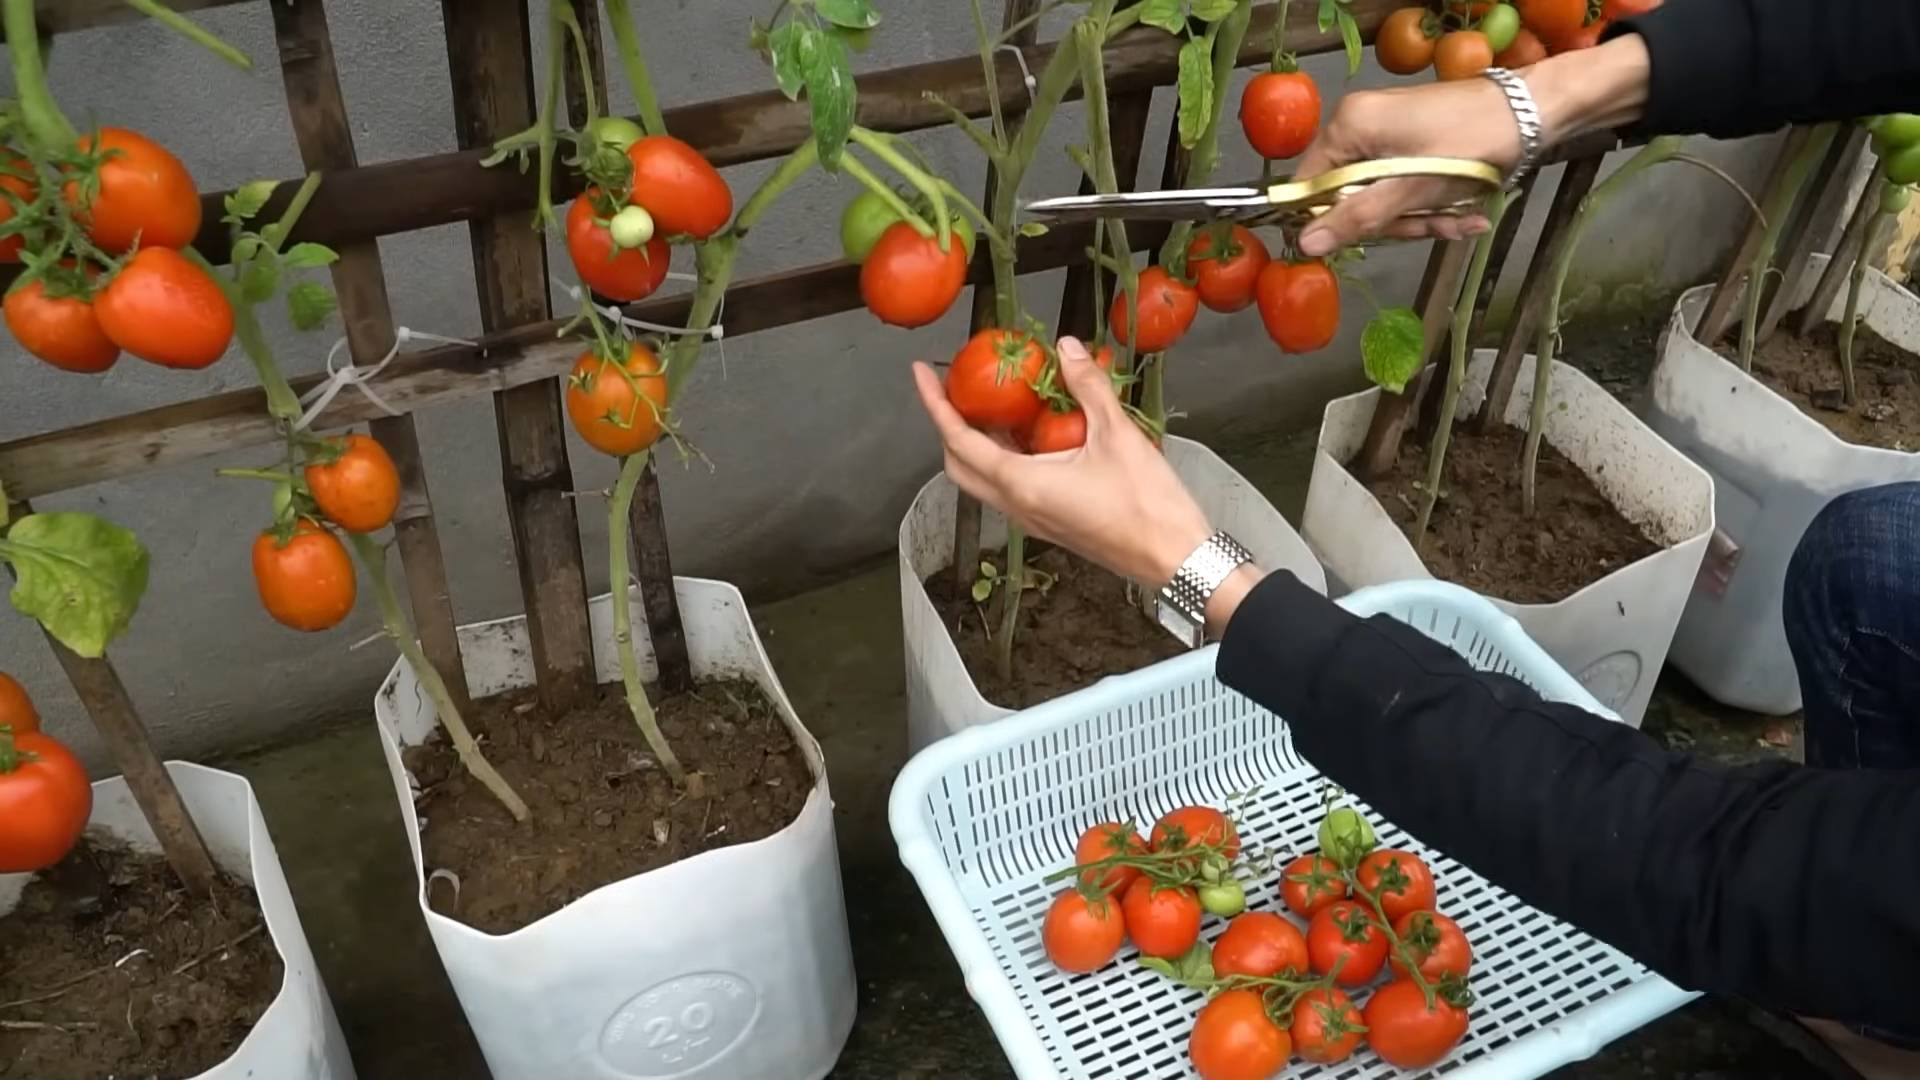
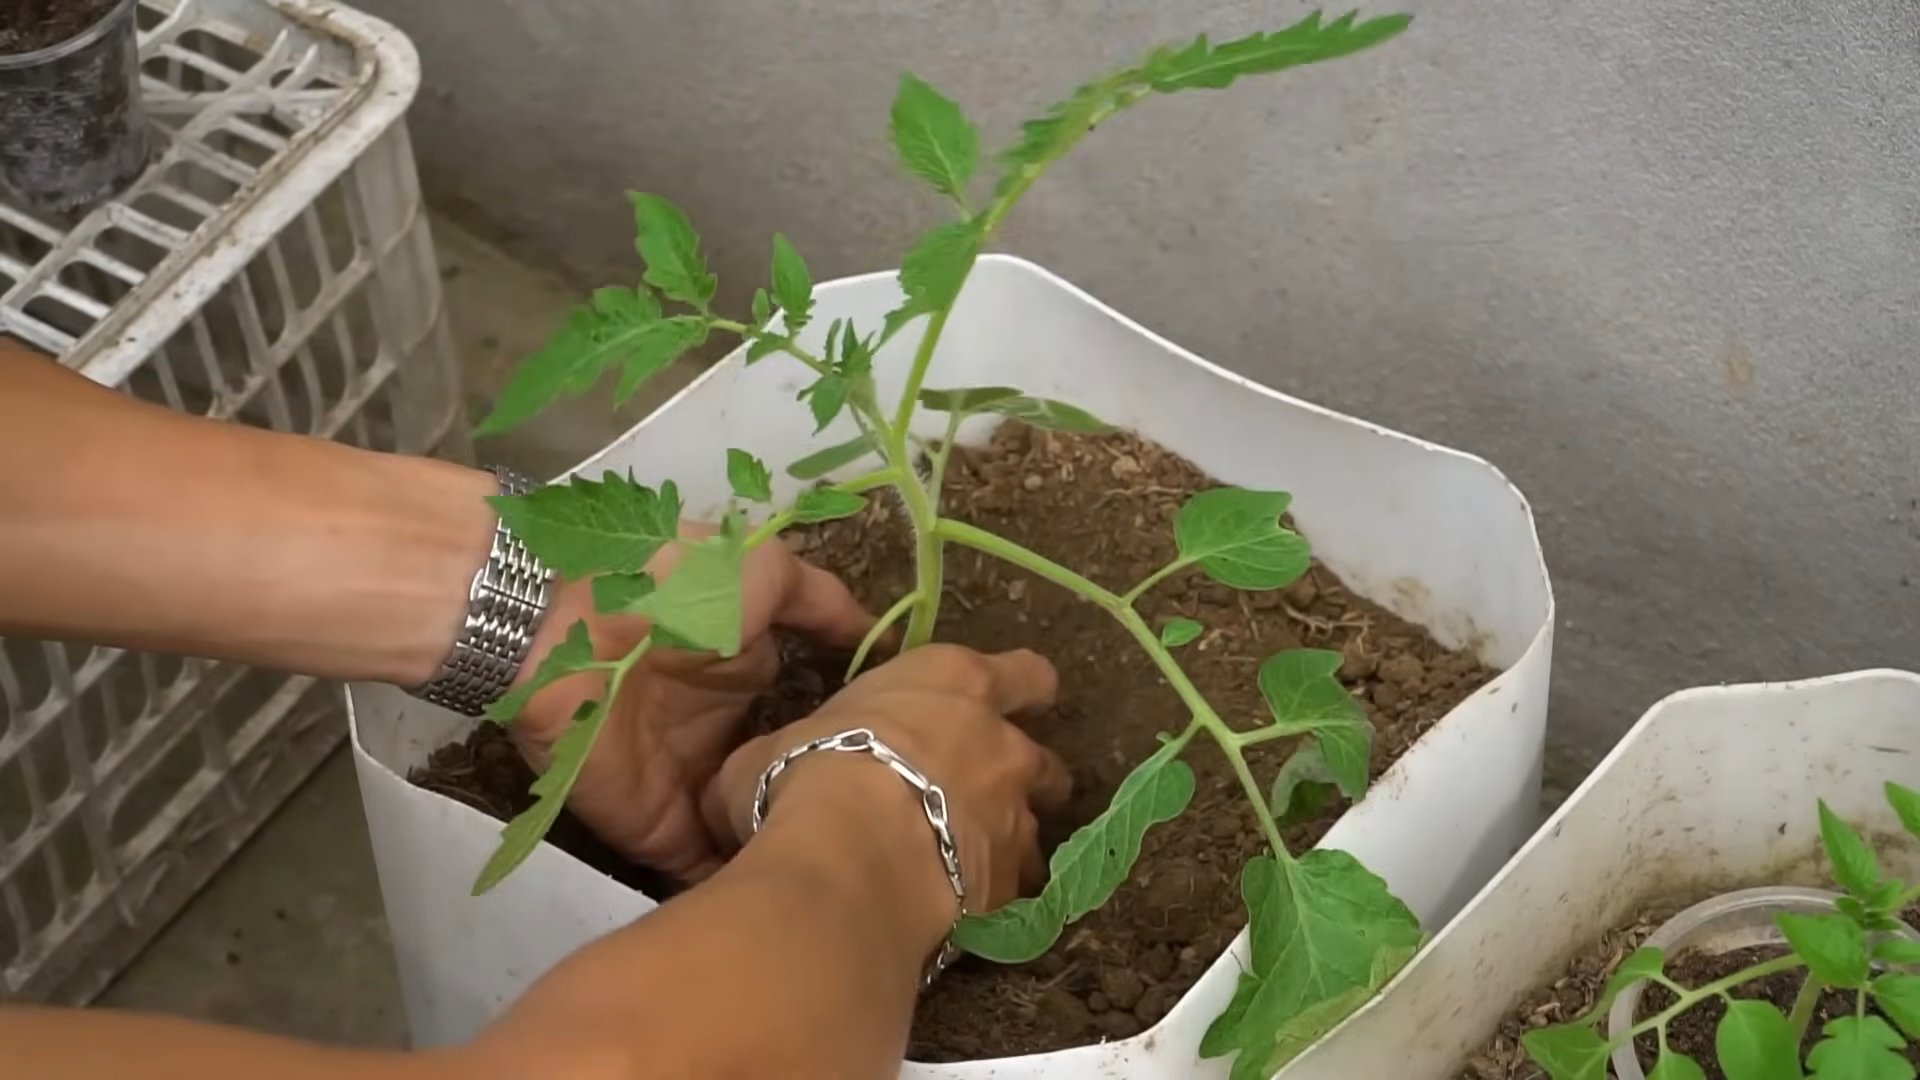
I’ve always loved the taste of homegrown tomatoes – that sun-ripened sweetness you just can’t find in the supermarket. That’s why I’m so passionate about sharing my secrets to achieving an abundant tomato harvest. This isn’t just about growing a few tomatoes; it’s about experiencing the joy of nurturing plants from seed to succulent, juicy fruit, and enjoying the fruits (quite literally!) of your labor. For generations, families have passed down their gardening wisdom, creating traditions around cultivating these vibrant red jewels. From my grandmother’s meticulously kept rows to my own experiments in raised beds, I’ve learned that a bountiful harvest isn’t just about luck; it’s about understanding the plant’s needs and employing a few clever tricks.
This article is your comprehensive guide to achieving an abundant tomato harvest, packed with easy-to-follow DIY tips and tricks. Whether you’re a seasoned gardener or just starting out, you’ll find practical advice on everything from choosing the right variety and preparing your soil to dealing with common pests and diseases. Why bother with all this effort? Because there’s nothing quite like biting into a homegrown tomato, bursting with flavor, knowing you nurtured it from tiny seed to plump perfection. It’s a rewarding experience that connects you to nature and provides you with delicious, healthy food. Let’s dive in and unlock the secrets to your own incredible tomato bounty!
Turning Your Abundant Tomato Harvest into Delicious Homemade Sauce
So, you’ve got a mountain of tomatoes? I know the feeling! My garden exploded this year, and I was drowning in ripe, juicy goodness. Instead of letting them go to waste, I decided to tackle a big batch of homemade tomato sauce. It’s easier than you think, and the result is far superior to anything you can buy in a store. Here’s how I did it, and how you can too!
Phase 1: Preparing the Tomatoes
- Gather your supplies: You’ll need a large pot (at least 8 quarts), a colander, a few large bowls, a potato masher or immersion blender (optional), and plenty of clean jars and lids for canning (if you plan to preserve the sauce).
- Wash and sort your tomatoes: Give your tomatoes a good wash to remove any dirt or debris. Discard any that are bruised, rotten, or overly soft. For this recipe, I prefer to use a mix of Roma and heirloom tomatoes for a richer flavor and better texture.
- Blanch and peel (optional but recommended): Blanching makes peeling much easier. Bring a large pot of water to a rolling boil. Using a slotted spoon, carefully add a few tomatoes at a time to the boiling water for about 30-60 seconds, or until the skins begin to split. Immediately transfer them to a bowl of ice water to stop the cooking process. Once cool enough to handle, gently peel off the skins. This step is optional, but it results in a smoother sauce.
- Core and chop: Cut the tomatoes in half and remove the cores. Roughly chop them into chunks. The size doesn’t need to be precise; a mix of sizes is fine.
Phase 2: Making the Sauce
- Sauté aromatics: In your large pot, heat a generous amount of olive oil (about 1/4 cup) over medium heat. Add 2-3 cloves of minced garlic and 1 medium chopped onion. Sauté until softened, about 5-7 minutes. Don’t let the garlic brown.
- Add the tomatoes: Add your chopped tomatoes to the pot. Stir well to combine with the garlic and onion. Bring the mixture to a simmer.
- Simmer and reduce: Reduce the heat to low, cover the pot, and let the sauce simmer gently for at least 1-2 hours, or even longer for a richer flavor. Stir occasionally to prevent sticking. The longer it simmers, the more the flavors will meld and the sauce will thicken.
- Season to taste: After simmering, taste the sauce and adjust the seasoning. I usually add salt, black pepper, a pinch of red pepper flakes (for a little heat), and a teaspoon or two of sugar to balance the acidity. Fresh herbs like basil, oregano, or thyme can also be added at this stage. Experiment with different herbs and spices to find your perfect combination!
- Blend (optional): If you prefer a smoother sauce, use an immersion blender to partially or fully blend the sauce. I like to leave some texture, so I only blend about half of the sauce.
Phase 3: Canning and Storage (Optional)
If you want to preserve your sauce for later use, canning is the way to go. This requires proper sterilization of jars and lids, and following safe canning procedures. I highly recommend researching safe canning practices before attempting this. Improper canning can lead to spoilage and foodborne illness.
- Sterilize jars and lids: Wash jars and lids in hot, soapy water. Then, sterilize them by boiling in water for 10 minutes. Keep them submerged in hot water until ready to use.
- Fill the jars: Carefully ladle the hot sauce into the sterilized jars, leaving about 1/2 inch of headspace at the top. Wipe the rims of the jars clean with a damp cloth.
- Seal the jars: Place the lids and rings on the jars and tighten them fingertip tight. Do not overtighten.
- Process in a water bath canner: Place the filled jars in a water bath canner, ensuring they are completely submerged in water. Bring the water to a rolling boil and process according to the recommended time for your altitude (check a reliable canning resource for specific times).
- Cool and check seals: Remove the jars from the canner and let them cool completely. You should hear a “pop” sound as the jars seal. Check that the lids are concave (pushed down in the center). Any jars that don’t seal should be refrigerated and used within a week.
Phase 4: Freezing for Long-Term Storage
If canning isn’t your thing, freezing is another excellent option for preserving your homemade tomato sauce. It’s simpler and requires less equipment.
- Cool the sauce: Let the sauce cool completely before freezing.
- Portion and freeze: Pour the cooled sauce into freezer-safe containers or bags, leaving some headspace for expansion. Label and date the containers.
- Freeze flat: For faster freezing and easier stacking, freeze the sauce in a single layer on a baking sheet before transferring it to a container or bag.
Important Note: Always follow safe food handling practices. Use clean utensils and work surfaces. If you are unsure about any step, consult a reliable source for detailed instructions. Enjoy your delicious homemade tomato sauce!
Conclusion
So there you have it! A simple, yet incredibly effective way to deal with an abundant tomato harvest. This DIY trick isn’t just about preserving your precious tomatoes; it’s about transforming a potential problem into a delicious opportunity. From vibrant salsas to rich tomato sauces, the possibilities are endless. This method ensures you won’t let a single ripe tomato go to waste, maximizing the flavor and bounty of your garden’s hard work. The ease of preparation, combined with the incredible results, makes this a must-try for every home gardener, regardless of experience level. You’ll be amazed at how much you can achieve with a little time and effort, turning your overflowing tomato plants into a pantry stocked with homemade goodness. Don’t let those beautiful tomatoes go to waste – embrace the abundance and enjoy the fruits (and sauces, and salsas!) of your labor. We encourage you to experiment with different herbs and spices to create your own unique flavor profiles. The beauty of this method lies in its adaptability; feel free to personalize it to your taste preferences. Try adding a touch of chili for a spicy kick, or some fresh basil for a classic Italian twist. The possibilities are as limitless as your imagination! Share your creations with us – we’d love to see your delicious results and hear about your experiences with this abundant tomato harvest solution. Tag us on social media and let’s celebrate the joy of homegrown goodness together!
Frequently Asked Questions
What if I don’t have a pressure canner?
While a pressure canner is the safest method for long-term storage, you can still utilize your abundant tomato harvest without one. Consider freezing your prepared tomato sauce or salsa in individual portions for easy use throughout the year. Freezing preserves the flavor and nutrients effectively, although it won’t offer the same shelf life as canning. Alternatively, you can explore other preservation methods like dehydrating or making sun-dried tomatoes, though these methods require additional equipment and time. Remember, proper food safety is paramount, so always ensure your tomatoes are thoroughly processed before freezing or dehydrating to prevent spoilage. Research the specific guidelines for each method to ensure optimal results and food safety.
How long will the canned tomatoes last?
Properly canned tomatoes, processed using a pressure canner according to established guidelines, can last for 12 to 18 months, or even longer, if stored in a cool, dark, and dry place. Always check the seals on your jars before storing them. If a seal is compromised, the contents should be refrigerated and consumed promptly. Pay close attention to any signs of spoilage, such as bulging lids, mold, or an off-putting odor. Never consume canned goods that show any signs of spoilage. Remember, proper canning techniques are crucial for ensuring the safety and longevity of your preserved tomatoes.
Can I use this method with other types of tomatoes?
Absolutely! This method works wonderfully with a variety of tomatoes, from heirloom varieties to standard garden tomatoes. However, the size and texture of the tomatoes may influence the final consistency of your sauce or salsa. Smaller tomatoes might require less processing time, while larger tomatoes may need to be chopped or pureed before canning. Experiment with different tomato types to discover your favorite combinations and flavors. Remember to always adjust the processing time based on the type and size of your tomatoes to ensure proper preservation.
What are some creative ways to use the canned tomatoes?
The possibilities are endless! Your homemade canned tomatoes are a versatile ingredient that can be used in countless recipes. They’re perfect for creating delicious pasta sauces, soups, stews, and chili. You can also use them as a base for pizza sauce, or add them to omelets and frittatas for a burst of fresh flavor. Get creative and experiment with different recipes to discover new and exciting ways to enjoy your homegrown bounty. The rich flavor of home-canned tomatoes will elevate any dish, adding a touch of homemade goodness to your culinary creations.
What if I only have a small tomato harvest?
Even a small tomato harvest is worth preserving! This method can be easily adapted to smaller quantities. Simply adjust the recipe accordingly, using fewer tomatoes and smaller jars. You can still enjoy the benefits of preserving your tomatoes, even if you don’t have an abundant harvest. Remember, the goal is to prevent waste and enjoy the delicious flavor of your homegrown tomatoes. Don’t let a small harvest discourage you from trying this rewarding preservation technique. Even a few jars of homemade tomato sauce or salsa will be a delicious addition to your pantry.
Leave a Comment