
Clean Your Refrigerator DIY: Let’s face it, we’ve all been there. You open the refrigerator door, hoping for a refreshing snack, only to be greeted by a less-than-pleasant aroma and a chaotic landscape of half-eaten leftovers and mystery containers. It’s a universal struggle! But fear not, because I’m here to share some game-changing DIY tricks to transform your fridge from a biohazard zone into a sparkling sanctuary of freshness.
Refrigerators, while a relatively modern invention, have quickly become indispensable in our lives. Before their widespread adoption, preserving food was a laborious process involving salting, pickling, and storing items in cool cellars. Now, we rely on these trusty appliances to keep our food safe and extend its shelf life. However, this convenience comes with a responsibility: regular cleaning!
Why is a clean your refrigerator DIY so crucial? Beyond the obvious aesthetic benefits, a clean fridge is essential for food safety. Lingering bacteria and mold can contaminate your food, leading to illness. Plus, a well-organized fridge makes it easier to find what you need, reducing food waste and saving you money. I know, I know, cleaning the fridge isn’t exactly a glamorous task, but with these simple DIY hacks, I promise it can be quick, easy, and even a little bit satisfying. So, let’s dive in and get that fridge sparkling!
DIY Deep Clean: Revive Your Refrigerator!
Okay, let’s be honest, cleaning the fridge isn’t exactly anyone’s favorite chore. But a sparkling clean refrigerator isn’t just about aesthetics; it’s about food safety, preventing funky smells, and even making your groceries last longer. I’m going to walk you through my tried-and-true method for a deep fridge clean that’ll leave you feeling accomplished and your food feeling fresh.
What You’ll Need: The Cleaning Arsenal
Before we dive in, let’s gather our supplies. Having everything ready beforehand will make the process so much smoother.
* Empty Containers: For temporarily storing food. Think coolers, large bowls, or even clean laundry baskets lined with towels.
* Cleaning Cloths/Sponges: Microfiber cloths are my go-to for streak-free cleaning. Have a few on hand!
* Warm Water: The base of our cleaning solution.
* Baking Soda: A natural deodorizer and gentle abrasive cleaner.
* White Vinegar: Cuts through grease and grime like a champ.
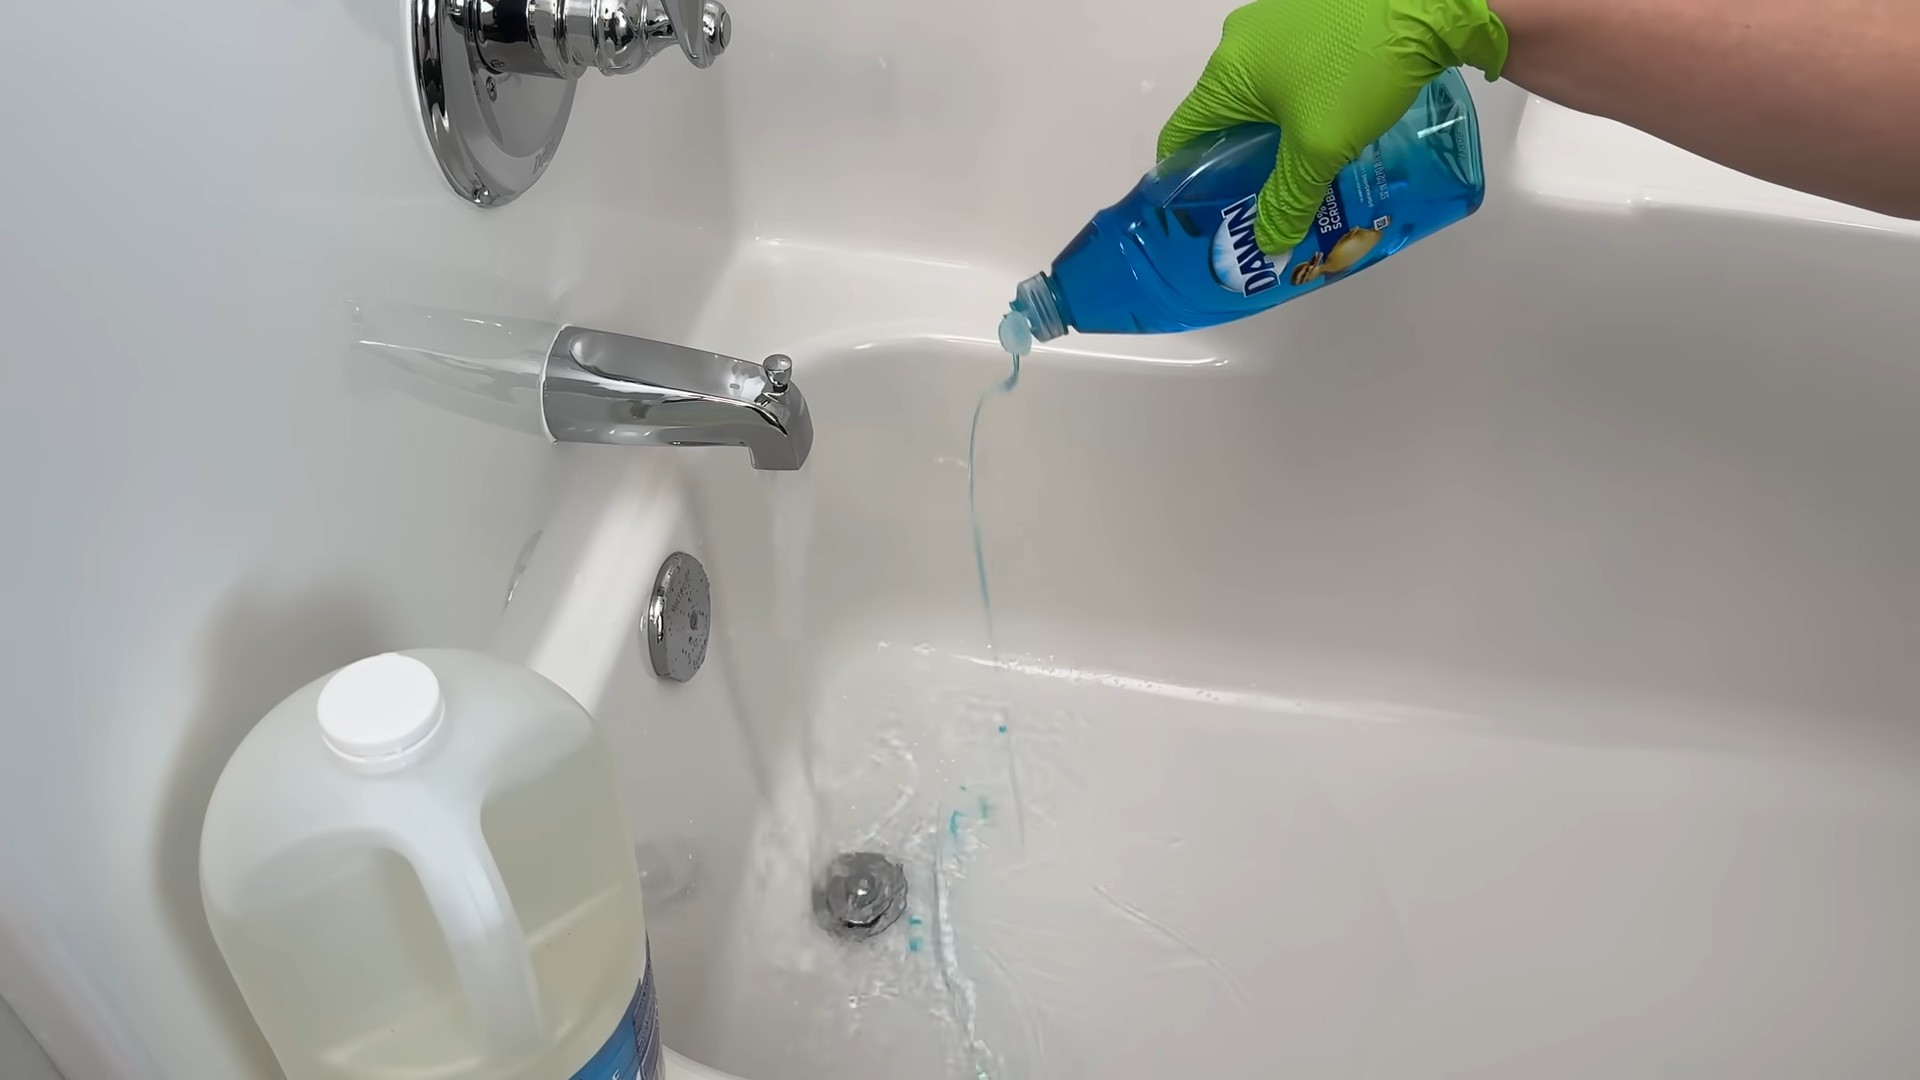
* Dish Soap: For tackling stubborn spills and sticky messes.
* Spray Bottle: For easy application of our cleaning solutions.
* Old Toothbrush: Perfect for getting into those hard-to-reach corners and crevices.
* Trash Bags: For disposing of expired food and packaging.
* Paper Towels: For quick cleanups and drying.
* Optional: Essential Oils (Lemon, Tea Tree): For a fresh, clean scent (and added antibacterial properties!).
* Optional: Refrigerator Liners: To make future cleanups even easier.
Phase 1: Emptying and Assessing the Fridge
This is arguably the most important step. Don’t skip it!
1. Unplug the Refrigerator: Safety first! Unplugging the fridge will prevent any accidental shocks and allow it to warm up slightly, making it easier to remove stuck-on food.
2. Remove All Food Items: Take everything out of the refrigerator and freezer. This includes condiments, leftovers, produce, and anything else lurking in the back.
3. Sort and Discard: As you remove items, check expiration dates. Be ruthless! Toss anything that’s past its prime, looks questionable, or smells off. This is also a good time to get rid of those half-empty jars of pickles you know you’ll never finish.
4. Organize Food in Containers: Place the remaining food items into your prepared coolers, bowls, or baskets. Try to keep cold items together and separate from items that can tolerate room temperature for a short period.
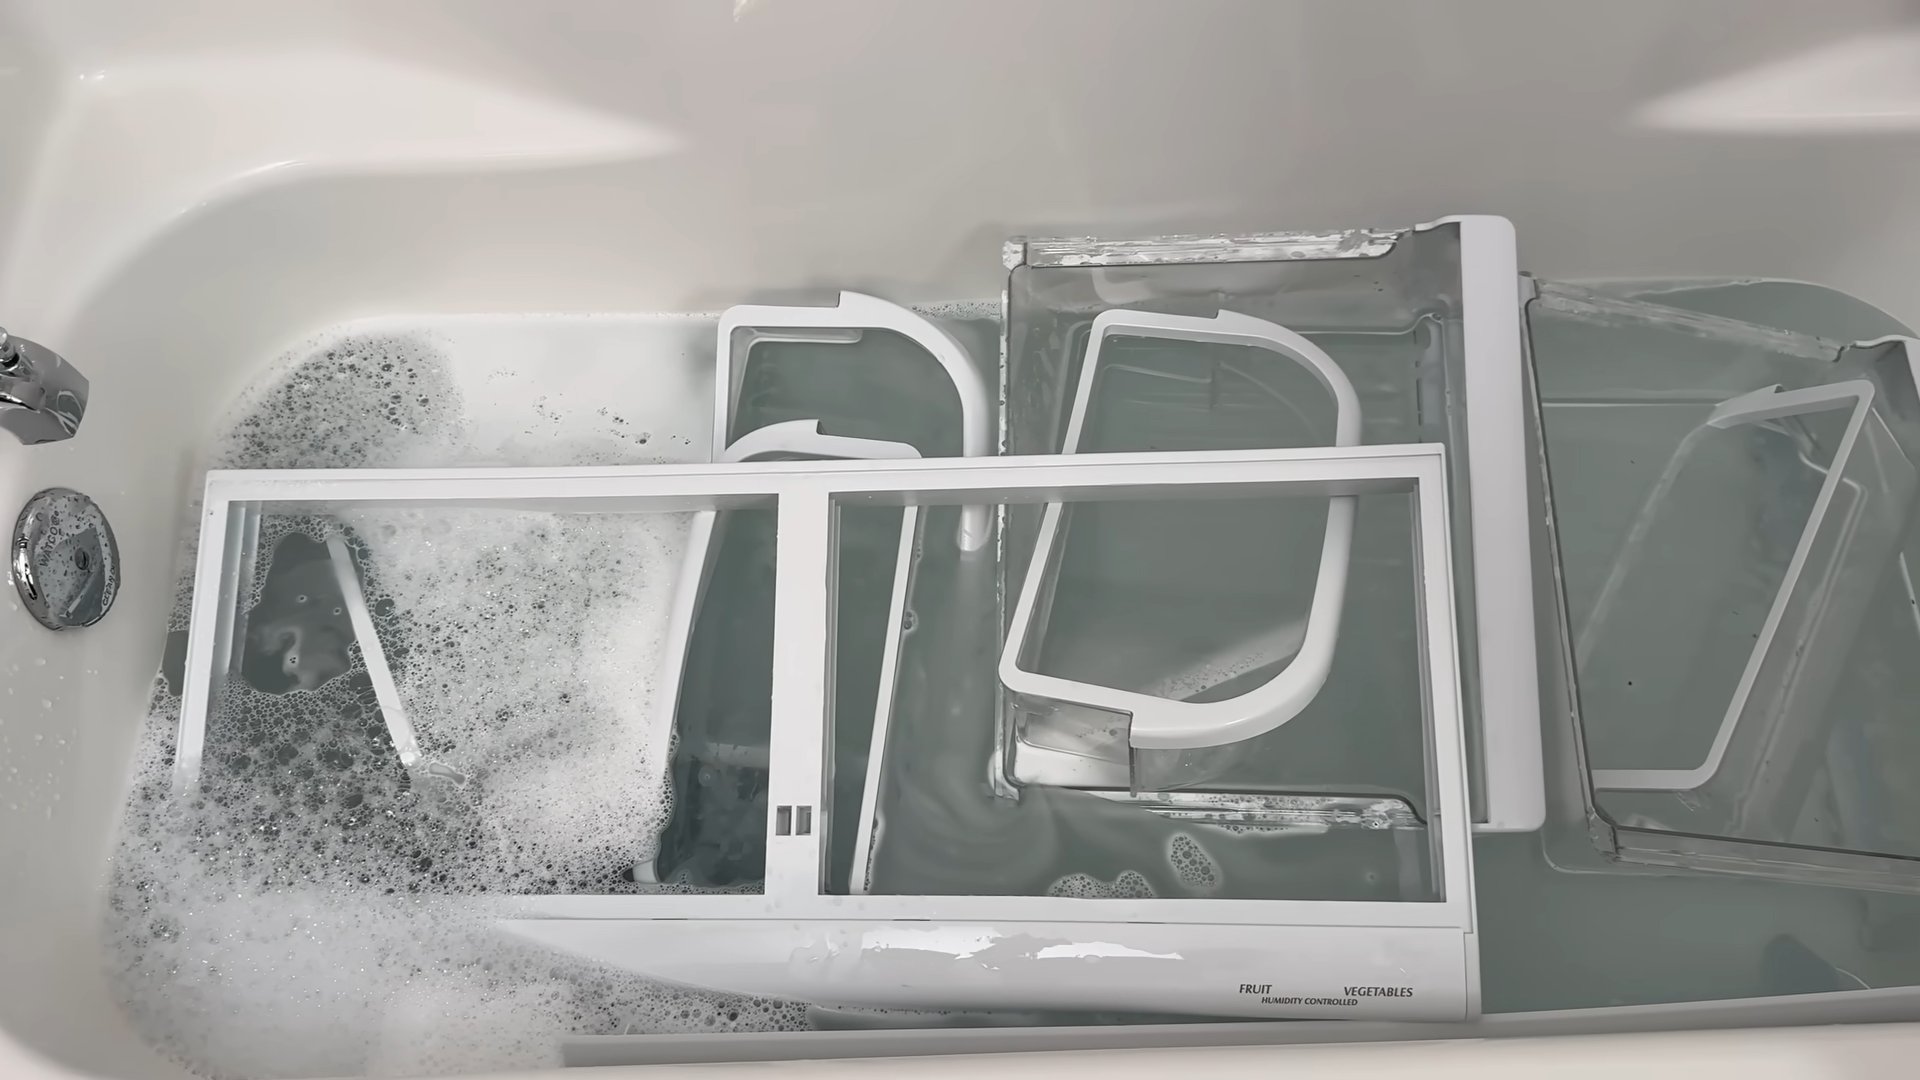
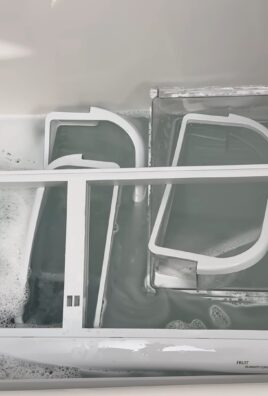
5. Remove Shelves and Drawers: Take out all removable shelves, drawers, and bins. This will allow you to clean them thoroughly and access every nook and cranny of the refrigerator interior.
Phase 2: Cleaning the Interior
Now for the fun part (okay, maybe not fun, but definitely satisfying!).
1. Prepare Your Cleaning Solutions:
* Baking Soda Paste: Mix baking soda with a small amount of water to create a thick paste. This is great for scrubbing stubborn stains.
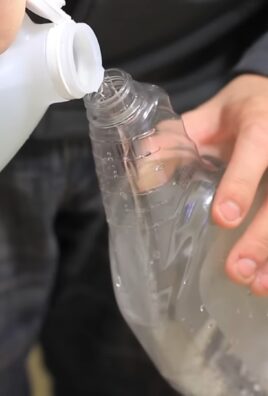
* Vinegar Solution: Mix equal parts white vinegar and warm water in a spray bottle. This is your all-purpose cleaner.
* Dish Soap Solution: Add a few drops of dish soap to a bowl of warm water. This is for tackling greasy messes.
2. Wipe Down the Interior:
* Start with the top of the refrigerator and work your way down.
* Spray the interior surfaces with the vinegar solution and let it sit for a few minutes to loosen any grime.
* Wipe down all surfaces with a clean cloth or sponge.
* For stubborn stains, apply the baking soda paste, let it sit for a few minutes, and then scrub gently with a sponge or old toothbrush.
* Use the dish soap solution to clean up any greasy spills.
3. Pay Attention to Details:
* Don’t forget to clean the door seals (the rubber gaskets around the door). These can accumulate mold and mildew. Use a damp cloth and a mild detergent to clean them thoroughly.
* Use the old toothbrush to clean the crevices and corners of the refrigerator.
* Wipe down the light fixture and any other internal components.
4. Rinse and Dry:
* Once you’ve cleaned all the interior surfaces, rinse them with a clean, damp cloth to remove any cleaning solution residue.
* Dry all surfaces thoroughly with a clean cloth or paper towels. This will prevent water spots and mildew growth.
Phase 3: Cleaning the Shelves and Drawers
These removable parts often bear the brunt of spills and messes.
1. Wash with Warm, Soapy Water: Fill your sink or a large tub with warm, soapy water.
2. Scrub Thoroughly: Wash each shelf, drawer, and bin with a sponge or cloth, paying attention to any stuck-on food or stains.
3. Rinse Well: Rinse each item thoroughly with clean water to remove all soap residue.
4. Dry Completely: Dry each item completely with a clean cloth or allow them to air dry before placing them back in the refrigerator.
Phase 4: Cleaning the Exterior
Don’t forget the outside! A clean exterior makes the whole fridge look better.
1. Wipe Down the Exterior: Use a damp cloth and a mild detergent to wipe down the exterior of the refrigerator, including the doors, sides, and top.
2. Clean the Handles: Pay special attention to the handles, as these are often touched and can accumulate dirt and germs.
3. Polish Stainless Steel (If Applicable): If your refrigerator has stainless steel surfaces, use a stainless steel cleaner to polish them and remove any fingerprints or smudges.
4. Clean the Top (If Accessible): If you can safely reach the top of the refrigerator, wipe it down to remove any dust or debris.
Phase 5: Reassembling and Restocking
Almost there!
1. Replace Shelves and Drawers: Once everything is clean and dry, replace the shelves, drawers, and bins in the refrigerator.
2. Organize Food as You Restock: As you put food back into the refrigerator, take the opportunity to organize it.
* Top Shelf: Ready-to-eat foods like leftovers, yogurt, and deli meats.
* Middle Shelves: Dairy products, eggs, and other items that need to be kept cold.
* Bottom Shelf: Raw meats and poultry (to prevent cross-contamination).
* Drawers: Fruits and vegetables (in separate drawers if possible).
* Door: Condiments, sauces, and drinks (the door is the warmest part of the refrigerator, so avoid storing highly perishable items here).
3. Consider Refrigerator Liners: Place refrigerator liners on the shelves to make future cleanups easier. These liners can be easily removed and washed.
4. Add a Deodorizer: Place an open box of baking soda in the refrigerator to absorb odors. You can also use other natural deodorizers like coffee grounds or activated charcoal.
5. Plug the Refrigerator Back In: Plug the refrigerator back in and allow it to cool down before adding any more food.
6. Monitor Temperature: Make sure your refrigerator is set to the correct temperature (around 37-40°F or 3-4°C).
Bonus Tips for a Fresh Fridge:
* Check Expiration Dates Regularly: Make it a habit to check expiration dates at least once a week and discard any expired food.
* Wipe Up Spills Immediately: Don’t let spills sit and harden. Wipe them up as soon as they happen to prevent stains and odors.
* Store Food Properly: Store food in airtight containers to prevent it from spoiling and spreading odors.
* Don’t Overcrowd the Refrigerator: Overcrowding can restrict airflow and make it harder for the refrigerator to maintain a consistent temperature.
* Clean Regularly: Aim to deep clean your refrigerator every 3-6 months to keep it fresh and hygienic. A quick wipe-down of spills and shelves weekly will also help.
* Essential Oil Refresh: Add a few drops of lemon or tea tree essential oil to a damp cloth and wipe down the interior for a fresh, clean scent and added antibacterial benefits.
And there you have it! A sparkling clean refrigerator that’s ready to keep your food fresh and your kitchen smelling great. It might seem like a lot of work, but trust me, the results are worth it. Plus, now you can open your fridge without cringing! Happy cleaning!
Conclusion
So, there you have it! This DIY refrigerator cleaning trick isn’t just about tidying up; it’s about creating a healthier, more efficient, and frankly, more pleasant kitchen environment. Think about it: no more mystery smells assaulting your nostrils every time you open the fridge, no more struggling to find that jar of pickles buried behind a science experiment, and no more wasted food languishing in the back. This simple process, using readily available ingredients, can dramatically improve your food storage and reduce food waste, saving you money in the long run.
This method is a must-try because it goes beyond surface cleaning. The baking soda solution neutralizes odors at their source, while the vinegar helps to disinfect and cut through stubborn grime. Plus, the systematic approach ensures you don’t miss any hidden corners where bacteria and mold love to thrive.
But wait, there’s more! Feel free to customize this DIY refrigerator cleaning routine to suit your specific needs and preferences. For instance, if you’re dealing with particularly stubborn stains, you can create a paste of baking soda and water and let it sit on the affected area for a few minutes before wiping it away. For a refreshing scent boost, add a few drops of your favorite essential oil (lemon, grapefruit, or tea tree are excellent choices) to your cleaning solution. If you have a stainless steel refrigerator, consider using a microfiber cloth and a specialized stainless steel cleaner after the initial cleaning to prevent streaks and maintain its shine.
Another variation involves using a steam cleaner for a deeper clean. If you have a steam cleaner with appropriate attachments, you can use it to sanitize the interior of your refrigerator after wiping it down with the baking soda and vinegar solution. Just be sure to unplug the refrigerator and allow it to dry completely before plugging it back in.
And don’t forget the importance of regular maintenance! A quick wipe-down of spills and a weekly check for expired items can prevent the buildup of grime and odors, making your deep cleaning sessions less frequent and less daunting. Consider using refrigerator liners on shelves to catch spills and make cleanup even easier.
We’re confident that once you experience the satisfaction of a sparkling clean and fresh-smelling refrigerator, you’ll never go back to your old ways. It’s a small investment of time that yields significant returns in terms of food safety, efficiency, and overall kitchen hygiene.
So, what are you waiting for? Gather your supplies, set aside an hour or two, and give this DIY refrigerator cleaning trick a try. We’re eager to hear about your experience! Share your before-and-after photos, your favorite cleaning tips, and any variations you’ve discovered in the comments below. Let’s create a community of sparkling clean refrigerators!
Frequently Asked Questions (FAQ)
1. How often should I clean my refrigerator using this DIY method?
The frequency of cleaning depends on your lifestyle and how often you use your refrigerator. However, a good rule of thumb is to perform a deep clean using this DIY method every 1-3 months. In between deep cleans, aim for a quick wipe-down of spills and a check for expired items at least once a week. This will prevent the buildup of grime and odors and make your deep cleaning sessions less time-consuming. If you notice persistent odors or frequent spills, you may need to clean your refrigerator more often.
2. Is it safe to use baking soda and vinegar together for cleaning?
While baking soda and vinegar react when mixed, creating carbon dioxide and water, the resulting solution is safe and effective for cleaning. The reaction is mild and doesn’t produce any harmful fumes. However, it’s important to note that the mixture is most effective when it’s actively fizzing. Once the fizzing stops, the cleaning power diminishes. Therefore, it’s best to mix small batches of the solution as needed rather than creating a large batch in advance.
3. Can I use other cleaning agents besides baking soda and vinegar?
While baking soda and vinegar are natural and effective cleaning agents, you can use other options if you prefer. Mild dish soap diluted in water is a good alternative for general cleaning. However, avoid using harsh chemicals like bleach or ammonia, as they can damage the refrigerator’s interior and leave behind harmful fumes. If you choose to use a commercial cleaning product, be sure to select one that is specifically designed for cleaning refrigerators and follow the manufacturer’s instructions carefully. Always rinse the surfaces thoroughly with clean water after using any cleaning agent.
4. How do I get rid of stubborn odors in my refrigerator?
If you’re dealing with persistent odors, try placing an open box of baking soda in the refrigerator to absorb odors. You can also use activated charcoal, which is even more effective at absorbing odors. Another option is to place a cotton ball soaked in vanilla extract in the refrigerator for a few hours. For particularly stubborn odors, you can try placing a bowl of coffee grounds in the refrigerator overnight. Make sure to identify and remove the source of the odor before attempting to neutralize it.
5. How can I prevent food from spoiling in my refrigerator?
Proper food storage is essential for preventing spoilage and maintaining a clean refrigerator. Store leftovers in airtight containers and label them with the date. Keep raw meat and poultry on the bottom shelf to prevent cross-contamination. Store fruits and vegetables in the crisper drawers, and adjust the humidity settings accordingly. Avoid overcrowding the refrigerator, as this can restrict airflow and lead to uneven cooling. Regularly check for expired items and discard them promptly.
6. What if my refrigerator has mold?
If you find mold in your refrigerator, it’s important to address it immediately. First, unplug the refrigerator and remove all food items. Then, mix a solution of one part bleach to ten parts water. Wear gloves and a mask to protect yourself from the mold spores. Use a sponge or cloth to scrub the moldy areas with the bleach solution. Rinse the surfaces thoroughly with clean water and allow them to dry completely before plugging the refrigerator back in. If the mold is extensive or you’re uncomfortable dealing with it yourself, consider hiring a professional cleaning service.
7. How do I clean the refrigerator coils?
Cleaning the refrigerator coils is an important part of maintaining its efficiency. The coils are typically located on the back or bottom of the refrigerator. Unplug the refrigerator and use a vacuum cleaner with a brush attachment to remove dust and debris from the coils. You can also use a coil cleaning brush to reach tight spaces. Cleaning the coils regularly will help your refrigerator run more efficiently and save energy.
8. Can I use this method on a mini-fridge?
Yes, this DIY refrigerator cleaning method is perfectly suitable for mini-fridges. The process is the same, but you may need to adjust the amount of cleaning solution you use based on the size of the mini-fridge. Be sure to unplug the mini-fridge before cleaning and allow it to dry completely before plugging it back in.
9. What should I do with the food while I’m cleaning the refrigerator?
Before you start cleaning, remove all food items from the refrigerator. Place perishable items in a cooler with ice packs to keep them cold while you’re cleaning. This will prevent them from spoiling. You can also use this opportunity to check expiration dates and discard any items that are no longer fresh.
10. How do I keep my refrigerator smelling fresh after cleaning?
After cleaning your refrigerator, you can take steps to keep it smelling fresh. Place an open box of baking soda or activated charcoal in the refrigerator to absorb odors. You can also use a refrigerator deodorizer, which is a small device that releases a pleasant scent. Regularly wipe up spills and check for expired items to prevent the buildup of odors.

Leave a Comment