
Sponge cleaning hacks – who knew such a humble kitchen tool could unlock a treasure trove of cleaning secrets? I’m always on the lookout for ways to make chores easier and more efficient, and let me tell you, I’ve stumbled upon some game-changing sponge cleaning hacks that I can’t wait to share with you!
Sponges have been around for centuries, evolving from natural sea sponges used by ancient Greeks and Romans for bathing and cleaning, to the synthetic wonders we rely on today. While the material has changed, the purpose remains the same: to absorb and scrub. But did you know that your trusty sponge is capable of so much more than just washing dishes?
In today’s busy world, time is precious. Nobody wants to spend hours scrubbing away at stubborn stains or dealing with grimy surfaces. That’s where these clever sponge cleaning hacks come in! I’m going to show you how to maximize the cleaning power of your sponges, extend their lifespan, and tackle those tough cleaning tasks with ease. Get ready to transform your cleaning routine and reclaim your weekends!
DIY Sponge Cleaning Hacks: Extend the Life of Your Kitchen Companion
Okay, let’s face it, sponges are the unsung heroes of our kitchens. They tackle everything from greasy pans to sticky countertops. But they also get pretty gross, pretty fast. Instead of constantly tossing them in the trash (and contributing to waste!), I’m going to share some of my favorite DIY sponge cleaning hacks that will not only sanitize them but also extend their lifespan. Get ready to save some money and reduce your environmental impact!
Hack 1: The Microwave Sanitization Method
This is probably the quickest and easiest method, perfect for a daily refresh.
What You’ll Need:
* Your dirty sponge
* Water
* Microwave-safe bowl or plate
Step-by-Step Instructions:
1. Rinse Thoroughly: First, give your sponge a good rinse under running water to remove any large food particles. We don’t want those cooking in the microwave! Squeeze out as much excess water as you can.
2. Soak in Water: Place the damp sponge in a microwave-safe bowl or on a plate. Add about 1/2 to 1 cup of water, enough to completely saturate the sponge. Make sure the sponge is fully submerged.
3. Microwave Time: Pop the bowl into the microwave and heat on high for 2 minutes. Important: Keep a close eye on it! Sometimes sponges can get *really* hot and might even start to melt if microwaved for too long.
4. Cool Down: Carefully remove the bowl from the microwave (it will be hot!). Let the sponge cool down for a few minutes before handling it. I usually use tongs to avoid burning myself.
5. Squeeze and Dry: Once it’s cool enough to handle, squeeze out any remaining water from the sponge. Let it air dry completely. I like to leave mine on a sponge holder or in a well-ventilated area.
Why This Works: The microwave’s heat kills a significant amount of bacteria and germs lurking in the sponge. It’s a simple and effective way to keep your sponge relatively clean between deeper cleans.
Hack 2: The Bleach Bath for Deep Cleaning
When your sponge is starting to smell a little funky or has been used to clean up some particularly messy situations, a bleach bath is your best bet.
What You’ll Need:
* Your dirty sponge
* Bleach (unscented)
* Water
* A bucket or sink
Step-by-Step Instructions:
1. Rinse and Prep: Just like with the microwave method, start by rinsing your sponge thoroughly under running water to remove any visible debris. Squeeze out the excess water.
2. Prepare the Bleach Solution: In a bucket or sink, mix 3/4 cup of bleach with one gallon of cold water. Important: Always add bleach to water, never the other way around, to avoid dangerous fumes. Also, make sure the area is well-ventilated.
3. Soak the Sponge: Submerge the sponge completely in the bleach solution. Make sure it’s fully saturated.
4. Soaking Time: Let the sponge soak in the bleach solution for at least 5 minutes, but no more than 10 minutes. Soaking it for too long can damage the sponge.
5. Rinse, Rinse, Rinse: This is crucial! Remove the sponge from the bleach solution and rinse it *thoroughly* under running water. Keep rinsing until you can no longer smell any bleach. I usually rinse it for a good 2-3 minutes.
6. Squeeze and Dry: Squeeze out as much water as possible from the sponge and let it air dry completely.
Why This Works: Bleach is a powerful disinfectant that kills a wide range of bacteria and viruses. This method is highly effective at sanitizing your sponge and removing stubborn odors. Caution: Always handle bleach with care and avoid contact with skin and eyes.
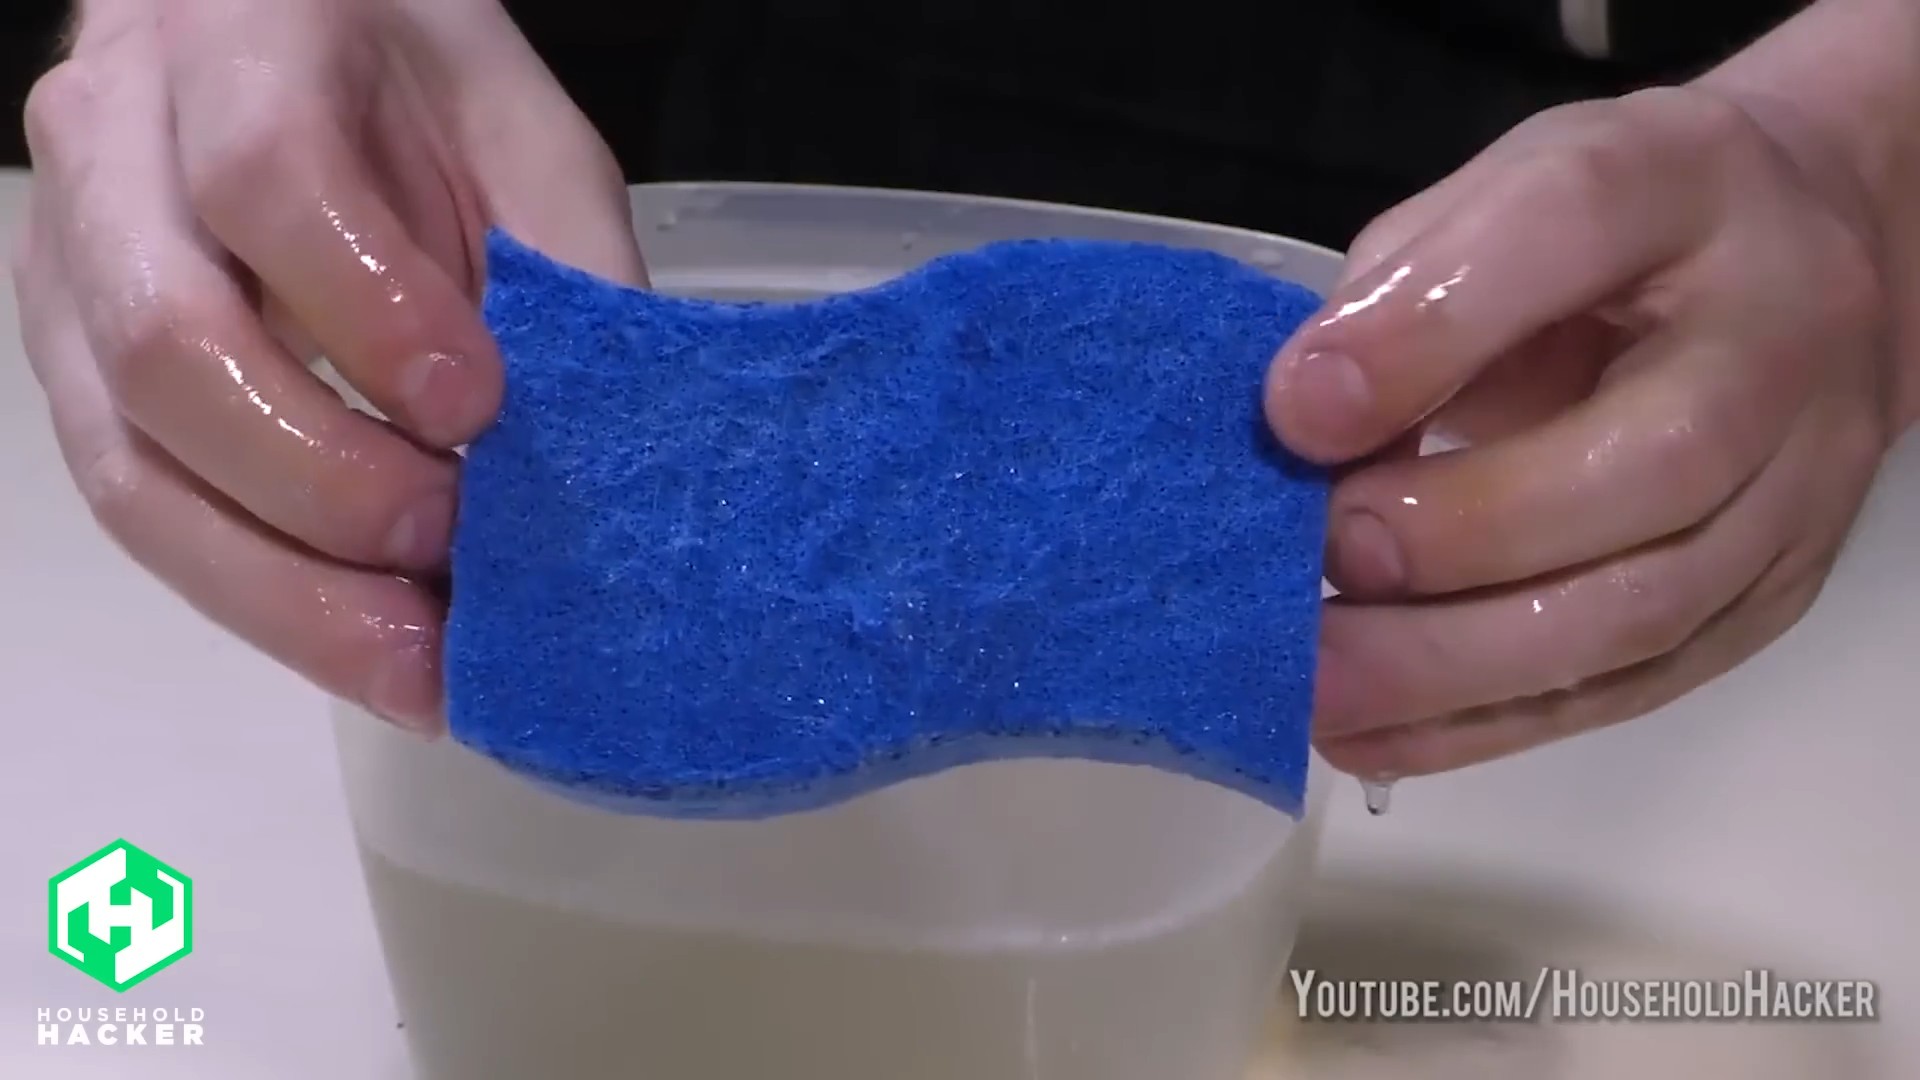
Hack 3: The Vinegar Soak for Odor Removal and Gentle Cleaning
If you’re looking for a more natural cleaning option or just want to get rid of lingering odors, a vinegar soak is a great choice.
What You’ll Need:
* Your dirty sponge
* White vinegar
* Water
* A bowl or container
Step-by-Step Instructions:
1. Rinse the Sponge: As always, start by rinsing your sponge under running water to remove any food particles. Squeeze out the excess water.
2. Prepare the Vinegar Solution: In a bowl or container, mix equal parts white vinegar and water. For example, you could use 1 cup of vinegar and 1 cup of water.
3. Soak the Sponge: Submerge the sponge completely in the vinegar solution.
4. Soaking Time: Let the sponge soak in the vinegar solution for at least one hour, or even overnight for really stubborn odors.
5. Rinse and Squeeze: Remove the sponge from the vinegar solution and rinse it thoroughly under running water. Squeeze out as much water as possible.
6. Air Dry: Let the sponge air dry completely. The vinegar smell will dissipate as it dries.
Why This Works: Vinegar is a natural disinfectant and deodorizer. It helps to kill bacteria and neutralize unpleasant odors. It’s also a gentler option than bleach, making it suitable for more frequent cleaning.
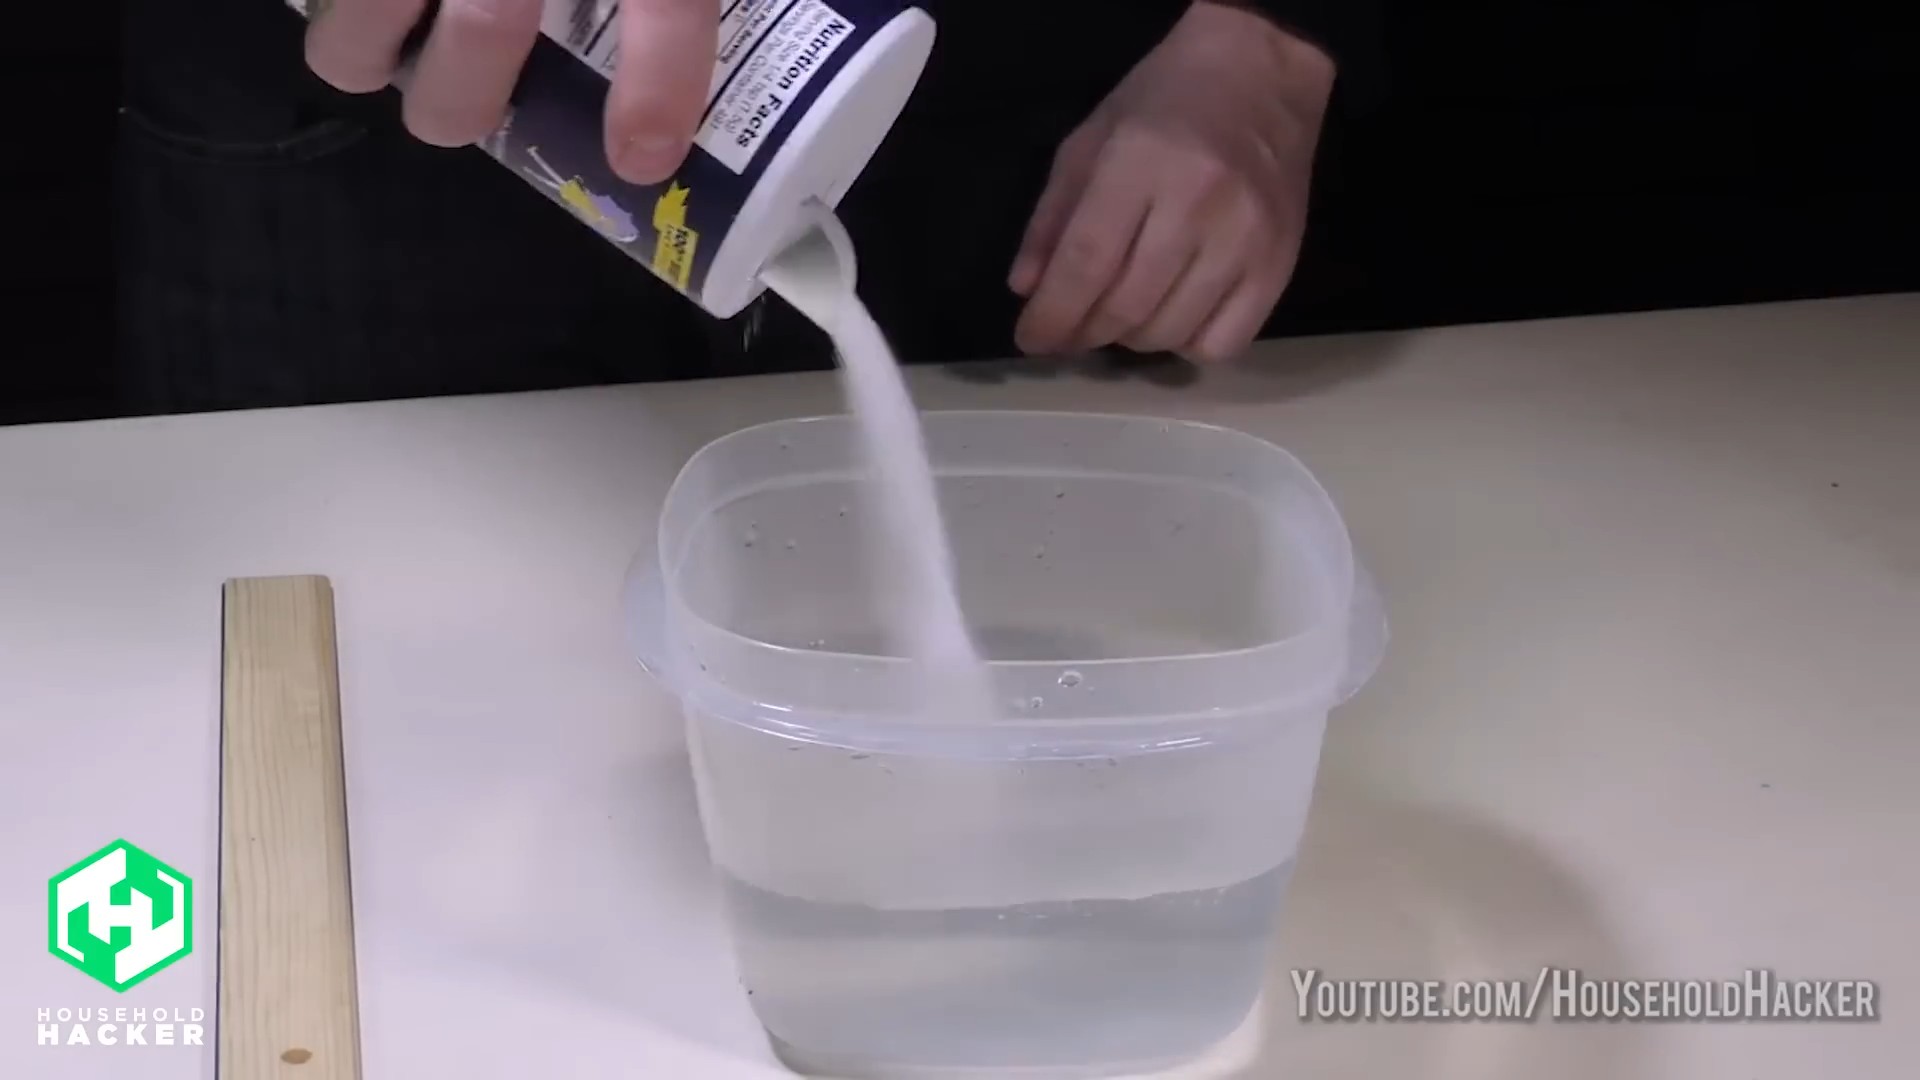
Hack 4: The Baking Soda Paste for Scrubbing and Stain Removal
This hack is perfect for tackling stubborn stains and grime on your sponge itself.
What You’ll Need:
* Your dirty sponge
* Baking soda
* Water
* A small bowl
Step-by-Step Instructions:
1. Rinse the Sponge: Rinse your sponge under running water to remove any loose debris. Squeeze out the excess water.
2. Make a Baking Soda Paste: In a small bowl, mix baking soda with a little bit of water to form a thick paste. You want it to be thick enough to stick to the sponge.
3. Apply the Paste: Apply the baking soda paste liberally to the stained or grimy areas of the sponge.
4. Scrub and Massage: Use your fingers or a small brush to gently scrub and massage the baking soda paste into the sponge. Focus on the areas that need the most attention.
5. Let it Sit: Let the baking soda paste sit on the sponge for about 15-20 minutes. This allows the baking soda to work its magic and loosen the stains and grime.
6. Rinse Thoroughly: Rinse the sponge thoroughly under running water until all traces of the baking soda paste are gone.
7. Squeeze and Dry: Squeeze out as much water as possible from the sponge and let it air dry completely.
Why This Works: Baking soda is a mild abrasive that helps to scrub away stains and grime. It also has deodorizing properties, which can help to freshen up your sponge.
Hack 5: The Dishwasher Cycle for a Thorough Clean
Did you know you can clean your sponges in the dishwasher? It’s a super convenient way to sanitize them, especially if you’re already running a load of dishes.
What You’ll Need:
* Your dirty sponge
* Dishwasher
Step-by-Step Instructions:
1. Rinse the Sponge: Rinse your sponge under running water to remove any large food particles. Squeeze out the excess water.
2. Place in Dishwasher: Place the sponge in the top rack of your dishwasher. Make sure it’s secured so it doesn’t fall through during the wash cycle. I usually tuck it between some glasses or plates.
3. Run a Normal Cycle: Run your dishwasher on a normal cycle with your regular dish soap.
4. Dry the Sponge: Once the dishwasher cycle is complete, remove the sponge and let it air dry completely.
Why This Works: The hot water and detergent in the dishwasher effectively kill bacteria and germs. It’s a convenient and efficient way to sanitize your sponge. Important: Avoid using the heated drying cycle, as it can damage the sponge.
Bonus Tip: Preventative Measures for a Longer Sponge Life
Cleaning your sponges is important, but preventing them from getting too dirty in the first place is even better! Here are a few tips:
* Rinse After Every Use: Make it a habit to rinse your sponge thoroughly under running water after each use. This will help to prevent food particles from accumulating and breeding bacteria.
* Squeeze Out Excess Water: After rinsing, squeeze out as much water as possible from the sponge. A damp sponge is a breeding ground for bacteria.
* Store Properly: Store your sponge in a well-ventilated area where it can dry completely. Avoid leaving it in a damp sink or on a wet countertop. I use a little sponge
Conclusion
So, there you have it! These sponge cleaning hacks are more than just a way to save a few bucks; they’re a game-changer for maintaining a clean and healthy home. We’ve explored methods to sanitize, deodorize, and even extend the life of your humble kitchen sponge, all using readily available household items.
Why is this a must-try? Because let’s face it, sponges are breeding grounds for bacteria. Regularly cleaning them isn’t just about aesthetics; it’s about preventing the spread of germs and keeping your family safe. These hacks offer a simple, effective, and eco-friendly alternative to constantly replacing your sponges. Think of the money you’ll save and the positive impact you’ll have on the environment!
Beyond the methods we’ve discussed, feel free to experiment with variations. For instance, if you’re not a fan of vinegar’s scent, try using lemon juice instead. Its natural acidity works wonders on grime and leaves a fresh, citrusy aroma. You could also add a few drops of your favorite essential oil to the microwave cleaning solution for an extra boost of fragrance. Lavender, tea tree, and eucalyptus are all excellent choices for their antibacterial properties.
Another variation to consider is the frequency of cleaning. While daily rinsing is essential, aim to sanitize your sponges at least two to three times a week, especially if you’re using them to clean up raw meat or poultry. For heavily soiled sponges, a pre-soak in hot, soapy water can help loosen stubborn debris before you sanitize them.
Don’t underestimate the power of sunlight either! After sanitizing your sponge, let it air dry in direct sunlight. The sun’s UV rays are a natural disinfectant and can help kill any remaining bacteria. Just be sure to bring it inside before it gets too dry and brittle.
We’ve focused on kitchen sponges, but these cleaning hacks can also be applied to other types of sponges around your home, such as those used in bathrooms or for cleaning cars. Just be sure to keep separate sponges for different purposes to prevent cross-contamination.
Ultimately, the best way to discover what works best for you is to try these sponge cleaning hacks yourself. We’re confident that you’ll be amazed at how effective and easy they are. So, ditch the disposable mentality and embrace these simple, sustainable solutions.
We encourage you to give these methods a try and share your experiences with us! Let us know which hack worked best for you, any variations you tried, and any tips you have to share. Your feedback will help us refine these techniques and create even more effective cleaning solutions for everyone. Post your comments and photos on our social media pages using #SpongeCleaningHacks. We can’t wait to see your sparkling clean sponges!
Frequently Asked Questions (FAQ)
1. How often should I clean my kitchen sponge?
Ideally, you should rinse your kitchen sponge thoroughly with hot water after each use to remove any food particles or debris. Sanitize it at least two to three times a week using one of the methods described above (microwave, vinegar soak, or bleach solution). If you use your sponge to clean up raw meat or poultry, sanitize it immediately afterward.
2. Is it safe to microwave a sponge?
Yes, microwaving a sponge is generally safe, but it’s crucial to ensure the sponge is thoroughly wet before placing it in the microwave. A dry sponge can catch fire. Microwave it for 1-2 minutes on high. Let it cool slightly before handling, as it will be hot. Never microwave a sponge that contains metal or abrasive scrubbers.
3. Can I use dish soap to clean my sponge?
While dish soap can help remove surface grime, it’s not effective at killing bacteria. Dish soap is best used for rinsing your sponge after each use to remove food particles. You still need to sanitize your sponge regularly using one of the methods described above.
4. What’s the best way to get rid of bad odors in my sponge?
Bad odors in sponges are usually caused by bacteria. The vinegar soak method is particularly effective at deodorizing sponges. You can also try adding a few drops of essential oil (such as lemon or tea tree) to the vinegar solution for an extra boost of fragrance and antibacterial power.
5. How long should I soak my sponge in vinegar?
Soak your sponge in a solution of equal parts white vinegar and water for at least 5 minutes, but ideally for 30 minutes to an hour for optimal sanitization and deodorization.
6. Is bleach safe to use on sponges?
Yes, bleach can be used to sanitize sponges, but it’s essential to use it properly. Use a diluted bleach solution (¾ cup of bleach per gallon of water) and soak the sponge for 5 minutes. Rinse the sponge thoroughly with clean water afterward to remove any residual bleach. Avoid using bleach on colored sponges, as it may cause discoloration.
7. How do I know when it’s time to replace my sponge?
Even with regular cleaning, sponges will eventually wear out and become less effective. Replace your sponge every 1-2 weeks, or sooner if it starts to fall apart, develops a persistent odor, or becomes heavily stained.
8. Can I clean my sponge in the dishwasher?
Yes, you can clean your sponge in the dishwasher. Place it on the top rack and run a normal cycle with detergent. However, keep in mind that the dishwasher may not be as effective at sanitizing sponges as the microwave or vinegar soak methods.
9. Are there any eco-friendly alternatives to traditional sponges?
Yes, there are several eco-friendly alternatives to traditional sponges, such as cellulose sponges (made from wood pulp), natural sea sponges, and reusable dishcloths. These options are more sustainable and biodegradable than synthetic sponges.
10. Can I use these cleaning hacks on other types of cleaning tools?
While these hacks are primarily designed for sponges, some of them can be adapted for use on other cleaning tools, such as dish brushes and microfiber cloths. For example, you can soak dish brushes in a vinegar solution to sanitize them, or wash microfiber cloths in the washing machine with hot water and detergent. Always check the manufacturer’s instructions before cleaning any cleaning tool.
11. What if my sponge has abrasive material on one side? Can I still microwave it?
Yes, you can still microwave a sponge with an abrasive side, but be extra cautious. Ensure the sponge is thoroughly wet and monitor it closely while microwaving. If you notice any sparking or burning, stop the microwave immediately. It’s generally safer to use the vinegar soak or bleach solution methods for sponges with abrasive sides.
12. Can I use these methods to clean sponges used for cleaning up pet messes?
No, it’s not recommended to use the same sponges for cleaning up pet messes and for cleaning dishes or countertops. Pet messes can contain harmful bacteria and parasites that can contaminate your kitchen. Use separate sponges specifically for cleaning up pet messes and dispose of them properly after each use.
13. What are the benefits of using natural sea sponges?
Natural sea sponges are a sustainable and eco-friendly alternative to synthetic sponges. They are naturally absorbent, durable, and resistant to mold and mildew. They also contain enzymes that inhibit the growth of bacteria. However, natural sea sponges can be more expensive than synthetic sponges.
14. How can I prevent my sponge from getting smelly in the first place?
The best way to prevent your sponge from getting smelly is to rinse it thoroughly after each use, squeeze out excess water, and allow it to air dry completely. Avoid leaving your sponge sitting in a damp sink, as this creates a breeding ground for bacteria. Sanitize your sponge regularly using one of the methods described above.
15. Are these sponge cleaning hacks safe for septic systems?
Yes, the sponge cleaning hacks described above are generally safe for septic systems. Vinegar and diluted bleach solutions are not harmful to septic systems in small quantities. However, avoid pouring large amounts of bleach down the drain, as this can disrupt the balance of bacteria in your septic tank.


Leave a Comment