
Growing Swiss Chard Pots: Unlock the secrets to a vibrant and bountiful harvest, even if you’re short on space! Have you ever dreamed of stepping outside your door and snipping fresh, colorful greens for your salad or stir-fry? I know I have! Well, with this DIY guide, that dream can become a reality. We’re diving deep into the wonderful world of container gardening and focusing on one of the most rewarding vegetables you can grow: Swiss chard.
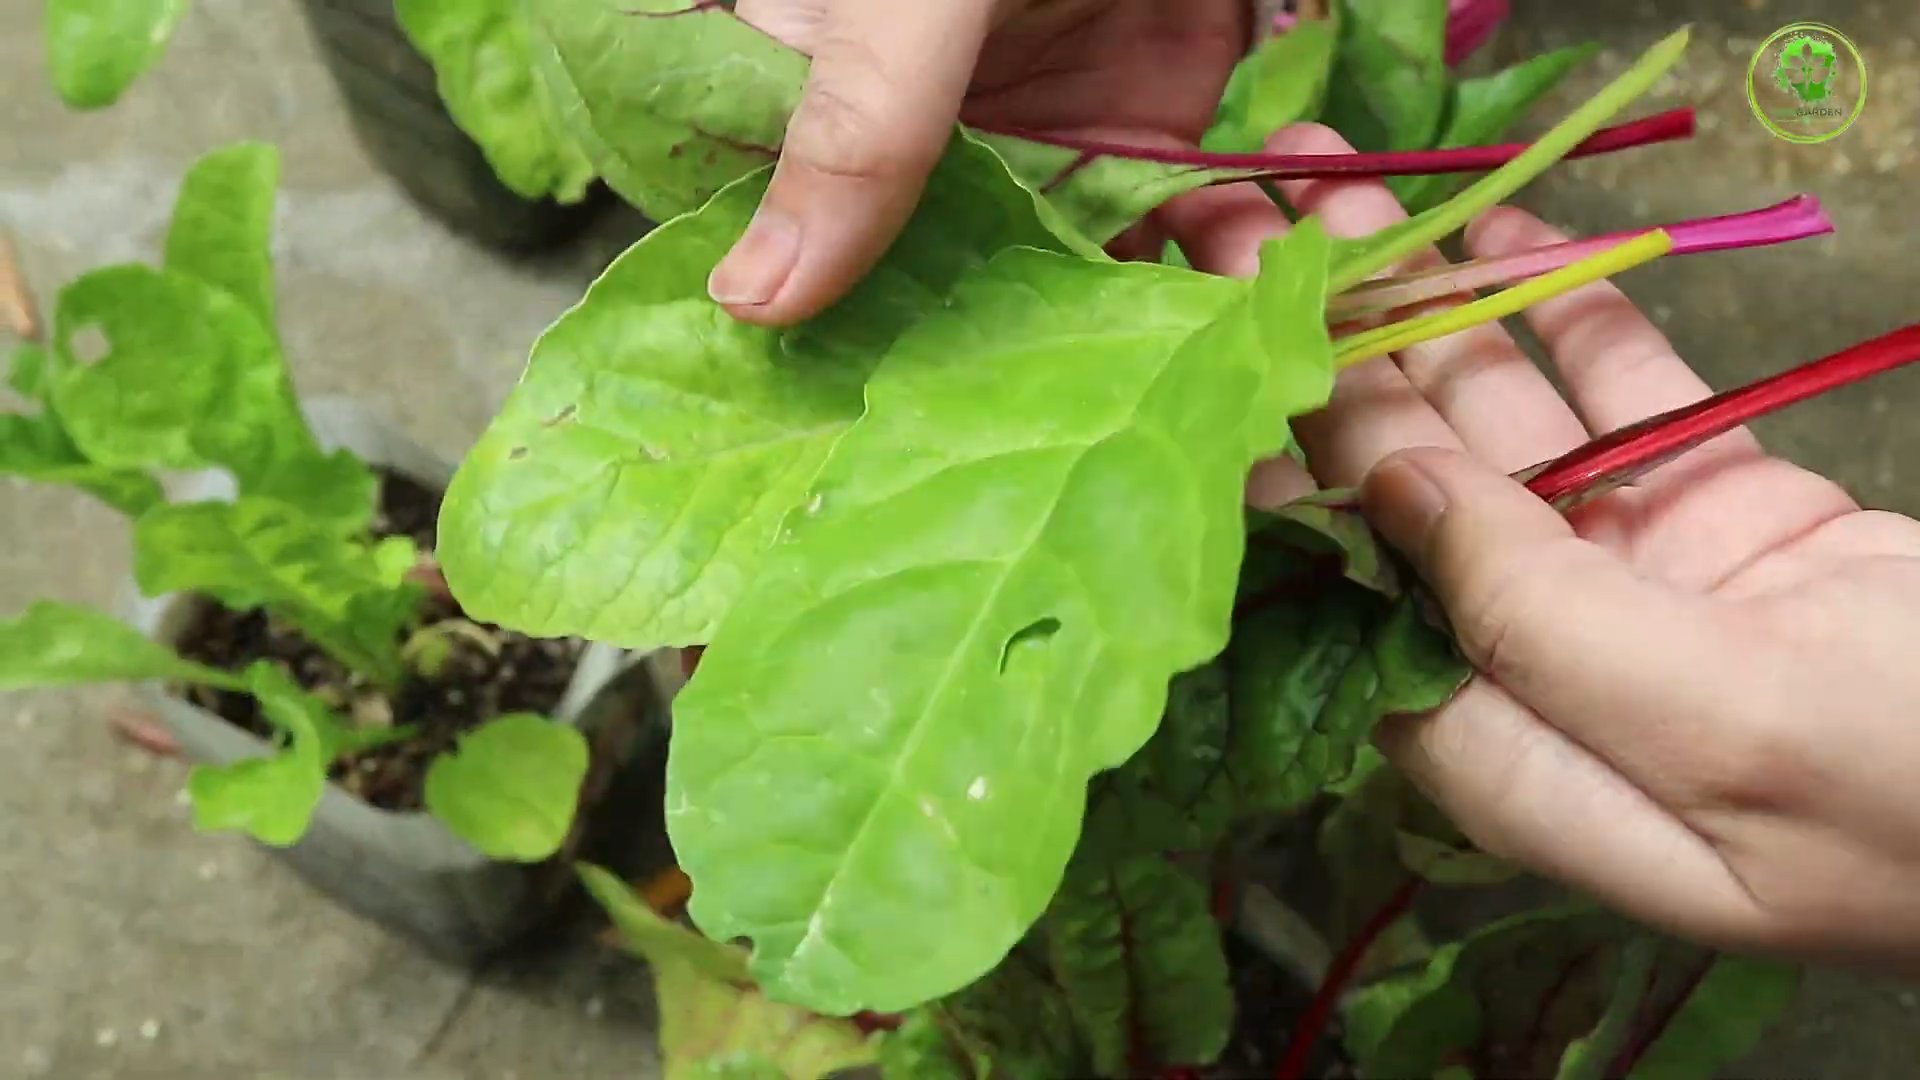
Swiss chard, with its vibrant stems and crinkled leaves, isn’t just a nutritional powerhouse; it’s also a beautiful addition to any patio or balcony. Historically, chard has been cultivated for centuries, gracing the tables of ancient Romans and finding its way into cuisines around the globe. Its resilience and adaptability have made it a staple in gardens worldwide.
But why should you bother with growing Swiss Chard Pots? In today’s busy world, access to fresh, healthy produce can be a challenge. Store-bought vegetables often lack the flavor and nutrients of homegrown varieties. Plus, there’s something incredibly satisfying about nurturing a plant from seed to harvest. This DIY project is perfect for apartment dwellers, urban gardeners, or anyone looking to add a touch of green to their lives. I’m going to show you how easy it is to create thriving Swiss chard pots, providing you with a continuous supply of delicious and nutritious greens right at your fingertips. Get ready to get your hands dirty and experience the joy of homegrown goodness!
Growing Swiss Chard in Pots: A Colorful and Delicious DIY Project
Hey there, fellow gardening enthusiasts! I’m super excited to share my guide on growing Swiss chard in pots. It’s a fantastic way to add vibrant color and nutritious greens to your patio, balcony, or even a sunny windowsill. Trust me, even if you’re a beginner, you can totally nail this!
Why Grow Swiss Chard in Pots?
Swiss chard is a powerhouse of vitamins and minerals, and it’s incredibly versatile in the kitchen. Plus, those rainbow stems? They’re gorgeous! Growing it in pots offers several advantages:
* Space-saving: Perfect for small gardens or balconies.
* Control: Easier to manage soil quality, watering, and pest control.
* Mobility: You can move your chard around to find the perfect sunlight exposure.
* Aesthetics: Adds a pop of color and visual interest to your outdoor space.
* Extended Season: You can move the pots indoors during colder months to prolong the harvest.
What You’ll Need
Before we dive in, let’s gather our supplies. Here’s what you’ll need to grow your own beautiful Swiss chard:
* Swiss Chard Seeds: Choose your favorite variety! ‘Bright Lights’ is a popular choice for its colorful stems, but ‘Fordhook Giant’ is a reliable and productive option too.
* Pots: Opt for pots that are at least 12 inches in diameter and 12 inches deep. This gives the chard roots plenty of room to grow. Make sure they have drainage holes!
* Potting Mix: Use a high-quality potting mix that drains well. Avoid using garden soil, as it can become compacted in pots.
* Slow-Release Fertilizer: This will provide your chard with a steady supply of nutrients.
* Watering Can or Hose: For regular watering.
* Trowel: For planting and transplanting.
* Optional:
* Seed starting tray and dome (if starting seeds indoors).
* Organic mulch (like straw or wood chips).
Getting Started: Planting Your Swiss Chard
There are two main ways to start your Swiss chard: directly sowing seeds in the pot or starting seeds indoors and then transplanting them. I personally prefer starting indoors, especially if you live in an area with a shorter growing season.
Starting Seeds Indoors (Optional but Recommended)
1. Prepare Your Seed Starting Tray: Fill your seed starting tray with a seed starting mix. This mix is lighter and finer than regular potting mix, making it easier for seedlings to emerge.
2. Sow the Seeds: Make small indentations (about 1/4 inch deep) in the soil and place 2-3 seeds in each indentation. Cover lightly with soil.
3. Water Gently: Water the tray gently using a spray bottle or watering can with a fine rose. You want to moisten the soil without disturbing the seeds.
4. Cover with a Dome: Place a humidity dome over the tray to create a warm and moist environment. This will help the seeds germinate.
5. Provide Light: Place the tray in a warm location with bright, indirect light. A sunny windowsill or a grow light works well.
6. Keep the Soil Moist: Check the soil daily and water as needed to keep it consistently moist but not soggy.
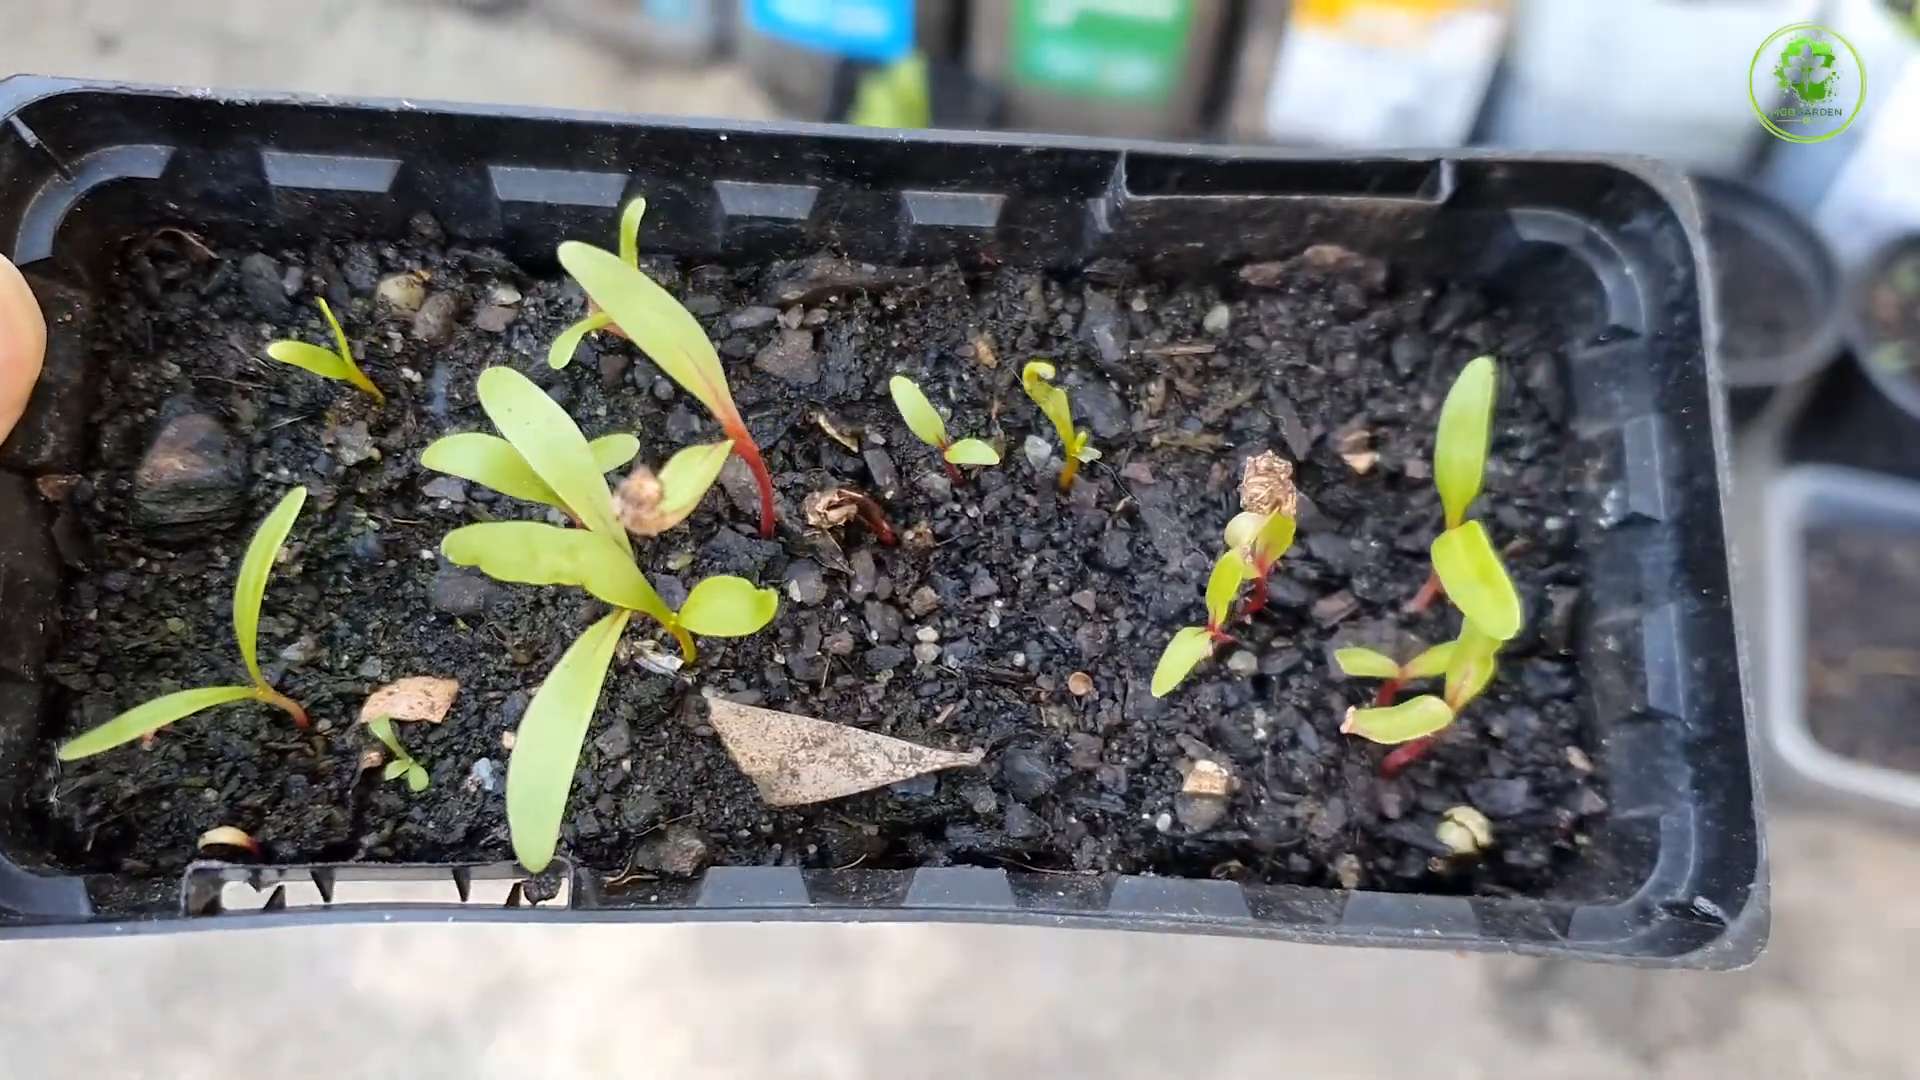
7. Germination: Swiss chard seeds typically germinate in 5-10 days.
8. Remove the Dome: Once the seedlings emerge, remove the humidity dome to prevent fungal diseases.
9. Thin the Seedlings: Once the seedlings have their first true leaves (the leaves that appear after the initial seed leaves), thin them to one seedling per cell. Choose the strongest and healthiest seedling.
10. Harden Off the Seedlings: Before transplanting the seedlings outdoors, you need to “harden them off.” This process gradually acclimates them to outdoor conditions. Start by placing the seedlings outdoors in a sheltered location for an hour or two each day, gradually increasing the amount of time they spend outdoors over the course of a week.
Directly Sowing Seeds in the Pot
1. Fill the Pot: Fill your pot with potting mix, leaving about an inch of space at the top.
2. Sow the Seeds: Make small indentations (about 1/2 inch deep) in the soil, spacing them about 2-3 inches apart. Place 2-3 seeds in each indentation. Cover lightly with soil.
3. Water Gently: Water the pot gently until the soil is evenly moist.
4. Keep the Soil Moist: Keep the soil consistently moist until the seeds germinate.
5. Thin the Seedlings: Once the seedlings emerge and have their first true leaves, thin them to one seedling per spot, spacing them about 6-8 inches apart.
Transplanting Seedlings (If Starting Indoors)
1. Prepare the Pot: Fill your pot with potting mix, leaving about an inch of space at the top.
2. Make a Hole: Dig a hole in the soil that is large enough to accommodate the root ball of the seedling.
3. Remove the Seedling: Gently remove the seedling from its cell in the seed starting tray. Be careful not to damage the roots.
4. Place the Seedling: Place the seedling in the hole and gently backfill with soil.
5. Water Thoroughly: Water the pot thoroughly until the water drains out of the drainage holes.
6. Space the Seedlings: If planting multiple seedlings in one pot, space them about 6-8 inches apart.
Caring for Your Swiss Chard
Now that your Swiss chard is planted, it’s time to provide it with the care it needs to thrive.
1. Sunlight: Swiss chard needs at least 6 hours of sunlight per day. Place your pots in a sunny location. If you live in a hot climate, some afternoon shade can be beneficial.
2. Watering: Water your Swiss chard regularly, especially during hot and dry weather. The soil should be consistently moist but not soggy. Check the soil moisture by sticking your finger into the soil. If the top inch feels dry, it’s time to water.
3. Fertilizing: Swiss chard is a heavy feeder, so it needs regular fertilization. Apply a slow-release fertilizer at planting time, and then supplement with a liquid fertilizer every 2-3 weeks. I like to use a balanced fertilizer or one that is slightly higher in nitrogen.
4. Mulching: Apply a layer of organic mulch, such as straw or wood chips, around the base of the plants. This will help to retain moisture, suppress weeds, and regulate soil temperature.
5. Pest Control: Swiss chard is relatively pest-resistant, but it can be susceptible to aphids, slugs, and snails. Check your plants regularly for pests and take action if you see any. You can handpick pests off the plants, use insecticidal soap, or apply diatomaceous earth.
6. Bolting: Bolting is when the plant prematurely flowers and goes to seed. This can happen when the weather gets too hot. To prevent bolting, try to provide some afternoon shade during hot weather and keep the soil consistently moist. If your chard does bolt, you can still harvest the leaves, but they may become bitter.
Harvesting Your Swiss Chard
One of the best parts of growing your own Swiss chard is harvesting it! You can start harvesting the outer leaves when they are about 6 inches long.
1. Harvesting Technique: Use a sharp knife or scissors to cut the outer leaves near the base of the plant. Leave the inner leaves to continue growing.
2. Cut-and-Come-Again: Swiss chard is a “cut-and-come-again” crop, meaning that you can harvest the leaves repeatedly over a long period of time.
3. Regular Harvesting: Regular harvesting encourages the plant to produce more leaves.
4. Storage: Freshly harvested Swiss chard can be stored in the refrigerator for up to a week. Wrap the leaves in a damp paper towel and place them in a plastic bag.
Enjoying Your Harvest
Now that you’ve harvested your Swiss chard, it’s time to enjoy it! Swiss chard is a versatile vegetable that can be used in a variety of dishes.
* Sautéed: Sautéed Swiss chard with garlic and olive oil is a simple and delicious side dish.
* Steamed: Steamed Swiss chard is a healthy and nutritious option.
* Soups and Stews: Add Swiss chard to soups and stews for extra flavor and nutrients.
* Salads: Young, tender Swiss chard leaves can be used in salads.
*
Conclusion
So, there you have it! Growing Swiss chard in pots is not just a gardening trend; it’s a practical, rewarding, and visually appealing way to bring fresh, nutritious greens right to your doorstep. We’ve covered everything from selecting the right pot and soil to nurturing your chard plants for a bountiful harvest. But why should you actually *do* this?
Simply put, growing your own Swiss chard offers a level of freshness and control you just can’t get from store-bought produce. Imagine stepping outside and snipping off vibrant, colorful leaves for your salad, stir-fry, or smoothie, knowing exactly where they came from and how they were grown. No pesticides, no long transportation times, just pure, homegrown goodness.
Beyond the freshness factor, growing Swiss chard in pots is incredibly convenient, especially if you have limited garden space. Balconies, patios, even sunny windowsills can become thriving mini-gardens. Plus, the colorful stalks of Swiss chard add a touch of beauty to any outdoor space. Think of it as edible landscaping!
But the benefits don’t stop there. Gardening is a fantastic stress reliever, a way to connect with nature, and a rewarding hobby that can bring joy and satisfaction. Watching your Swiss chard plants grow from tiny seedlings to leafy greens is an experience that’s both educational and fulfilling.
Ready to take your Swiss chard growing to the next level? Consider these variations:
* Companion Planting: Plant your Swiss chard alongside other herbs like basil or rosemary to deter pests and enhance flavor. Marigolds are also excellent companions, adding a pop of color and attracting beneficial insects.
* Succession Planting: Sow new seeds every few weeks to ensure a continuous harvest throughout the growing season. This way, you’ll always have fresh Swiss chard on hand.
* Container Combinations: Create a visually stunning container garden by combining different varieties of Swiss chard with other leafy greens like lettuce or spinach. The contrasting colors and textures will add visual interest to your space.
* Overwintering: In milder climates, you can overwinter your Swiss chard plants by providing them with some protection from frost. A simple cold frame or row cover can extend your harvest well into the winter months.
We’ve given you all the tools and knowledge you need to embark on your own Swiss chard growing adventure. Now it’s your turn to get your hands dirty! Don’t be afraid to experiment, learn from your mistakes, and most importantly, have fun.
We are confident that you will find growing Swiss chard in pots to be a rewarding experience. It’s a simple, sustainable way to enjoy fresh, healthy greens while adding beauty to your home.
So, grab your pots, soil, and seeds, and get started today! And don’t forget to share your experiences with us. We’d love to see your photos, hear your tips, and learn from your successes. Share your journey on social media using #SwissChardPots and let’s inspire others to grow their own food! We can’t wait to see what you create. Happy gardening!
Frequently Asked Questions (FAQ)
What is the best size pot for growing Swiss chard?
The ideal pot size for growing Swiss chard is at least 12 inches in diameter and 12 inches deep. This provides enough space for the roots to develop properly and allows the plant to grow to its full potential. If you’re planning to grow multiple Swiss chard plants in the same pot, choose a larger container, such as a half-barrel planter. Ensure the pot has adequate drainage holes to prevent waterlogging, which can lead to root rot. Remember, bigger is generally better when it comes to container gardening, as larger pots retain moisture better and provide more room for root growth.
What type of soil is best for Swiss chard in pots?
Swiss chard thrives in well-draining, nutrient-rich soil. A good potting mix specifically formulated for vegetables is an excellent choice. You can also create your own mix by combining equal parts of compost, peat moss (or coconut coir), and perlite or vermiculite. Compost provides essential nutrients, peat moss (or coconut coir) helps retain moisture, and perlite or vermiculite improves drainage. Avoid using garden soil in pots, as it can become compacted and doesn’t drain well. Before planting, amend the soil with a slow-release fertilizer to provide a steady supply of nutrients throughout the growing season.
How often should I water my Swiss chard plants in pots?
Water your Swiss chard plants regularly, especially during hot, dry weather. The soil should be kept consistently moist but not waterlogged. Check the soil moisture by sticking your finger about an inch deep into the soil. If it feels dry, it’s time to water. Water deeply, until water drains out of the bottom of the pot. Avoid overhead watering, as this can lead to fungal diseases. Instead, water at the base of the plant. During cooler weather, you may need to water less frequently. Mulching around the base of the plants can help retain moisture and reduce the need for watering.
How much sunlight does Swiss chard need?
Swiss chard needs at least 6 hours of sunlight per day to thrive. Choose a location that receives full sun for the best results. If you live in a hot climate, some afternoon shade can be beneficial to prevent the leaves from scorching. If you’re growing Swiss chard indoors, place the pot near a sunny window or use grow lights to supplement natural light. Insufficient sunlight can result in leggy growth and reduced yields. Rotate the pot regularly to ensure that all sides of the plant receive adequate sunlight.
What are some common pests and diseases that affect Swiss chard?
Common pests that affect Swiss chard include aphids, flea beetles, and slugs. Aphids can be controlled with insecticidal soap or a strong spray of water. Flea beetles can be deterred with row covers or diatomaceous earth. Slugs can be trapped with beer traps or handpicked off the plants. Common diseases include leaf spot and downy mildew. Prevent these diseases by providing good air circulation, avoiding overhead watering, and removing any infected leaves. If necessary, use a fungicide specifically labeled for use on vegetables. Regularly inspect your plants for signs of pests or diseases and take action promptly to prevent them from spreading.
When and how should I harvest my Swiss chard?
You can begin harvesting Swiss chard leaves when they are about 6 inches long. Harvest the outer leaves first, leaving the inner leaves to continue growing. Cut the leaves near the base of the plant, using a sharp knife or scissors. Regular harvesting encourages the plant to produce more leaves. You can harvest Swiss chard throughout the growing season, as long as the plant is healthy. In mild climates, you can even harvest it throughout the winter. Store harvested Swiss chard leaves in the refrigerator for up to a week.
Can I grow Swiss chard indoors?
Yes, you can grow Swiss chard indoors, provided you have enough sunlight or supplemental lighting. Choose a pot that is at least 12 inches in diameter and 12 inches deep. Use a well-draining potting mix and place the pot near a sunny window that receives at least 6 hours of sunlight per day. If you don’t have enough natural light, use grow lights to supplement. Water regularly, keeping the soil consistently moist but not waterlogged. Fertilize every few weeks with a balanced liquid fertilizer. Monitor for pests and diseases and take action promptly if necessary. With proper care, you can enjoy fresh Swiss chard leaves even during the winter months.
What are some different varieties of Swiss chard I can grow?
There are many different varieties of Swiss chard to choose from, each with its own unique characteristics. Some popular varieties include ‘Bright Lights,’ which features colorful stalks in shades of red, yellow, orange, and white; ‘Fordhook Giant,’ which produces large, dark green leaves; ‘Lucullus,’ which is known for its tender, mild-flavored leaves; and ‘Ruby Red,’ which has vibrant red stalks and leaves. Experiment with different varieties to find your favorites. You can also grow a mix of different varieties in the same pot for a colorful and visually appealing display.
How do I prevent my Swiss chard from bolting (going to seed)?
Bolting is when a plant prematurely flowers and sets seed, which can make the leaves bitter and less palatable. Swiss chard is more likely to bolt in hot weather or when it experiences stress. To prevent bolting, provide your plants with adequate water, especially during hot weather. Mulch around the base of the plants to help retain moisture and keep the soil cool. Provide some afternoon shade if you live in a hot climate. Harvest the leaves regularly to encourage the plant to continue producing new growth. If your Swiss chard does start to bolt, you can still harvest the leaves, but they may be slightly bitter.
Is Swiss chard nutritious?
Yes, Swiss chard is a highly nutritious vegetable. It is an excellent source of vitamins A, C, and K, as well as minerals like magnesium, potassium, and iron. It is also a good source of dietary fiber and antioxidants. Swiss chard is low in calories and fat, making it a healthy addition to any diet. Eating Swiss chard can help boost your immune system, improve bone health, and protect against chronic diseases


Leave a Comment