
Sweet Potato Growing Guide: Unlock the secrets to cultivating your own vibrant and delicious sweet potatoes right in your backyard! Have you ever dreamt of harvesting a bounty of these nutritious tubers, knowing exactly where they came from and how they were grown? Well, dream no more! This comprehensive DIY guide will empower you to transform your garden into a sweet potato paradise, regardless of your experience level.
Sweet potatoes boast a rich history, dating back thousands of years in Central and South America. They’ve been a staple food source for numerous cultures, prized not only for their sweet flavor but also for their impressive nutritional value. From traditional dishes to modern culinary creations, sweet potatoes have earned their place as a beloved and versatile ingredient.
But why should you embark on this sweet potato growing adventure? In today’s world, knowing where your food comes from is more important than ever. Growing your own sweet potatoes allows you to control the entire process, ensuring they’re free from harmful chemicals and pesticides. Plus, there’s nothing quite like the satisfaction of harvesting your own homegrown produce! This sweet potato growing guide will provide you with all the tips and tricks you need to succeed, from selecting the right varieties to troubleshooting common problems. Let’s get digging!
Growing Sweet Potatoes in Containers: A Beginner’s Guide
Okay, so you want to grow sweet potatoes but don’t have a sprawling garden? No problem! Growing sweet potatoes in containers is totally doable, and I’m here to walk you through every step. It’s surprisingly rewarding to harvest those delicious, homegrown sweet potatoes right from your patio or balcony. Let’s get started!
Choosing the Right Container and Soil
First things first, you need the right setup. Sweet potatoes need space to grow, so don’t skimp on the container size.
* Container Size: Aim for a container that’s at least 20 gallons. A half-barrel planter or a large, sturdy plastic tub works great. The bigger, the better, honestly. This gives the roots plenty of room to develop those sweet potato tubers we’re after.
* Drainage: This is crucial! Make sure your container has plenty of drainage holes. Sweet potatoes don’t like soggy feet. If your container doesn’t have enough holes, drill a few more.
* Soil: Use a well-draining potting mix. A mix of compost, peat moss (or coco coir), and perlite is ideal. Avoid using garden soil, as it can be too heavy and compact in a container. I like to amend my potting mix with some extra compost for added nutrients.
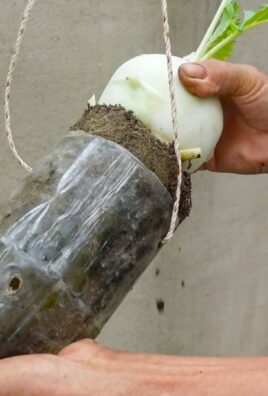
Starting Your Sweet Potato Slips
“Slips” are basically sweet potato sprouts that grow from the sweet potato itself. You can buy them online or at a local nursery, but it’s super fun (and cheaper!) to grow your own.
1. Choose a Sweet Potato: Select a healthy, organic sweet potato from the grocery store or farmer’s market. Organic is best to avoid any growth inhibitors.
2. Sprouting in Water: There are two main methods:
* Half-Submerged Method: Stick toothpicks around the middle of the sweet potato and suspend it in a jar or glass of water, with the bottom half submerged. Place the jar in a warm, sunny location.
* Buried Method: Bury the sweet potato horizontally in a container filled with moist potting mix, leaving the top slightly exposed. Keep the soil consistently moist.
3. Wait for Slips: Be patient! It can take several weeks for slips to emerge. Keep the sweet potato warm and consistently moist. You’ll start to see little sprouts (slips) growing from the sweet potato.
4. Harvesting the Slips: Once the slips are about 6-8 inches long, gently twist or cut them off the sweet potato.
5. Rooting the Slips: Place the slips in a glass of water, making sure the bottom inch or two is submerged. Change the water every day or two. Within a few days, you should see roots starting to grow.
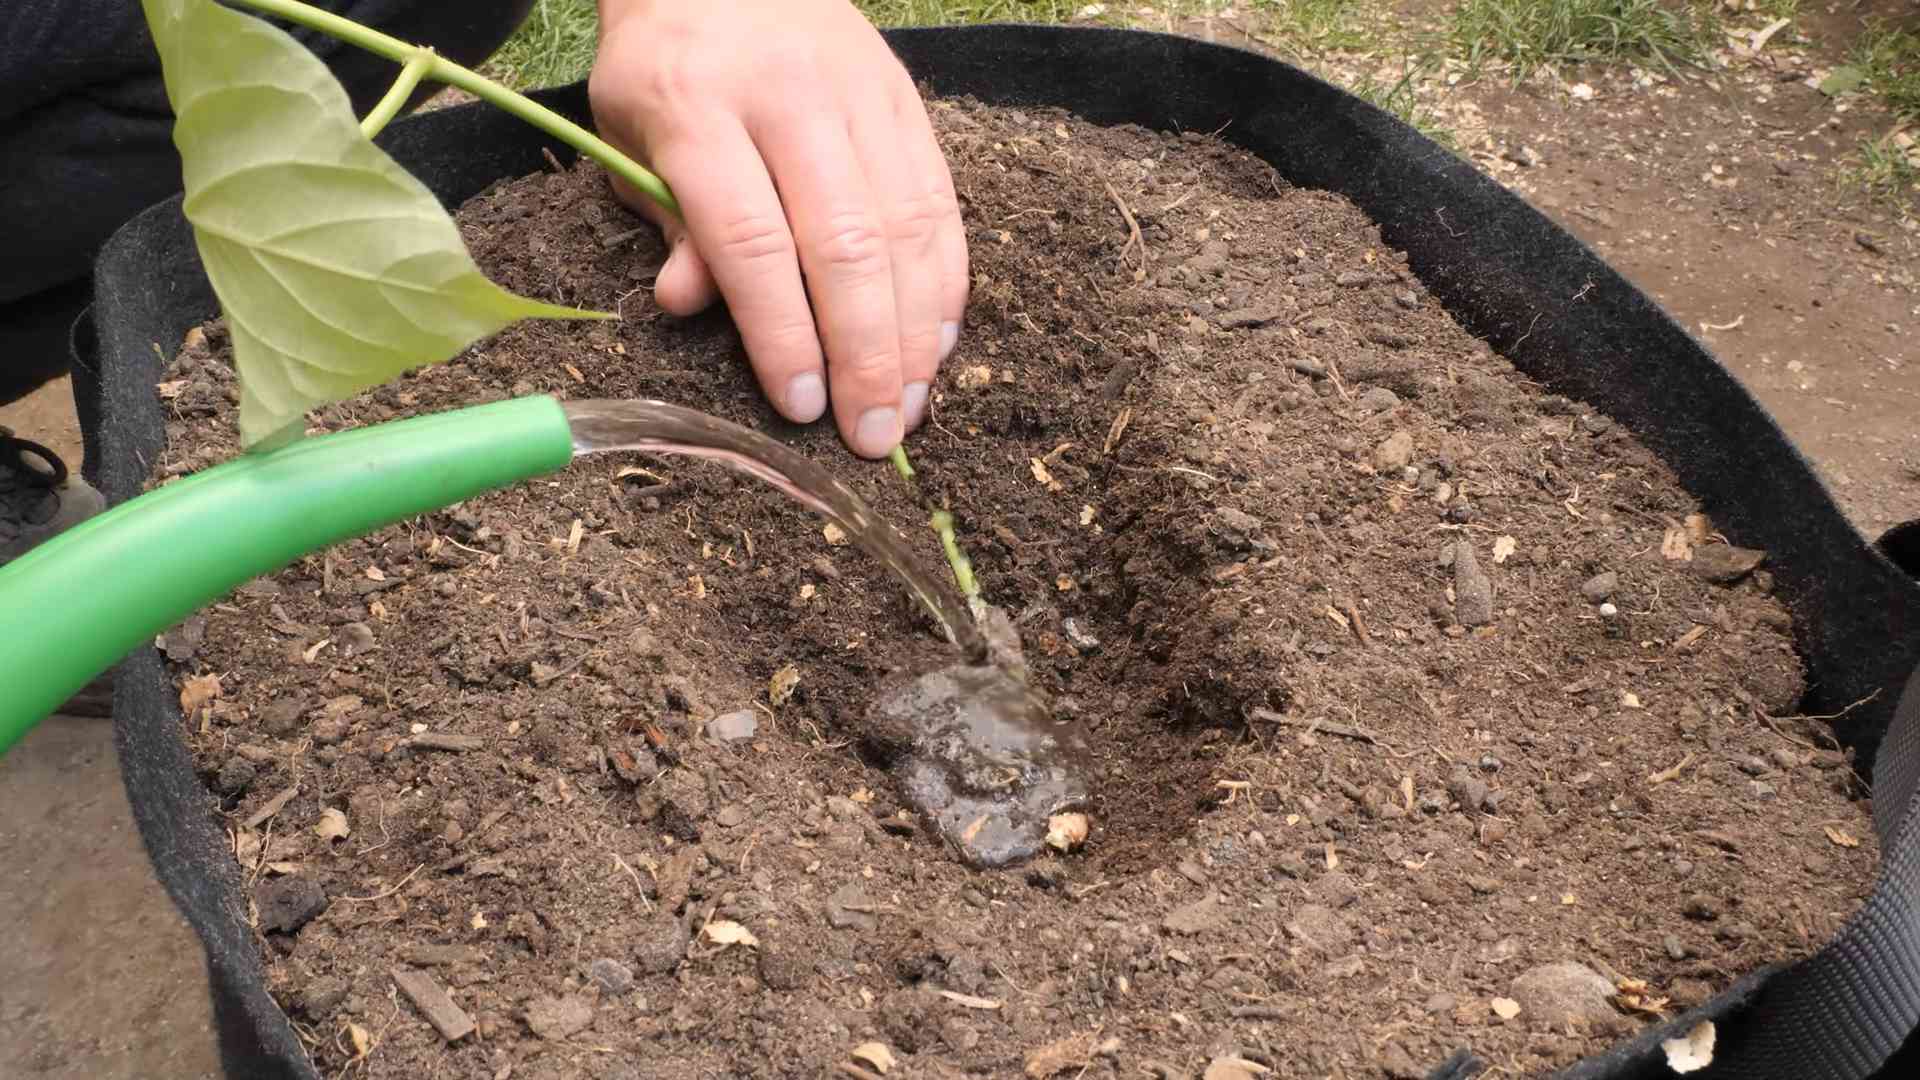
Planting Your Sweet Potato Slips
Now for the exciting part – planting your rooted slips!
1. Prepare the Container: Fill your container with the well-draining potting mix, leaving a few inches of space at the top.
2. Planting the Slips: Dig small holes in the soil, about 4-6 inches apart. Gently place the rooted slips into the holes, burying the roots and the bottom part of the stem.
3. Water Thoroughly: Water the newly planted slips thoroughly.
4. Mulch (Optional): Add a layer of mulch around the base of the plants to help retain moisture and suppress weeds. Straw or shredded leaves work well.
Caring for Your Sweet Potato Plants
Sweet potatoes are relatively low-maintenance, but they do need some attention to thrive.
1. Sunlight: Sweet potatoes need at least 6-8 hours of sunlight per day. Place your container in a sunny location.
2. Watering: Water regularly, especially during hot, dry weather. The soil should be consistently moist, but not waterlogged. Check the soil moisture by sticking your finger into the soil. If the top inch feels dry, it’s time to water.
3. Fertilizing: Feed your sweet potato plants with a balanced fertilizer every few weeks. Look for a fertilizer with an NPK ratio of around 10-10-10. You can also use a liquid seaweed fertilizer.
4. Weeding: Keep the container free of weeds. Weeds can compete with your sweet potato plants for nutrients and water.
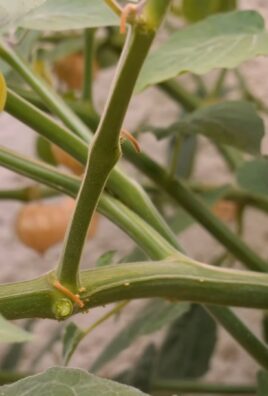
5. Vine Management: Sweet potato vines can get quite long. You can let them trail over the sides of the container, or you can train them to climb a trellis or stake. Pruning the vines isn’t necessary, but you can trim them back if they get too unruly.
Dealing with Pests and Diseases
Sweet potatoes are generally pest-resistant, but there are a few things to watch out for.
* Flea Beetles: These tiny beetles can chew holes in the leaves. You can control them with insecticidal soap or neem oil.
* Sweet Potato Weevils: These are a more serious pest. They can damage the tubers. If you suspect you have sweet potato weevils, contact your local agricultural extension office for advice.
* Fungal Diseases: Overwatering can lead to fungal diseases. Make sure your container has good drainage and avoid overwatering.
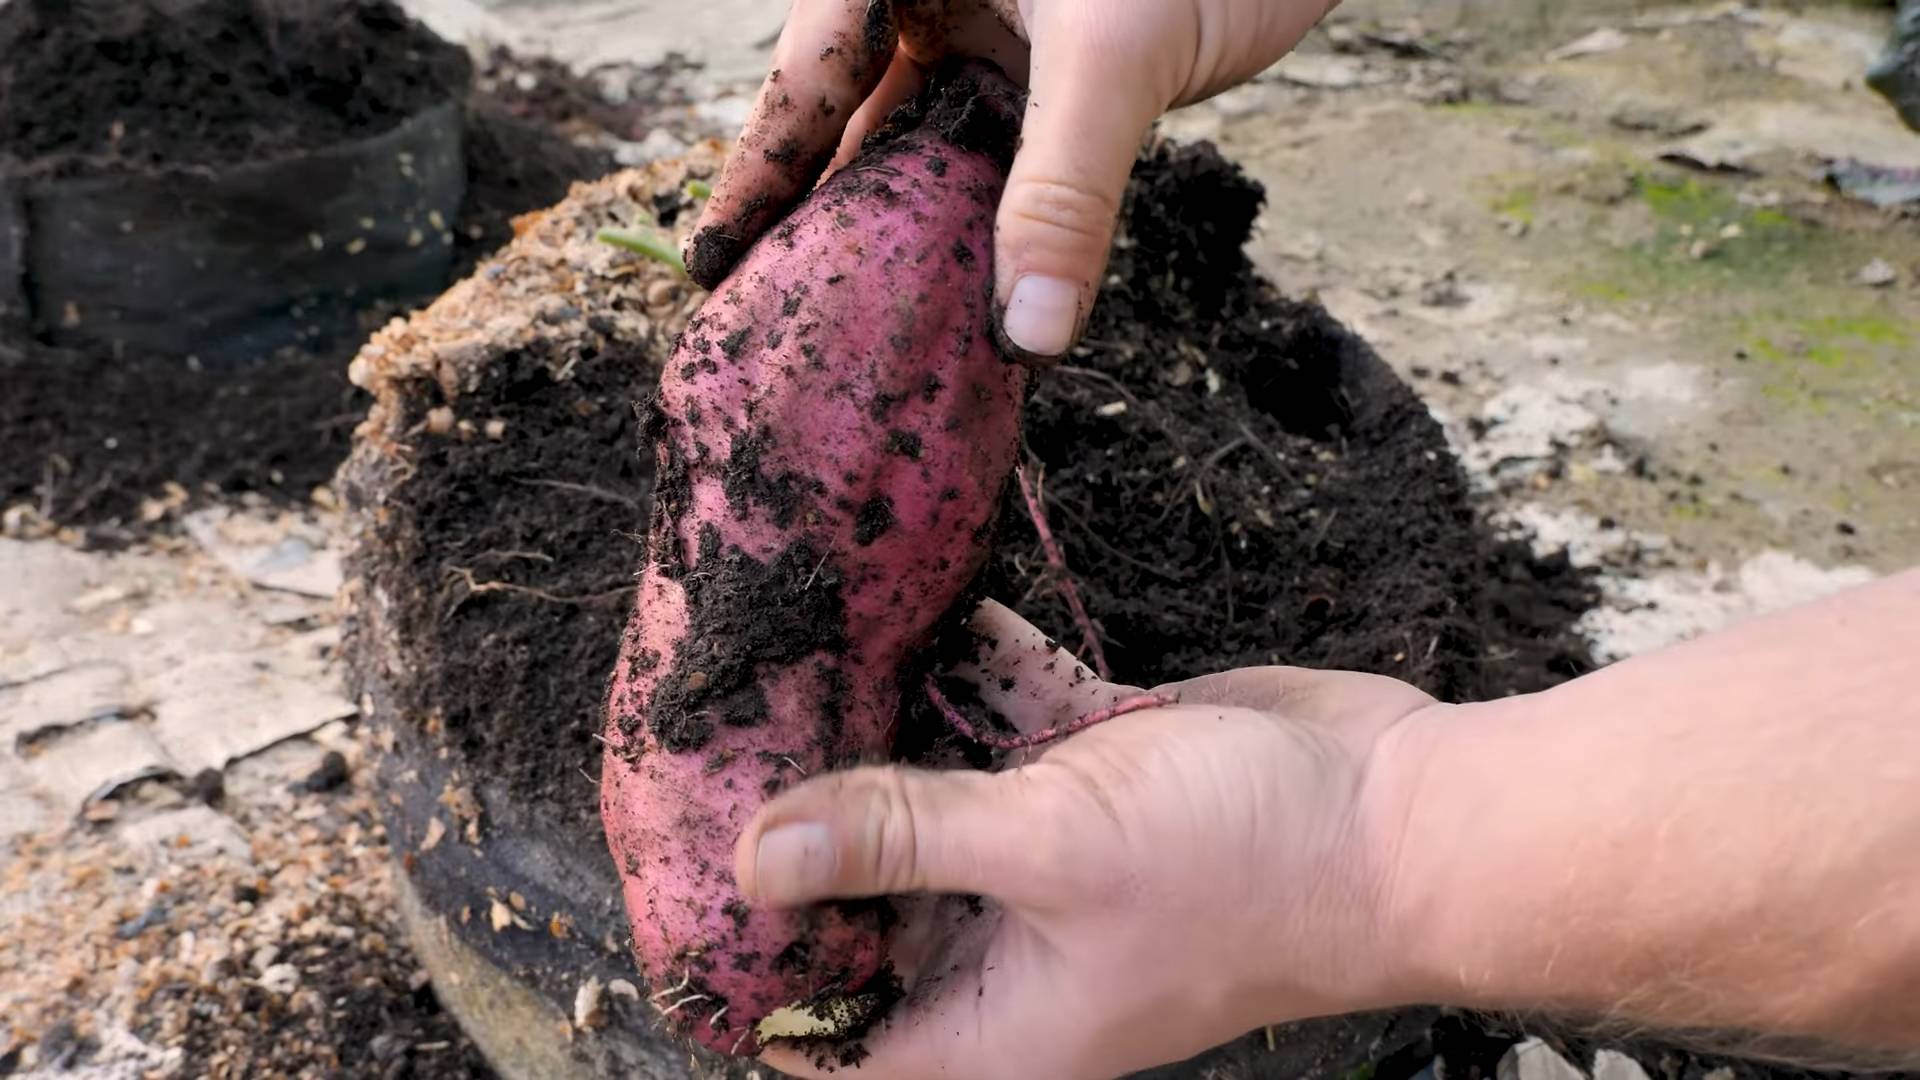
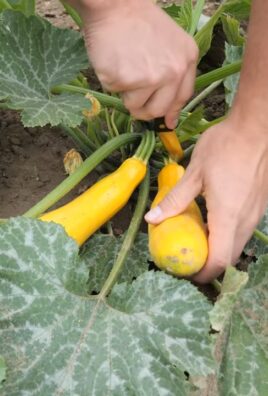
Harvesting Your Sweet Potatoes
This is the moment you’ve been waiting for! Harvesting sweet potatoes is so rewarding.
1. Timing: Sweet potatoes are typically ready to harvest about 90-120 days after planting. The leaves will start to turn yellow and the vines will begin to die back.
2. Harvesting: Gently dig around the edges of the container to loosen the soil. Carefully lift the entire plant out of the container.
3. Curing: Curing is essential for developing the sweet flavor of sweet potatoes. Brush off any excess soil and place the sweet potatoes in a warm, humid place (80-85°F and 85-90% humidity) for about a week to ten days. A greenhouse or a warm, sunny room works well.
4. Storage: After curing, store your sweet potatoes in a cool, dry, and dark place (55-60°F). They should keep for several months.
Troubleshooting
Sometimes things don’t go exactly as planned. Here are a few common problems and how to fix them:
* Yellowing Leaves: This could be a sign of overwatering, underwatering, or nutrient deficiency. Check the soil moisture and adjust your watering accordingly. Fertilize with a balanced fertilizer.
* Slow Growth: Make sure your plants are getting enough sunlight and water. Fertilize regularly.
* No Tubers: This could be due to a lack of sunlight, poor soil, or over-fertilizing with nitrogen. Make sure your plants are getting at least 6-8 hours of sunlight per day. Use a well-draining potting mix and avoid over-fertilizing with nitrogen.
Extra Tips for Success
* Choose the Right Variety: Some sweet potato varieties are better suited for container growing than others. ‘Bush Porto Rico’ and ‘Georgia Jet’ are good choices.
* Rotate Your Crops: Don’t plant sweet potatoes in the same container year after year. Rotate your crops to help prevent soilborne diseases.
* Companion Planting: Plant basil, thyme, or oregano near your sweet potatoes to help repel pests.
* Don’t Overwater: Overwatering is a common mistake. Sweet potatoes prefer slightly dry soil to soggy soil.
* Be Patient: Growing sweet potatoes takes time and patience. Don’t get discouraged if you don’t see results right away.
Growing sweet potatoes in containers is a fun and rewarding experience. With a little bit of care and attention, you can enjoy a bountiful harvest of delicious, homegrown sweet potatoes. Happy gardening!
Conclusion
So, there you have it! Growing your own sweet potatoes isn’t just a fun gardening project; it’s a rewarding experience that brings the taste of homegrown goodness right to your table. We’ve walked you through the entire process, from sprouting slips to harvesting those vibrant, nutrient-packed tubers. But why should you take the plunge and dedicate some space to this fantastic root vegetable?
First and foremost, the flavor of a homegrown sweet potato is simply unparalleled. Forget the bland, sometimes fibrous sweet potatoes you find in the grocery store. When you nurture your own plants, you’re rewarded with a sweetness and depth of flavor that’s truly exceptional. Imagine roasting them with a touch of cinnamon and maple syrup, or mashing them into a creamy, comforting side dish. The possibilities are endless!
Beyond the superior taste, growing your own sweet potatoes allows you to control exactly what goes into your food. You can avoid harmful pesticides and herbicides, ensuring that your family is enjoying a healthy and wholesome meal. Plus, it’s a fantastic way to connect with nature and learn more about the food you eat. There’s something incredibly satisfying about harvesting something you’ve nurtured from a tiny slip into a bountiful crop.
But the benefits don’t stop there. Sweet potato vines are also incredibly attractive, adding a touch of lush greenery to your garden. They can even be grown in containers, making them a great option for those with limited space. And speaking of variations, don’t be afraid to experiment with different sweet potato varieties! From the classic orange Beauregard to the purple-fleshed Okinawan, there’s a sweet potato out there to suit every taste. You can also try growing them in raised beds for improved drainage or using different mulching techniques to conserve moisture. Consider companion planting with herbs like rosemary or thyme to deter pests and enhance the flavor of your sweet potatoes.
This DIY sweet potato growing guide is your key to unlocking a world of delicious possibilities. It’s a project that’s both educational and rewarding, and it’s a fantastic way to add fresh, healthy produce to your diet.
We’re confident that you’ll find the process of growing your own sweet potatoes to be both enjoyable and fulfilling. So, what are you waiting for? Grab some sweet potatoes, start sprouting those slips, and get ready to experience the joy of homegrown goodness!
We’d love to hear about your experiences! Share your photos, tips, and tricks in the comments below. Let’s build a community of sweet potato enthusiasts and inspire others to give this amazing DIY project a try. Happy growing!
Frequently Asked Questions (FAQ)
What is the best time to start growing sweet potatoes?
The ideal time to start growing sweet potatoes is typically in the late spring or early summer, after the last frost has passed and the soil has warmed up to at least 65°F (18°C). Sweet potatoes need a long growing season of at least 100-120 days to mature properly. Starting them indoors a few weeks before transplanting can give you a head start, especially in cooler climates. Check your local frost dates to determine the best time to begin.
How do I sprout sweet potato slips?
Sprouting sweet potato slips is a relatively simple process. You can either suspend a sweet potato in a jar of water, with the bottom half submerged, or bury it horizontally in a container filled with moist potting mix. Place the jar or container in a warm, sunny location. Keep the water level consistent or the soil consistently moist. After a few weeks, sprouts, or “slips,” will begin to emerge from the sweet potato. Once the slips are 6-8 inches long, they can be gently twisted or cut off and placed in water to root before transplanting.
What kind of soil is best for growing sweet potatoes?
Sweet potatoes thrive in well-drained, sandy loam soil. They prefer slightly acidic soil with a pH between 5.5 and 6.5. Heavy clay soil can be amended with compost and other organic matter to improve drainage and aeration. Avoid soils that are overly rich in nitrogen, as this can promote excessive vine growth at the expense of tuber development.
How often should I water my sweet potato plants?
Sweet potato plants need consistent moisture, especially during the first few weeks after transplanting. Water deeply and regularly, ensuring that the soil remains consistently moist but not waterlogged. Once the plants are established, you can reduce watering frequency, allowing the soil to dry out slightly between waterings. Avoid overhead watering, as this can increase the risk of fungal diseases. Drip irrigation or soaker hoses are excellent options for delivering water directly to the roots.
How much sun do sweet potato plants need?
Sweet potato plants require at least 6-8 hours of direct sunlight per day to thrive. Choose a sunny location in your garden where the plants will receive ample sunlight throughout the growing season. Insufficient sunlight can result in poor tuber development and reduced yields.
What are some common pests and diseases that affect sweet potatoes?
Some common pests that can affect sweet potatoes include sweet potato weevils, flea beetles, and aphids. Diseases such as stem rot, scurf, and black rot can also be problematic. Regularly inspect your plants for signs of pests or diseases. Use organic pest control methods, such as insecticidal soap or neem oil, to control pests. Practice crop rotation and choose disease-resistant varieties to minimize the risk of diseases. Proper soil drainage and good air circulation can also help prevent fungal diseases.
How do I know when my sweet potatoes are ready to harvest?
Sweet potatoes are typically ready to harvest about 90-120 days after transplanting, depending on the variety. The leaves will begin to turn yellow and the vines may start to die back. To check for maturity, carefully dig up a test potato. If the skin is firm and the flesh is well-colored, the sweet potatoes are ready to harvest.
How should I cure and store my sweet potatoes?
Curing sweet potatoes is essential for improving their flavor and storage life. After harvesting, gently brush off any excess soil and allow the sweet potatoes to dry in a warm, well-ventilated area for about 1-2 weeks. The ideal curing temperature is around 80-85°F (27-29°C) with high humidity. After curing, store the sweet potatoes in a cool, dark, and dry place with good ventilation. The ideal storage temperature is around 55-60°F (13-16°C). Avoid storing sweet potatoes in the refrigerator, as this can cause them to develop a hard core and lose their flavor. Properly cured and stored sweet potatoes can last for several months.
Can I grow sweet potatoes in containers?
Yes, sweet potatoes can be successfully grown in containers, making them a great option for those with limited space. Choose a large container that is at least 12-18 inches deep and wide. Fill the container with well-drained potting mix. Plant one or two slips per container. Provide adequate sunlight and water regularly. Container-grown sweet potatoes may not produce as many tubers as those grown in the ground, but you can still enjoy a decent harvest.
Are sweet potato leaves edible?
Yes, sweet potato leaves are edible and nutritious. They can be eaten raw in salads or cooked like spinach. Choose young, tender leaves for the best flavor and texture. Sweet potato leaves are a good source of vitamins A and C, as well as fiber and antioxidants.
Leave a Comment