
Healthy Chili Plant Tips are the secret weapon every aspiring home gardener needs! Imagine biting into a fiery, flavorful chili pepper you nurtured from a tiny seed, right in your own backyard. That’s the dream, isn’t it? But sometimes, our chili plants can be a little… temperamental. They might look a bit droopy, produce fewer peppers than expected, or even fall victim to pesky pests. Don’t worry, I’ve been there!
Growing chili peppers has a rich history, dating back thousands of years in South America, where they were not only a food source but also held cultural and medicinal significance. Today, the joy of cultivating your own food, especially something as vibrant and versatile as chili peppers, is experiencing a huge resurgence.
That’s why I’ve put together this guide packed with easy-to-follow DIY tricks and hacks to ensure your chili plants thrive. You’ll learn everything from choosing the right soil and providing optimal sunlight to warding off common diseases and maximizing your pepper yield. With these healthy chili plant tips, you’ll be well on your way to harvesting a bumper crop of delicious, fiery peppers that will spice up your meals and impress your friends. Let’s get growing!
DIY: Supercharge Your Chili Plant for a Bumper Harvest!
Hey fellow chili enthusiasts! I’m so excited to share my tried-and-true methods for getting your chili plants to produce an absolute mountain of peppers. Forget those puny supermarket chilies – we’re aiming for a chili explosion! This guide is packed with tips and tricks I’ve learned over the years, and I promise, if you follow these steps, you’ll be swimming in chilies before you know it.
Choosing the Right Chili Variety
Okay, before we even get our hands dirty, let’s talk about chili varieties. Not all chilies are created equal! Some are naturally more productive than others, and some are better suited to certain climates.
* Consider your climate: Are you in a hot, sunny area or a cooler, more temperate zone? Some chilies thrive in intense heat, while others prefer slightly milder conditions. Research chili varieties that are known to do well in your region.
* Think about your heat preference: Do you like a mild kick, a fiery inferno, or something in between? Chili Scoville Heat Units (SHU) range from zero (like bell peppers) to millions (like Carolina Reapers). Choose varieties that match your tolerance.
* Space considerations: Some chili plants grow tall and bushy, while others are more compact. If you’re growing in containers or have limited space, opt for smaller varieties.
* Popular and Productive Choices: Some of my personal favorites for high yields include Jalapeños, Serrano peppers, Thai chilies, and Cayenne peppers. These are generally easy to grow and produce a ton of fruit.
Preparing the Perfect Planting Environment
Chili plants are a bit picky about their environment, but don’t worry, I’ll walk you through creating the perfect conditions for them to flourish.
* Sunlight is Key: Chili plants need at least 6-8 hours of direct sunlight per day. The more sun, the better! If you’re growing indoors, invest in a good quality grow light.
* Well-Draining Soil: Chili plants hate soggy roots! Use a well-draining potting mix or amend your garden soil with compost and perlite to improve drainage.
* Slightly Acidic Soil: Chili plants prefer a soil pH of around 6.0 to 6.8. You can test your soil pH with a kit from your local garden center. If your soil is too alkaline, you can amend it with sulfur or peat moss.
* Warm Temperatures: Chili plants are warm-weather lovers. They won’t tolerate frost, so wait until the danger of frost has passed before planting them outdoors. The ideal temperature range for chili plants is between 70°F and 85°F (21°C and 29°C).
Step-by-Step Planting Guide
Now for the fun part – getting those chili plants in the ground (or pot)!
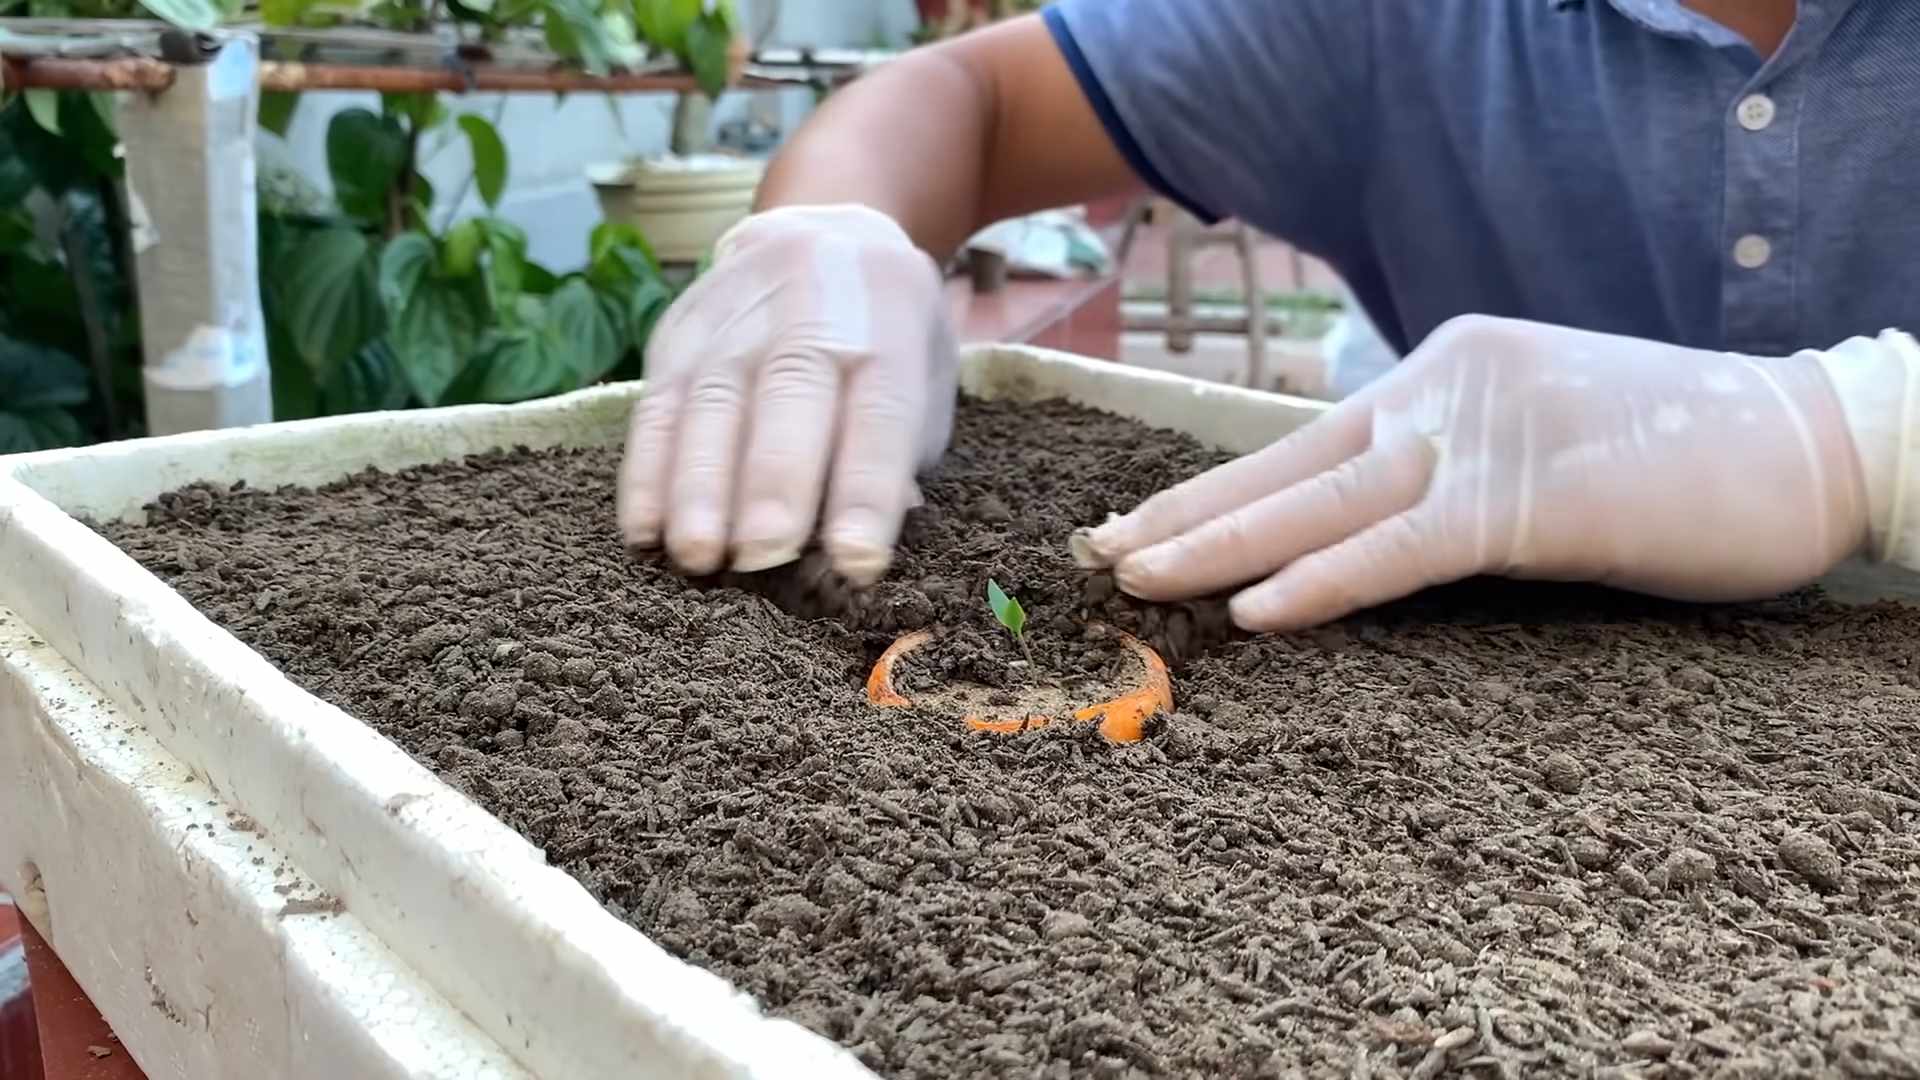
1. Starting from Seed (Optional): If you’re starting from seed, sow them indoors 6-8 weeks before the last expected frost. Use a seed-starting mix and keep the soil moist but not soggy. Once the seedlings have a few sets of true leaves, you can transplant them into larger pots.
2. Choosing a Container (If Applicable): If you’re growing in containers, choose pots that are at least 5 gallons in size. Make sure the pots have drainage holes to prevent waterlogging.
3. Preparing the Planting Hole: Dig a hole that is slightly larger than the root ball of your chili plant.
4. Adding Amendments: Before planting, I like to add a handful of compost and a slow-release fertilizer to the planting hole. This will give your chili plant a boost of nutrients.
5. Planting the Chili Plant: Gently remove the chili plant from its container and loosen the roots slightly. Place the plant in the planting hole and backfill with soil. Make sure the top of the root ball is level with the surrounding soil.
6. Watering Thoroughly: Water the chili plant thoroughly after planting. This will help settle the soil and encourage root growth.
7. Mulching (Optional): Add a layer of mulch around the base of the chili plant to help retain moisture and suppress weeds. I like to use straw or wood chips.
Watering and Feeding Your Chili Plants
Proper watering and feeding are crucial for getting those chili plants to produce a bumper crop.
* Watering: Water your chili plants deeply and regularly, especially during hot, dry weather. The soil should be moist but not soggy. Avoid overwatering, as this can lead to root rot. A good rule of thumb is to water when the top inch of soil feels dry to the touch.
* Fertilizing: Chili plants are heavy feeders, so they need regular fertilization. Use a balanced fertilizer (e.g., 10-10-10) or a fertilizer specifically formulated for tomatoes and peppers. Fertilize every 2-3 weeks during the growing season. I also like to supplement with a liquid seaweed fertilizer every now and then for an extra boost.
* Epsom Salts: This is my secret weapon! Epsom salts (magnesium sulfate) can help prevent blossom-end rot and encourage fruit production. Dissolve 1 tablespoon of Epsom salts in a gallon of water and spray it on the foliage every 2-3 weeks.
Pruning and Training for Maximum Yield
Pruning and training can help your chili plants produce more fruit by improving airflow and sunlight penetration.
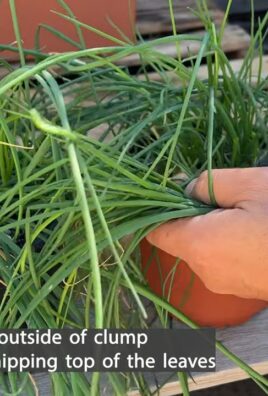
* Pinching Back Seedlings: When your chili seedlings are about 6 inches tall, pinch off the top growth. This will encourage them to branch out and become bushier.
* Removing Suckers: Suckers are small shoots that grow from the base of the plant. Remove them regularly to prevent them from diverting energy away from fruit production.
* Supporting the Plant: As your chili plants grow, they may need support to prevent them from toppling over. Use stakes or cages to support the plants, especially if they are loaded with fruit.
* Defoliation: Remove some of the lower leaves to improve airflow and sunlight penetration. This will help prevent fungal diseases and encourage fruit ripening.
Pest and Disease Control
Unfortunately, chili plants are susceptible to a few pests and diseases. But don’t worry, I’ve got you covered!
* Aphids: These tiny pests suck the sap from plants, causing them to weaken and distort. You can control aphids with insecticidal soap or neem oil.
* Spider Mites: These tiny pests create webs on plants and suck the sap. You can control spider mites with insecticidal soap or neem oil.
* Whiteflies: These small, white, flying insects suck the sap from plants. You can control whiteflies with insecticidal soap or neem oil.
* Blossom-End Rot: This is a common problem in chili plants, caused by a calcium deficiency. You can prevent blossom-end rot by adding calcium to the soil or spraying the plants with a calcium solution. Epsom salts can also help.
* Fungal Diseases: Chili plants are susceptible to several fungal diseases, such as powdery mildew and leaf spot. You can prevent fungal diseases by providing good airflow, avoiding overwatering, and using a fungicide if necessary.
Harvesting Your Chili Peppers
The moment you’ve been waiting for – harvesting your delicious chili peppers!
* When to Harvest: Chili peppers are typically ready to harvest when they have reached their mature color and size. The color will depend on the variety of chili you are growing.
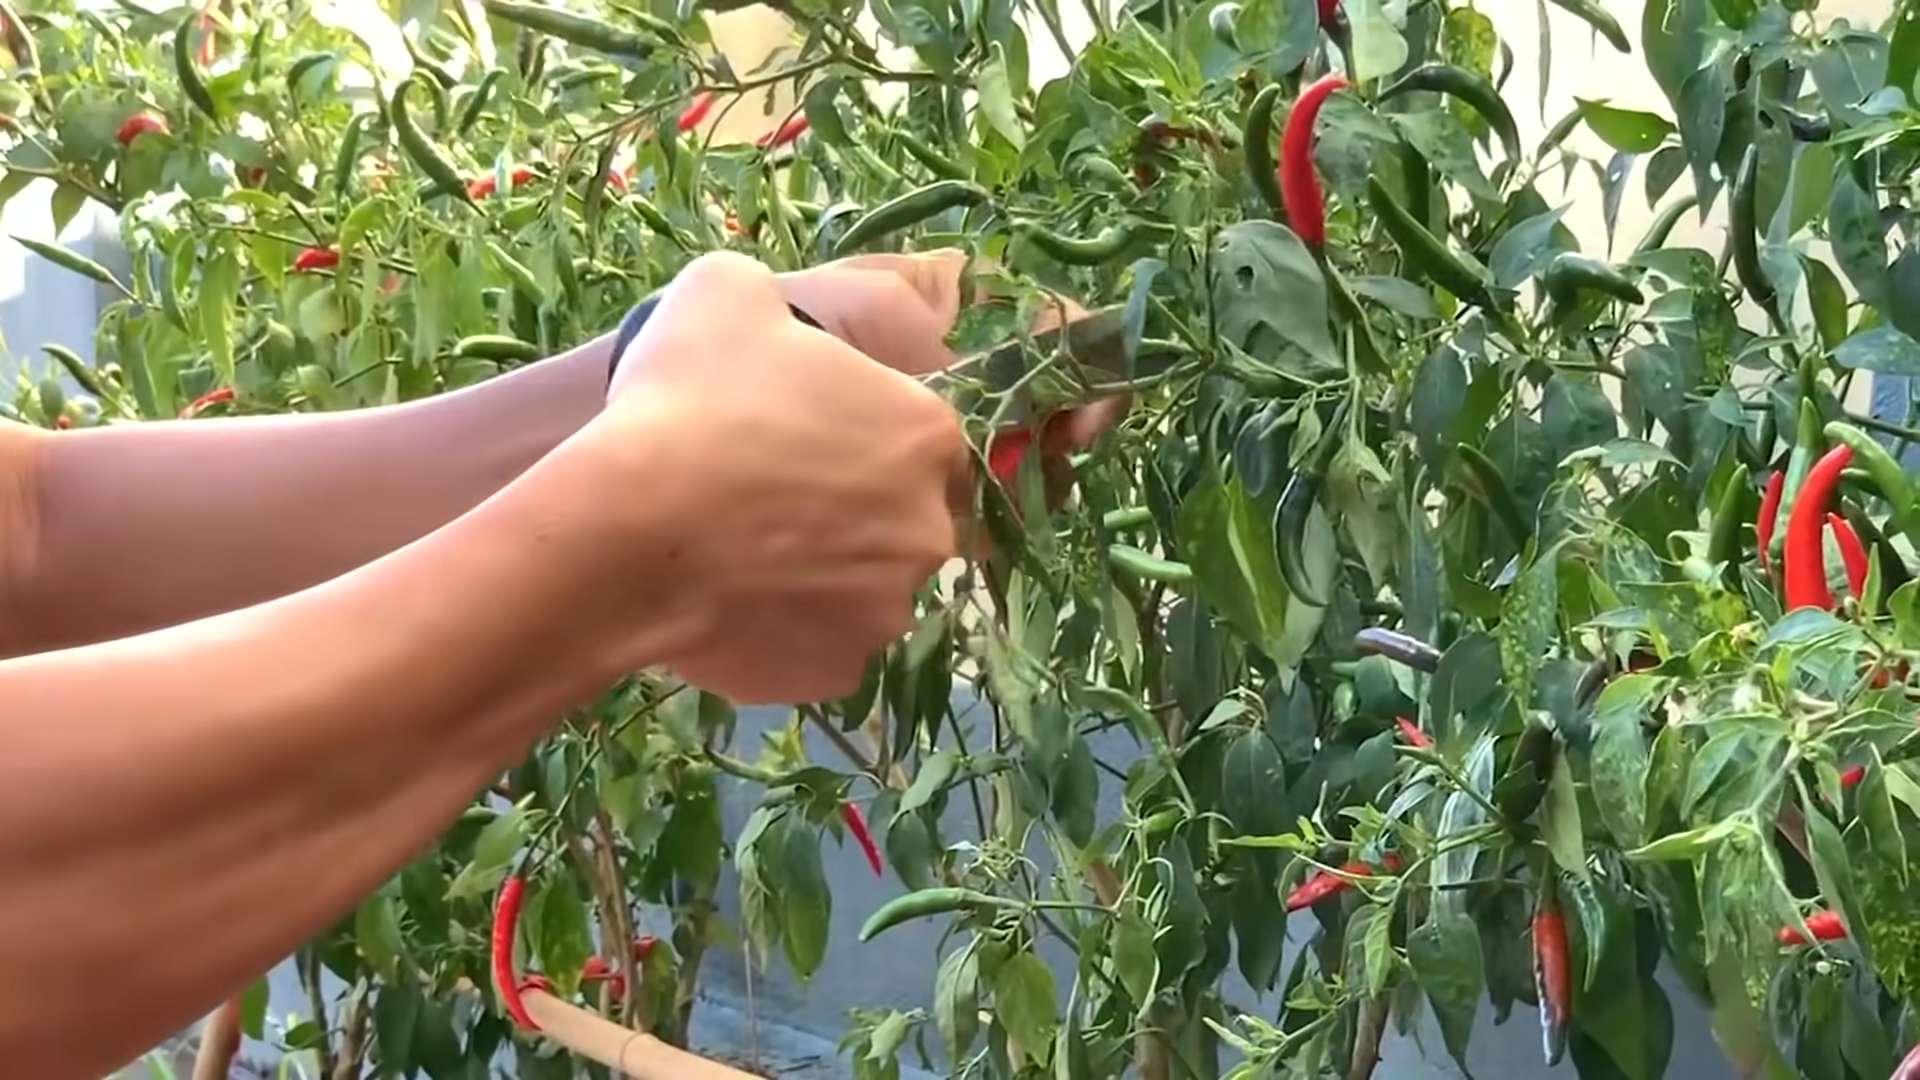
* How to Harvest: Use scissors or pruning shears to cut the chili peppers from the plant. Be careful not to damage the plant.
* Handling Hot Peppers: Wear gloves when handling hot peppers, as the capsaicin (the compound that makes them hot) can irritate your skin.
* Storing Chili Peppers: You can store chili peppers in the refrigerator for up to a week. You can also dry them, freeze them, or pickle them for longer storage.
Troubleshooting Common Chili Plant Problems
Even with the best care, you might encounter some problems along the way. Here are a few common issues and how to fix them:
* Yellowing Leaves: This could be a sign of overwatering, underwatering, nutrient deficiency, or pest infestation. Check the soil moisture, fertilize the plant, and inspect for pests.
* Dropping Flowers: This can be caused by temperature stress, lack of pollination, or nutrient deficiency. Ensure the plant is getting enough sunlight and water, and consider hand-pollinating the flowers.
* Lack of Fruit Production: This could be due to insufficient sunlight, poor soil, or lack of pollination. Make sure the plant is getting at least 6 hours of direct sunlight per day, fertilize regularly, and consider hand-pollinating the flowers.
* Blossom-End Rot: As mentioned earlier, this is a calcium deficiency. Add calcium to the soil or spray the plants with a calcium solution. Epsom salts can also help.
Conclusion
So, there you have it! Transforming your chili plant care with these simple, yet incredibly effective, DIY tricks is not just about saving money; it’s about fostering a deeper connection with your plants and understanding their needs on a more intimate level. We’ve explored how to create nutrient-rich soil amendments from kitchen scraps, craft natural pest repellents using ingredients you likely already have, and optimize watering techniques to prevent common issues like root rot. These aren’t just fleeting trends; they’re sustainable practices that contribute to healthier, more vibrant chili plants and, ultimately, a more rewarding gardening experience.
Why is this a must-try? Because it empowers you to take control of your chili plant’s health without relying on expensive, often chemical-laden, commercial products. You’ll be amazed at how responsive your plants are to these natural solutions. Imagine the satisfaction of harvesting a bountiful crop of chilies, knowing that you nurtured them with love and ingenuity, using resources readily available to you. The vibrant colors, the intense flavors – all a testament to your dedication and resourcefulness.
But the beauty of these DIY tricks lies in their adaptability. Feel free to experiment with variations to suit your specific needs and preferences. For instance, if you find that your plants are particularly susceptible to aphids, consider adding a few drops of neem oil to your homemade insecticidal soap for an extra boost. Or, if you’re looking to enhance the flavor of your chilies, try incorporating banana peels into your soil mix – the potassium will work wonders! You can also experiment with different types of compost teas, using a variety of organic materials to create a customized nutrient blend tailored to your chili plant’s specific requirements. Remember, gardening is a journey of discovery, and there’s always room for innovation.
Don’t be afraid to get your hands dirty and embrace the DIY spirit! These techniques are not only effective but also incredibly rewarding. You’ll not only be saving money and reducing your environmental impact, but you’ll also be gaining a deeper understanding of your plants and their needs.
We wholeheartedly encourage you to try these DIY tricks for healthy chili plants. Start small, observe the results, and adjust as needed. The key is to be patient and persistent. And most importantly, don’t forget to share your experiences with us! We’d love to hear about your successes, your challenges, and any variations you’ve discovered along the way. Share your photos, your tips, and your stories in the comments section below. Let’s create a community of chili-loving gardeners who are passionate about sustainable and effective plant care. Let’s all grow together!
Frequently Asked Questions (FAQ)
What if I don’t have all the ingredients for the DIY pest repellent?
That’s perfectly fine! The beauty of DIY is its flexibility. The basic recipe for a pest repellent usually involves soap and water, but you can substitute or add other ingredients based on what you have available. For example, if you don’t have garlic, you can use onion. If you don’t have cayenne pepper, you can use other hot peppers. The key is to use ingredients with strong scents or natural insecticidal properties. Just remember to test the solution on a small area of the plant first to ensure it doesn’t cause any damage. A good starting point is a mild solution of dish soap (a few drops) in water.
How often should I apply the DIY pest repellent?
The frequency of application depends on the severity of the infestation and the weather conditions. As a general rule, apply the repellent every 3-5 days until the pests are under control. After that, you can reduce the frequency to once a week or as needed. It’s best to apply the repellent in the early morning or late evening when the sun is not too strong, as this can prevent leaf burn. Also, avoid applying the repellent on rainy days, as it will be washed away. Always observe your plants closely for any signs of stress after applying the repellent.
Can I use these DIY tricks on other plants besides chili plants?
Absolutely! Many of these DIY tricks are applicable to a wide range of plants, especially those in the vegetable garden. For example, compost tea is a great fertilizer for tomatoes, peppers, and cucumbers. Natural pest repellents can be used on almost any plant that is susceptible to insect infestations. However, it’s always a good idea to do some research on the specific needs of each plant before applying any DIY treatment. Some plants may be more sensitive to certain ingredients than others.
How do I know if my chili plant has a nutrient deficiency?
Nutrient deficiencies can manifest in various ways, depending on the specific nutrient that is lacking. Common signs include yellowing leaves (chlorosis), stunted growth, leaf curling, and discoloration. For example, a nitrogen deficiency often causes the lower leaves to turn yellow, while a phosphorus deficiency can result in purplish leaves. A potassium deficiency may cause yellowing or browning around the edges of the leaves. If you suspect a nutrient deficiency, it’s important to identify the specific nutrient that is lacking so you can address it with the appropriate DIY soil amendment or fertilizer.
Is it possible to over-fertilize my chili plants with DIY methods?
Yes, it is possible to over-fertilize, even with natural methods. While DIY fertilizers are generally gentler than synthetic ones, they can still cause problems if used in excess. Over-fertilization can lead to salt buildup in the soil, which can damage the roots and prevent the plant from absorbing water and nutrients. Signs of over-fertilization include leaf burn, wilting, and stunted growth. To avoid over-fertilizing, always follow the recommended application rates and monitor your plants closely for any signs of stress. It’s always better to err on the side of caution and start with a smaller amount of fertilizer, gradually increasing it as needed.
What are some other common problems that affect chili plants, and how can I address them with DIY solutions?
Besides nutrient deficiencies and pest infestations, chili plants can also be affected by diseases such as fungal infections and blossom end rot. Fungal infections can be treated with homemade fungicides made from baking soda or chamomile tea. Blossom end rot, which is caused by a calcium deficiency, can be prevented by adding crushed eggshells or bone meal to the soil. Proper watering practices are also crucial for preventing many common problems. Avoid overwatering, which can lead to root rot, and ensure that your plants have good drainage. Mulching around the base of the plants can help to retain moisture and suppress weeds.
How can I improve the flavor of my chilies using DIY techniques?
The flavor of your chilies is influenced by several factors, including genetics, growing conditions, and soil composition. To enhance the flavor of your chilies, focus on providing them with optimal growing conditions and a balanced supply of nutrients. As mentioned earlier, adding banana peels to the soil can boost potassium levels, which can improve the flavor and sweetness of the chilies. You can also experiment with different types of compost teas, using ingredients that are rich in micronutrients and trace minerals. Proper watering practices are also essential for developing the flavor of your chilies. Avoid overwatering, as this can dilute the flavors. Finally, make sure your plants get plenty of sunlight, as this will help them to produce more capsaicin, the compound that gives chilies their heat.


Leave a Comment