
Grow Onions at Home – imagine the satisfaction of snipping fresh, flavorful onions right from your own backyard! Forget those bland, store-bought bulbs; we’re diving headfirst into the wonderful world of homegrown onions, and I’m so excited to share my favorite DIY tricks with you.
For centuries, onions have been a culinary cornerstone, flavoring dishes across cultures and continents. From ancient Egypt, where they were revered and even used as offerings, to the bustling kitchens of today, onions have held a vital place in our diets. But why settle for ordinary when you can cultivate your own extraordinary onions?
Let’s face it, store-bought onions can be unpredictable. Sometimes they’re perfect, other times they’re bland or even starting to sprout. That’s where the magic of home gardening comes in! This DIY guide is packed with simple, effective hacks that will empower you to grow onions at home, regardless of your gardening experience. I’ll show you how to choose the right varieties, prepare your soil, and even tackle common pests and diseases, ensuring a bountiful harvest of delicious, homegrown onions. Get ready to impress your friends and family with your newfound gardening prowess!
Growing Onions at Home: A Beginner’s Guide
Hey there, fellow gardening enthusiasts! Ever dreamt of snipping fresh onions straight from your backyard for your favorite recipes? Well, dream no more! Growing onions at home is surprisingly easy and rewarding. I’m going to walk you through everything you need to know, from choosing the right type of onion to harvesting your flavorful bounty. Let’s get started!
Choosing Your Onion Variety
Before we dive into the nitty-gritty, let’s talk about onion varieties. Onions are categorized by their day length requirements, meaning the amount of daylight hours they need to form bulbs. Choosing the right type for your region is crucial for success.
* Long-Day Onions: These need 14-16 hours of daylight to bulb. They are best suited for northern regions with long summer days. Popular varieties include Walla Walla Sweet, Yellow Spanish, and Red Burgundy.
* Short-Day Onions: These require 10-12 hours of daylight to bulb. They thrive in southern regions with mild winters. Some great options are Texas Sweet White, Crystal White Wax, and Red Creole.
* Intermediate-Day Onions: As the name suggests, these are more adaptable and can grow in a wider range of climates. They need 12-14 hours of daylight. Consider varieties like Candy Onion or Super Sweet.
How to Figure Out Your Region’s Day Length: A quick online search for your location’s average daylight hours during the growing season will help you determine which type of onion is best for you.
Starting from Seeds, Sets, or Transplants?
You have three main options for starting your onion journey: seeds, sets, and transplants. Each has its pros and cons.
* Seeds: Starting from seeds gives you the widest variety to choose from and is the most economical option. However, it requires more time and effort, as you’ll need to start them indoors 8-10 weeks before the last frost.
* Sets: These are small, immature onion bulbs that are easy to plant directly in the ground. They offer a head start compared to seeds and are a good option for beginners. However, the variety selection is usually limited.
* Transplants: These are young onion plants that have already been started for you. They are a convenient option, especially if you don’t have the time or space to start seeds indoors. You can find them at most garden centers.
My Recommendation: For beginners, I usually recommend starting with sets or transplants. They are less demanding and offer a higher chance of success. If you’re feeling adventurous and want more variety, go for seeds!
Preparing the Soil
Onions are heavy feeders and need well-drained, fertile soil. Before planting, it’s essential to prepare the soil properly.
1. Choose a Sunny Location: Onions need at least 6-8 hours of sunlight per day. Select a spot in your garden that receives plenty of sunshine.
2. Amend the Soil: Onions prefer slightly acidic soil with a pH of 6.0-7.0. Test your soil’s pH using a soil testing kit. If it’s too acidic, add lime to raise the pH.
3. Add Organic Matter: Incorporate plenty of compost, well-rotted manure, or other organic matter into the soil. This will improve drainage, fertility, and water retention. I usually add a generous layer of compost and work it into the top 6-8 inches of soil.
4. Ensure Good Drainage: Onions hate soggy soil. If your soil is heavy clay, consider adding sand or perlite to improve drainage. You can also create raised beds to elevate the planting area.
5. Fertilize: Before planting, apply a balanced fertilizer (e.g., 10-10-10) according to the package instructions. This will provide the onions with the nutrients they need to get off to a good start.
Planting Onions
Now comes the fun part – planting! The planting process varies slightly depending on whether you’re using seeds, sets, or transplants.
Planting from Seeds
1. Start Seeds Indoors: About 8-10 weeks before the last expected frost, sow onion seeds in seed trays or pots filled with seed-starting mix.
2. Sow Seeds Sparsely: Sprinkle the seeds evenly over the surface of the soil and cover them with a thin layer of soil.
3. Keep Soil Moist: Water gently to keep the soil moist but not soggy.
4. Provide Light: Place the seed trays under grow lights or in a sunny window.
5. Thin Seedlings: Once the seedlings emerge, thin them to about 1 inch apart.
6. Harden Off Seedlings: A week or two before transplanting, gradually acclimate the seedlings to outdoor conditions by exposing them to increasing amounts of sunlight and fresh air each day.
7. Transplant Seedlings: Once the danger of frost has passed, transplant the seedlings into your prepared garden bed, spacing them 4-6 inches apart.
Planting from Sets
1. Prepare the Planting Bed: Make sure the soil is loose and well-drained.
2. Create Furrows: Dig shallow furrows about 1 inch deep and 4-6 inches apart.
3. Plant the Sets: Place the onion sets in the furrows, root end down, spacing them 4-6 inches apart.
4. Cover with Soil: Gently cover the sets with soil, leaving the tips exposed.
5. Water Thoroughly: Water the planting bed thoroughly after planting.
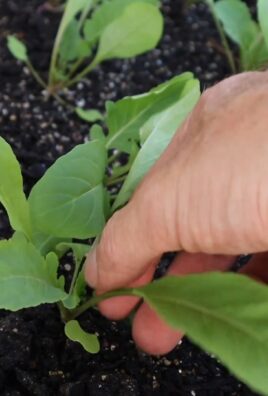
Planting from Transplants
1. Prepare the Planting Bed: Ensure the soil is loose and well-drained.
2. Dig Holes: Dig holes that are slightly larger than the root ball of the transplants, spacing them 4-6 inches apart.
3. Plant the Transplants: Gently remove the transplants from their containers and place them in the holes.
4. Backfill with Soil: Backfill the holes with soil, gently firming around the base of the plants.
5. Water Thoroughly: Water the planting bed thoroughly after planting.
Caring for Your Onions
Once your onions are planted, it’s important to provide them with the care they need to thrive.
* Watering: Onions need consistent moisture, especially during bulb formation. Water deeply whenever the top inch of soil feels dry. Avoid overwatering, as this can lead to rot.
* Weeding: Keep the planting bed free of weeds, as they can compete with the onions for nutrients and water. Hand-pull weeds carefully to avoid disturbing the onion roots.
* Fertilizing: Side-dress the onions with a nitrogen-rich fertilizer every 2-3 weeks during the growing season. This will promote healthy growth and bulb development. I like to use fish emulsion or compost tea.
* Mulching: Apply a layer of mulch around the onions to help retain moisture, suppress weeds, and regulate soil temperature. Straw, shredded leaves, or wood chips are good options.
* Pest and Disease Control: Onions are generally pest-resistant, but they can be susceptible to certain pests and diseases, such as onion maggots, thrips, and fungal diseases. Monitor your plants regularly and take action if you notice any problems. Insecticidal soap or neem oil can be used to control many common pests. For fungal diseases, ensure good air circulation and avoid overhead watering.
Harvesting Onions
The time to harvest your onions depends on the variety and your desired use.
* Green Onions: You can harvest green onions (scallions) at any time after they reach a usable size. Simply pull them up from the ground.
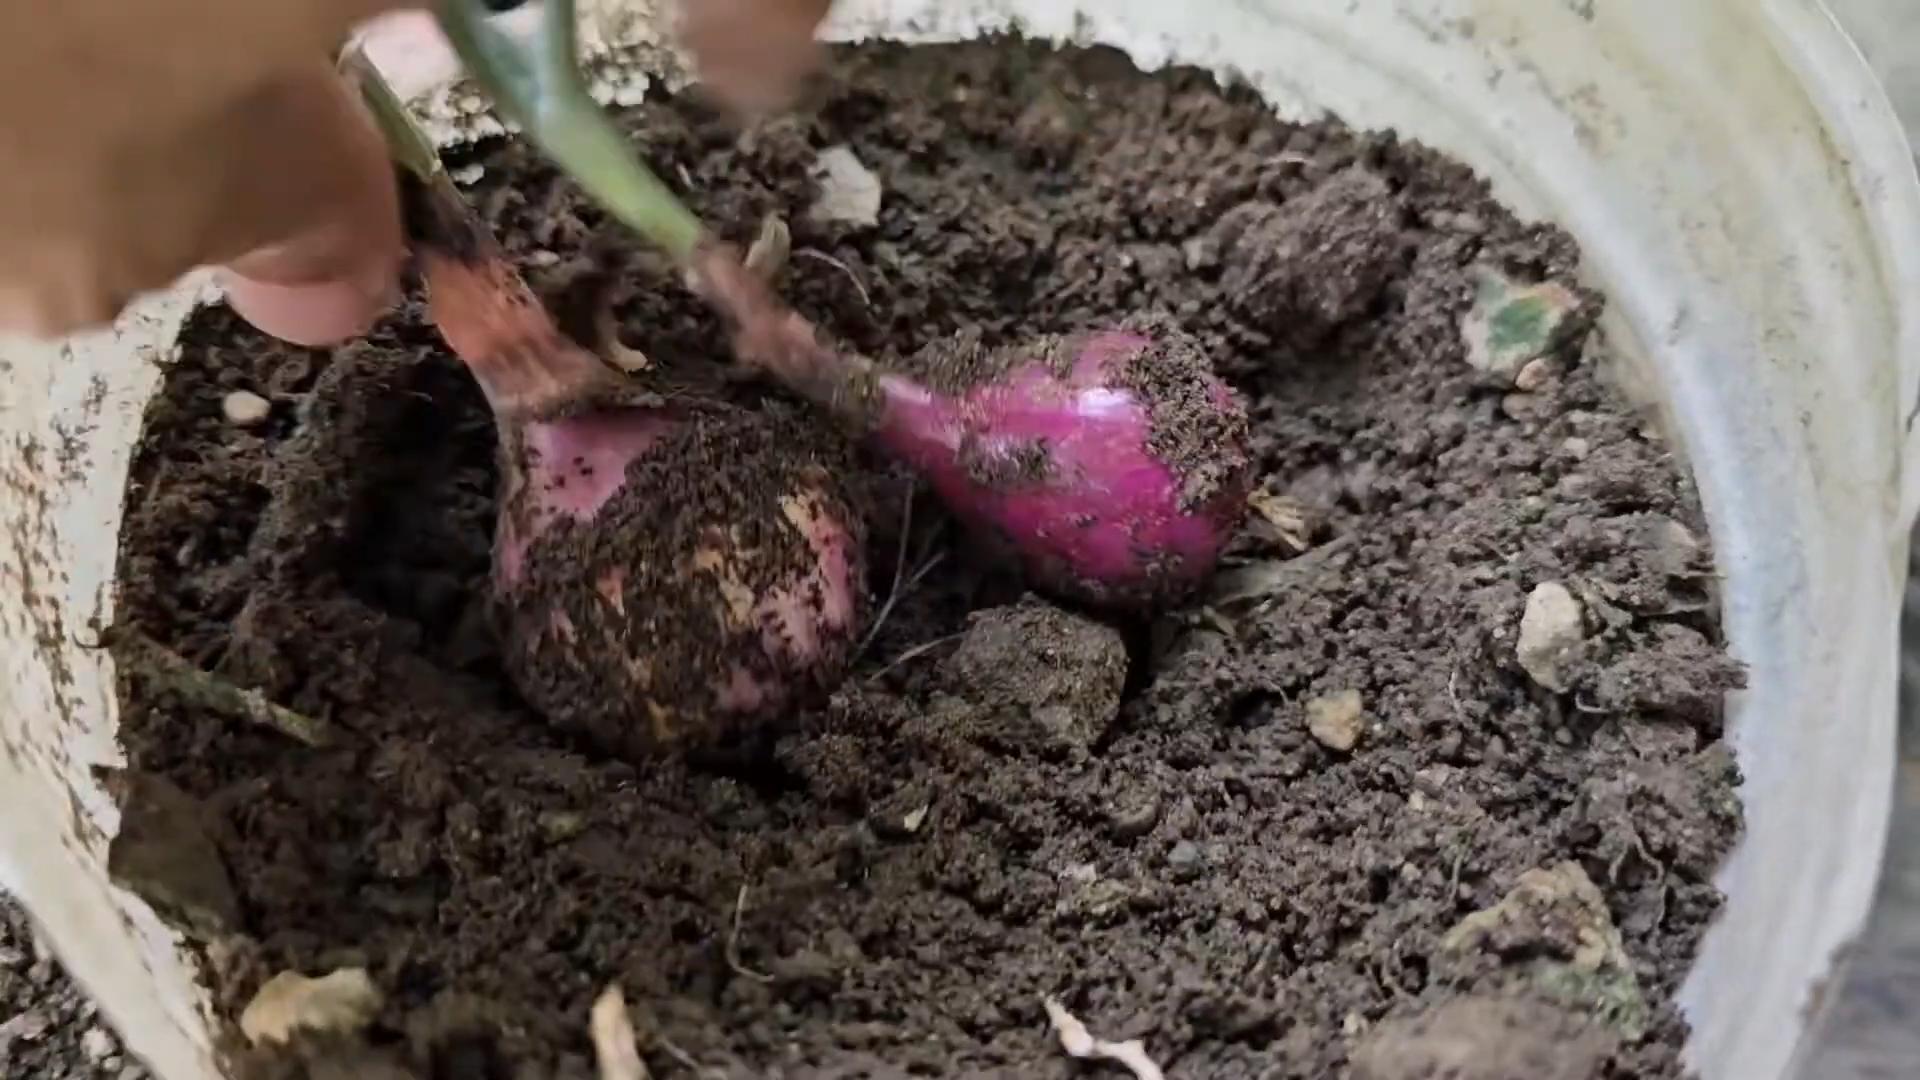
* Bulbing Onions: Bulbing onions are typically ready to harvest when the tops start to fall over and turn yellow or brown. This usually happens in late summer or early fall.
* Harvesting Process: Once the tops have fallen over, stop watering the onions. After about a week, gently loosen the soil around the bulbs and pull them up.
* Curing Onions: After harvesting, cure the onions by laying them out in a warm, dry, well-ventilated place for 2-3 weeks. This allows the outer layers to dry and toughen, which helps to prevent rot during storage. I usually cure mine on a screen in my garage.
Storing Onions
Proper storage is essential for keeping your onions fresh and flavorful for months.
* Choose Healthy Onions: Only store onions that are firm, dry, and free from blemishes.
* Trim the Roots and Tops: Trim the roots to about 1 inch and the tops to about 2 inches.
* Store in a Cool, Dry, Dark Place: Store the onions in a cool, dry, dark place with good ventilation. A temperature of 32-40
Conclusion
So, there you have it! Growing onions at home, even if you’re a complete beginner, is surprisingly achievable and incredibly rewarding. Forget those bland, mass-produced onions from the supermarket. Imagine the satisfaction of harvesting plump, flavorful onions that you nurtured from tiny sets or even scraps! This DIY trick isn’t just about saving a few dollars; it’s about connecting with your food, reducing waste, and experiencing the simple joy of gardening.
The beauty of growing your own onions lies in the control you have over the entire process. You can choose organic methods, ensuring your onions are free from harmful pesticides. You can select varieties that are perfectly suited to your local climate and your personal taste preferences. And, perhaps most importantly, you can enjoy the unparalleled freshness that comes from harvesting your onions just moments before you need them.
But the benefits don’t stop there. Growing onions at home is also a fantastic way to reduce your environmental impact. By sourcing your own produce, you’re cutting down on transportation emissions and supporting a more sustainable food system. Plus, you’re minimizing food waste by using onion scraps to propagate new plants. It’s a win-win for you and the planet!
Ready to take your onion-growing game to the next level? Consider experimenting with different varieties. Try growing red onions for their vibrant color and mild flavor, or shallots for their delicate sweetness. You can also explore different planting methods, such as starting onions from seed indoors or using onion sets for a quicker harvest. Don’t be afraid to get creative and tailor the process to your own unique needs and preferences.
And remember, gardening is a journey, not a destination. There will be successes and setbacks along the way. But with a little patience, persistence, and the tips outlined in this article, you’ll be well on your way to enjoying a bountiful harvest of homegrown onions.
We wholeheartedly encourage you to give this DIY trick a try. It’s a simple, affordable, and incredibly satisfying way to enhance your culinary creations and connect with nature. Once you’ve experienced the joy of growing your own onions, you’ll never look at store-bought onions the same way again.
Don’t keep your onion-growing adventures to yourself! We’d love to hear about your experiences. Share your tips, tricks, and photos in the comments below. Let’s create a community of home gardeners who are passionate about growing their own food and sharing their knowledge with others. Happy growing!
Frequently Asked Questions (FAQ)
Q: What is the best time of year to start growing onions?
A: The best time to start growing onions depends on your climate and the type of onion you’re growing. In general, long-day onions (which need 14-16 hours of sunlight per day) are best suited for northern climates and should be started indoors in late winter or early spring. Short-day onions (which need 10-12 hours of sunlight per day) are best suited for southern climates and should be planted in the fall or early winter. Day-neutral onions can be grown in most climates and can be planted in the spring or fall. Check your local climate and the specific variety of onion you’re growing to determine the optimal planting time.
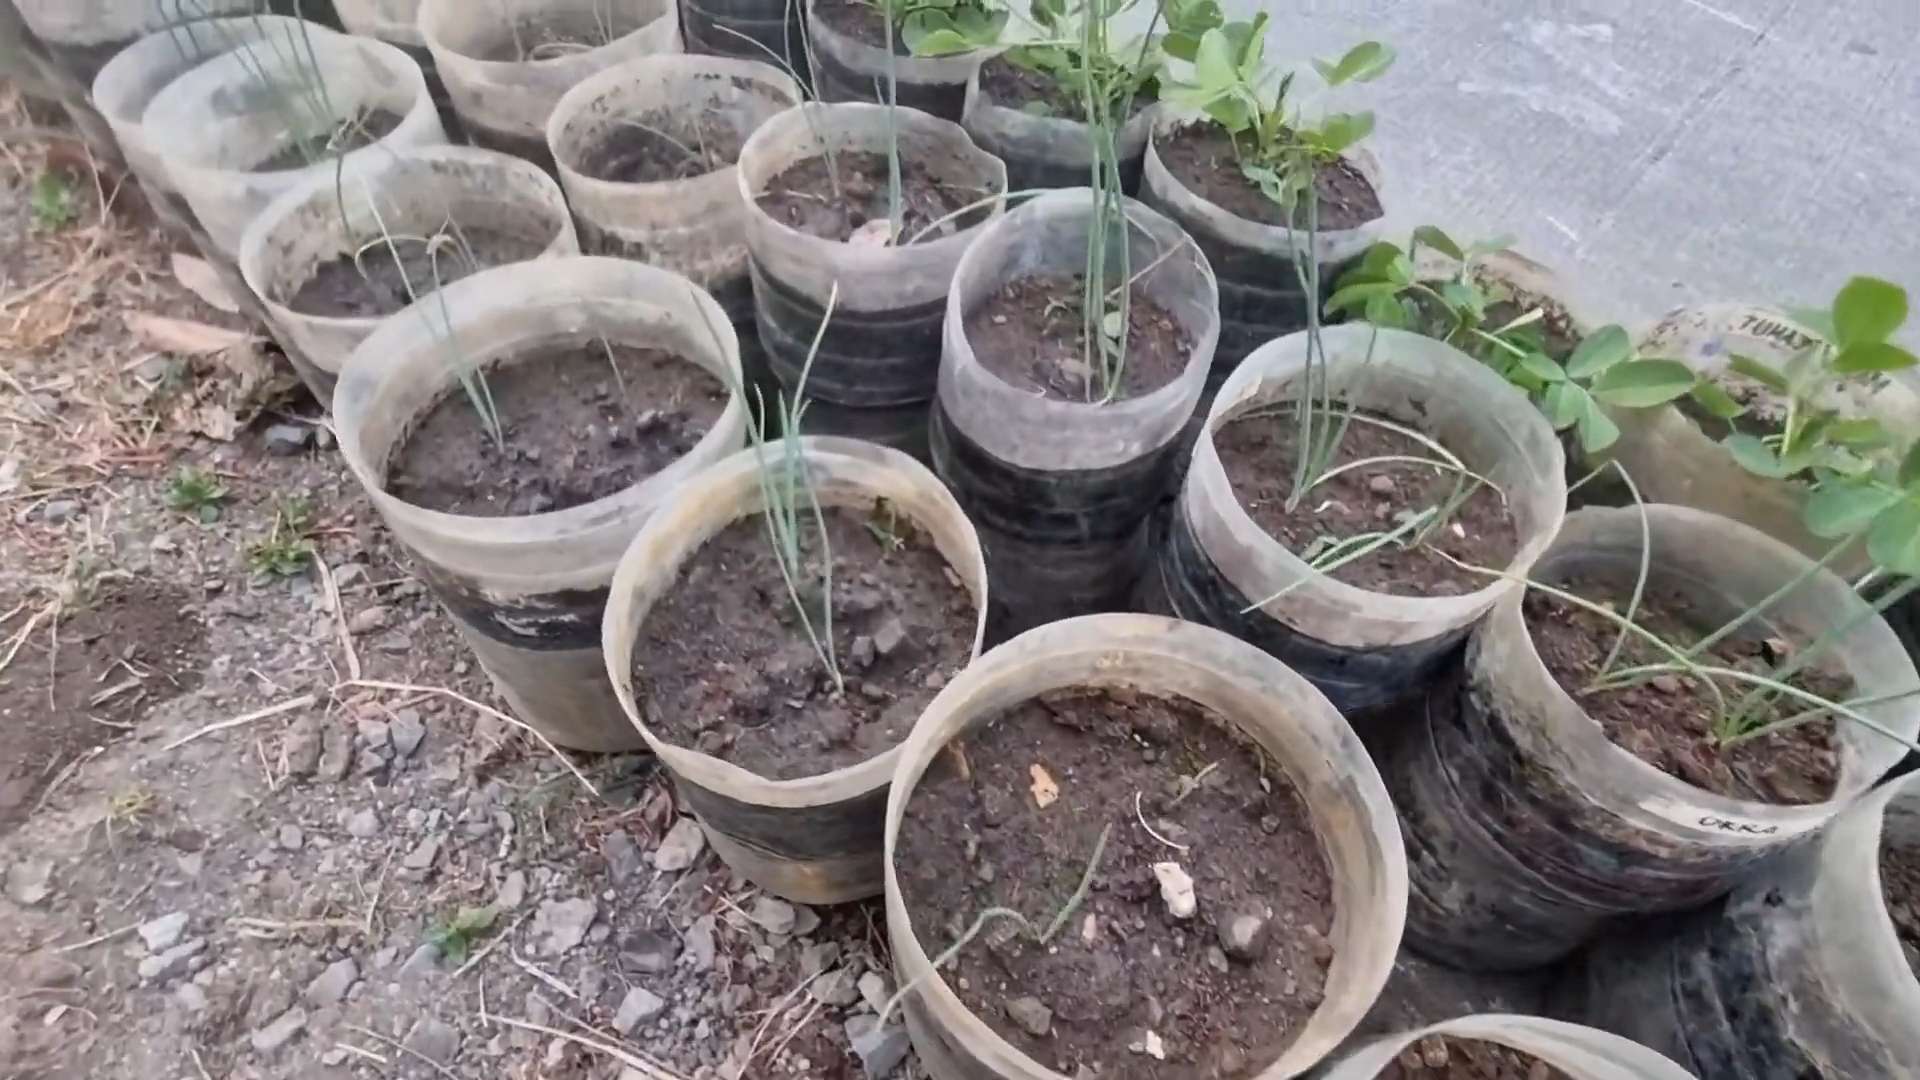
Q: Can I grow onions in containers?
A: Absolutely! Growing onions in containers is a great option if you have limited space or want to protect your onions from pests and diseases. Choose a container that is at least 6-8 inches deep and has good drainage. Use a well-draining potting mix and water regularly. Be sure to fertilize your onions regularly, as container-grown plants tend to deplete nutrients more quickly.
Q: How often should I water my onions?
A: Onions need consistent moisture to thrive. Water deeply whenever the top inch of soil feels dry to the touch. Avoid overwatering, as this can lead to root rot. During hot, dry weather, you may need to water your onions more frequently.
Q: What kind of fertilizer should I use for onions?
A: Onions are heavy feeders and benefit from regular fertilization. Use a balanced fertilizer with a higher nitrogen content, such as a 10-10-10 or 20-20-20 fertilizer. Apply the fertilizer according to the package directions. You can also supplement with organic fertilizers, such as compost or manure.
Q: How do I know when my onions are ready to harvest?
A: Onions are typically ready to harvest when the tops begin to fall over and turn yellow or brown. This usually happens about 100-120 days after planting. Once the tops have fallen over, stop watering the onions and allow them to dry out in the ground for a few days. Then, carefully dig up the onions and cure them in a warm, dry place for 2-3 weeks.
Q: What does “curing” onions mean, and why is it important?
A: Curing onions is the process of drying them out after harvest to improve their storage life. To cure onions, spread them out in a single layer in a warm, dry, well-ventilated place, such as a garage or shed. Allow the onions to dry for 2-3 weeks, or until the necks are completely dry and the outer skins are papery. Curing helps to prevent rot and spoilage, allowing you to store your onions for several months.
Q: My onion plants are attracting pests. What should I do?
A: Onions can be susceptible to various pests, such as onion maggots, thrips, and aphids. To prevent pest problems, practice good garden hygiene, such as removing weeds and debris from around your onion plants. You can also use organic pest control methods, such as insecticidal soap or neem oil. If you have a severe infestation, you may need to use a chemical pesticide.
Q: Can I grow onions from scraps?
A: Yes, you can! This is a fantastic way to reduce food waste and propagate new onion plants. To grow onions from scraps, simply place the bottom of an onion (the part with the roots) in a glass of water, making sure that the bottom is submerged. Place the glass in a sunny location and change the water every day. After a few days, you should see new roots and green shoots emerging. Once the roots are well-developed, you can transplant the onion into a pot or garden bed.
Q: What are some common problems when growing onions, and how can I fix them?
A: Some common problems when growing onions include bolting (premature flowering), root rot, and pest infestations. Bolting can be caused by stress, such as extreme temperature fluctuations. To prevent bolting, choose bolt-resistant varieties and provide consistent care. Root rot can be caused by overwatering. To prevent root rot, ensure that your soil is well-draining and avoid overwatering. Pest infestations can be controlled with organic or chemical pest control methods.
Q: Can I grow different types of onions together?
A: Yes, you can generally grow different types of onions together, but it’s important to consider their individual needs. For example, long-day onions require more sunlight than short-day onions, so you’ll need to ensure that all of your onions are getting enough light. Also, be aware that some onion varieties may be more susceptible to certain pests or diseases than others.
Leave a Comment