
Bag Tying Hack: Are you tired of struggling with flimsy plastic bags that refuse to stay closed? Do your carefully stored snacks and garden goodies end up spilling all over the place? I know I’ve been there! It’s frustrating, wasteful, and frankly, a little embarrassing when you’re trying to offer someone a treat and it’s a crumbly mess.
While the humble plastic bag might seem like a modern invention, the concept of containing and carrying goods has been around for centuries. From woven baskets to leather pouches, humans have always sought ways to keep their belongings secure. But let’s face it, the modern plastic bag, while convenient, often lacks the secure closure we desperately need.
That’s where this simple, yet incredibly effective, bag tying hack comes in. It’s a game-changer for anyone who uses plastic bags – which, let’s be honest, is pretty much everyone! Whether you’re storing leftover food, organizing your craft supplies, or even collecting seeds from your garden, this trick will keep your bags tightly sealed and prevent unwanted spills. I’m going to show you a quick and easy method that will save you time, reduce waste, and keep your belongings neatly organized. Get ready to say goodbye to frustrating bag struggles and hello to a perfectly tied bag, every single time!
The Ultimate Bag Tying Hack: Never Struggle Again!
Okay, friends, let’s be honest. We’ve all been there. Standing in the kitchen, wrestling with a stubborn trash bag, trying to tie it closed without spilling the contents everywhere. Or maybe you’re out camping, desperately trying to seal a food bag to keep the critters away. It’s a universal struggle! But fear not, because I’m about to share a game-changing bag tying hack that will make your life SO much easier. This isn’t just any knot; it’s a secure, easy-to-undo, and surprisingly elegant solution. Get ready to say goodbye to frustrating bag-tying experiences!
What You’ll Need
Before we dive in, let’s gather our supplies. The best part? You probably already have everything you need!
* A bag (trash bag, grocery bag, sandwich bag – whatever you need to tie!)
* Your hands (obviously!)
* A little bit of patience (but trust me, you won’t need much!)
The Secret: The “Ears” Method
This hack revolves around creating two “ears” on the bag, which then interlock to form a secure knot. It sounds complicated, but I promise it’s incredibly simple once you get the hang of it.
Step-by-Step Instructions
Alright, let’s get started! Follow these steps carefully, and you’ll be a bag-tying pro in no time.
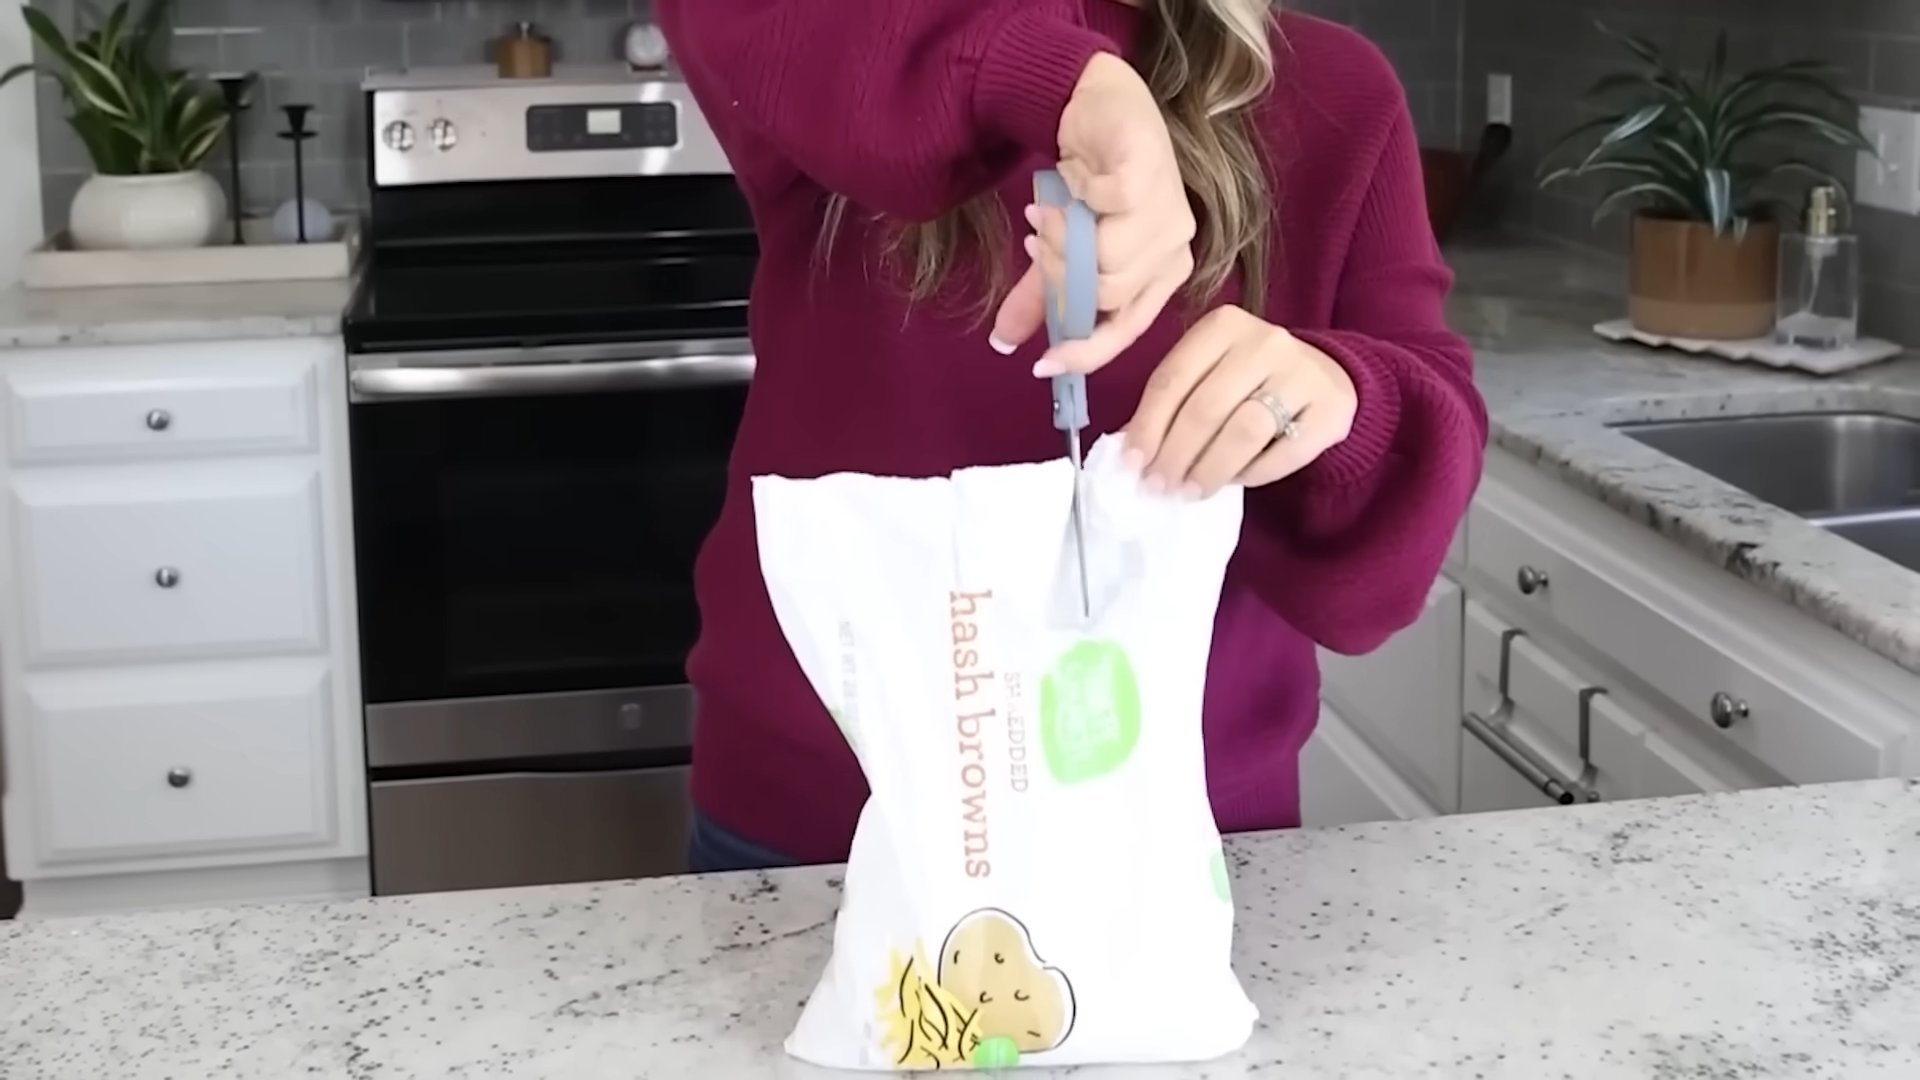
1. Gather the Bag Opening: First, gather the opening of your bag. Make sure you have enough excess material to work with. You don’t want to try this with a bag that’s stretched to its absolute limit! Leave a good 6-8 inches of extra bag material above the contents.
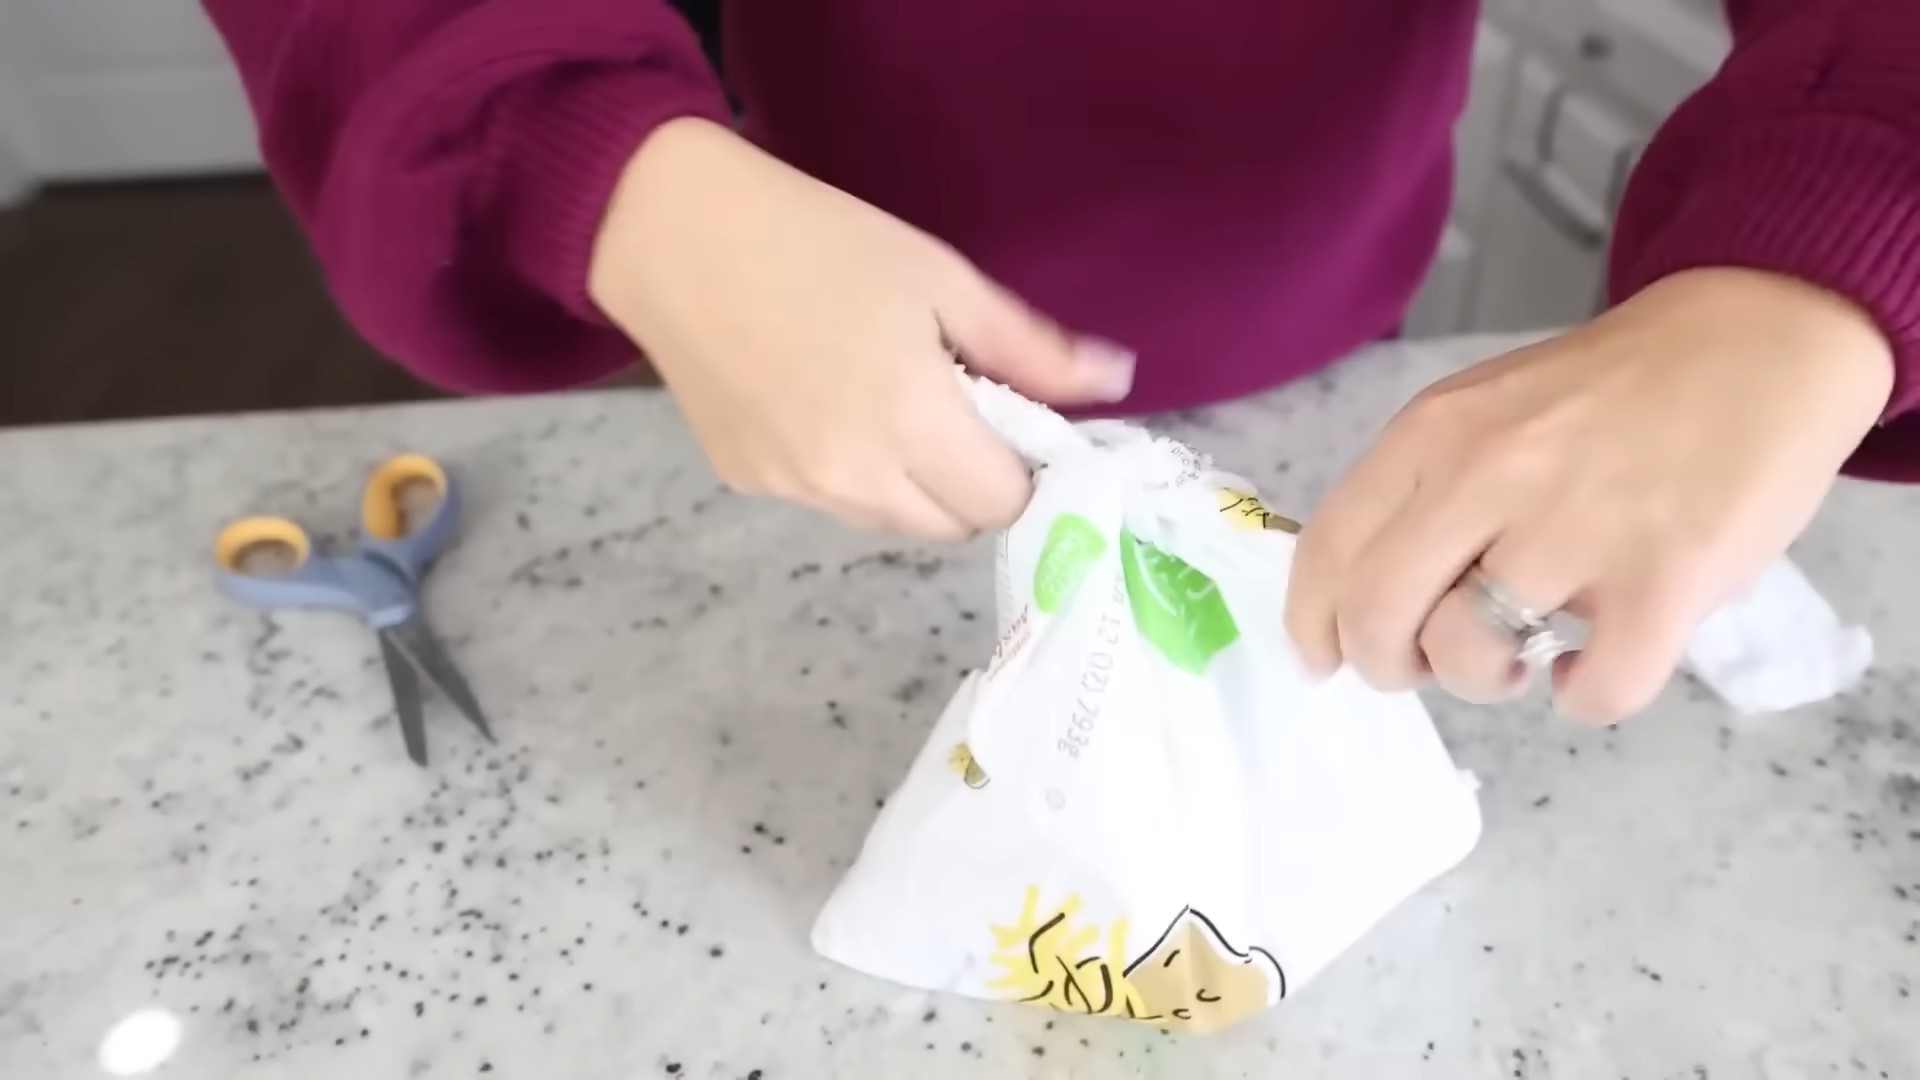
2. Create the First “Ear”: Now, take one side of the gathered bag opening and twist it. Twist it tightly, forming a rope-like strand. The tighter the twist, the more secure your knot will be. This is your first “ear.”
3. Form the First Loop: Take the twisted “ear” and create a loop. Hold the base of the loop firmly with one hand. The size of the loop doesn’t matter too much, but aim for something around 2-3 inches in diameter.
4. Create the Second “Ear”: Repeat the process on the other side of the bag opening. Twist the material tightly to create a second rope-like strand, mirroring the first “ear.”
5. Form the Second Loop: Just like before, take the second twisted “ear” and create a loop. Hold the base of this loop firmly as well. Now you should have two loops, one on each side of the bag opening.
6. Interlock the Loops: This is the magic step! Take one loop and pass it *through* the other loop. It’s like linking two rings together.
7. Tighten the Knot: Now, gently pull on both loops in opposite directions. As you pull, the knot will tighten and secure the bag opening. Be careful not to pull too hard, or you might tear the bag.
8. Adjust and Secure: Give the knot a final check. Make sure it’s tight and secure. You can adjust the loops slightly to ensure a snug fit. If you’re using a particularly flimsy bag, you might want to double-check the knot after a few minutes to make sure it hasn’t loosened.
Troubleshooting Tips
Even with the clearest instructions, sometimes things can go a little sideways. Here are some common issues and how to fix them:
* The Bag Keeps Tearing: If your bag is tearing when you tighten the knot, it’s likely too full or the material is too thin. Try using a thicker bag or removing some of the contents. Also, be gentle when tightening the knot. You don’t need to Hulk-smash it!
* The Knot Keeps Coming Undone: If the knot keeps slipping, it could be because your “ears” weren’t twisted tightly enough. Make sure to twist them firmly before forming the loops. Also, ensure you’re pulling the loops in opposite directions to properly tighten the knot.
* The Loops Are Too Short: If you don’t have enough material to create decent-sized loops, try gathering more of the bag opening before you start twisting. You can also try using a slightly different technique, like the “overhand knot” method (which I’ll explain later).
* The Bag is Too Full: Sometimes, the problem isn’t the knot, it’s the sheer volume of stuff inside the bag. If you’re struggling to close a bag that’s overflowing, consider using two bags instead of one. It’s better to be safe than sorry (and have trash spilling everywhere!).
Alternative Methods: Expanding Your Bag-Tying Arsenal
While the “Ears” method is my go-to, it’s always good to have a few tricks up your sleeve. Here are a couple of alternative bag-tying methods you might find useful:
The Overhand Knot
This is a classic, simple knot that works well for smaller bags or when you don’t have a lot of excess material.
1. Gather the Bag Opening: Just like before, gather the opening of the bag.
2. Form a Loop: Create a simple loop with the gathered material.
3. Pass the End Through the Loop: Take the end of the gathered material and pass it through the loop.
4. Tighten the Knot: Pull on the end to tighten the knot.
The overhand knot is quick and easy, but it’s not as secure as the “Ears” method. It’s best suited for lightweight items or situations where you don’t need a super-tight seal.
The Rubber Band Method
This isn’t technically a knot, but it’s a handy alternative when you don’t want to tie anything at all.
1. Gather the Bag Opening: Gather the opening of the bag.
2. Wrap a Rubber Band: Wrap a rubber band tightly around the gathered material.
3. Secure the Ends: Tuck the ends of the bag under the rubber band to prevent them from flapping around.
The rubber band method is great for temporary closures or when you need to quickly seal a bag. However, it’s not as reliable as a knot, and the rubber band can break or slip off.
Why This Hack is Awesome
Okay, so why am I so obsessed with this bag-tying hack? Here are a few reasons:
* It’s Secure: The “Ears” method creates a surprisingly strong knot that can withstand a decent amount of weight and pressure.
* It’s Easy to Undo: Unlike some knots that require Herculean strength to untie, this one comes undone easily with a simple tug on the loops.
* It’s Versatile: You can use this hack on all sorts of bags, from trash bags to grocery bags to even small sandwich bags.
* It’s Eco-Friendly (Sort Of): By creating a secure knot, you’re less likely to have bags break and spill their contents, which can help reduce litter and waste.
* It’s Just Plain Satisfying: There’s something oddly satisfying about mastering a simple skill that makes everyday life a little bit easier. Trust me, once you get the hang of this, you’ll be tying bags like a ninja!
Beyond Trash Bags: Other Uses for This Hack
While I initially learned this hack for dealing with trash bags, I’ve since discovered that it’s useful in all sorts of situations:
* Food Storage: Use it to seal bags of chips, cereal, or other snacks to keep them fresh.
* Camping: Secure food bags to protect them from animals.
* Gardening: Tie up plant stems or secure bags of soil.
* Travel: Keep your toiletries organized and prevent leaks in your suitcase.
* Crafting: Organize and store craft supplies.
The possibilities are endless! Once you start using this hack, you’ll find yourself reaching for it all the time.
Practice Makes Perfect
Like any new skill, mastering this bag-tying hack takes a little bit of practice. Don’t get discouraged if you don’t get it right away. Just keep practicing, and you’ll be tying bags like a pro in no time. I recommend grabbing a few empty bags and practicing the steps until they become second nature. You can even turn it into a fun game with your kids!
So there you have it! The ultimate bag-tying hack that will change your life (or at least make it a little bit easier). Give it a try, and let me know what you think in the comments below! Happy tying!
Conclusion
So, there you have it! This simple bag tying hack is more than just a neat trick; it’s a game-changer for anyone who regularly deals with bags – from kitchen trash to garden waste, and everything in between. We’ve all been there, wrestling with stubborn bags, struggling to get a secure knot, or dealing with overflowing messes because the bag slipped open. This method eliminates those frustrations, offering a clean, efficient, and surprisingly satisfying solution.
Why is this a must-try? Because it saves you time, reduces mess, and ultimately makes your life a little bit easier. Think about it: no more fumbling with slippery plastic, no more double-knotting (which is often impossible anyway!), and no more worrying about leaks or spills. This bag tying hack provides a secure closure that keeps everything contained, whether you’re disposing of garbage, storing leftovers, or organizing supplies.
But the beauty of this hack lies not only in its simplicity but also in its adaptability. Feel free to experiment with variations to suit your specific needs. For example, if you’re dealing with particularly heavy or bulky items, you might consider using a slightly thicker bag or reinforcing the knot with a small piece of tape. For smaller bags, you can adjust the length of the loop to create a tighter seal.
Consider using this method for more than just trash bags. It’s perfect for sealing bags of potting soil, securing bags of pet food, or even organizing craft supplies. The possibilities are endless! You can even use different colored bags and tie them with this method to color-code your recycling or storage system. Imagine a pantry where every bag of flour, sugar, or rice is neatly tied and easily identifiable.
We understand that trying something new can sometimes feel daunting, but trust us, this bag tying hack is incredibly easy to master. Once you’ve done it a few times, it will become second nature. You’ll wonder how you ever managed without it!
We wholeheartedly encourage you to give this DIY trick a try. We’re confident that you’ll be impressed with its effectiveness and convenience. And more importantly, we want to hear about your experience! Share your thoughts, tips, and variations in the comments below. Did you find it helpful? Did you discover any new uses for it? Your feedback will not only help us improve this guide but also inspire other readers to embrace this simple yet powerful solution. Let’s create a community of efficient bag-tying enthusiasts!
Don’t just take our word for it – try this bag tying hack today and experience the difference for yourself. You might be surprised at how much easier and more organized your life can become with this simple trick. It’s a small change that can make a big impact.
Frequently Asked Questions (FAQ)
What kind of bags does this bag tying hack work best with?
This bag tying hack is incredibly versatile and works well with a wide variety of bags. It’s particularly effective with plastic trash bags, grocery bags, and even thicker garbage bags. The key is to ensure that the bag material is flexible enough to create the initial loop and knot. While it might not be ideal for very thin or flimsy bags, it generally works well with most common household and commercial bag types. Experiment with different bag thicknesses to find what works best for you. For very heavy-duty bags, you might need to adjust the tightness of the initial loop.
Is this bag tying method secure enough for heavy garbage?
Yes, absolutely! This method creates a surprisingly secure knot that can withstand a significant amount of weight. The key is to ensure that you pull the knot tight after creating the loop. The tighter the knot, the more secure the closure will be. For extremely heavy garbage bags, you might consider reinforcing the knot with a small piece of duct tape or using a slightly thicker bag. However, in most cases, the standard bag tying hack will provide ample security for even the heaviest loads.
Can I use this method for bags other than trash bags?
Definitely! This bag tying hack is not limited to just trash bags. It’s a fantastic solution for sealing bags of all kinds. Consider using it for:
* **Food Storage:** Sealing bags of chips, cereal, or other snacks to keep them fresh.
* **Gardening:** Securing bags of potting soil, fertilizer, or mulch.
* **Pet Supplies:** Closing bags of pet food, cat litter, or birdseed.
* **Craft Supplies:** Organizing beads, buttons, yarn, or other small craft items.
* **Travel:** Packing clothes or toiletries in plastic bags to prevent leaks.
* **Recycling:** Separating and securing different types of recyclable materials.
The possibilities are truly endless!
What if the bag is too full to tie easily?
If the bag is overflowing, making it difficult to create the initial loop, try these tips:
* **Compress the Contents:** Gently press down on the contents of the bag to reduce the volume.
* **Use a Larger Bag:** If possible, transfer the contents to a larger bag that has more room for tying.
* **Twist the Top:** Twist the top of the bag tightly before creating the loop. This will help to compress the contents and create a more manageable shape.
* **Enlist Help:** Ask someone to hold the bag while you tie it.
Is there a way to make the knot easier to untie?
While the primary goal is a secure knot, there are ways to make it easier to untie if needed:
* **Avoid Over-Tightening:** Don’t pull the knot excessively tight. A snug knot is sufficient.
* **Leave a Small Loop:** When tightening the knot, leave a small loop at the end. This loop can be used to easily grip and pull the knot open.
* **Use a Tool:** If you’re having trouble untying the knot with your fingers, use a small tool like a pen or screwdriver to help loosen it.
Does this method work with biodegradable bags?
Yes, this method generally works with biodegradable bags, but it’s important to be gentle. Biodegradable bags are often more delicate than traditional plastic bags, so avoid pulling the knot too tightly. The key is to find the right balance between a secure closure and preventing the bag from tearing. If you’re concerned about the bag’s strength, consider using a slightly thicker biodegradable bag or reinforcing the knot with a small piece of biodegradable tape.
What if I have trouble creating the initial loop?
Creating the initial loop is the most crucial step in this bag tying hack. If you’re having difficulty, try these tips:
* **Practice:** Like any new skill, practice makes perfect. Don’t get discouraged if you don’t get it right away.
* **Use a Flat Surface:** Lay the bag on a flat surface to make it easier to manipulate.
* **Start with a Small Loop:** Begin with a small loop and gradually increase the size until you find the right length.
* **Watch a Video:** If you’re a visual learner, search for a video tutorial of this bag tying hack. Seeing the process in action can be incredibly helpful.
Can this method be used for vacuum-sealed bags?
While this method is primarily designed for standard bags, it can be adapted for vacuum-sealed bags, especially if you need to reseal them after opening. However, it won’t recreate the vacuum seal. Instead, it will provide a secure closure to prevent air from entering the bag. Just be mindful of the bag’s material and avoid over-tightening the knot, as vacuum-sealed bags can sometimes be more fragile.
How does this bag tying hack compare to using twist ties?
This bag tying hack offers several advantages over using twist ties:
* **Security:** The knot created by this method is generally more secure than a twist tie, especially for heavy or bulky items.
* **Cost-Effectiveness:** This method doesn’t require any additional materials, whereas twist ties need to be purchased separately.
* **Convenience:** You don’t have to search for a twist tie every time you need to seal a bag.
* **Environmental Friendliness:** This method reduces the need for disposable twist ties, making it a more sustainable option.
While twist ties can be useful in certain situations, this bag tying hack provides a more reliable and eco-friendly solution for most bag-sealing needs.


Leave a Comment