
Growing Malabar Spinach for Beginners can seem daunting, but trust me, it’s easier than you think! Have you ever dreamed of stepping into your backyard and harvesting fresh, vibrant greens for a delicious and nutritious meal? Imagine the satisfaction of knowing exactly where your food comes from and that it’s free from harmful chemicals. That’s the magic of home gardening, and Malabar Spinach is a fantastic place to start.
Malabar Spinach, also known as Basella alba, isn’t actually a true spinach, but a climbing vine with succulent leaves that offer a similar flavor profile. Its origins trace back to Southeast Asia and Africa, where it has been cultivated for centuries, not only for its culinary uses but also for its medicinal properties. It’s a staple in many Asian cuisines, adding a unique texture and subtle earthy taste to stir-fries, soups, and salads.
So, why should you learn growing Malabar Spinach for beginners? Well, in today’s world, we’re all becoming more conscious of what we eat and where it comes from. Plus, with rising grocery prices, growing your own food is a smart way to save money and reduce your carbon footprint. This DIY guide will provide you with simple, step-by-step instructions and clever hacks to ensure your Malabar Spinach thrives, even if you’re a complete gardening novice. I’m here to guide you through the process, making it fun, rewarding, and ultimately, delicious!
Growing Malabar Spinach: A Beginner’s Guide to Lush, Leafy Greens
Okay, so you want to grow Malabar spinach? Awesome choice! It’s a fantastic, heat-tolerant alternative to regular spinach, especially if you live in a warmer climate. Plus, it’s super easy to grow, even if you’re a complete beginner. I’m going to walk you through everything you need to know, from starting seeds to harvesting your delicious, leafy bounty. Let’s get started!
What is Malabar Spinach Anyway?
Before we dive in, let’s clarify what we’re talking about. Malabar spinach (Basella alba or Basella rubra) isn’t actually spinach at all! It’s a vine that produces thick, succulent leaves that taste similar to spinach, but with a slightly peppery or citrusy note. It thrives in hot weather where regular spinach would bolt (go to seed). It’s also incredibly ornamental, with beautiful green or reddish-purple stems and leaves, making it a great addition to your garden even if you’re not just in it for the food.
Getting Started: Seeds vs. Seedlings
You have two main options for starting your Malabar spinach journey: seeds or seedlings.
* Seeds: Starting from seed is more economical, but it requires a bit more patience. Malabar spinach seeds have a tough outer coating, so they need a little help to germinate.
* Seedlings: Buying seedlings from a nursery is faster and easier, but it’s usually more expensive. If you’re short on time or just want a head start, this is a great option.
I personally prefer starting from seed because I find it more rewarding, and it gives me more control over the entire process. But hey, no judgment here! Choose whichever method works best for you.
Preparing Your Seeds for Success (If Starting from Seed)
As I mentioned, Malabar spinach seeds have a hard outer shell that can make germination tricky. Here’s how to give them a helping hand:
1. Scarification: This involves gently scratching or nicking the seed coat to allow water to penetrate more easily. You can use a nail file, sandpaper, or even a sharp knife (be careful!). Just lightly scratch the surface of each seed – you don’t need to go deep.
2. Soaking: After scarifying, soak the seeds in warm water for 12-24 hours. This will further soften the seed coat and encourage germination. I usually put them in a small bowl of water on my kitchen counter.
Sowing Your Seeds
Now that your seeds are prepped, it’s time to sow them!
1. Choose Your Planting Location: Malabar spinach needs plenty of sunlight (at least 6 hours a day) and well-draining soil. If you’re planting in the ground, choose a spot that gets plenty of sun and amend the soil with compost or other organic matter to improve drainage. If you’re planting in containers, use a good-quality potting mix.
2. Sow the Seeds: Sow the seeds about ½ inch deep and 1-2 inches apart. If you’re planting in rows, space the rows about 12-18 inches apart.
3. Water Gently: Water the soil gently after sowing to avoid disturbing the seeds. Keep the soil consistently moist but not waterlogged.
4. Provide Warmth: Malabar spinach seeds germinate best in warm temperatures (70-80°F). If you’re starting seeds indoors, you can use a heat mat to provide bottom heat.
5. Be Patient: Germination can take anywhere from 7-21 days, so don’t get discouraged if you don’t see sprouts right away. Just keep the soil moist and warm, and they’ll eventually pop up.
Transplanting Seedlings (If Starting from Seedlings)
If you bought seedlings from a nursery, you’ll need to transplant them into your garden or containers.
1. Harden Off Seedlings: Before transplanting, it’s important to harden off your seedlings. This means gradually exposing them to outdoor conditions over a period of 7-10 days. Start by placing them in a sheltered spot outdoors for a few hours each day, gradually increasing the amount of time they spend outside. This will help them adjust to the sun, wind, and temperature changes.
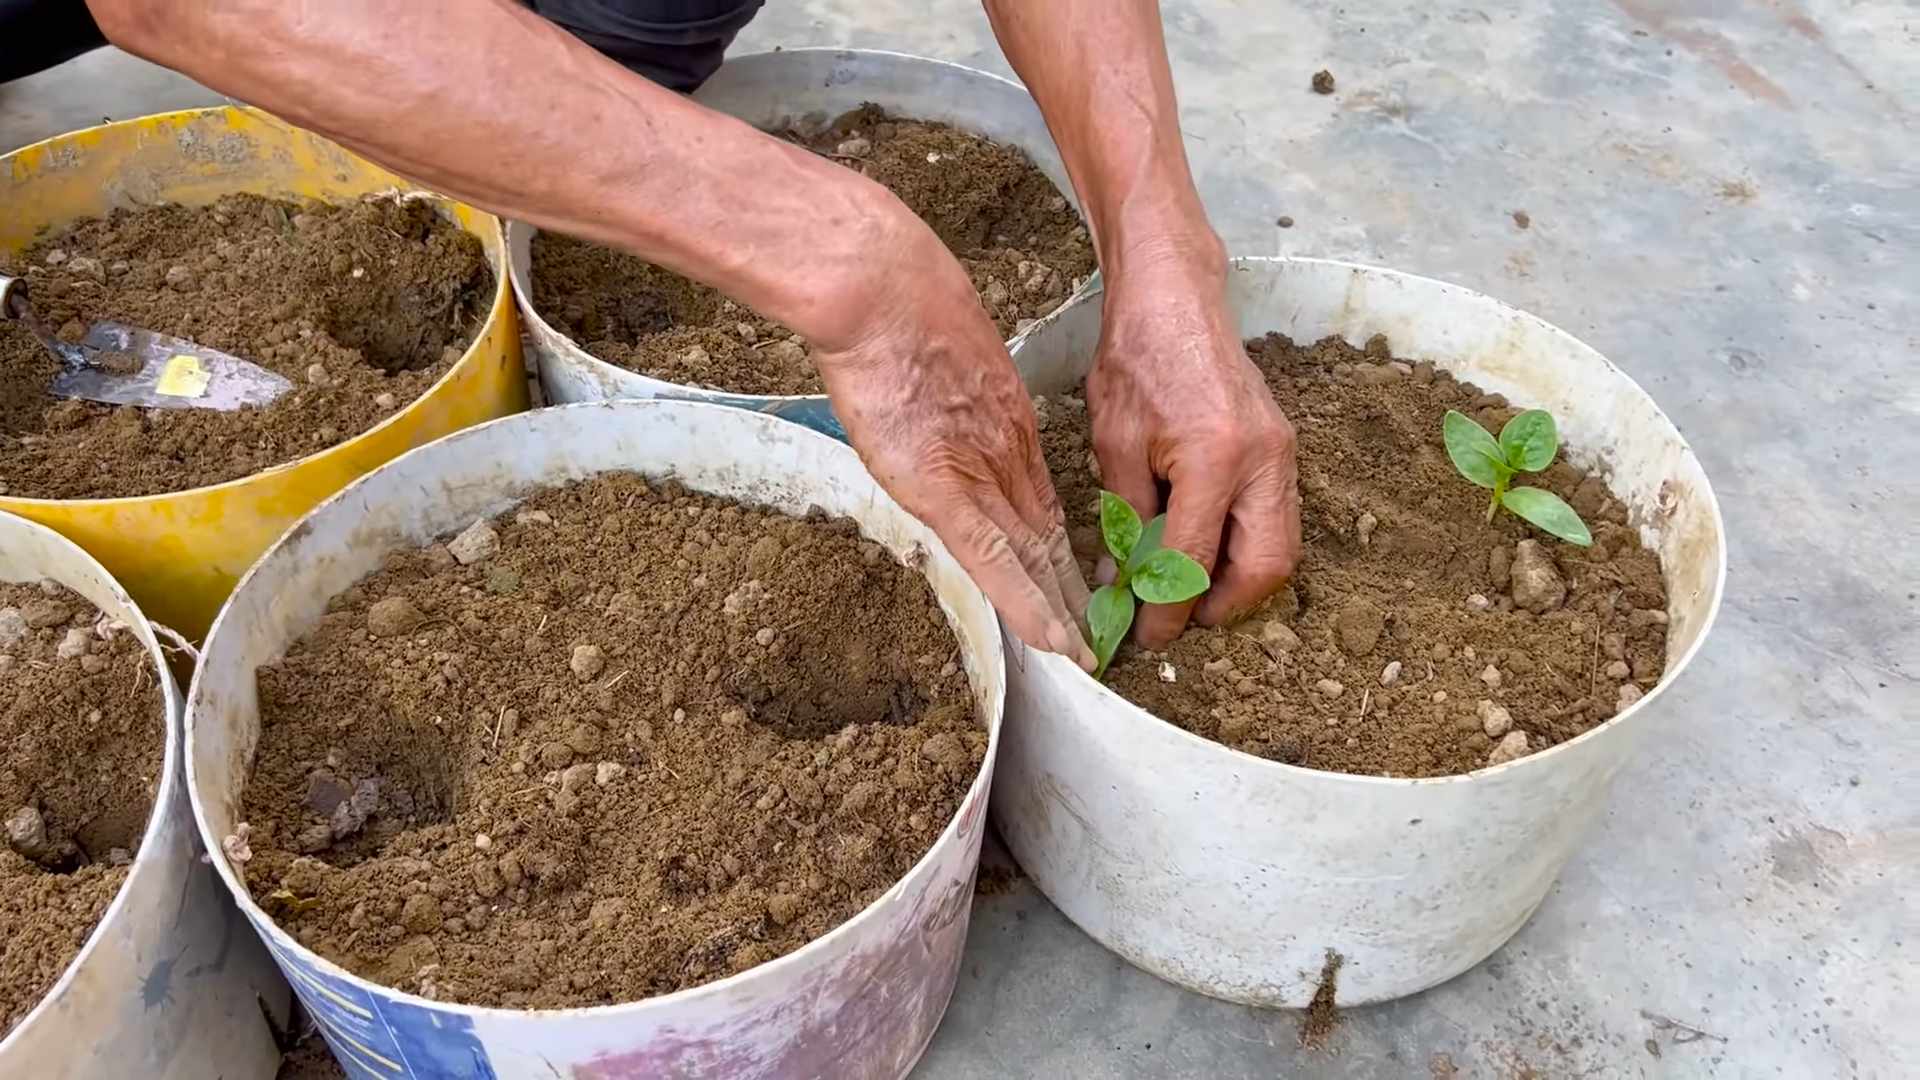
2. Prepare the Planting Hole: Dig a hole that’s slightly larger than the root ball of the seedling.
3. Gently Remove Seedling: Carefully remove the seedling from its container, being careful not to damage the roots.
4. Place Seedling in Hole: Place the seedling in the hole, making sure the top of the root ball is level with the surrounding soil.
5. Fill and Water: Fill the hole with soil and gently pat it down. Water thoroughly.
Caring for Your Malabar Spinach
Once your Malabar spinach is established, it’s relatively low-maintenance. Here’s what you need to do to keep it happy and healthy:
* Watering: Water regularly, especially during hot, dry weather. Malabar spinach prefers consistently moist soil, but avoid overwatering, which can lead to root rot.
* Fertilizing: Fertilize every 2-3 weeks with a balanced fertilizer. You can also use compost tea or other organic fertilizers.
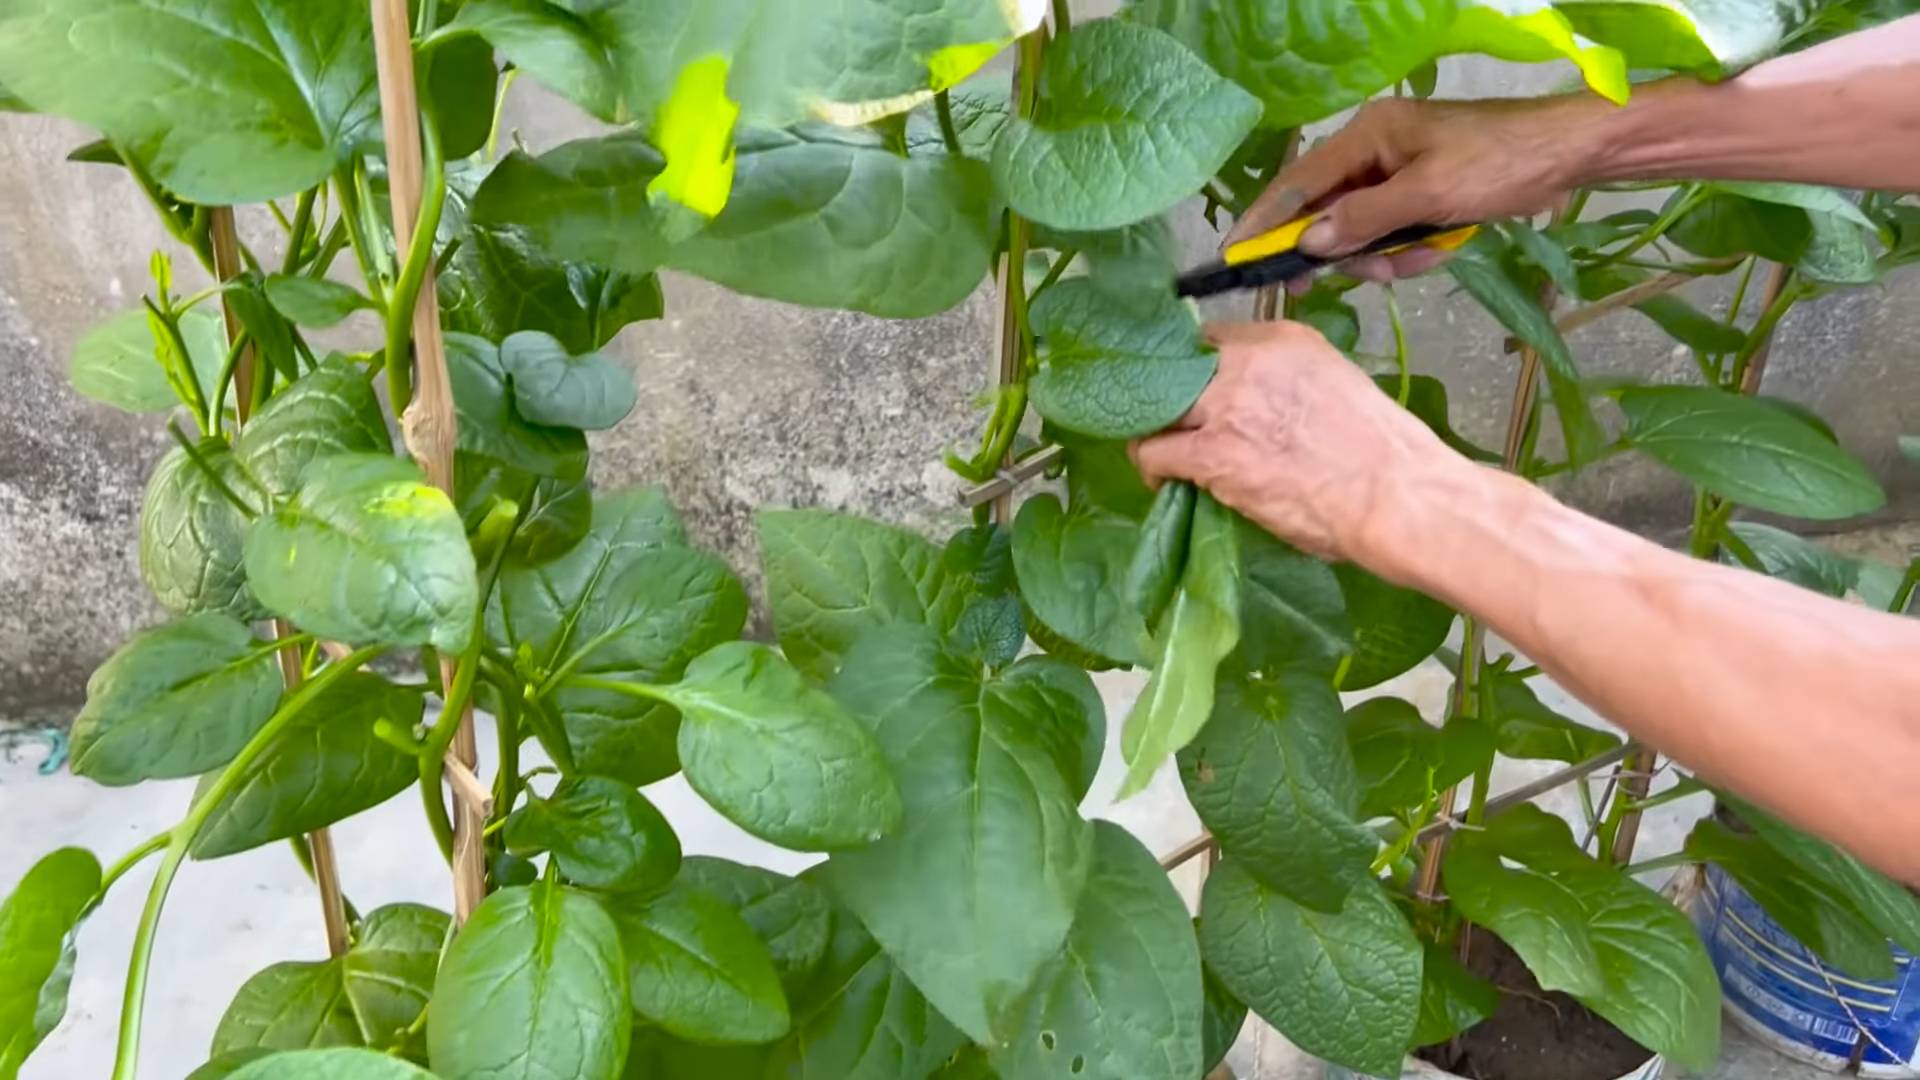
* Support: Malabar spinach is a vine, so it needs something to climb on. You can use a trellis, fence, or even a sturdy stake. I’ve found that a simple bamboo trellis works wonders.
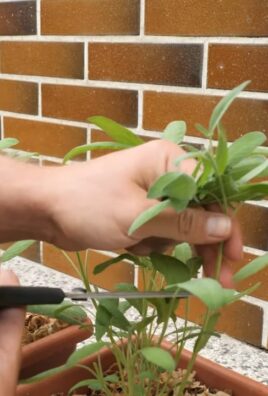
* Pruning: Prune regularly to encourage bushier growth and prevent the vine from getting too leggy. Simply pinch off the tips of the stems.
* Pest Control: Malabar spinach is generally pest-resistant, but it can occasionally be bothered by aphids or spider mites. If you notice any pests, you can spray them with insecticidal soap or neem oil.
Harvesting Your Bounty
The best part! You can start harvesting Malabar spinach leaves as soon as the plant is large enough, usually about 6-8 weeks after planting.
1. Harvest Regularly: The more you harvest, the more the plant will produce.
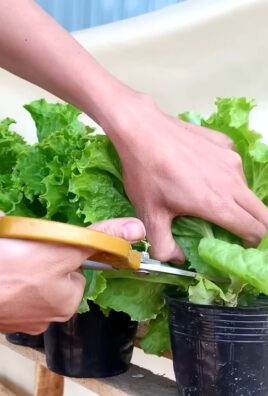
2. Pinch or Cut Leaves: Simply pinch or cut off the leaves and stems as needed.
3. Harvest Young Leaves: Young leaves are more tender and flavorful than older leaves.
4. Enjoy Fresh: Malabar spinach is best enjoyed fresh, but it can also be stored in the refrigerator for a few days.
Using Your Malabar Spinach
Now that you’ve got a pile of fresh Malabar spinach, what do you do with it? Here are a few ideas:
* Salads: Add it to salads for a slightly peppery flavor.
* Soups and Stews: Use it in soups and stews as a substitute for regular spinach.
* Stir-fries: Stir-fry it with garlic, ginger, and other vegetables.
* Smoothies: Add it to smoothies for a boost of nutrients.
* Steamed or Sautéed: Steam or sauté it with a little olive oil and garlic.
I personally love adding it to my stir-fries. It adds a wonderful texture and flavor.
Troubleshooting
Even with the best care, you might encounter a few problems along the way. Here are some common issues and how to fix them:
* Yellowing Leaves: This could be a sign of overwatering, nutrient deficiency, or pest infestation. Check the soil moisture and adjust your watering schedule accordingly. Fertilize with a balanced fertilizer. Inspect the leaves for pests and treat as needed.
* Slow Growth: This could be due to lack of sunlight, poor soil, or cool temperatures. Make sure your plant is getting enough sunlight and amend the soil with compost or other organic matter. If the weather is cool, consider moving the plant to a warmer location.
* Pest Infestation: Aphids and spider mites are the most common pests of Malabar spinach. Spray them with insecticidal soap or neem oil.
Saving Seeds for Next Year
If you want to save seeds from your Malabar spinach plant for next year, here’s how:
1. Allow Flowers to Develop: Allow some of the flowers to develop into berries.
2. Let Berries Ripen: Let the berries ripen on the vine until they turn dark purple or black.
3. Harvest Berries: Harvest the berries and remove the seeds.
4. Dry Seeds: Dry the seeds thoroughly in a cool, dry place.
5. Store Seeds: Store the seeds in an airtight container in a cool, dark place.
Extra Tips for Success
* Choose the Right Variety: There are two main varieties of Malabar spinach: green and red. The red variety is slightly more ornamental, but both are equally delicious.
* Plant in Succession: Plant new seeds every few weeks to ensure a continuous
Conclusion
So, there you have it! Growing Malabar spinach from seed to harvest is not only achievable for beginners, but it’s also incredibly rewarding. Forget those expensive trips to specialty grocery stores – with a little patience and these simple steps, you can have a continuous supply of fresh, nutritious, and delicious Malabar spinach right in your own backyard or balcony.
Why is this DIY trick a must-try? Because it empowers you to control the quality and freshness of your food. You know exactly what goes into your Malabar spinach, avoiding any unwanted pesticides or chemicals. Plus, the taste of homegrown produce is simply unmatched. It’s more vibrant, more flavorful, and more satisfying than anything you can buy in a store.
But the benefits don’t stop there. Growing Malabar spinach is also an excellent way to connect with nature, reduce your carbon footprint, and add a beautiful, vining plant to your garden. It’s a conversation starter, a source of pride, and a delicious addition to your meals.
Looking for variations? Consider growing Malabar spinach in containers if you have limited space. Experiment with different trellising methods to create a stunning vertical garden. Try growing it alongside other climbing vegetables like beans or cucumbers for a synergistic effect. You can even propagate new plants from cuttings, expanding your Malabar spinach empire with ease.
And don’t be afraid to get creative in the kitchen! Malabar spinach is incredibly versatile. Use it in stir-fries, soups, salads, or even as a substitute for spinach in your favorite recipes. Its slightly mucilaginous texture adds a unique thickness to dishes, while its mild, earthy flavor complements a wide range of ingredients.
We wholeheartedly encourage you to give this DIY trick a try. It’s easier than you think, and the rewards are well worth the effort. Imagine the satisfaction of harvesting your own fresh greens, knowing that you grew them yourself from seed. It’s a truly empowering experience.
Once you’ve embarked on your Malabar spinach growing journey, we’d love to hear about your experience! Share your tips, tricks, and photos in the comments below. Let’s create a community of Malabar spinach enthusiasts and inspire others to grow their own food. Happy gardening! Remember, mastering the art of **growing Malabar spinach** is a journey, not a destination. Enjoy the process, learn from your mistakes, and savor the delicious rewards.
Frequently Asked Questions (FAQ)
What are the best growing conditions for Malabar spinach?
Malabar spinach thrives in warm, sunny locations with well-drained soil. It needs at least 6 hours of direct sunlight per day to grow vigorously. The ideal soil temperature for germination is between 70°F and 80°F (21°C and 27°C). Ensure the soil is rich in organic matter and has good drainage to prevent root rot. Consistent moisture is crucial, especially during hot weather, but avoid overwatering, which can also lead to problems.
How long does it take for Malabar spinach to germinate?
Germination can take anywhere from 10 to 21 days, depending on the temperature and moisture levels. To speed up the process, you can scarify the seeds by gently rubbing them with sandpaper or soaking them in warm water for 24 hours before planting. Keep the soil consistently moist but not waterlogged during the germination period. Using a heat mat can also help maintain the optimal soil temperature.
What kind of support does Malabar spinach need?
Malabar spinach is a climbing vine, so it requires a trellis, fence, or other support structure to grow vertically. This not only saves space but also improves air circulation and reduces the risk of fungal diseases. A sturdy trellis made of wood, metal, or even strong netting will work well. As the plant grows, gently guide the vines onto the support structure and tie them loosely if needed.
How often should I water Malabar spinach?
Water Malabar spinach regularly, especially during hot and dry periods. The soil should be kept consistently moist but not waterlogged. Check the soil moisture by sticking your finger about an inch deep. If the soil feels dry, it’s time to water. Water deeply and thoroughly, allowing the water to soak into the soil. Avoid overhead watering, which can promote fungal diseases.
How do I fertilize Malabar spinach?
Malabar spinach is a heavy feeder and benefits from regular fertilization. Use a balanced organic fertilizer, such as compost tea or fish emulsion, every 2-3 weeks. You can also amend the soil with compost or well-rotted manure before planting. Avoid using excessive amounts of nitrogen fertilizer, as this can promote leafy growth at the expense of flavor and overall plant health.
When is the best time to harvest Malabar spinach?
You can start harvesting Malabar spinach leaves as soon as they are large enough to use, typically about 4-6 weeks after planting. Harvest the young, tender leaves for the best flavor and texture. Regular harvesting encourages the plant to produce more leaves. Simply snip off the leaves with scissors or pinch them off with your fingers. Avoid harvesting more than one-third of the plant at a time to allow it to continue growing.
What are some common pests and diseases that affect Malabar spinach?
Malabar spinach is relatively pest-resistant, but it can be susceptible to aphids, spider mites, and snails. Inspect your plants regularly for signs of infestation and take action promptly. You can control aphids and spider mites with insecticidal soap or neem oil. Handpick snails and slugs or use organic snail bait. Fungal diseases, such as leaf spot, can occur in humid conditions. Improve air circulation by providing adequate spacing between plants and avoid overhead watering.
Can I grow Malabar spinach in containers?
Yes, Malabar spinach grows well in containers, making it a great option for gardeners with limited space. Choose a large container with good drainage holes. Use a well-draining potting mix that is rich in organic matter. Provide a trellis or other support structure for the vines to climb. Water regularly and fertilize every 2-3 weeks. Place the container in a sunny location that receives at least 6 hours of direct sunlight per day.
How do I save Malabar spinach seeds for next year?
To save seeds, allow some of the flowers to mature and form berries. The berries will turn dark purple or black when they are ripe. Harvest the berries and remove the seeds. Allow the seeds to dry completely before storing them in an airtight container in a cool, dark, and dry place. Properly stored seeds can remain viable for several years.
Is Malabar spinach safe to eat raw?
While Malabar spinach is generally safe to eat raw in small quantities, some people may find the texture slightly mucilaginous. Cooking the leaves reduces this texture and enhances the flavor. If you prefer to eat it raw, choose young, tender leaves and add them to salads or sandwiches.

Leave a Comment