
Cucumber Growing Beginners Guide: Your path to crisp, homegrown cucumbers starts right here! Have you ever dreamt of strolling into your backyard and plucking a perfectly ripe cucumber, bursting with flavor, straight from the vine? I know I have, and let me tell you, it’s easier than you think! For centuries, cucumbers have been a staple in diets around the world, dating back to ancient India. They’re not just delicious; they’re packed with nutrients and incredibly versatile in the kitchen.
But let’s be honest, the thought of starting a garden can be daunting. Where do you even begin? That’s where this Cucumber Growing Beginners Guide comes in. I’m going to walk you through everything you need to know, from choosing the right cucumber variety to troubleshooting common problems. Forget those bland, store-bought cucumbers – with a few simple tricks and a little bit of effort, you can enjoy a bountiful harvest of fresh, flavorful cucumbers right from your own backyard.
This guide is designed to empower even the most novice gardener. We’ll cover everything from seed starting to harvesting, ensuring you have all the knowledge you need to succeed. So, grab your gardening gloves, and let’s get started on your cucumber-growing adventure!
Grow Your Own Spinach: A Beginner’s Guide to a Bountiful Harvest!
Hey there, fellow gardening enthusiasts! I’m so excited to share my secrets to growing delicious, vibrant spinach right in your own backyard (or even on your balcony!). Spinach is a nutritional powerhouse, packed with vitamins and minerals, and nothing beats the taste of freshly picked, homegrown greens. Trust me, once you taste the difference, you’ll never go back to store-bought!
This guide will walk you through every step, from choosing the right variety to harvesting your leafy bounty. Let’s get started!
Choosing the Right Spinach Variety
First things first, let’s talk spinach varieties. Not all spinach is created equal! Some are better suited for certain climates and growing seasons. Here are a few of my favorites:
* Savoy Spinach: These varieties have crinkled, curly leaves and a rich flavor. They’re cold-hardy and great for fall and winter harvests. Popular choices include ‘Bloomsdale Long Standing’ and ‘Melody’.
* Smooth-Leaf Spinach: As the name suggests, these have smooth, flat leaves. They’re easier to clean and often preferred for salads. ‘Space’ and ‘Tyee’ are excellent smooth-leaf options.
* Semi-Savoy Spinach: A happy medium between the two! They have slightly crinkled leaves and good disease resistance. ‘Regiment’ is a reliable semi-savoy variety.
* Malabar Spinach: While technically not true spinach, Malabar spinach thrives in hot weather when other spinach varieties bolt (go to seed). It has thick, fleshy leaves and a slightly different flavor, but it’s a great alternative for summer greens.
Consider your local climate and growing season when making your choice. Check seed packets for specific recommendations.
Preparing Your Spinach Bed
Spinach loves well-drained, fertile soil with a pH between 6.5 and 7.0. Here’s how I prepare my spinach bed:
* Sunlight: Spinach needs at least 3-4 hours of direct sunlight per day. Morning sun is ideal, as it helps dry the leaves and prevent fungal diseases.
* Soil Preparation:
* Clear the area: Remove any weeds, rocks, and debris from the planting area.
* Amend the soil: Spinach is a heavy feeder, so it needs nutrient-rich soil. I like to amend my soil with plenty of compost or well-rotted manure. This improves drainage, adds nutrients, and helps retain moisture.
* Loosen the soil: Use a garden fork or tiller to loosen the soil to a depth of at least 12 inches. This allows the spinach roots to penetrate easily.
* Smooth the surface: Rake the soil smooth to create a level planting surface.
* Raised Beds vs. In-Ground Planting: Spinach grows well in both raised beds and in-ground gardens. Raised beds offer better drainage and soil control, but in-ground planting is perfectly fine if your soil is well-drained.
Planting Your Spinach Seeds
Spinach is a cool-season crop, so the best time to plant is in early spring or early fall.
* Timing:
* Spring Planting: Plant spinach seeds 4-6 weeks before the last expected frost.
* Fall Planting: Plant spinach seeds 6-8 weeks before the first expected frost.
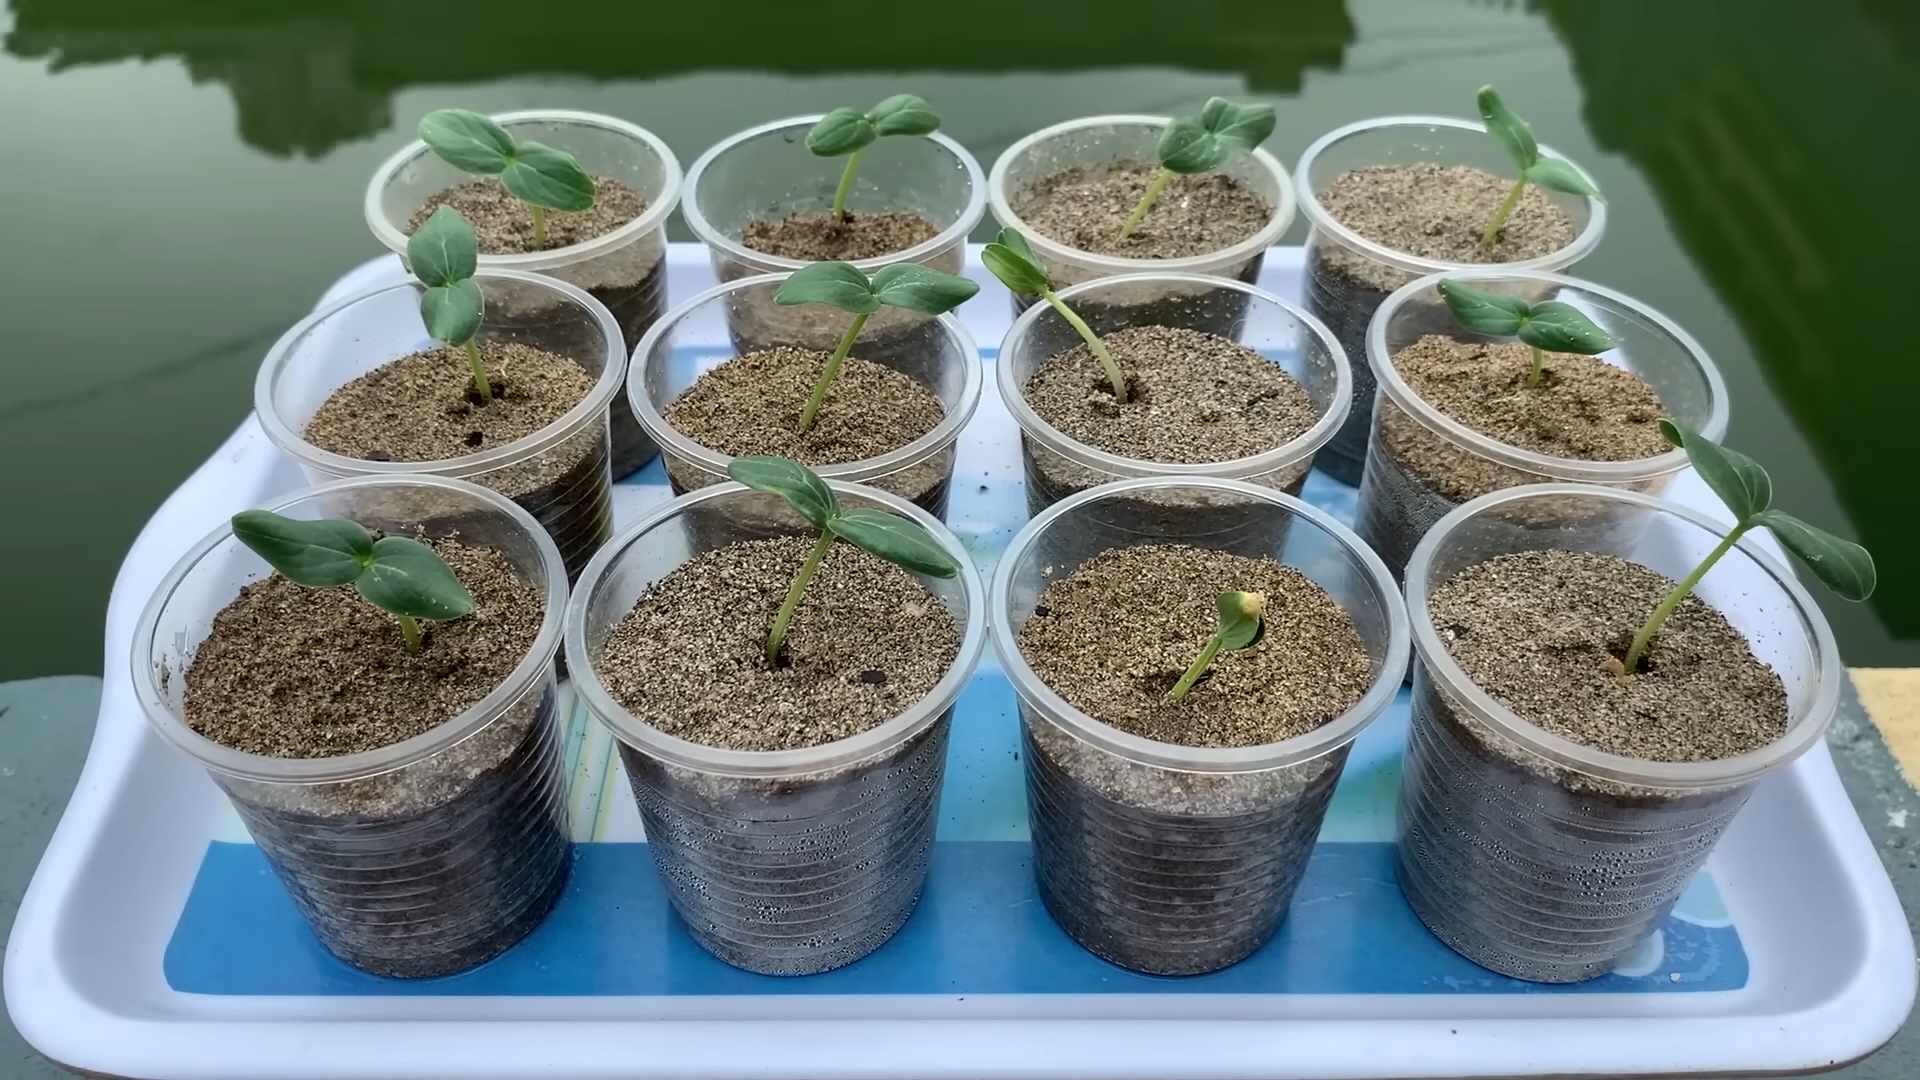
* Direct Sowing: Spinach is best direct-sown, meaning you plant the seeds directly into the garden.
* Sowing Instructions:
* Create Furrows: Use a hoe or your finger to create shallow furrows about 1/2 inch deep and 1 inch apart.
* Sow the Seeds: Sprinkle the spinach seeds evenly into the furrows.
* Cover the Seeds: Gently cover the seeds with soil and pat down lightly.
* Water Thoroughly: Water the planting area gently but thoroughly.
* Spacing: Once the seedlings emerge, thin them to 2-3 inches apart. This gives them enough room to grow and prevents overcrowding. You can eat the thinned seedlings as microgreens!
Caring for Your Spinach Plants
Proper care is essential for a healthy and productive spinach crop.
* Watering: Spinach needs consistent moisture, especially during hot weather. Water deeply whenever the top inch of soil feels dry. Avoid overhead watering, as this can promote fungal diseases. Drip irrigation or soaker hoses are ideal.
* Fertilizing: Spinach benefits from regular feeding. I like to use a liquid fertilizer, such as fish emulsion or compost tea, every 2-3 weeks. Follow the instructions on the fertilizer label.
* Weeding: Keep the spinach bed free of weeds, as they compete for nutrients and water. Hand-pull weeds carefully to avoid disturbing the spinach roots.
* Mulching: Apply a layer of mulch around the spinach plants to help retain moisture, suppress weeds, and regulate soil temperature. Straw, shredded leaves, or grass clippings work well.
* Pest and Disease Control:
* Aphids: These tiny pests can suck the sap from spinach leaves. Blast them off with a strong stream of water or use insecticidal soap.
* Flea Beetles: These small, jumping beetles can create small holes in the leaves. Cover the plants with row covers to prevent them from reaching the spinach.
* Downy Mildew: This fungal disease can cause yellow spots on the leaves. Improve air circulation by spacing the plants properly and avoid overhead watering. Use a fungicide if necessary.
* Bolting: Bolting occurs when spinach plants are exposed to hot weather or long days. The plants send up a flower stalk and the leaves become bitter. To prevent bolting, plant spinach in early spring or fall, provide shade during hot weather, and choose bolt-resistant varieties.
Harvesting Your Spinach
The best part! You can start harvesting spinach leaves as soon as they are large enough to eat, usually about 4-6 weeks after planting.
* Harvesting Technique:
* Cut Individual Leaves: Use scissors or a sharp knife to cut individual leaves from the outer part of the plant. This allows the inner leaves to continue growing.
* Harvest the Whole Plant: If you want to harvest the entire plant, cut it off at the base.
* Harvesting Time: Harvest spinach in the morning, after the dew has dried. This is when the leaves are at their freshest and most flavorful.
* Storage: Store spinach in the refrigerator in a plastic bag or container. It will keep for several days. Wash the spinach just before using it.
Extending Your Spinach Season
Want to enjoy fresh spinach for as long as possible? Here are a few tips:
* Succession Planting: Plant new spinach seeds every 2-3 weeks to ensure a continuous harvest.
* Cold Frames or Row Covers: Use cold frames or row covers to protect spinach plants from frost and extend the growing season into the winter.
* Shade Cloth: Provide shade during hot weather to prevent bolting.
* Overwintering: In mild climates, you can overwinter spinach plants by covering them with a thick layer of mulch. They will start growing again in the spring.
Troubleshooting Common Spinach Problems
Even with the best care, you might encounter some challenges. Here’s how to troubleshoot common spinach problems:
* Yellowing Leaves: This could be a sign of nutrient deficiency, overwatering, or disease. Check the soil pH, fertilize regularly, and ensure good drainage.
* Slow Growth: This could be due to poor soil, lack of sunlight, or cool temperatures. Amend the soil with compost, provide more sunlight, and wait for warmer weather.
* Bitter Taste: This is usually a sign of bolting. Harvest the spinach leaves before the plant bolts, or choose bolt-resistant varieties.
* Pest Infestation: Identify the pest and take appropriate action, such as using insecticidal soap or covering the plants with row covers.
Enjoying Your Homegrown Spinach
Now that you’ve harvested your delicious spinach, it’s time to enjoy it! Here are a few of my favorite ways to use homegrown spinach:
* Salads: Add fresh spinach to salads for a boost of nutrients and flavor.
* Smoothies: Blend spinach into smoothies for a healthy and delicious drink.
* Sautéed Spinach: Sauté spinach with garlic and olive oil for a simple and flavorful side dish.
* Spinach Dip: Make a creamy spinach dip for parties or gatherings.
* Spinach Pie: Bake a savory spinach pie for a hearty and satisfying meal.
* Soups and Stews: Add spinach to soups and stews for extra nutrients and flavor.
Growing your own spinach is a rewarding experience that provides you with fresh, healthy greens right at your fingertips.
Conclusion
So, there you have it! Your comprehensive guide to embarking on the rewarding journey of growing cucumbers. We’ve covered everything from selecting the right varieties and preparing your garden to nurturing your plants and harvesting your bounty. But the real magic happens when you put this knowledge into action.
Why is this DIY cucumber growing approach a must-try? Because it empowers you to take control of your food source, enjoy the unparalleled flavor of homegrown produce, and connect with nature in a deeply satisfying way. Forget those bland, waxed cucumbers from the grocery store. Imagine biting into a crisp, juicy cucumber, bursting with flavor, knowing you nurtured it from seed to table. That’s the power of growing your own.
But the journey doesn’t end here. Feel free to experiment! Try different cucumber varieties to discover your favorites. Consider companion planting with basil or marigolds to deter pests and enhance growth. Explore vertical gardening techniques to maximize space in smaller gardens. You can even try pickling your excess cucumbers for a delicious and long-lasting treat. The possibilities are endless!
Don’t be afraid to get your hands dirty and embrace the challenges that come with gardening. Every mistake is a learning opportunity, and every successful harvest is a triumph. The satisfaction of nurturing a plant from seed to fruit is truly unmatched.
We encourage you to take the plunge and start your own cucumber growing adventure today. Whether you have a sprawling backyard or a small balcony, there’s a way to make it work. And once you’ve tasted the difference between store-bought and homegrown, you’ll never look back.
We’re confident that with the knowledge you’ve gained from this guide, you’ll be well on your way to enjoying a bountiful harvest of delicious, homegrown cucumbers. So, grab your seeds, prepare your soil, and get ready to experience the joy of growing your own food.
And most importantly, we want to hear about your experiences! Share your successes, your challenges, and your tips with us in the comments below. Let’s build a community of cucumber growers, sharing our knowledge and inspiring each other to cultivate thriving gardens. Happy growing!
Frequently Asked Questions (FAQ)
What are the best cucumber varieties for beginners?
For beginners, we highly recommend starting with bush varieties like ‘Bush Champion’ or ‘Spacemaster.’ These varieties are compact, require less space, and are generally easier to manage than vining types. They’re also well-suited for container gardening. Another great option is ‘Burpless Tasty Green,’ known for its mild flavor and resistance to bitterness. Remember to consider your local climate and growing conditions when selecting your varieties. Local nurseries can provide valuable insights into which cucumbers thrive in your area.
How often should I water my cucumber plants?
Cucumbers are thirsty plants and require consistent moisture, especially during hot weather and fruit development. Aim to water deeply and regularly, providing about 1-2 inches of water per week. Check the soil moisture regularly by sticking your finger about an inch into the soil. If it feels dry, it’s time to water. Avoid overhead watering, as this can lead to fungal diseases. Instead, water at the base of the plant, using a soaker hose or drip irrigation system if possible. Mulching around the plants can also help retain moisture and suppress weeds.
What are common cucumber pests and diseases, and how can I prevent them?
Common cucumber pests include aphids, cucumber beetles, and squash bugs. Diseases include powdery mildew, downy mildew, and bacterial wilt. To prevent these problems, practice good garden hygiene by removing plant debris and weeds regularly. Encourage beneficial insects like ladybugs and lacewings, which prey on aphids. Use row covers to protect young plants from pests. Choose disease-resistant cucumber varieties. If you notice signs of pests or diseases, treat them promptly with organic insecticides or fungicides. Crop rotation can also help prevent soilborne diseases.
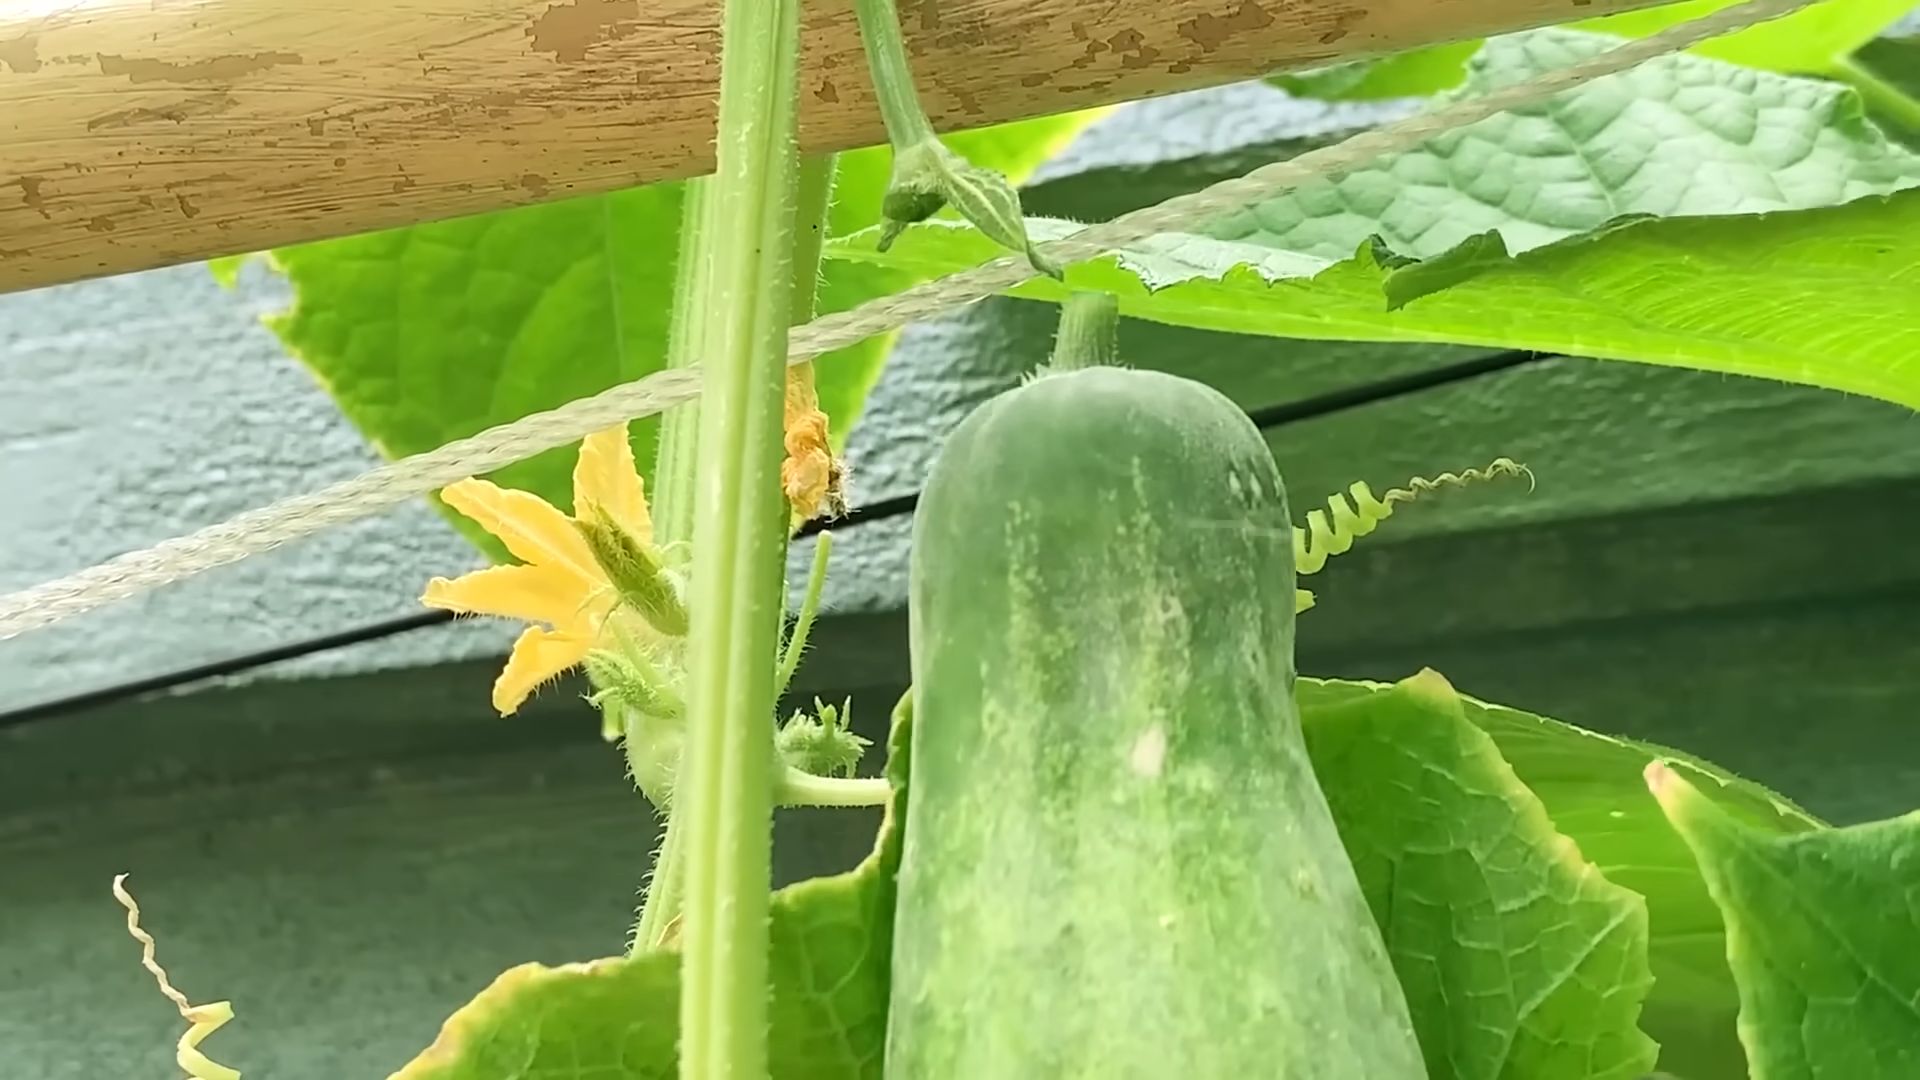
How do I know when my cucumbers are ready to harvest?
The harvesting time depends on the specific variety, but generally, cucumbers are ready to harvest when they reach the desired size and color. Check the seed packet or plant tag for specific instructions. The skin should be firm and smooth, and the cucumber should feel heavy for its size. Avoid letting cucumbers overripen, as they can become bitter and seedy. Harvest regularly to encourage continued production. Use a sharp knife or pruning shears to cut the cucumber from the vine, leaving a short stem attached.
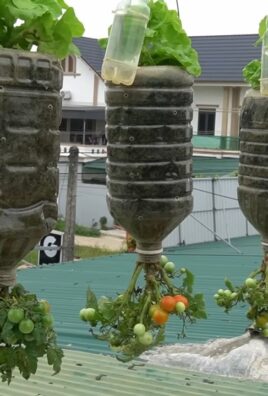
Can I grow cucumbers in containers?
Yes, you can absolutely grow cucumbers in containers! Choose a large container, at least 12 inches in diameter, with good drainage. Use a high-quality potting mix and provide a trellis or support for vining varieties. Bush varieties are particularly well-suited for container gardening. Water regularly and fertilize every 2-3 weeks with a balanced fertilizer. Place the container in a sunny location that receives at least 6-8 hours of sunlight per day.
Why are my cucumbers bitter?
Cucumber bitterness is often caused by stress, such as inconsistent watering, high temperatures, or poor soil conditions. Certain cucumber varieties are also more prone to bitterness. To prevent bitterness, ensure consistent watering, especially during hot weather. Provide shade during the hottest part of the day. Amend the soil with compost to improve drainage and nutrient availability. Choose cucumber varieties that are known for their mild flavor. You can also try peeling the cucumber, as the bitterness is often concentrated in the skin.
How do I save cucumber seeds for next year?
Saving cucumber seeds is a great way to preserve your favorite varieties and save money. Allow a few cucumbers to fully ripen on the vine, until they turn yellow or orange. Scoop out the seeds and pulp and place them in a jar with water. Let the mixture ferment for 3-4 days, stirring occasionally. This process helps remove the gelatinous coating around the seeds. Rinse the seeds thoroughly and spread them out on a paper towel to dry completely. Store the dried seeds in an airtight container in a cool, dark, and dry place.
What is the best soil for growing cucumbers?
Cucumbers thrive in well-drained, fertile soil that is rich in organic matter. The ideal soil pH is between 6.0 and 7.0. Amend the soil with compost or well-rotted manure before planting to improve drainage and nutrient content. You can also add a slow-release fertilizer to provide essential nutrients throughout the growing season. Avoid heavy clay soils, as they can retain too much moisture and lead to root rot. If you have clay soil, amend it with plenty of organic matter to improve drainage.
How much sunlight do cucumbers need?
Cucumbers need at least 6-8 hours of direct sunlight per day to thrive. Choose a planting location that receives full sun. If you live in a hot climate, provide some afternoon shade to prevent the plants from overheating. Insufficient sunlight can lead to stunted growth, reduced fruit production, and increased susceptibility to diseases.
What are some good companion plants for cucumbers?
Companion planting can help improve cucumber growth and deter pests. Good companion plants for cucumbers include basil, marigolds, nasturtiums, dill, and oregano. Basil repels aphids and whiteflies, while marigolds deter nematodes and other soil pests. Nasturtiums attract beneficial insects like ladybugs and lacewings. Dill attracts hoverflies, which prey on aphids. Oregano repels cucumber beetles. Avoid planting cucumbers near aromatic herbs like sage or mint, as they can inhibit growth.


Leave a Comment